Expense Account Form
Overview of this form
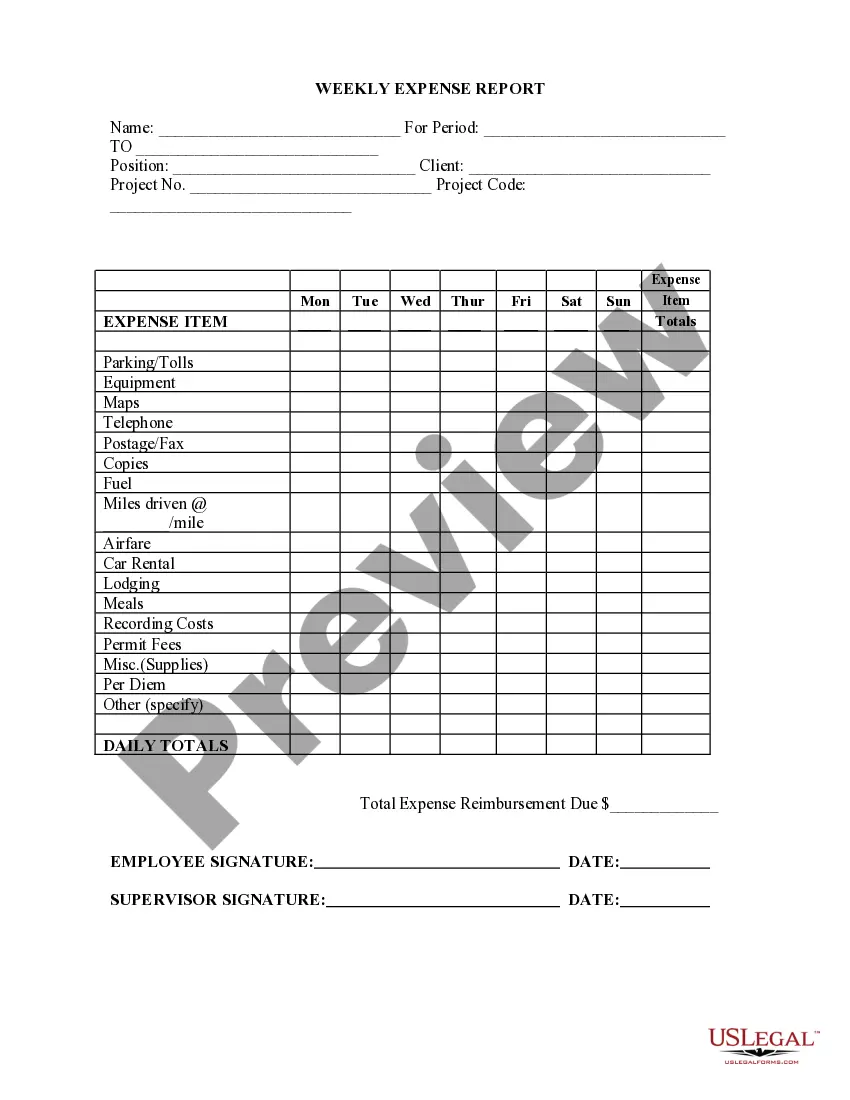
The Expense Account Form is a crucial document that helps employers manage and reimburse employee expenses accurately. This form is specifically designed for tracking expenditures made by employees on behalf of the employer, allowing businesses to maintain organizational clarity and financial accuracy. Unlike simple expense reports, this form offers a structured approach that aligns with employment and human resources needs for organizations of all sizes.
What’s included in this form
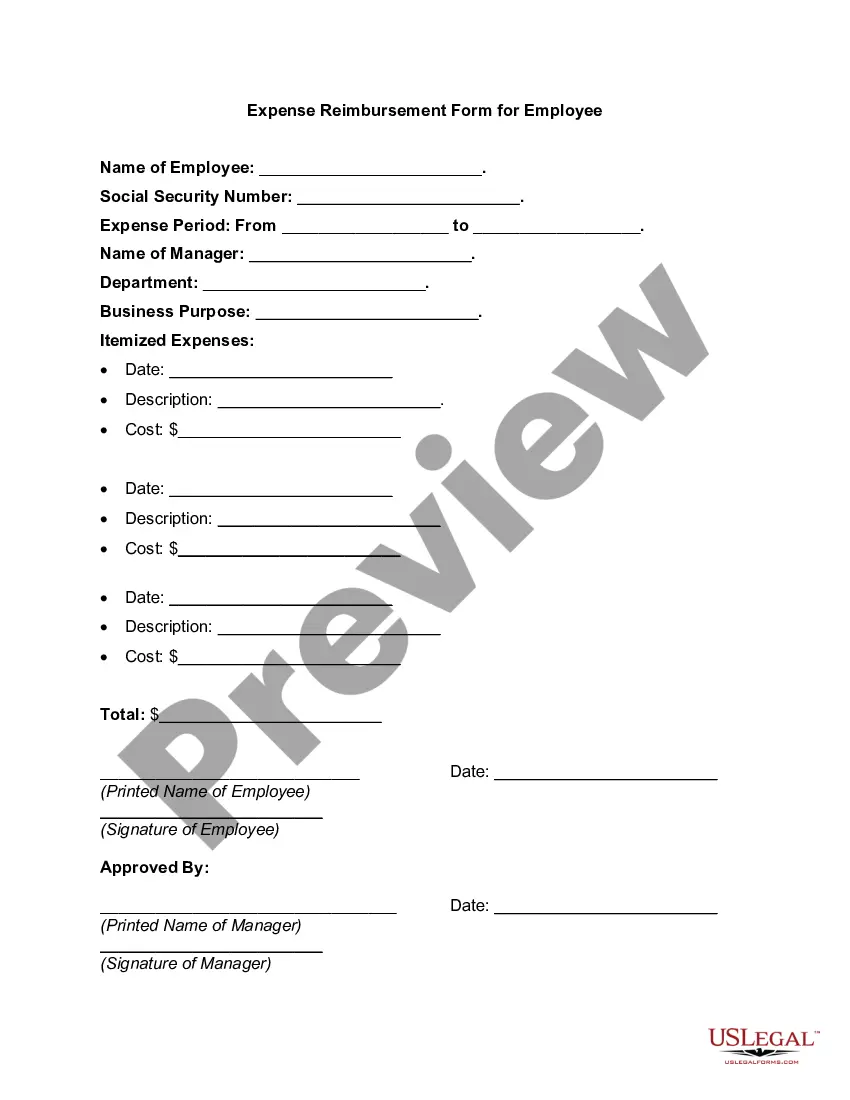
- Date: The date when the transaction occurred.
- Transaction Description: A brief description of the expense incurred.
- Category: The category of the expense (e.g., travel, meals, supplies).
- Amount: The total dollar amount of each expense listed.
- Columns for recording different details: Fields for facilitating easy tracking and categorization of expenses.


When to use this document
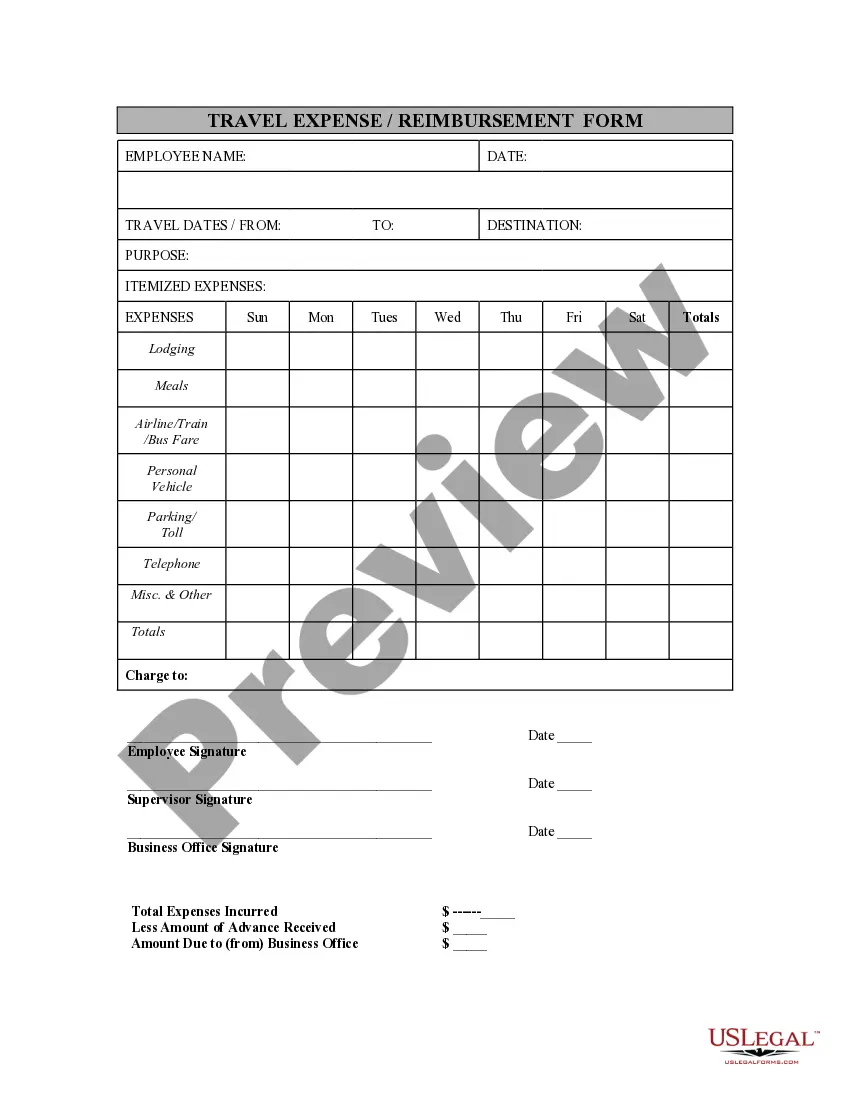
This form should be used when employees incur expenses while performing work duties. Common scenarios include travel-related costs, meals for business meetings, or purchases of supplies necessary for project completion. It is particularly useful for employers who have a policy in place for reimbursing employee expenses and need a formalized method for collecting and processing that information.
Who needs this form
Eligible users of the Expense Account Form include:
- Employers seeking to reimburse employees for work-related expenses.
- Human resources professionals managing employee reimbursements.
- Finance teams responsible for tracking company expenditures.
- Employees who need a standardized way to report expenses to their employer.
Instructions for completing this form
- Start by entering the date of each transaction in the designated field.
- Provide a clear description of each transaction for easy identification.
- Choose the appropriate category for each expense to reflect its nature.
- Fill in the amount of each expense accurately, ensuring all figures are current.
- Review the form for completeness and clarity before submitting it to management.
Is notarization required?
This form usually doesn’t need to be notarized. However, local laws or specific transactions may require it. Our online notarization service, powered by Notarize, lets you complete it remotely through a secure video session, available 24/7.
Get your form ready online
Our built-in tools help you complete, sign, share, and store your documents in one place.
Make edits, fill in missing information, and update formatting in US Legal Forms—just like you would in MS Word.
Download a copy, print it, send it by email, or mail it via USPS—whatever works best for your next step.
Sign and collect signatures with our SignNow integration. Send to multiple recipients, set reminders, and more. Go Premium to unlock E-Sign.
If this form requires notarization, complete it online through a secure video call—no need to meet a notary in person or wait for an appointment.
We protect your documents and personal data by following strict security and privacy standards.
Make edits, fill in missing information, and update formatting in US Legal Forms—just like you would in MS Word.
Download a copy, print it, send it by email, or mail it via USPS—whatever works best for your next step.

Sign and collect signatures with our SignNow integration. Send to multiple recipients, set reminders, and more. Go Premium to unlock E-Sign.

If this form requires notarization, complete it online through a secure video call—no need to meet a notary in person or wait for an appointment.
We protect your documents and personal data by following strict security and privacy standards.
Typical mistakes to avoid
- Forgetting to include receipts or documentation for expenses.
- Inaccurate descriptions that do not clearly convey the nature of the expense.
- Misclassifying an expense by placing it in the wrong category.
- Omitting the date of the transaction, leading to confusion.
- Entering incorrect amounts or using inconsistent formatting.
Why use this form online
- Easy access to downloadable templates that streamline the reimbursement process.
- Editable fields allow for real-time updates and corrections.
- Secure storage and retrieval of completed forms to maintain employee records.
- Legal assurance from templates drafted by licensed attorneys, promoting compliance.
Main things to remember
- The Expense Account Form is essential for tracking employee expenses effectively.
- Accurate completion helps prevent reimbursement errors and confusion.
- It's suitable for various stakeholders, including employees and HR personnel.
- Utilizing this form can enhance financial clarity and operational efficiency in businesses.
Looking for another form?
Form popularity
FAQ
Decide What's Allowed in Your Expense Policy. Write Your Expense Policy. Follow an Expense Report Process. Review Your Expense Policy Periodically.
Expenses accounts are equity accounts with a debit balance. Expense accounts are considered contra equity accounts because their balance decreases the overall equity balance. In other words, debiting an expense account increases the balance instead of decreasing it like most other equity accounts.
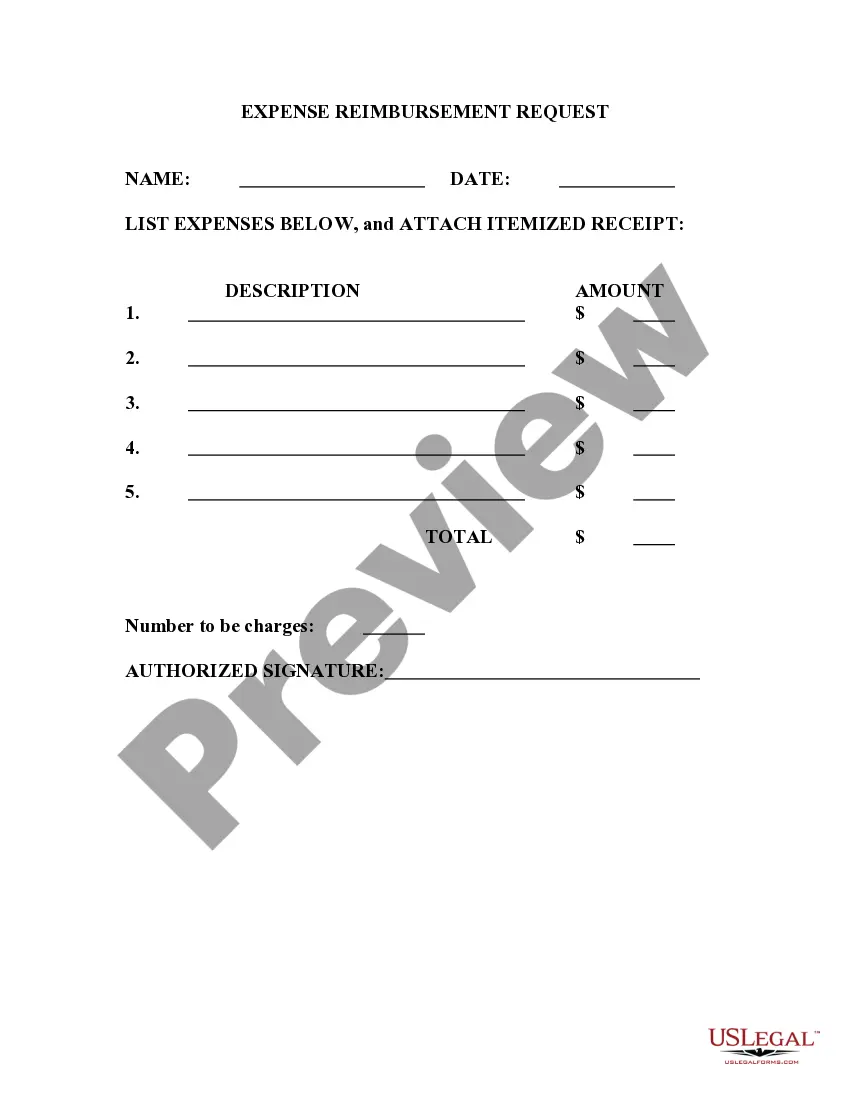
Information identifying the person submitting the report (department, position, contact info, SSN, etc.) A date and dollar amount for each expense, matching the date and dollar amount on the receipt provided for that expense. A brief description of each expense.
Debit to expense, credit to cash. Reflects a cash payment. Debit to expense, credit to accounts payable. Reflects a purchase made on credit. Debit to expense, credit to asset account. Debit to expense, credit to other liabilities account.
Decide What's Allowed in Your Expense Policy. Write Your Expense Policy. Follow an Expense Report Process. Review Your Expense Policy Periodically.
1Choose a template or expense-tracking software.2Edit the columns and categories (such as rent or mileage) as needed.3Add itemized expenses with costs.4Add up the total.5Attach or save your corresponding receipts.6Print or email the report.
Open Excel. Add headings for the columns in the top row your income worksheet. Format your columns. Select your expense worksheet and set it up for recording expense data. Format your expenses columns.
Have a policy in place. Create a template to record expenses. Have a place for receipts. Double-check expenses. Add up expenses and receipts. Approve reports and process reimbursements promptly. 5 expense reporting best practices for your business.