Invoice Template for Author
What this document covers
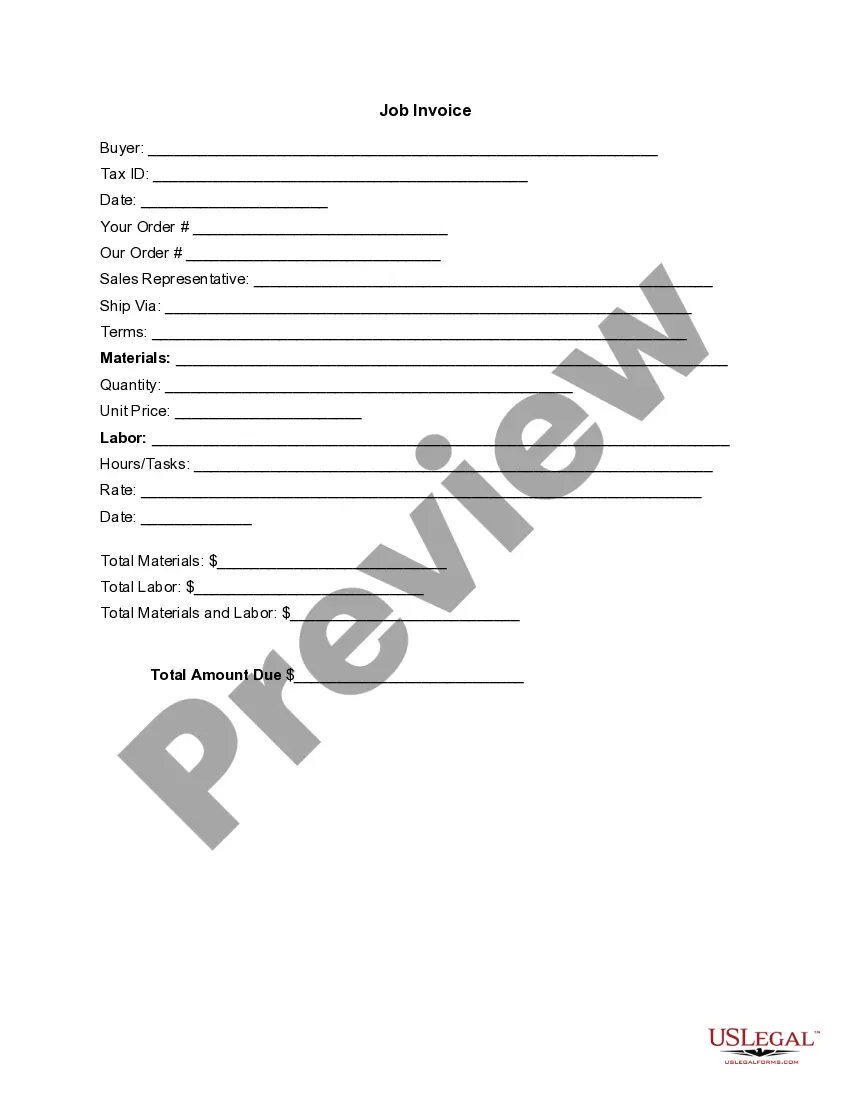
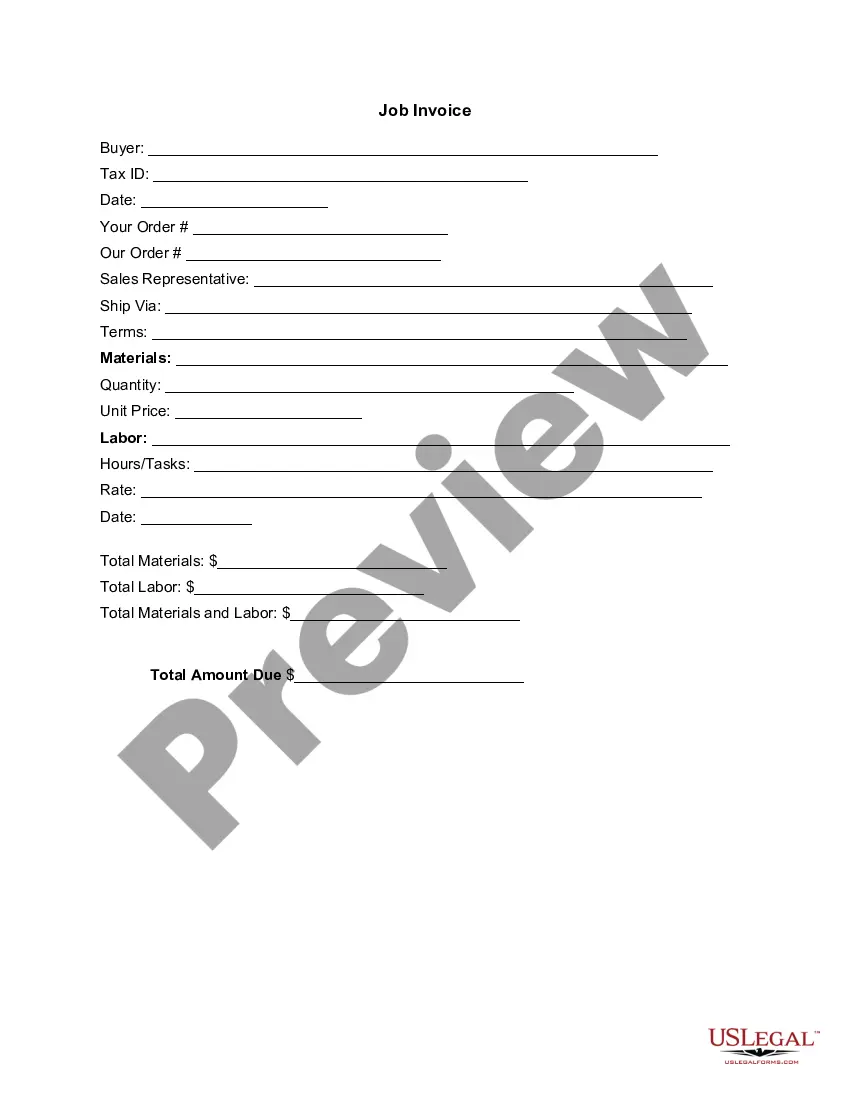
The Invoice Template for Author is a legal document used to itemize goods and services provided to a client, detailing associated costs. This template is specifically tailored for authors, making it distinct from general invoice forms, as it considers the unique aspects of creative work and copyright considerations. It helps authors communicate their billing clearly and professionally, ensuring they get paid for their contributions.
What’s included in this form
- Buyer information, including name and Tax ID
- Date of the invoice
- Order details for items or services provided
- Sales representative contact information
- Shipping method and terms of service
- Breakdown of materials and labor costs
- Total amounts due and invoice summary


When this form is needed
This invoice template should be used whenever an author has completed a writing project or provided other services that require payment. It is ideal for freelance authors, ghostwriters, editors, and content creators who need to bill clients for their work. Using this form helps ensure accurate record-keeping and prompts timely payments.
Who needs this form
- Freelance authors billing clients for written works
- Literary agents handling payments for authors
- Editors and proofreaders offering services to writers
- Self-published authors selling books directly
How to complete this form
- Identify and enter the buyer's information, including their Tax ID.
- Fill in the date of the invoice to mark its issuance.
- Detail the items or services provided, including quantities and unit prices.
- Calculate total costs for materials and labor, ensuring accuracy.
- Clearly state the total amount due to facilitate payment.
Notarization requirements for this form
This form does not typically require notarization unless specified by local law.
Get your form ready online
Our built-in tools help you complete, sign, share, and store your documents in one place.
Make edits, fill in missing information, and update formatting in US Legal Forms—just like you would in MS Word.
Download a copy, print it, send it by email, or mail it via USPS—whatever works best for your next step.
Sign and collect signatures with our SignNow integration. Send to multiple recipients, set reminders, and more. Go Premium to unlock E-Sign.
If this form requires notarization, complete it online through a secure video call—no need to meet a notary in person or wait for an appointment.
We protect your documents and personal data by following strict security and privacy standards.

Make edits, fill in missing information, and update formatting in US Legal Forms—just like you would in MS Word.

Download a copy, print it, send it by email, or mail it via USPS—whatever works best for your next step.

Sign and collect signatures with our SignNow integration. Send to multiple recipients, set reminders, and more. Go Premium to unlock E-Sign.

If this form requires notarization, complete it online through a secure video call—no need to meet a notary in person or wait for an appointment.

We protect your documents and personal data by following strict security and privacy standards.
Common mistakes
- Failing to include complete buyer information.
- Not itemizing services, which can lead to confusion.
- Calculating totals incorrectly, resulting in payment delays.
- Forgetting to include payment terms or due dates.
Advantages of online completion
- Convenient access to a professionally drafted template.
- Easy customization to suit specific projects and clients.
- Streamlined process for generating and sending invoices.
- Reliable documentation that protects both the author and client.
Legal use & context:
- This invoice serves as a formal request for payment and can be used as a record in case of disputes.
- It is advisable to keep a copy for your records, as it may be needed for tax purposes.
Key takeaways
- The Invoice Template for Author is designed specifically for billing clients for creative work.
- Accurate completion is essential for timely payments and professional communication.
- This form includes sections for detailed itemization of services and costs.
Looking for another form?


Form popularity
FAQ
Personalize and make your invoice professional. To begin, choose a color that best represents your brand and upload your brand's logo. Fill-out the appropriate contact information on your invoice. Select a due date on your invoice. Fill in the projects/ tasks you are invoicing the client for. Add payment information.
Create an Invoice Header with Your Business Information. Include Your Client's Contact Details. Provide Invoice Information. Specify Your Payment Terms. Include an Itemized List of Services. List Applicable Taxes. Consider Adding Notes.
The most basic invoice should include: A unique invoice number. Your complete information name, address and phone number. Customer's complete information name, address and phone number.
Make your invoice look professional. The first step is to put your invoice together. Clearly mark your invoice. Add company name and information. Write a description of the goods or services you're charging for. Don't forget the dates. Add up the money owed. Mention payment terms.
Download the Square Invoices app on your iOS or Android device. Create your free Square account or sign in with your existing Square account. Tap the '+' sign on the navigation bar and select 'Invoice'.When your clients receive the invoice in their email, they can pay you securely online.
Include Contact Information. Add the Invoice Date. Establish a Simple Invoice Numbering System. List Your Services. Add Your Payment Terms. Include the Amount Due and the Payment Due Date.
Your name and contact information. Your client's name. Invoice number. Date of invoice issuance. Work order number or job code number. Payment due date. Current payment status. A description of your work or services rendered.
Microsoft Word provides templates for invoice sheets that you customize to suit your business needs. Office features more than 100 online invoice templates that copy to a Word document. The Word command ribbon plus the Table Tools ribbon help update the style, color, alignment and other layout elements.
