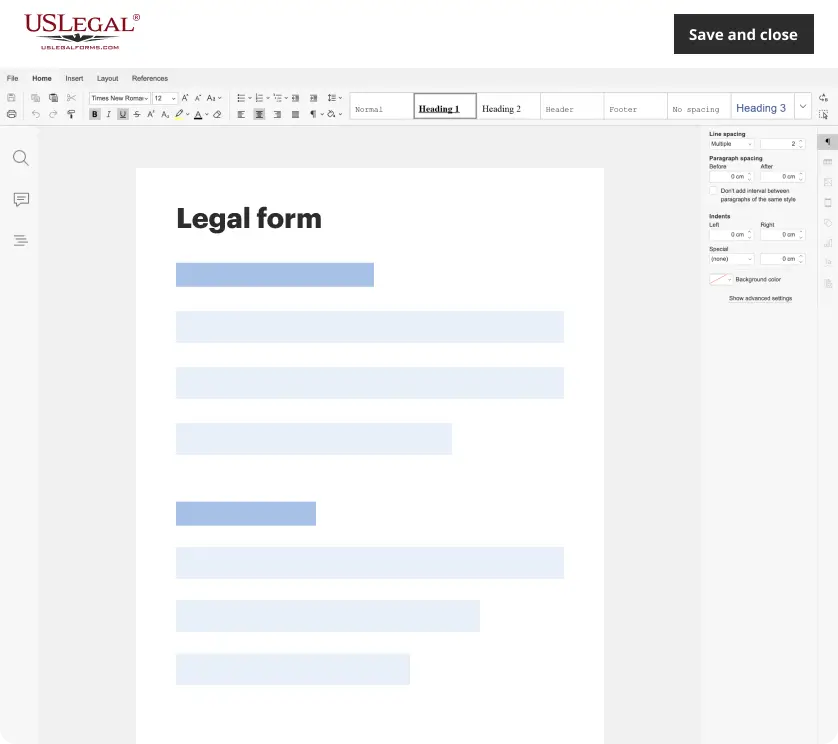
Invoice Template for Designer
Understanding this form
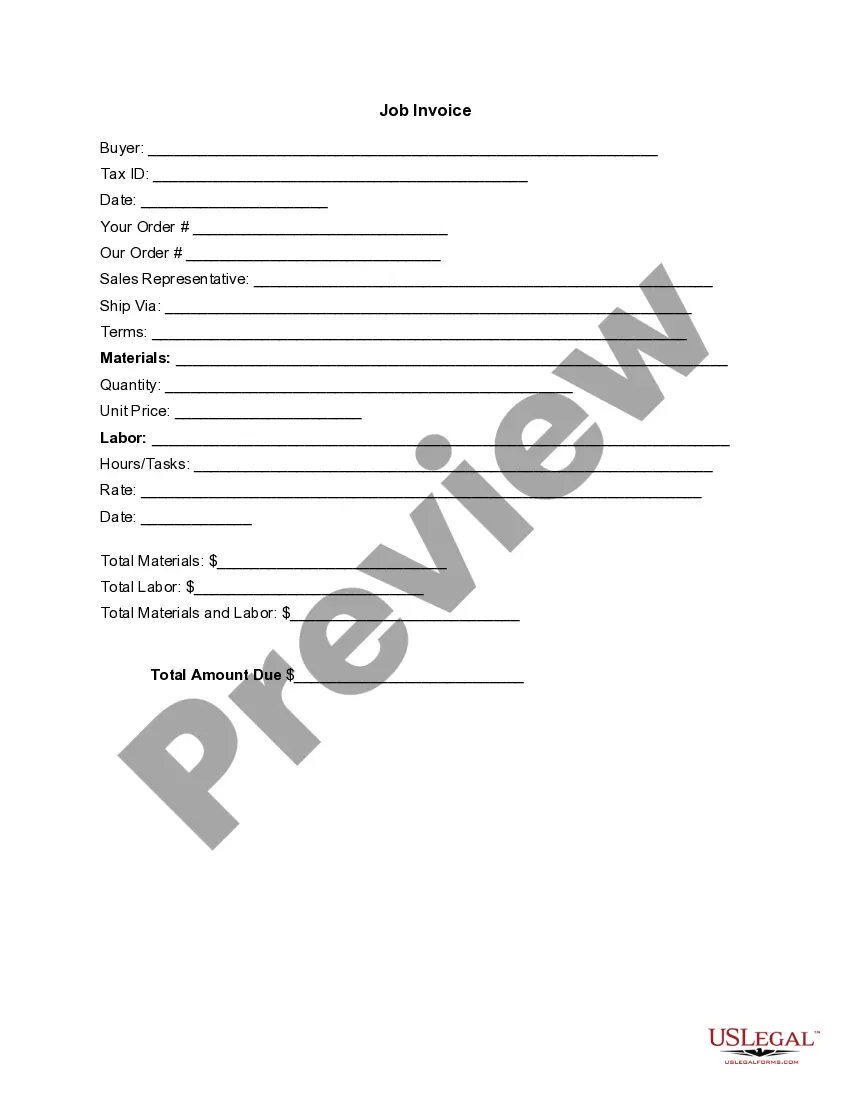
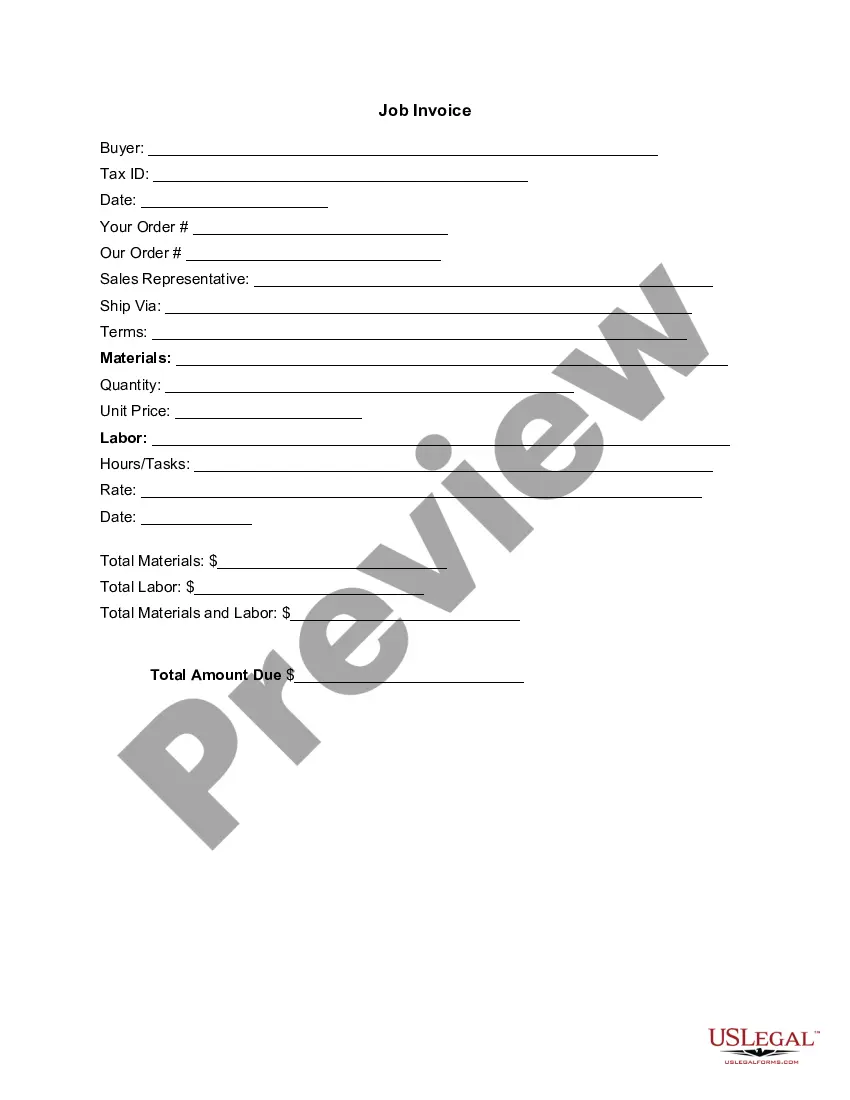
An Invoice Template for Designer is a detailed document that itemizes the goods delivered or services provided, along with their associated costs. This form serves as a professional bill, encapsulating all transaction details between the designer and the buyer. It differs from generic invoices in that it is specially tailored for design services, ensuring clarity in both labor and material costs.
Main sections of this form
- Buyer information, including name and Tax ID
- Invoice date
- Order numbers for easy reference
- Sales representative details
- Shipping method
- Itemized list of materials and labor hours
- Total amounts due for materials, labor, and overall


When this form is needed
This form should be used when a designer completes a project and needs to bill a client for the work performed. Scenarios for use include freelance projects, design consultations, or any service involving creative deliverables where clear financial documentation is necessary.
Who can use this document
This form is intended for:
- Freelance designers offering their services to clients
- Design agencies managing multiple projects and clients
- Any creative professional needing to bill for services rendered
- Individuals or businesses that require a clear, itemized account of design work
Instructions for completing this form
- Identify and enter the buyer's name and Tax ID.
- Fill in the invoice date and your order number.
- Detail the materials and labor involved in the project by specifying both quantity and unit price.
- Calculate labor hours and associated rates, then enter these amounts.
- Add up the total for materials and labor to determine the total amount due.
Does this form need to be notarized?
This form does not typically require notarization unless specified by local law. Always check local regulations to ensure compliance with any applicable requirements.
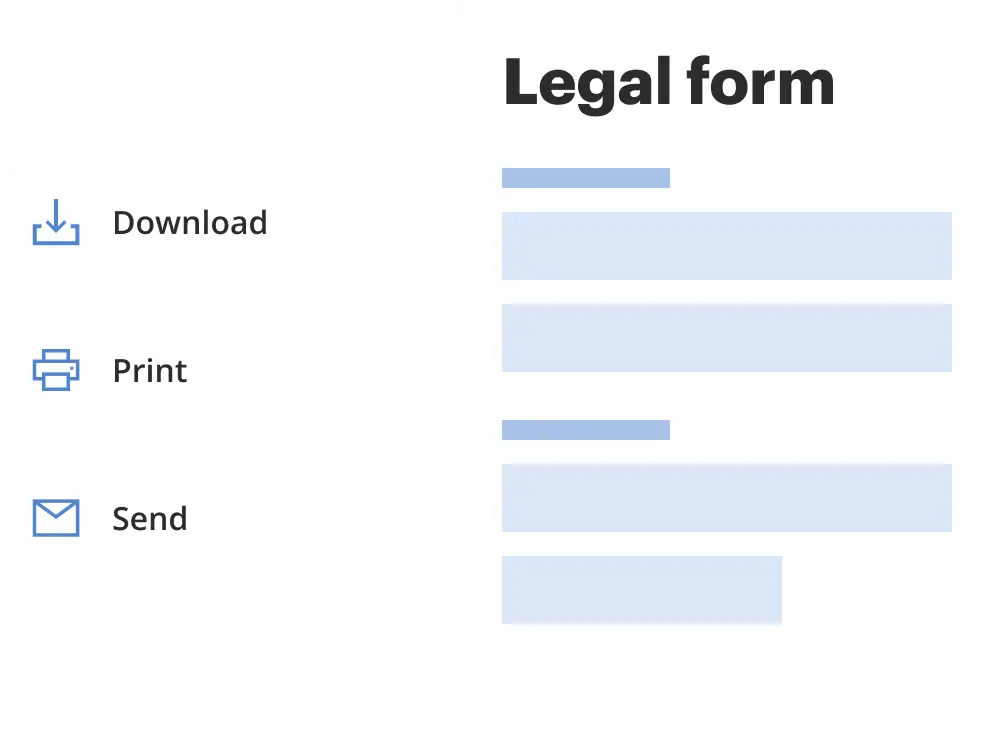
Get your form ready online
Our built-in tools help you complete, sign, share, and store your documents in one place.
Make edits, fill in missing information, and update formatting in US Legal Forms—just like you would in MS Word.
Download a copy, print it, send it by email, or mail it via USPS—whatever works best for your next step.
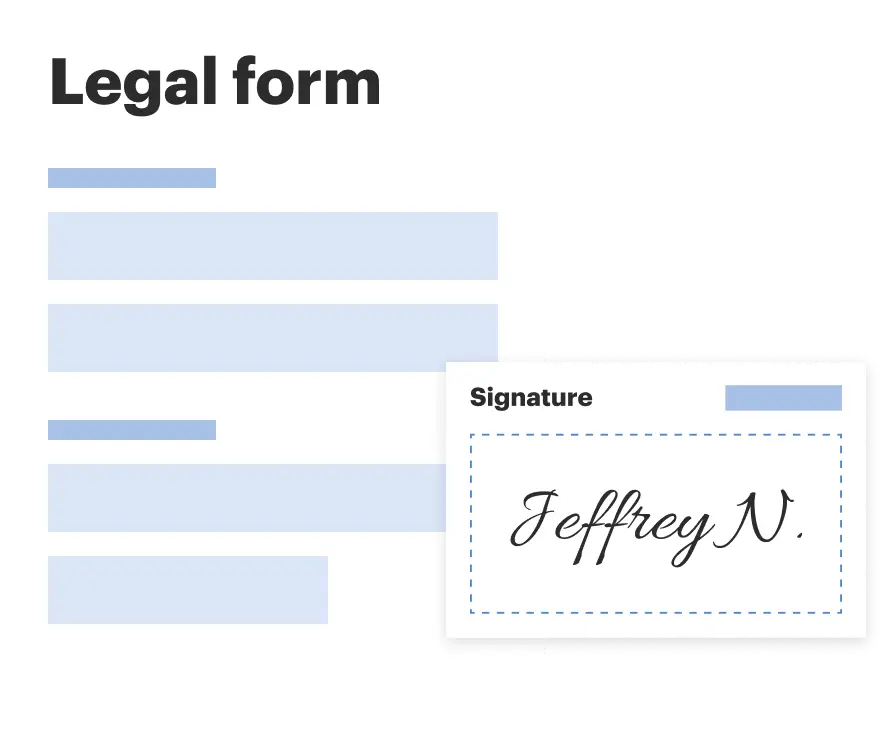
Sign and collect signatures with our SignNow integration. Send to multiple recipients, set reminders, and more. Go Premium to unlock E-Sign.
If this form requires notarization, complete it online through a secure video call—no need to meet a notary in person or wait for an appointment.
We protect your documents and personal data by following strict security and privacy standards.
Make edits, fill in missing information, and update formatting in US Legal Forms—just like you would in MS Word.
Download a copy, print it, send it by email, or mail it via USPS—whatever works best for your next step.
Sign and collect signatures with our SignNow integration. Send to multiple recipients, set reminders, and more. Go Premium to unlock E-Sign.
If this form requires notarization, complete it online through a secure video call—no need to meet a notary in person or wait for an appointment.
We protect your documents and personal data by following strict security and privacy standards.
Common mistakes to avoid
- Forgetting to include the buyer's Tax ID.
- Neglecting to update the invoice date, causing confusion.
- Omitting itemized descriptions of materials or labor tasks.
- Calculating totals incorrectly or failing to double-check math.
Benefits of using this form online
- Easy customization to fit specific needs of the project.
- Immediate access to a professionally designed template.
- Convenient download and storage options for digital record-keeping.
- Time-saving compared to creating an invoice from scratch.
Legal use & context
- Invoices serve as crucial documentation for financial transactions.
- Proper invoicing can help in disputes over payments by providing clear records of services rendered.
- Ensure adherence to local regulations regarding invoice issuance and tax requirements.
Quick recap
- The Invoice Template for Designer is essential for billing clients accurately.
- Properly completed invoices enhance professionalism and clarity in business transactions.
- Be mindful of common mistakes when filling out the form to avoid payment delays.
- Utilizing an online form can streamline the invoicing process and ensure compliance with legal standards.
Looking for another form?
Form popularity
FAQ
Download the free painter invoice template from FreshBooks. Add your painting business name and contact information. Insert your business branding and logo. Include client's name and contact information. Create a unique invoice number. Add date of issue and payment due date.
Choose an Invoice Template. Consider a Deposit. Double Check Details with the Client. Add Important Details. Follow Up.
Layout for a Graphic Design Invoice Include your logo and information at the top, where it's easy for the client to see. Then, include their name, the date of the invoice, and other important information. From there, you'll want to break down the project and the costs.
Ensure that your invoice / credit note is legible, especially if handwritten (our preference is for typewritten). In addition, ensure that it is not: printed on dark paper. printed in a colour of ink that is difficult to scan, such as purple.
Make your invoice look professional. The first step is to put your invoice together. Clearly mark your invoice. Add company name and information. Write a description of the goods or services you're charging for. Don't forget the dates. Add up the money owed. Mention payment terms.
Download the free illustration work invoice template. Insert your name, your business name and contact information. Add your business logo and media. Fill out the client or business and contact information. Create and include a unique invoice number. Include an issue date and payment due date.
Design the Invoice Structure. Take time before diving into invoice design to plan out the structure of your invoice template. Include Your Brand and Style. Make the Information Readable. Leave Room for Descriptions. Make Deadlines and Payment Totals Stand Out. Clearly State Payment Terms.
A unique identification number. your company name, address and contact information. the company name and address of the customer you're invoicing. a clear description of what you're charging for. the date the goods or service were provided (supply date) the date of the invoice.
Make your invoice look professional. The first step is to put your invoice together. Clearly mark your invoice. Add company name and information. Write a description of the goods or services you're charging for. Don't forget the dates. Add up the money owed. Mention payment terms.