Sample Letter to Chancery Clerk with Checklist for Enclosed Pleadings and Filing Instructions
What this document covers
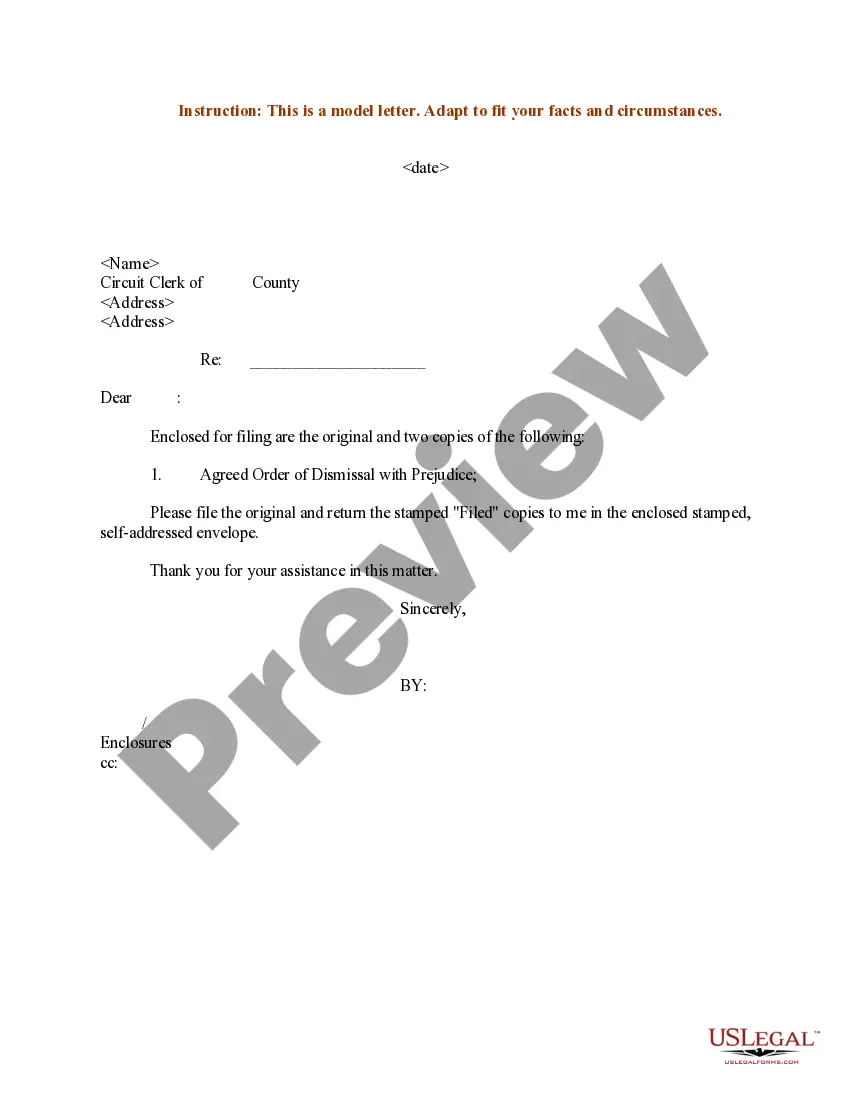
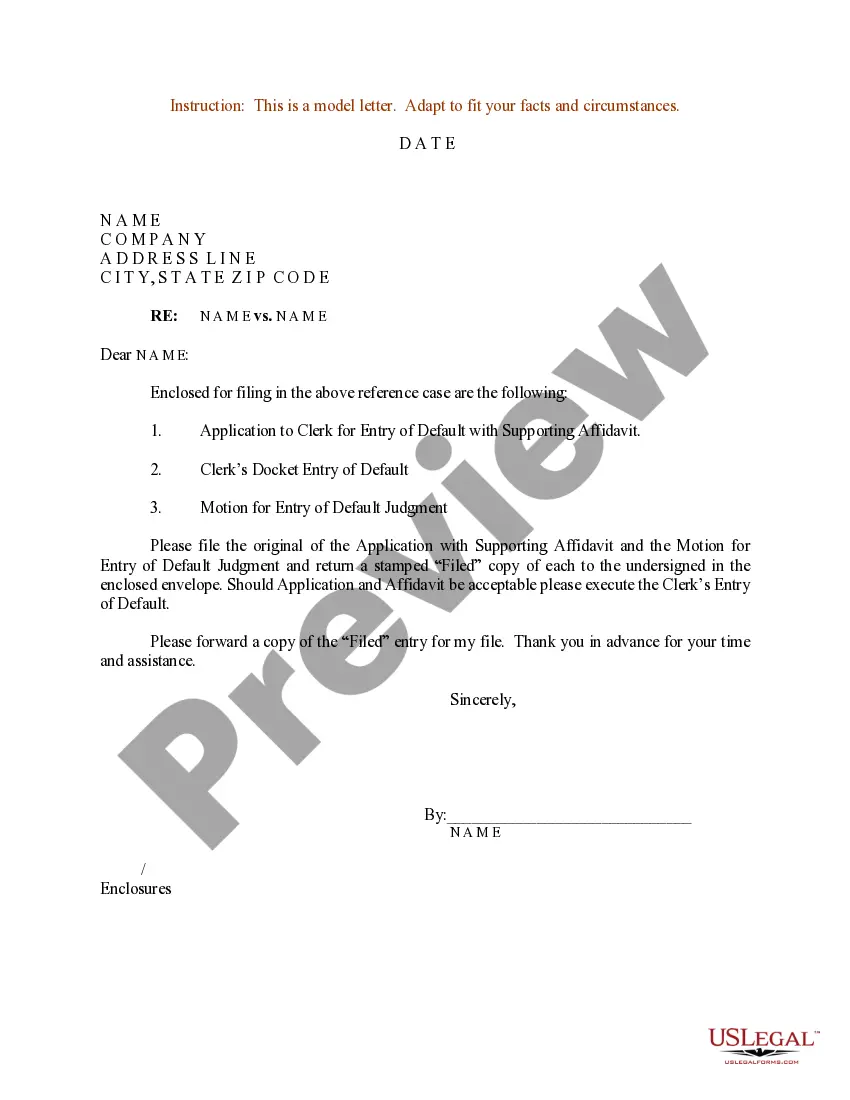
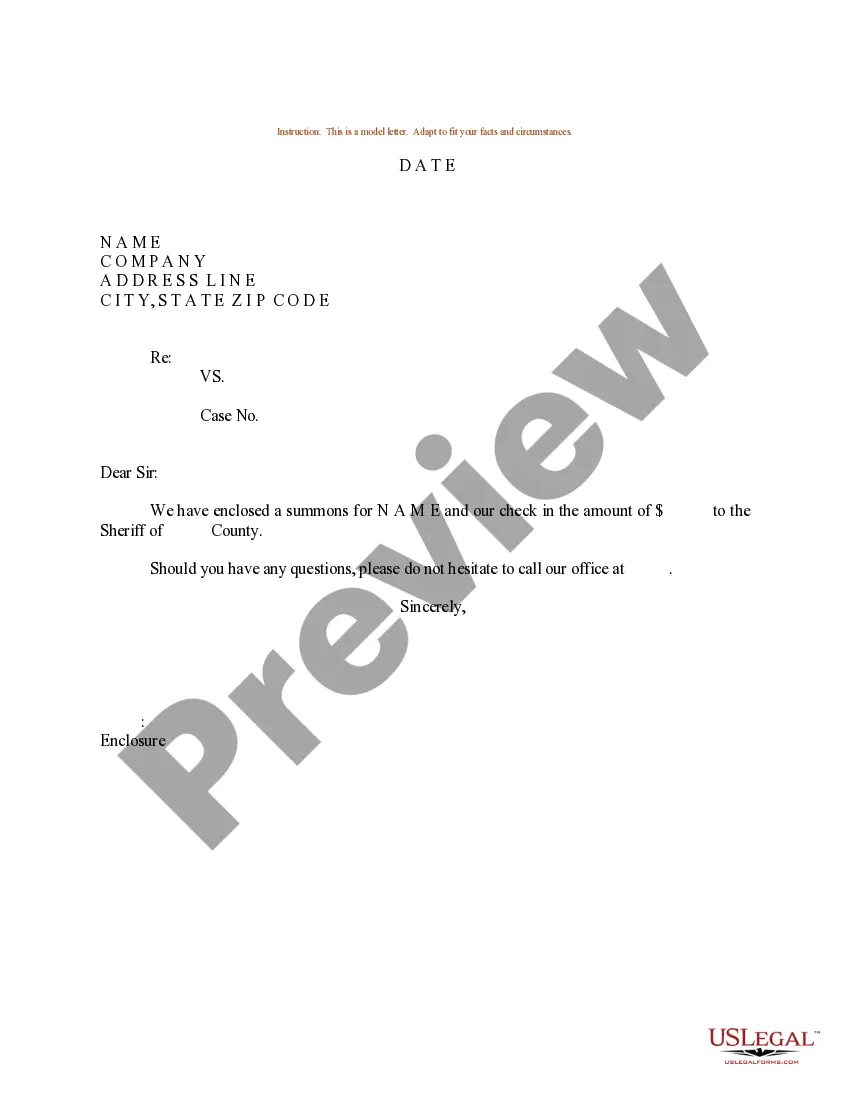
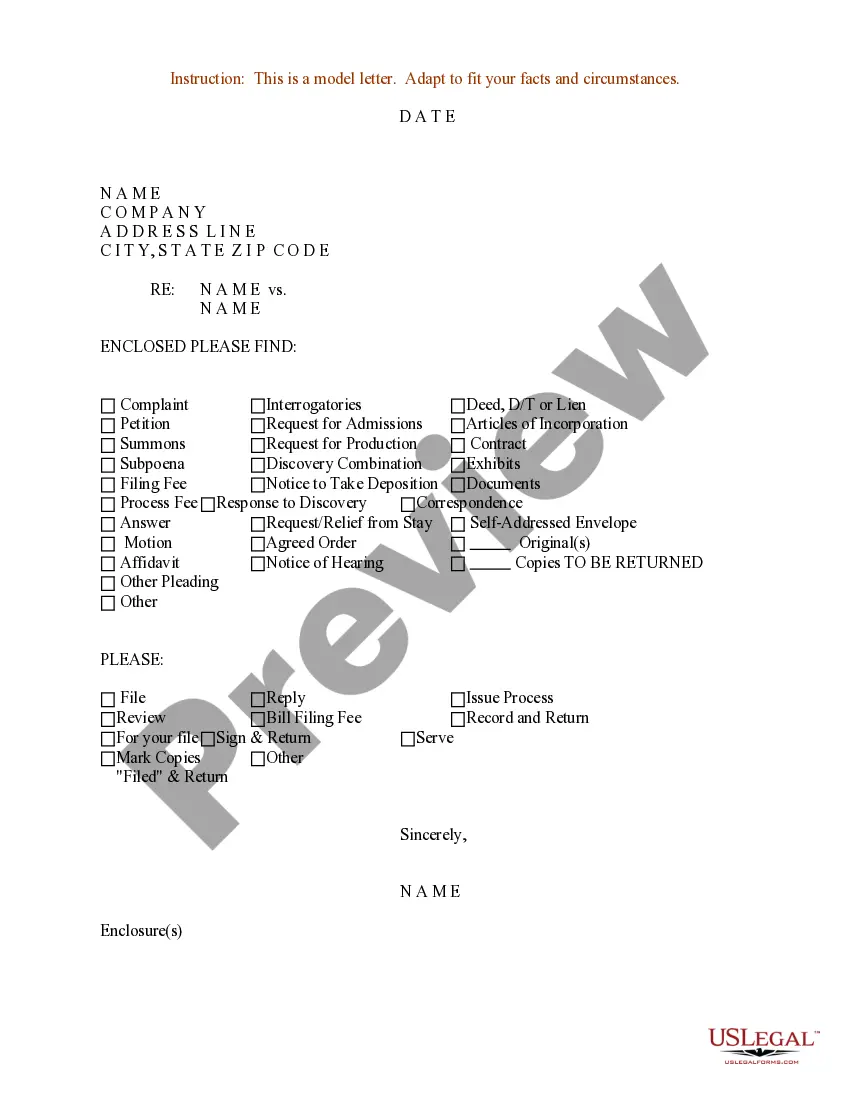
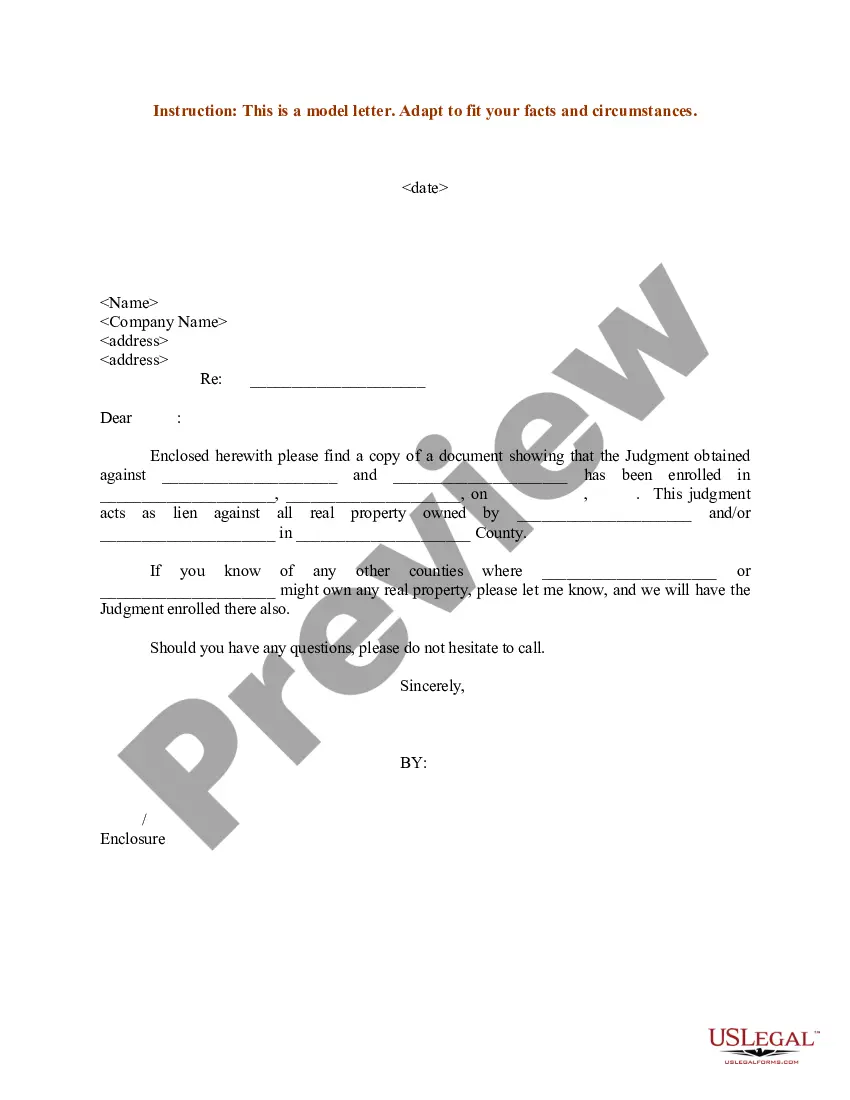
The Sample Letter to Chancery Clerk with Checklist for Enclosed Pleadings and Filing Instructions is a template designed to assist individuals in formally submitting various documents to the chancery clerk's office. This form includes a checklist to confirm that all necessary pleadings and filing instructions are included, ensuring proper submission. Unlike generic letters, this template is specific to legal filings and includes essential elements to streamline the process.
What’s included in this form
- Checklist of enclosed documents such as petitions, motions, and notices.
- Self-addressed envelope option for return correspondence.
- Instructions for filing, including marking copies and serving documents.
- Signature section for the sender.
Situations where this form applies
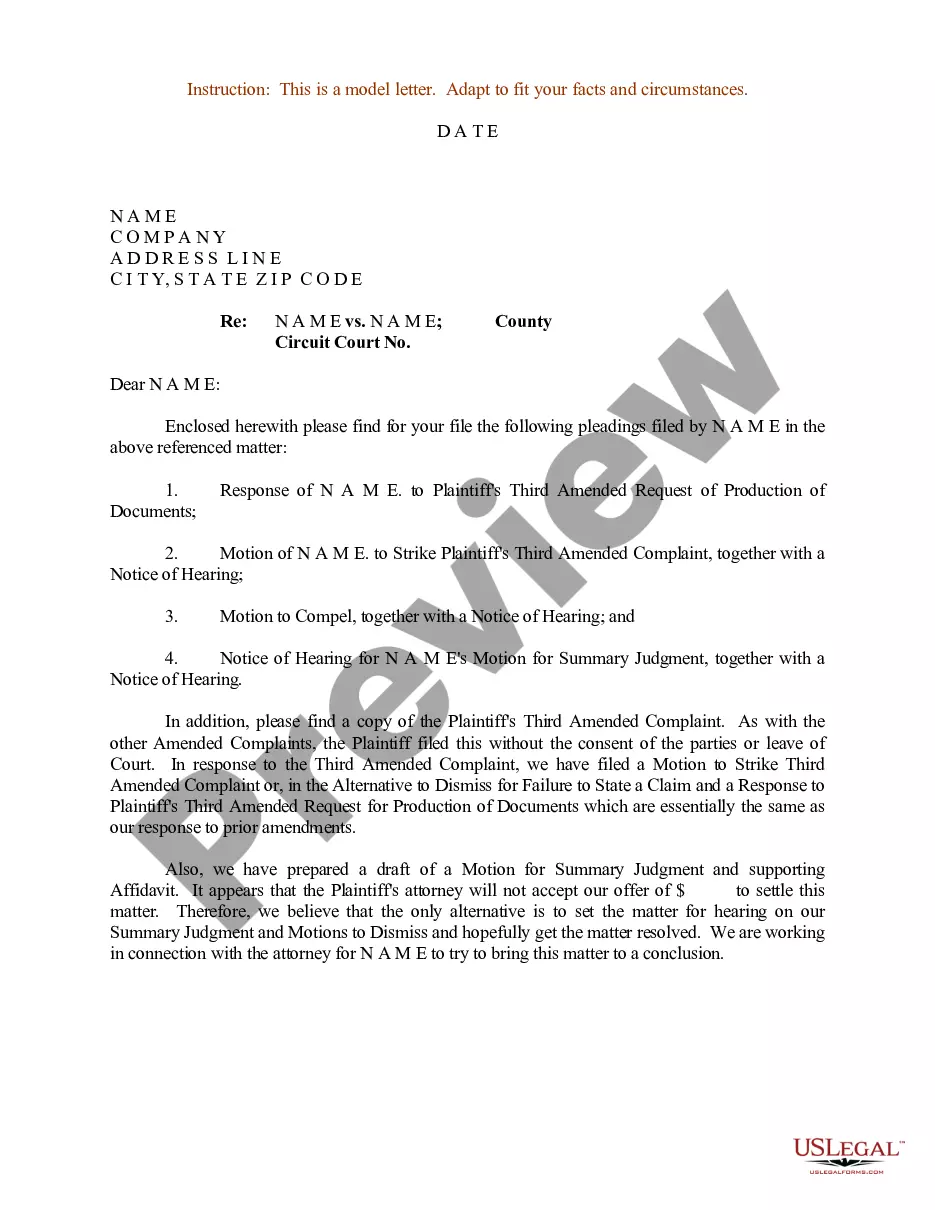
This form should be used when you need to officially communicate with the chancery clerk regarding legal filings. It is particularly useful in scenarios where multiple documents, such as complaints, motions, or petitions, need to be submitted all at once. Using this letter can help ensure compliance with filing requirements and help the clerk process your submissions effectively.
Who this form is for
This form is intended for:
- Individuals or parties representing themselves in legal matters.
- Attorneys submitting documents on behalf of clients.
- Anyone needing to file legal pleadings with a chancery clerk.
Instructions for completing this form
- Identify the documents you are enclosing and check the appropriate boxes in the checklist.
- Include a self-addressed envelope if you require a return of filed documents.
- Provide your name and contact details in the signature section for the clerk's reference.
- Review all entries to ensure accuracy and completeness.
- Sign and date the letter before submission.
Is notarization required?
Notarization is generally not required for this form. However, certain states or situations might demand it. You can complete notarization online through US Legal Forms, powered by Notarize, using a verified video call available anytime.
Get your form ready online
Our built-in tools help you complete, sign, share, and store your documents in one place.
Make edits, fill in missing information, and update formatting in US Legal Forms—just like you would in MS Word.
Download a copy, print it, send it by email, or mail it via USPS—whatever works best for your next step.
Sign and collect signatures with our SignNow integration. Send to multiple recipients, set reminders, and more. Go Premium to unlock E-Sign.
If this form requires notarization, complete it online through a secure video call—no need to meet a notary in person or wait for an appointment.
We protect your documents and personal data by following strict security and privacy standards.
Make edits, fill in missing information, and update formatting in US Legal Forms—just like you would in MS Word.
Download a copy, print it, send it by email, or mail it via USPS—whatever works best for your next step.
Sign and collect signatures with our SignNow integration. Send to multiple recipients, set reminders, and more. Go Premium to unlock E-Sign.

If this form requires notarization, complete it online through a secure video call—no need to meet a notary in person or wait for an appointment.
We protect your documents and personal data by following strict security and privacy standards.
Avoid these common issues
- Failing to include all required documents.
- Not checking off items on the checklist.
- Omitting the signature or contact information.
- Submitting without a self-addressed envelope when needed.
Advantages of online completion
- Instant download allows for immediate access.
- Editable format to customize your information easily.
- Drafted by licensed attorneys to ensure compliance with legal standards.
- Convenience of completing the form at your own pace.
Looking for another form?

Form popularity
FAQ
Sign into your Office 365 account and select Forms. Select New Form and create a title for your checklist. Select Add New and Choice: Select Add New and continue this process until your checklist is complete. Select Submit and the checklist will be saved and available on the Forms welcome page.
A simple checklist template is any kind of process or list of tasks arranged in the form of a checklist; in other words, it's a to-do list where the order of tasks is usually important.
Go to the File menu and click on Options to open the additional window called Word Options. Click on the Customize Ribbon. In the right drop-down menu check if the Customize the Ribbon is selected. Find the Developer checkbox and click on the + button.
Open up a new Word document and type your list of items. Select the entire list and create a bulleted list by going to Home Paragraph Bullets Define New Bullet. Click on Symbol and then browse through to use a font like Wingdings. Print the checklist.
The definition of a checklist is a list of things that can be checked off as completed or noted. An example of a checklist is when you have ten things to do for work and you make a list of all of them and you check them off as you accomplish each of them. noun. 4.
Step 1) Define the checklists goal. Why do you want to make a checklist? Step 2) Decide whether your checklist is READ-DO or DO-CONFIRM. Step 3) Design with the expert in mind. Step 4) Keep it short. Step 5) Test & iterate.
Give a name to your checklist. The name of the checklist represents the purpose and use of creating it. Date / Date range. Add tasks in your checklist. Continue repeating for every task.
Place your cursor at the spot where you want to insert the symbol. Go to Insert > Symbol. Select a checkmark symbol to insert or do the following. Select More Symbols. Scroll up or down to find the checkmark you want to insert. Double-click the symbol to insert it into your document. Select Close.
Word for the web supports only the on-paper form of checklist. Write your list, and then select it. On the Home tab, choose the down-arrow next to the Bullets list to open the bullet library, and then choose the checkbox symbol.