Job Expense Record
What is this form?
The Job Expense Record is a business form designed to help you systematically track and record expenses related to specific jobs or projects. This form is formatted for easy completion using software like Adobe Acrobat or Word. Unlike other expense logs, it offers detailed sections for materials, labor, and miscellaneous expenses to provide a comprehensive overview of job-related costs, making it an essential tool for contractors, freelancers, and small business owners who need to manage their project finances effectively.
Form components explained
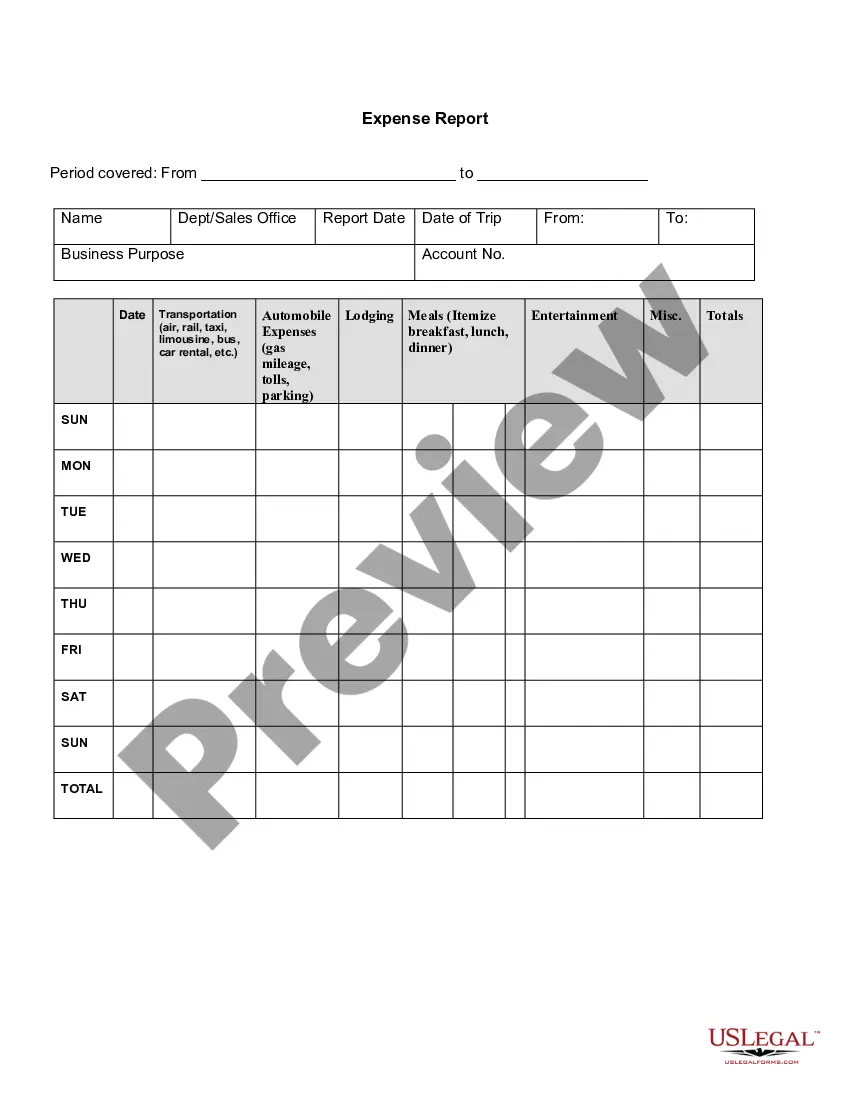
- Date: The date when the expenses were incurred.
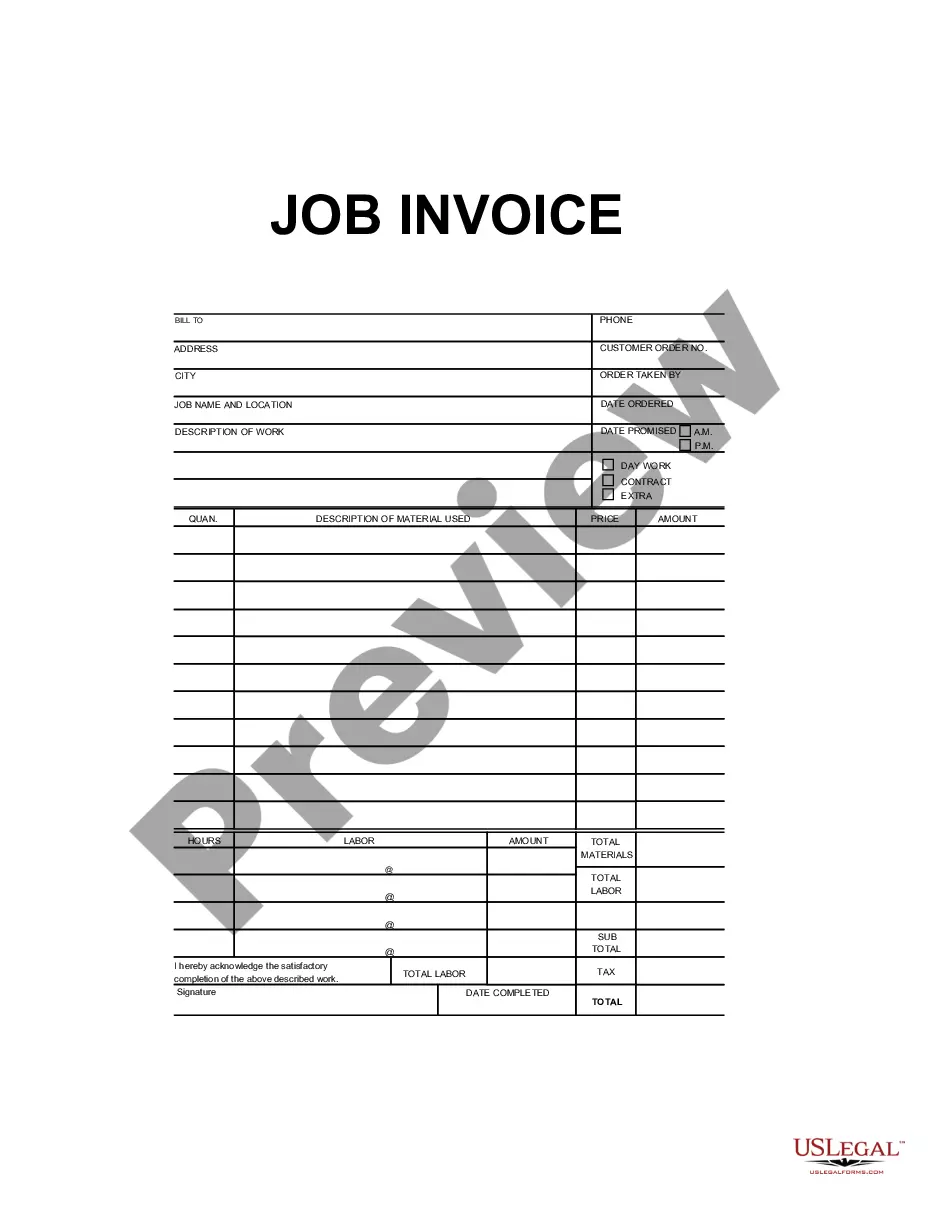
- Job number: A unique identifier for each job or project.
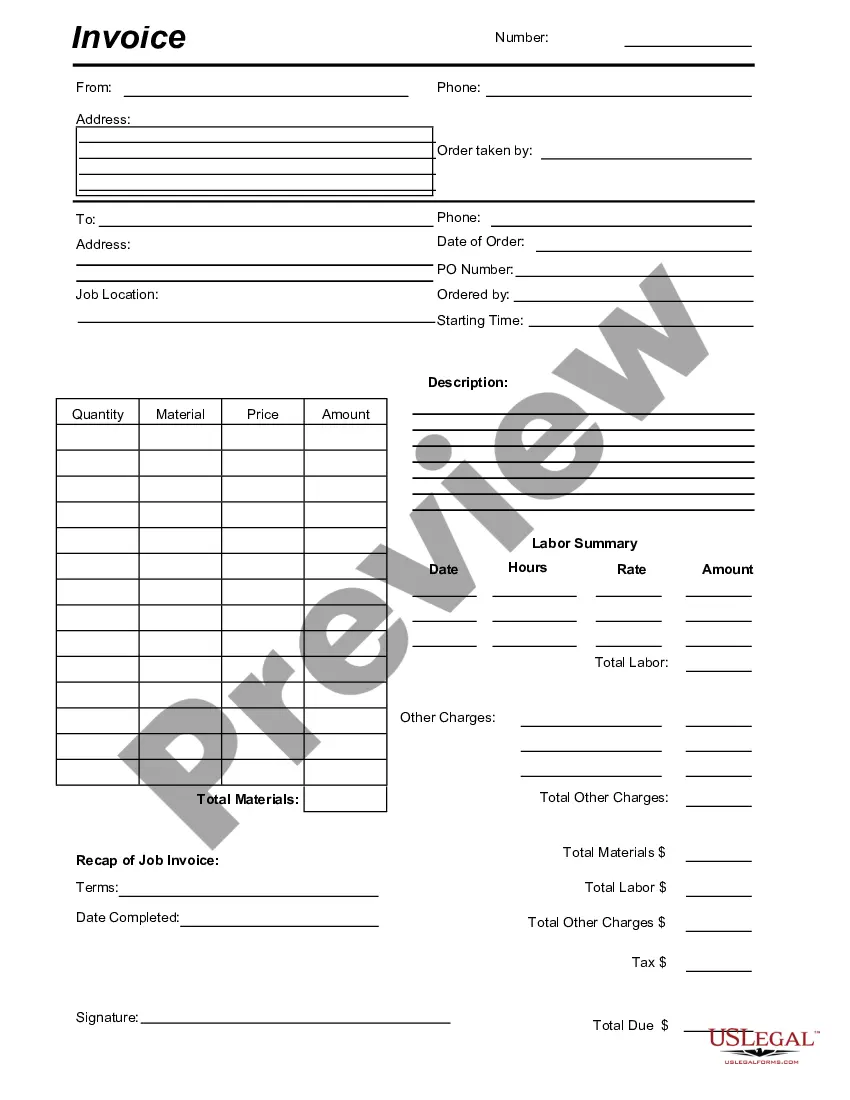
- Client information: Includes the client's name and phone number for contact purposes.
- Job description: A brief overview of the work completed.
- Material section: Details for each material used, including net cost and total cost.
- Labor section: Information regarding the labor involved, including hours worked and costs.
- Miscellaneous: Any other relevant expenses that do not fall under materials or labor.
- Grand total: An overall summary of all expenses for the job.
Situations where this form applies
You should use the Job Expense Record when you need to document and manage expenses for specific projects. This is particularly useful for contractors managing multiple jobs, freelancers tracking project-related costs, or small business owners who want to maintain an accurate accounting of expenditures. By using this form, you can ensure that all costs are recorded systematically, aiding in budgeting and financial reporting.
Intended users of this form
This form is intended for:
- Contractors managing job-specific expenses.
- Freelancers who bill clients based on project costs.
- Small business owners tracking finances for individual projects.
- Employees responsible for reporting job-related expenses to their employer.
Instructions for completing this form
- Enter the date of the expense at the top of the form.
- Fill in the job number and clientâs information.
- Provide a brief job description for clarity.
- Record details of materials, including item names and costs, in the materials section.
- Document labor hours and rates for workers in the labor section.
- List any miscellaneous expenses and calculate total costs for materials, labor, and miscellaneous items at the end of the form.
Does this document require notarization?
This form does not typically require notarization unless specified by local law.
Get your form ready online
Our built-in tools help you complete, sign, share, and store your documents in one place.
Make edits, fill in missing information, and update formatting in US Legal Forms—just like you would in MS Word.
Download a copy, print it, send it by email, or mail it via USPS—whatever works best for your next step.
Sign and collect signatures with our SignNow integration. Send to multiple recipients, set reminders, and more. Go Premium to unlock E-Sign.
If this form requires notarization, complete it online through a secure video call—no need to meet a notary in person or wait for an appointment.
We protect your documents and personal data by following strict security and privacy standards.

Make edits, fill in missing information, and update formatting in US Legal Forms—just like you would in MS Word.

Download a copy, print it, send it by email, or mail it via USPS—whatever works best for your next step.

Sign and collect signatures with our SignNow integration. Send to multiple recipients, set reminders, and more. Go Premium to unlock E-Sign.

If this form requires notarization, complete it online through a secure video call—no need to meet a notary in person or wait for an appointment.

We protect your documents and personal data by following strict security and privacy standards.
Mistakes to watch out for
- Forgetting to record all materials used, leading to an incomplete expense report.
- Not including all labor hours which can underreport costs.
- Missing out on filling in the job description, making it hard to track specific expenses later.
- Calculating totals incorrectly, which can affect financial reports.
Benefits of using this form online
- Convenient access: Download and fill out the form at any time.
- Editability: Easily modify entries as needed to ensure accuracy.
- Structured format: Fields are designed for clear and organized data entry.
- Secure storage: Keep your records safe and accessible in a digital format.
Summary of main points
- The Job Expense Record is essential for tracking project-related costs.
- It allows for organized documentation of materials, labor, and miscellaneous expenses.
- Using this form helps maintain accurate budgeting and financial reporting.
Looking for another form?

Form popularity
FAQ
Step 1: Set up a Customer:Job for each of your job. Step 2: Assign all your expenses to jobs. Step 3: Enter your estimates in QuickBooks Desktop. Step 4: Create appropriate invoices. Step 5: Run job costing reports to see how your business is doing on a job-by-job basis.
Reports menu > Jobs, Time & Mileage reports. Run Job Profitability Detail for one job. Run Job Profitability Summary, to see all jobs summarized.
Go to the Lists menu, then select Chart of Accounts. From the Account 25bcdrop-down, select New. Select Expense as the account type. Press on Continue. Complete the account details. Select Save & Close.
To track expenses by customer, you'll first need to adjust your expense tracking preferences in the Company Settings. Click the Company Name and/or Gear Icon in the top right hand corner of your QuickBooks Online Screen, then click Company Settings. Don't forget to hit the Save button as you make your changes.
Select Lists, then Payroll Item List. Right-click the Payroll Item, then select Edit Payroll Item. Select Track Expenses by Job. (It's important to follow the above steps to set up job costing preferences. Select Next until you can select Finish. Repeat for each payroll item that you want to track.
Step 1: Track Expenses by Customer. Step 2: Update Setting On Your Customer List. Step 3: Adjust Settings on Products & Services. Step 4: Submit Estimates and Invoices.
Go to the Lists menu, and select Chart of Accounts. Click the Account button, and then select New. Select Other Current Asset for the account type. Click Continue. For the Account Name, you can put Work in Progress.
In QuickBooks Online (QBO), the Project feature works like Job Costing in QuickBooks Desktop.Yes, you can create a dummy customer for tracking projects. QBO will allow you to do this. On the other hand, you can also use the Class tracking feature to help track income, expenses, or profitability by business segment.