Information Insurance Release With Debug
Description
Get your form ready online
Our built-in tools help you complete, sign, share, and store your documents in one place.
Make edits, fill in missing information, and update formatting in US Legal Forms—just like you would in MS Word.
Download a copy, print it, send it by email, or mail it via USPS—whatever works best for your next step.
Sign and collect signatures with our SignNow integration. Send to multiple recipients, set reminders, and more. Go Premium to unlock E-Sign.
If this form requires notarization, complete it online through a secure video call—no need to meet a notary in person or wait for an appointment.
We protect your documents and personal data by following strict security and privacy standards.

Make edits, fill in missing information, and update formatting in US Legal Forms—just like you would in MS Word.

Download a copy, print it, send it by email, or mail it via USPS—whatever works best for your next step.

Sign and collect signatures with our SignNow integration. Send to multiple recipients, set reminders, and more. Go Premium to unlock E-Sign.

If this form requires notarization, complete it online through a secure video call—no need to meet a notary in person or wait for an appointment.

We protect your documents and personal data by following strict security and privacy standards.
Looking for another form?

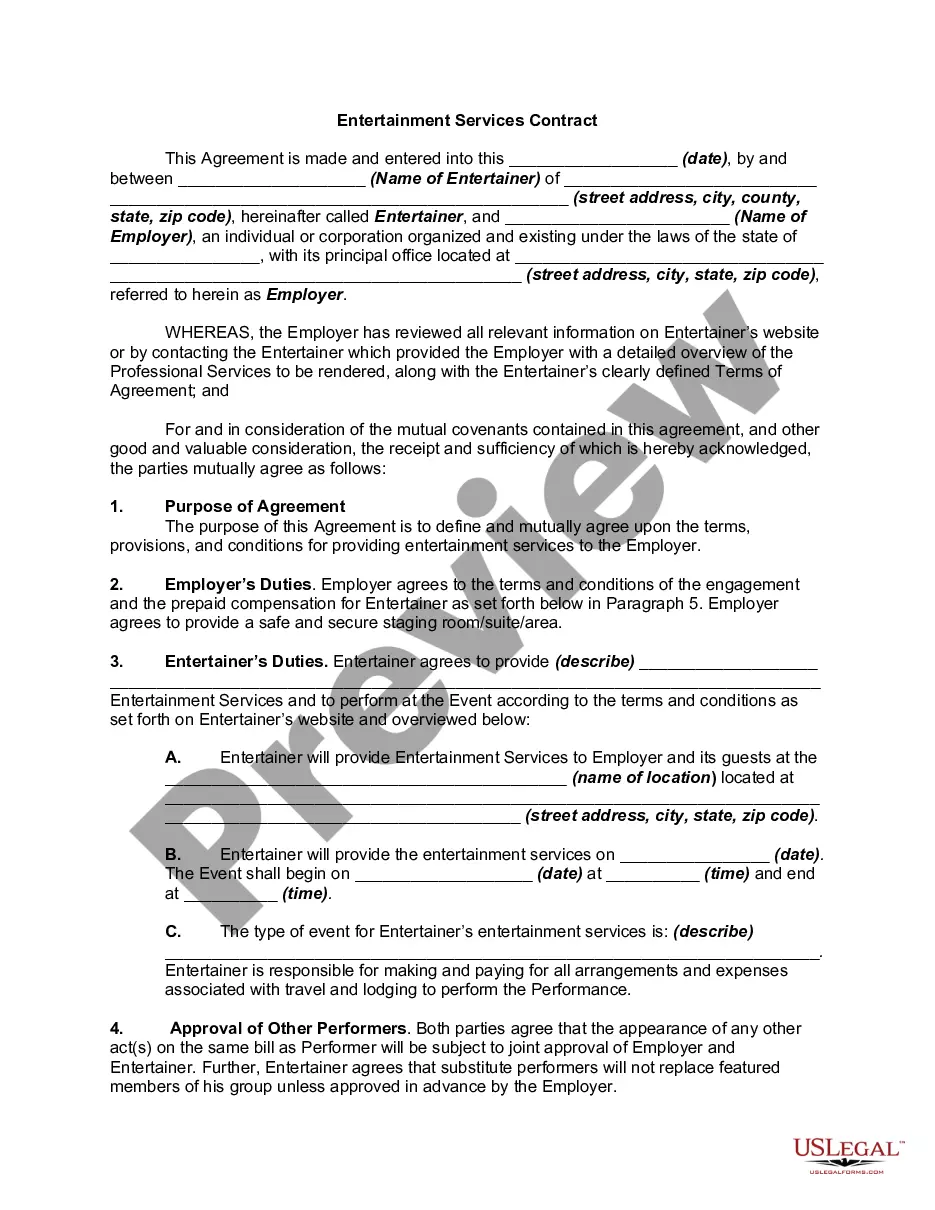

How to fill out Authorization For Release Of Insurance Information With Regard To Pending Litigation?
Individuals frequently link legal documentation with something intricate that only an expert can handle.
In a particular sense, it's accurate, as drafting Information Insurance Release With Debug requires substantial knowledge of subject requirements, including state and local laws.
However, with US Legal Forms, processes have become more straightforward: ready-to-use legal templates for any personal and business circumstance specific to state regulations are assembled in a single online repository and are now accessible to all.
All templates in our catalog are reusable: once purchased, they remain stored in your profile. You can access them whenever needed through the My documents tab. Explore all the advantages of utilizing the US Legal Forms platform. Subscribe today!
- US Legal Forms offers over 85k current forms categorized by state and purpose, allowing users to search for Information Insurance Release With Debug or other specific templates in just minutes.
- Existing users with an active subscription must Log In to their account and click Download to obtain the form.
- New users must first establish an account and subscribe before downloading any documentation.
- Here are the step-by-step instructions on how to obtain the Information Insurance Release With Debug.
- Examine the page content carefully to verify that it meets your needs.
- Review the form description or check it using the Preview option.
- Search for another sample via the Search field above if the prior one doesn't meet your criteria.
- Click Buy Now once you locate the appropriate Information Insurance Release With Debug.
- Select a subscription plan that aligns with your requirements and financial plan.
- Create an account or Log In to proceed to the payment page.
- Complete your subscription payment via PayPal or with your credit card.
- Choose the format for your sample and click Download.
- Print your document or import it into an online editor for a quicker fill-out.
Form popularity
FAQ
2 AnswersClick the C/C++ node. Set Debug Information Format to C7 compatible (/Z7) or Program Database (/Zi).Expand Linker and click the General node. Set Enable Incremental Linking to No (/INCREMENTAL:NO).Select the Debugging node. Set Generate Debug Info to Yes (/DEBUG).Select the Optimization node.
Debug mode and Release mode are different configurations for building your . Net project. Programmers generally use the Debug mode for debugging step by step their . Net project and select the Release mode for the final build of Assembly file (.
You can change the Advanced Build Settings in Visual Studio for Release build configuration. Open project Properties, open Build tab. Press "Advanced..." button on bottom and change Debug info to "none".
Debug Mode: When we are developing the application. Release Mode: When we are going to production mode or deploying the application to the server. Debug Mode: The debug mode code is not optimized.