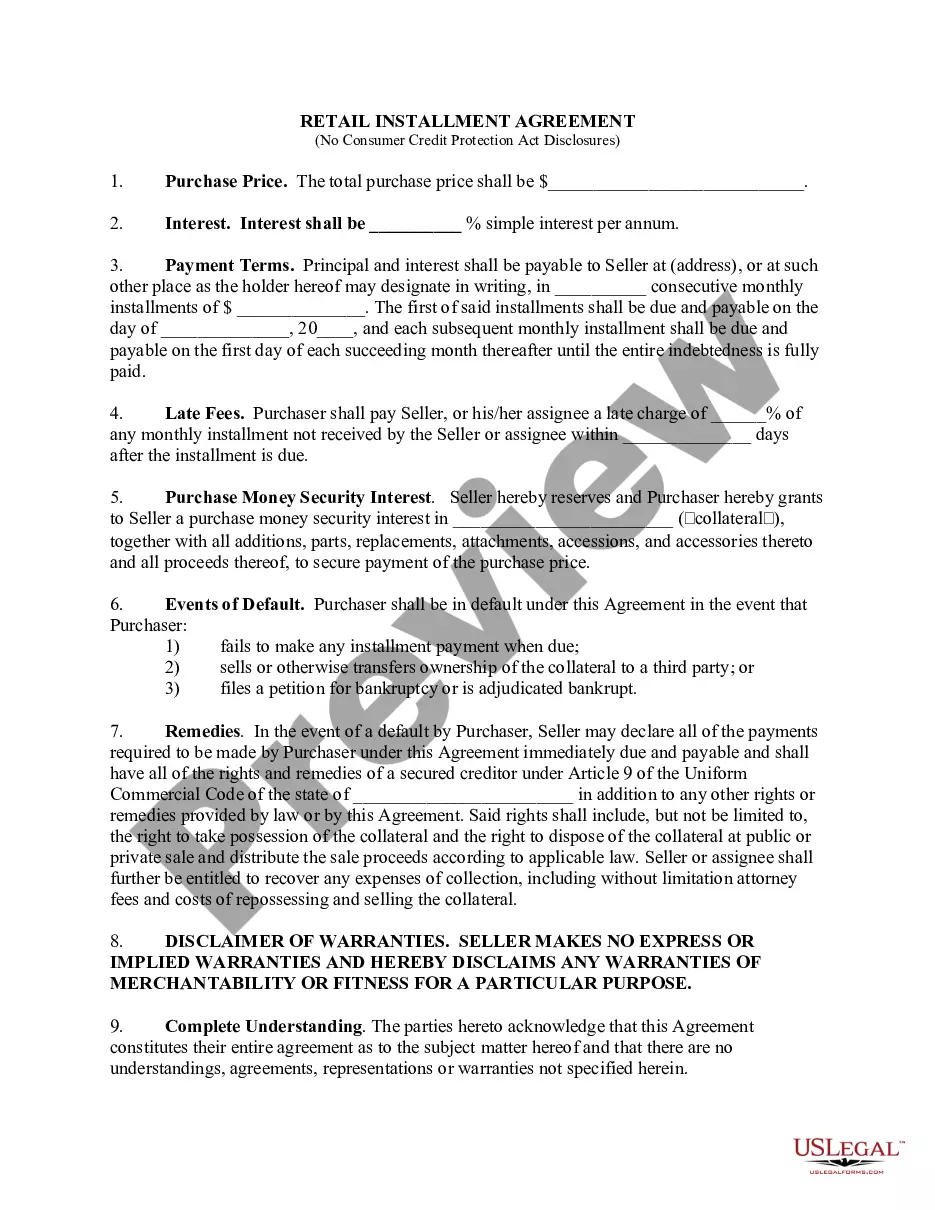
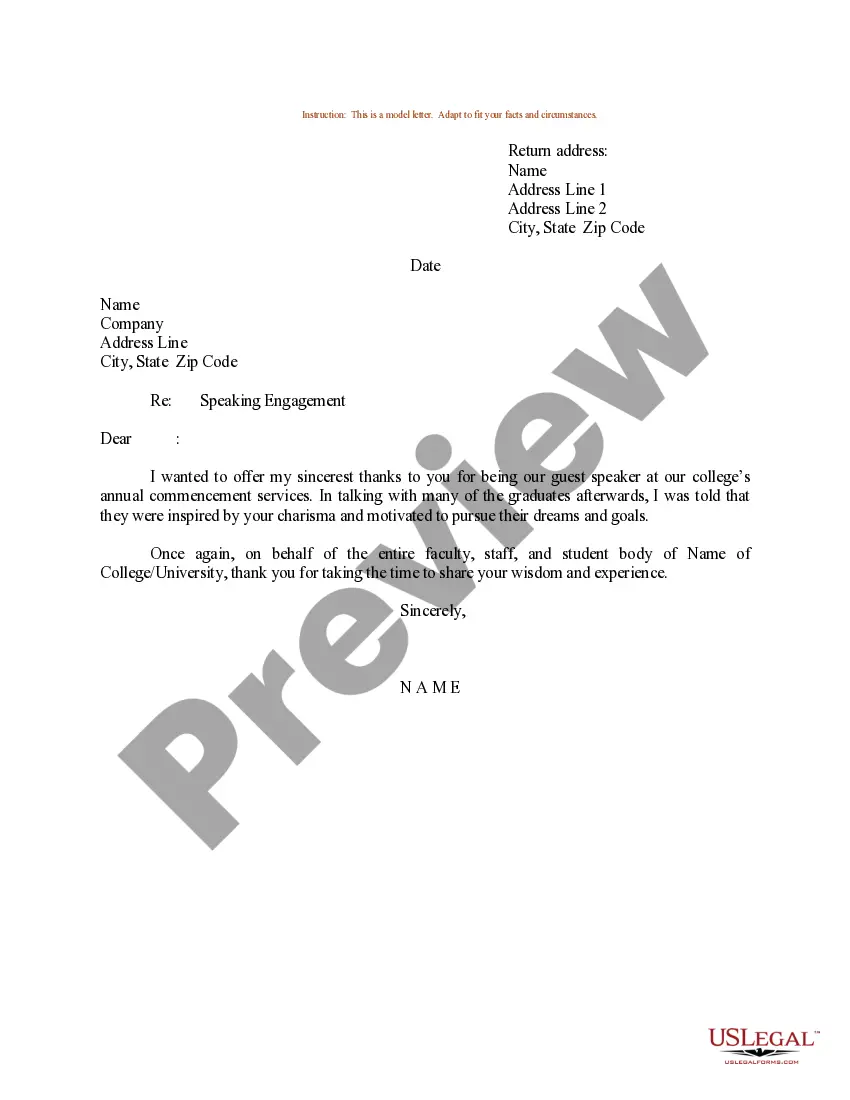
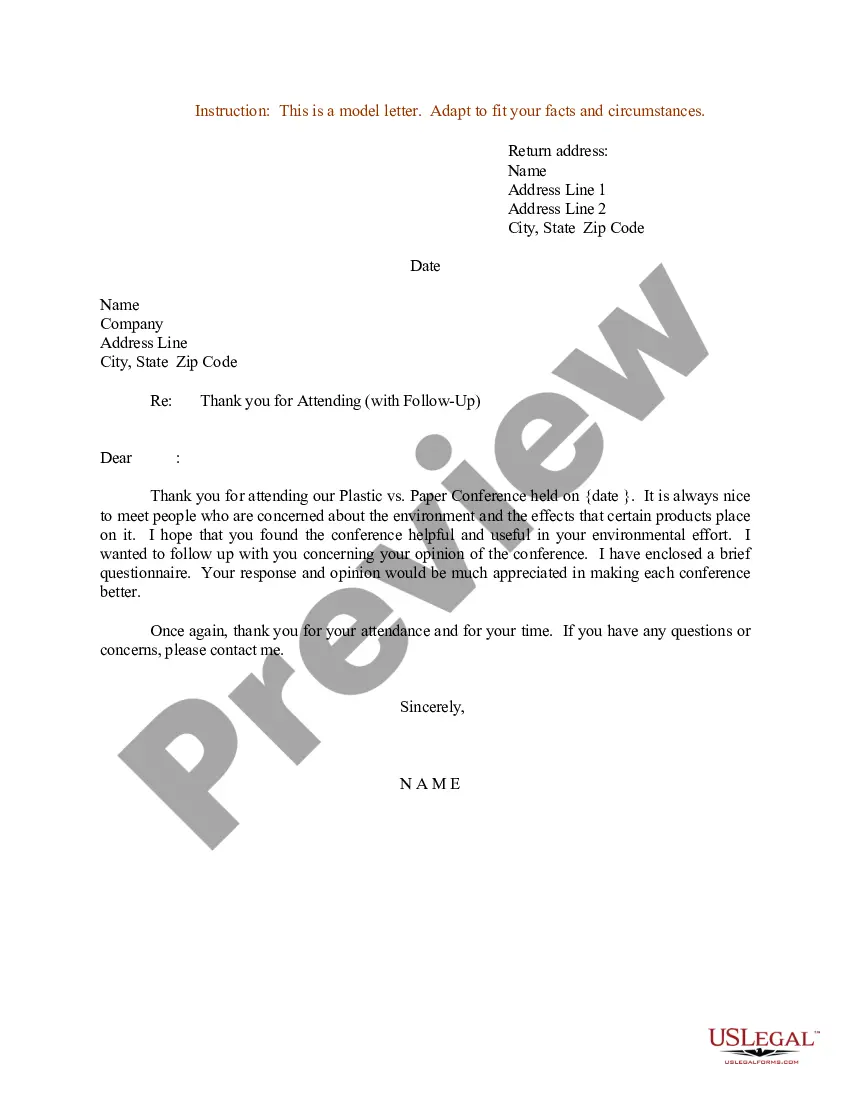
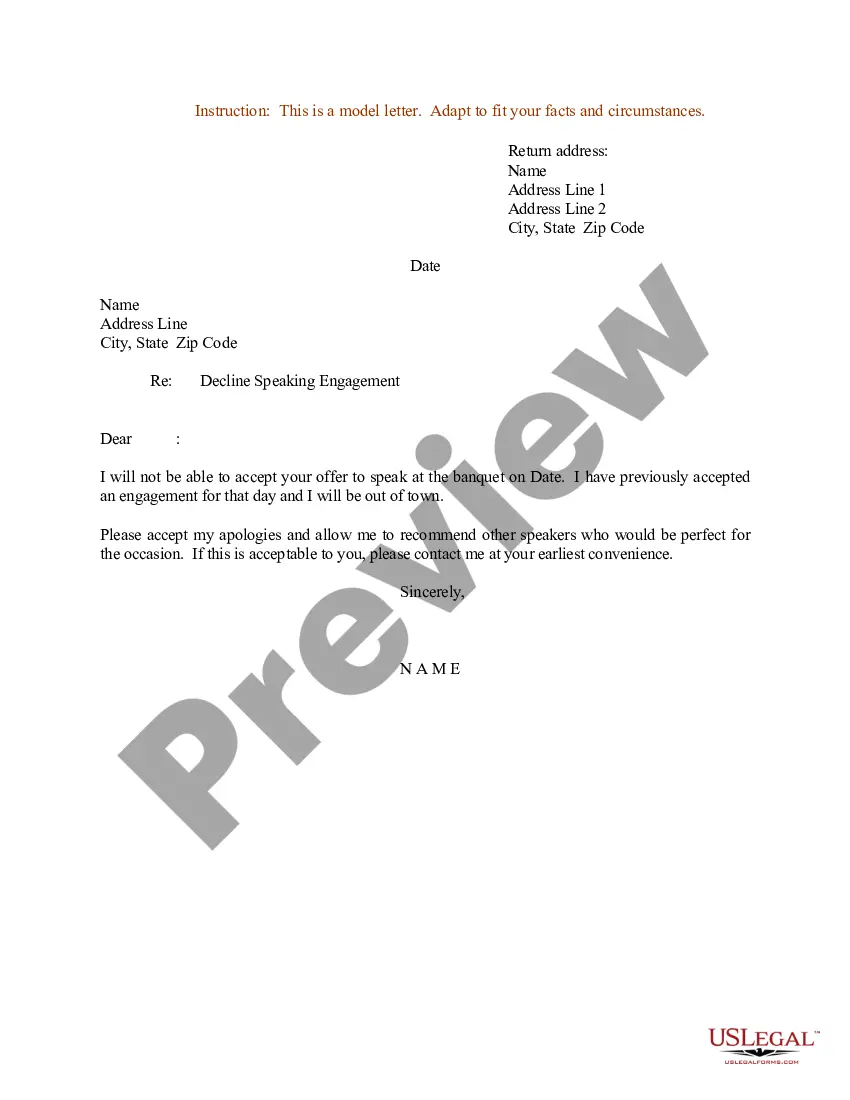
Sample Invoice For Speaking Engagement In Georgia
Description
Get your form ready online
Our built-in tools help you complete, sign, share, and store your documents in one place.
Make edits, fill in missing information, and update formatting in US Legal Forms—just like you would in MS Word.
Download a copy, print it, send it by email, or mail it via USPS—whatever works best for your next step.
Sign and collect signatures with our SignNow integration. Send to multiple recipients, set reminders, and more. Go Premium to unlock E-Sign.
If this form requires notarization, complete it online through a secure video call—no need to meet a notary in person or wait for an appointment.
We protect your documents and personal data by following strict security and privacy standards.
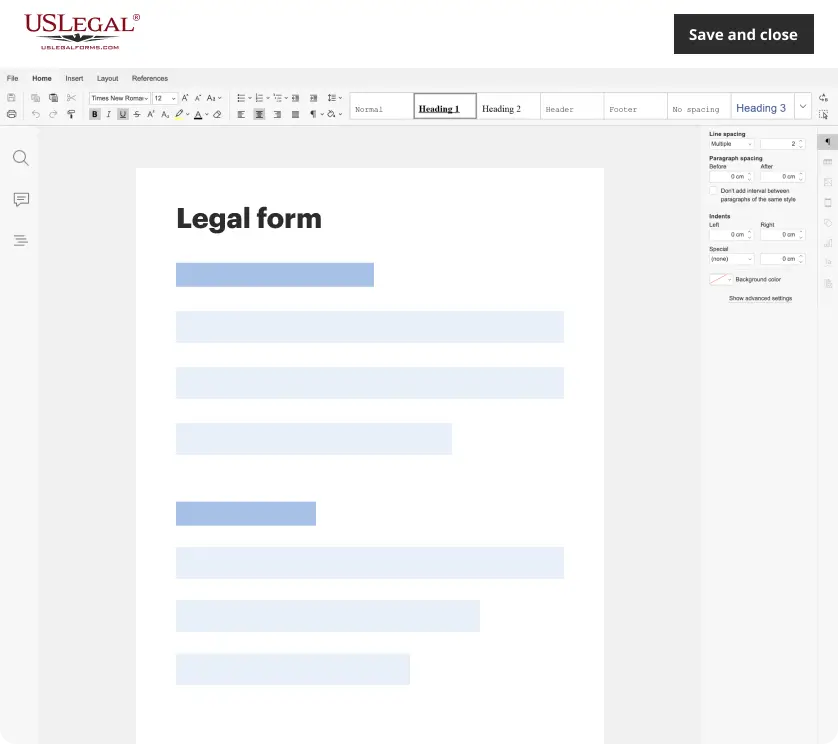
Make edits, fill in missing information, and update formatting in US Legal Forms—just like you would in MS Word.
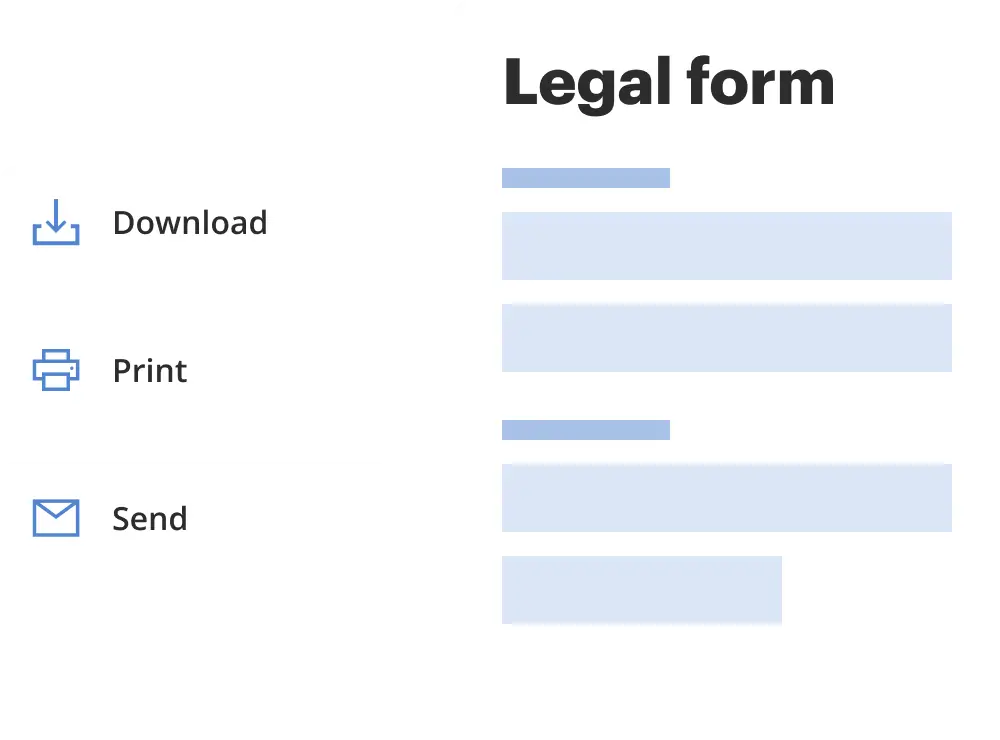
Download a copy, print it, send it by email, or mail it via USPS—whatever works best for your next step.
Sign and collect signatures with our SignNow integration. Send to multiple recipients, set reminders, and more. Go Premium to unlock E-Sign.
If this form requires notarization, complete it online through a secure video call—no need to meet a notary in person or wait for an appointment.
We protect your documents and personal data by following strict security and privacy standards.
Looking for another form?
Form popularity
FAQ
To complete a social media invoice template, include your business details and client's information. Itemize each service provided such as content creation, ads management, or consulting, with prices per service or hourly rates. Summarize the total, apply any taxes or discounts, and provide a grand total.
Hi Recipient name, I hope you're well. Please see attached invoice number invoice number for product/service name, due on invoice due date. Don't hesitate to reach out if you have any questions.
Set up formatting. The first step in making any invoice is to set up how it will look. Add your business information. Enter your client's information. Add an invoice number and date. Specify a payment due date. List products and services provided (line items) ... Calculate the total amount due. Outline your terms and conditions.
How to make and send invoices Start with choosing an invoice template or creating your own from scratch. Customize and bring your brand to life with images, logos, and elements. Add billing details and share with clients via a secure link or download as a print-ready PDF.
Set up formatting. The first step in making any invoice is to set up how it will look. Add your business information. Enter your client's information. Add an invoice number and date. Specify a payment due date. List products and services provided (line items) ... Calculate the total amount due. Outline your terms and conditions.
Navigate to the client's Billing page. Select New > Invoice. Click Create Blank Invoice.
A therapy invoice should include the following sections and items: Your contact and business information, including website, logo, and other branding. Your client's contact information. Unique invoice number. Invoice issue date and payment due date. Details about the type of therapy and sessions.
If you've completed the work and they're asking for an invoice, you really just need your details, theirs, invoice date, the name of the project/work done, the amount and your account details. Some organisations also want an invoice reference (which can be anything). You might also add payment terms eg.
Start with the basics: your name, address, and contact details, followed by the client's information. Then, describe the services rendered, including dates, venue, and other relevant details. Specify the total amount due, including taxes if applicable, and the due date for payment.