Letter Acknowledgment Receipt Sample For Services In Dallas
Description

Get your form ready online
Our built-in tools help you complete, sign, share, and store your documents in one place.
Make edits, fill in missing information, and update formatting in US Legal Forms—just like you would in MS Word.
Download a copy, print it, send it by email, or mail it via USPS—whatever works best for your next step.
Sign and collect signatures with our SignNow integration. Send to multiple recipients, set reminders, and more. Go Premium to unlock E-Sign.
If this form requires notarization, complete it online through a secure video call—no need to meet a notary in person or wait for an appointment.
We protect your documents and personal data by following strict security and privacy standards.

Make edits, fill in missing information, and update formatting in US Legal Forms—just like you would in MS Word.

Download a copy, print it, send it by email, or mail it via USPS—whatever works best for your next step.

Sign and collect signatures with our SignNow integration. Send to multiple recipients, set reminders, and more. Go Premium to unlock E-Sign.

If this form requires notarization, complete it online through a secure video call—no need to meet a notary in person or wait for an appointment.

We protect your documents and personal data by following strict security and privacy standards.
Looking for another form?


Form popularity
FAQ
Go to e-File > Income Tax returns > View filed returns. You will see a list of your filed ITRs. Find the assessment year for which you need the acknowledgement number. Click on the 'download form' button next to the relevant assessment year.
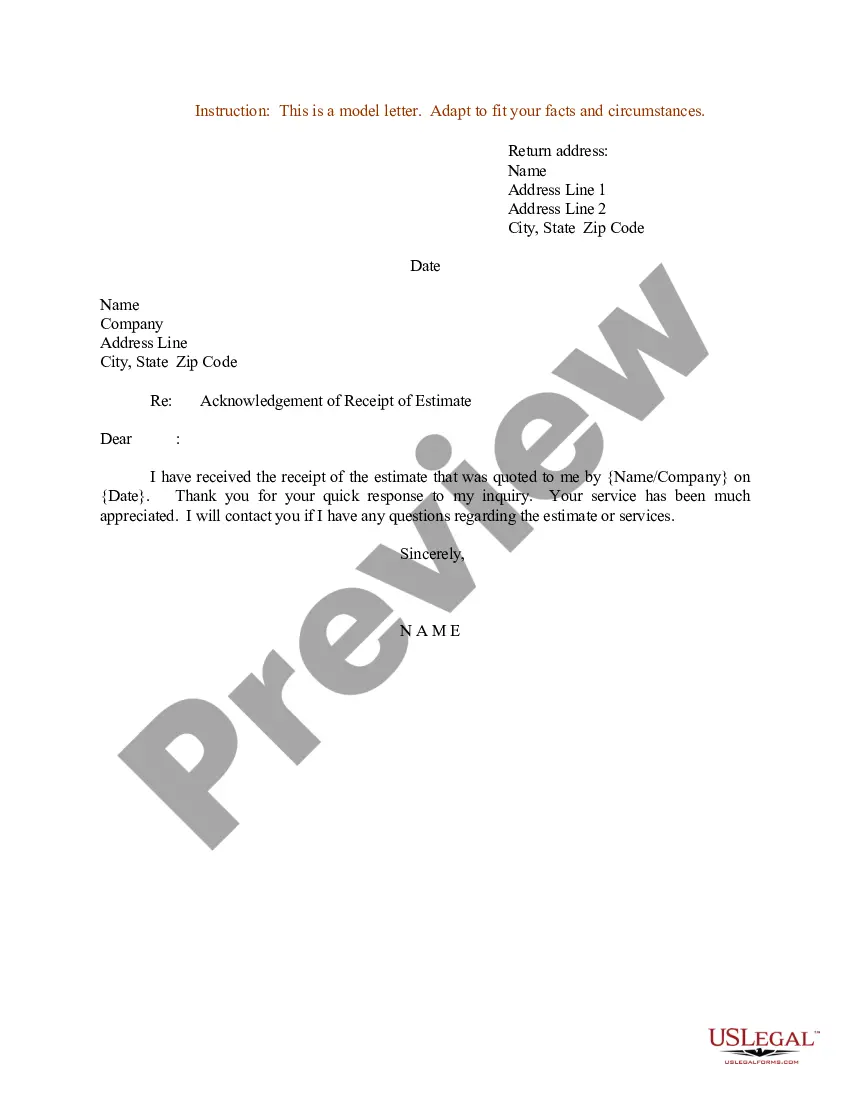
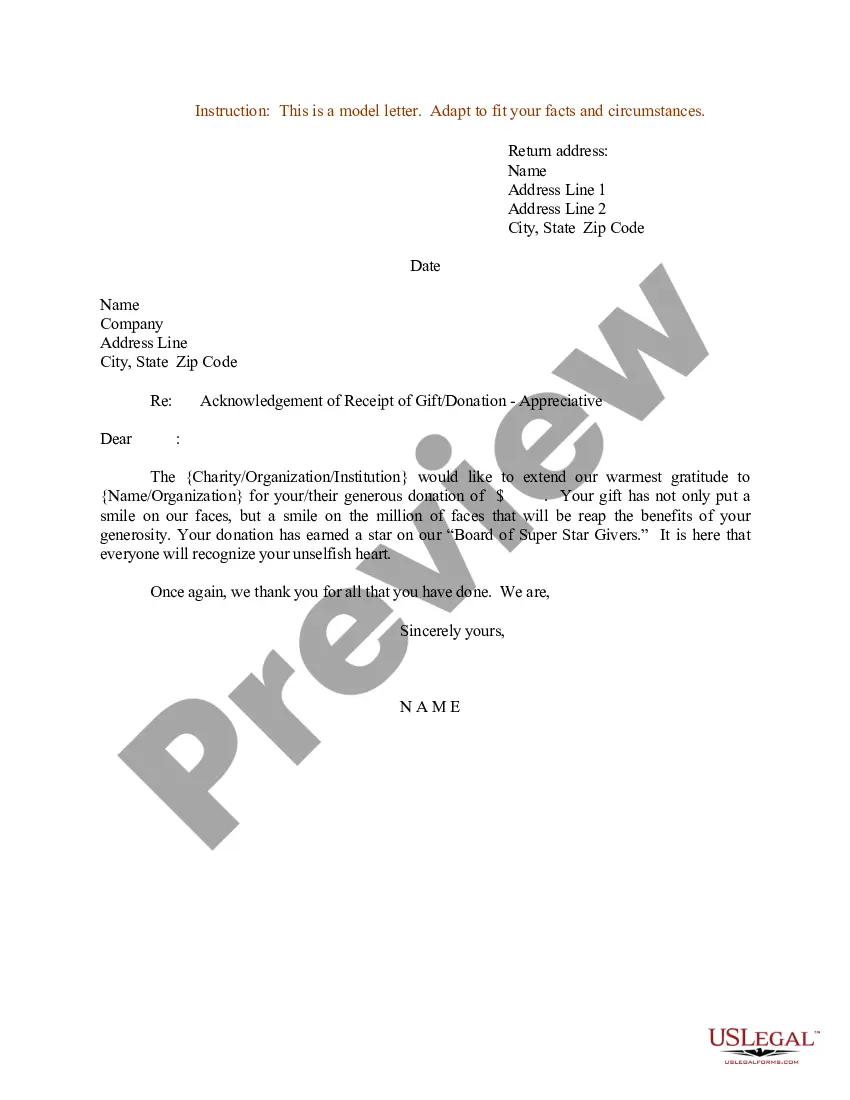
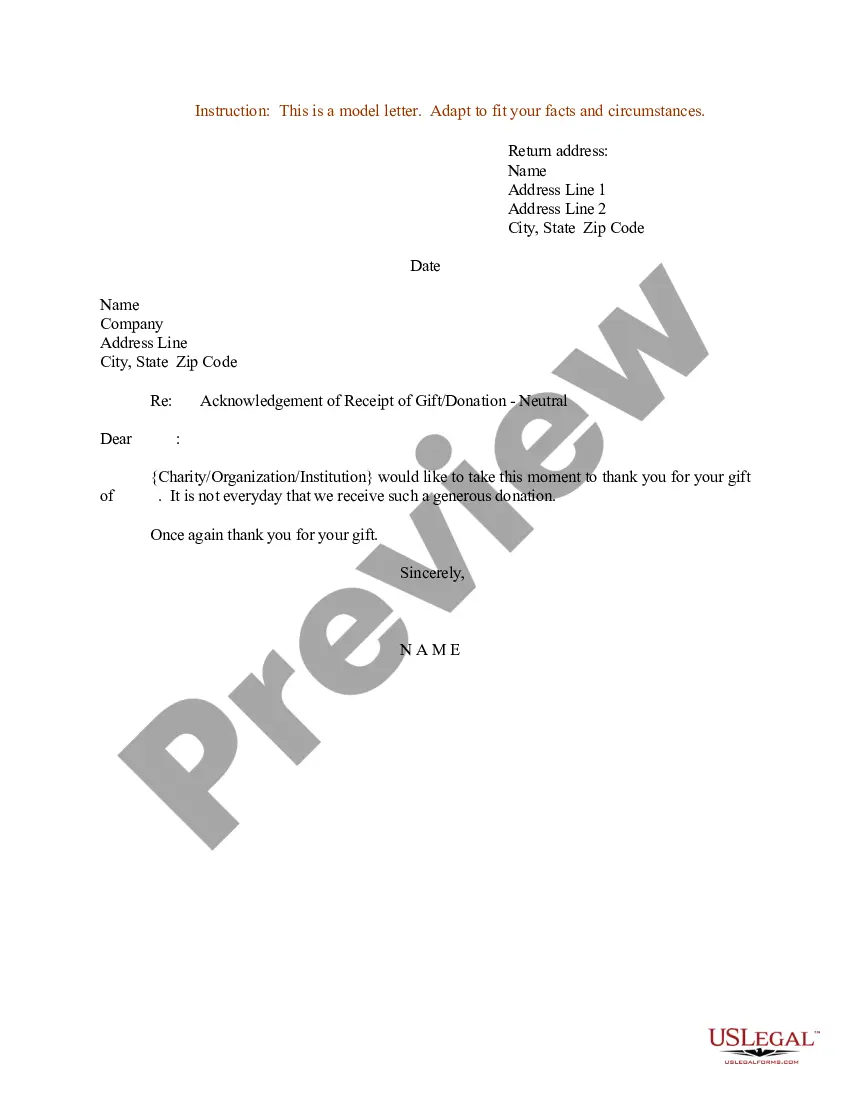
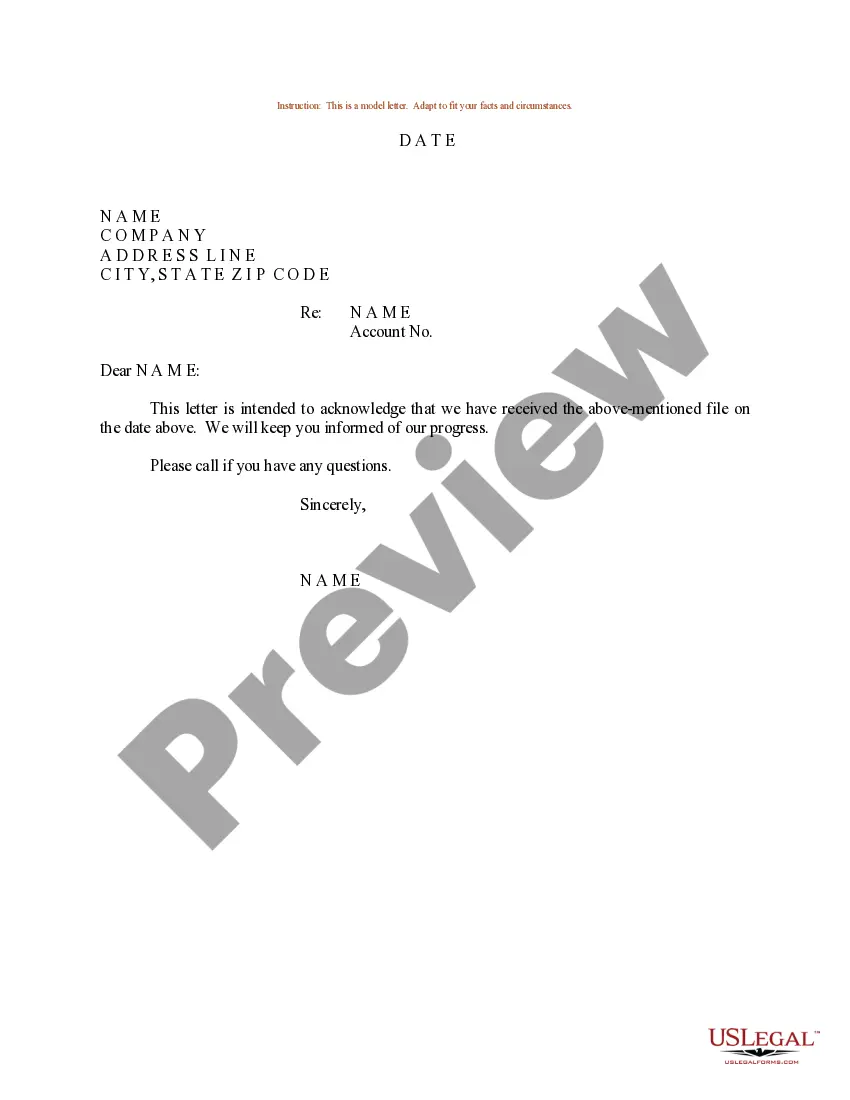
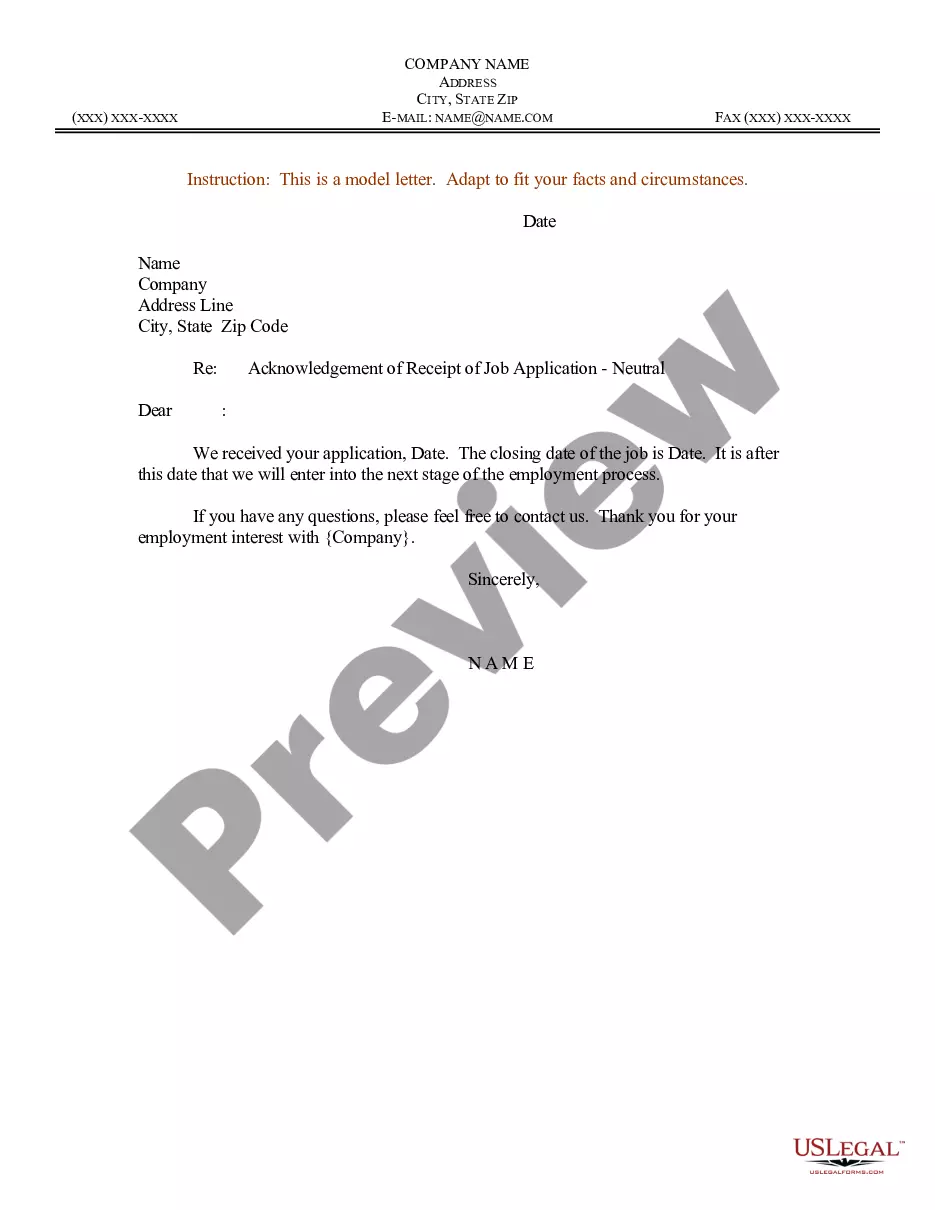
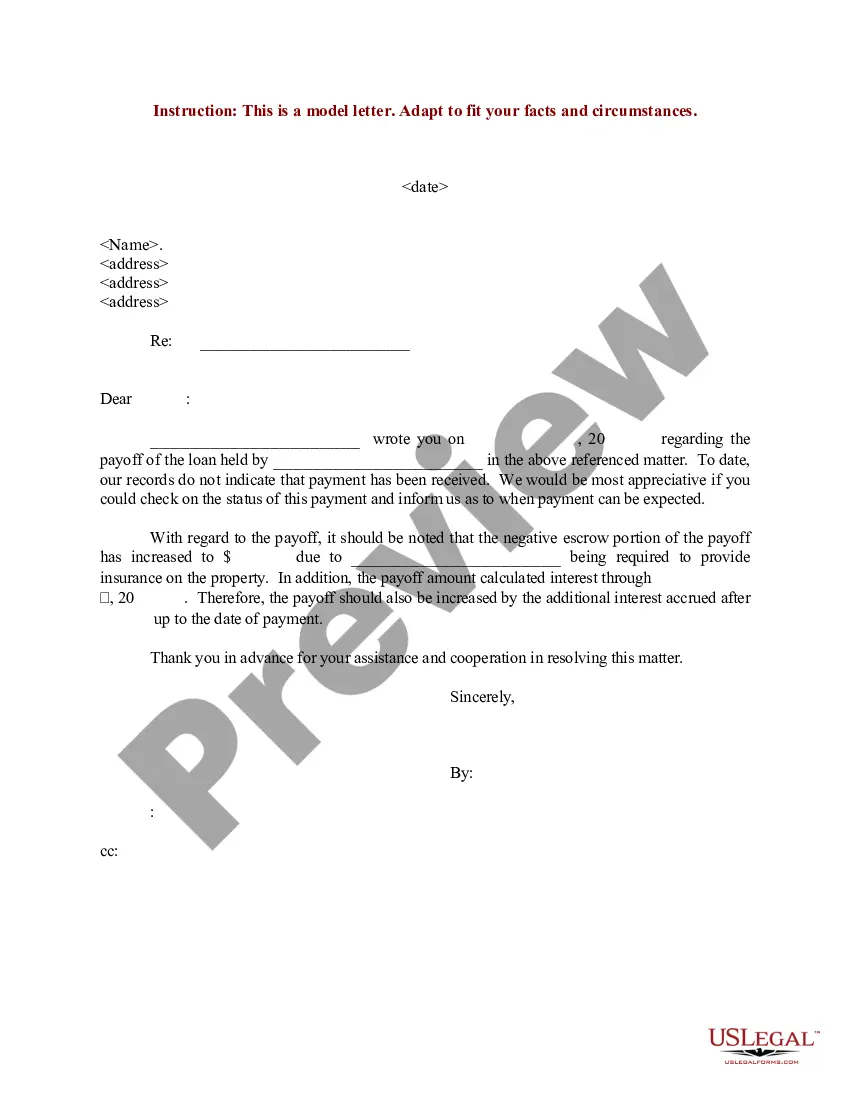
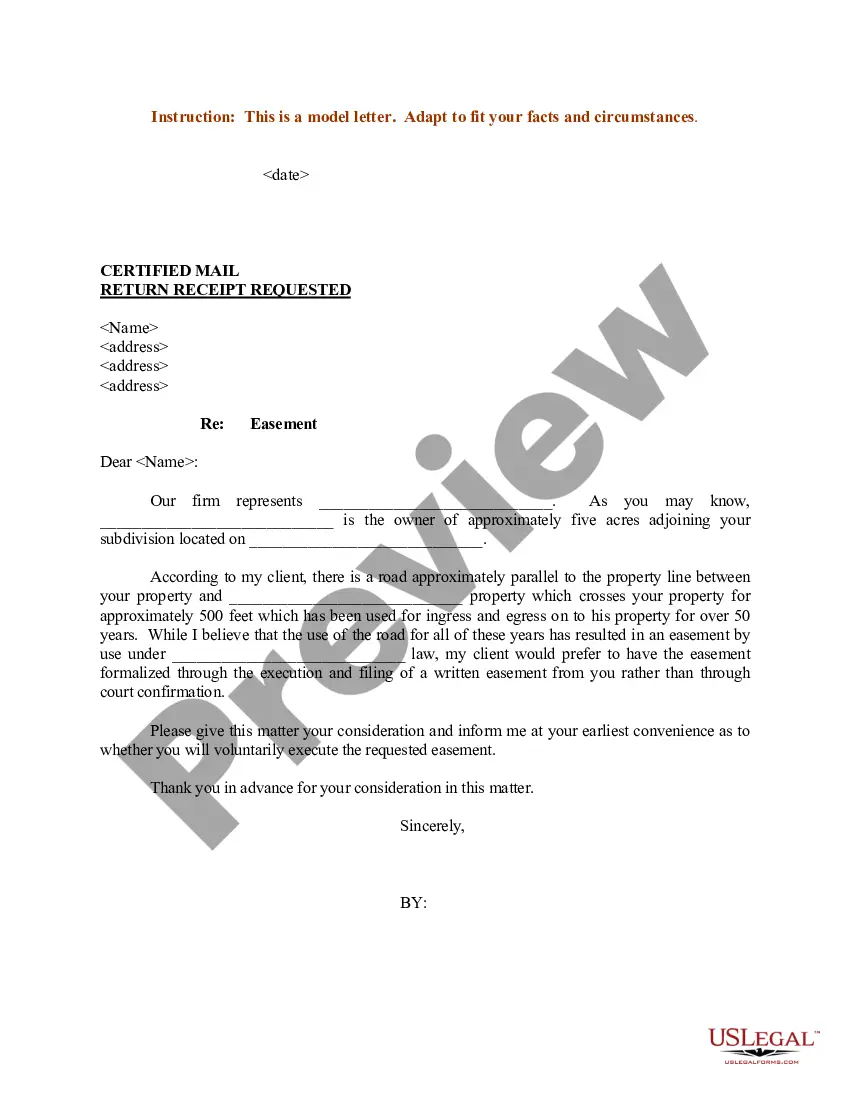
How to create an acknowledgment receipt Use a company letterhead. Use electronic or paper letterhead. Write acknowledgment statement. Referring to the document by name, version number if applicable and state that the recipient has received the document. Sign and date. Explain the next step. Provide contact information.
How do you fill out an acknowledgment letter? Date of receipt: State when the document or goods were received. Description: Provide a concise description of the received document or goods. Confirmation statement: Include a statement confirming the safe receipt of the document or goods.
I ACKNOWLEDGE that I have received a copy of the following documents: (To be completed in advance by the sender of the documents. Include sufficient particulars to identify each document). (signature of person served).
To manually check for acknowledgments: Go to the EF Center HomeBase view or the EF Clients tab in ProSeries Basic. From the E-file menu, select Electronic Filing. Select Receive Acknowledgment Statuses.
Hi Recipient's Name, Please find attached the Document Name and Description that we discussed during our previous conversation. Could you please acknowledge receipt of this email and the attached document(s), so we can ensure the safe delivery of these materials?
Consider following these steps to create an acknowledging receipt: Begin with a professional letterhead or logo. You can begin by including the letterhead or logo of your employer. Include the acknowledgment statement. Sign the document. Describe what to do next. Add your contact information. Proofread and edit.
How to create an acknowledgment receipt Use a company letterhead. Use electronic or paper letterhead. Write acknowledgment statement. Referring to the document by name, version number if applicable and state that the recipient has received the document. Sign and date. Explain the next step. Provide contact information.
For example: "I completely understand your frustration, and I appreciate your patience. I'll do my best to resolve this for you as quickly as possible." "I'm sorry to hear about your experience, and I appreciate you bringing this to our attention.
Include relevant details Start with your name and contact details. Include the date and the recipient's name and contact information. Explain the purpose of the letter. Provide the specific details of what you are acknowledging. Make a statement of appreciation. Close the letter with a polite salutation and your name.