Puerto Rico Advance Damage Release (Pipeline - From Owner)
Description
Get your form ready online
Our built-in tools help you complete, sign, share, and store your documents in one place.
Make edits, fill in missing information, and update formatting in US Legal Forms—just like you would in MS Word.
Download a copy, print it, send it by email, or mail it via USPS—whatever works best for your next step.
Sign and collect signatures with our SignNow integration. Send to multiple recipients, set reminders, and more. Go Premium to unlock E-Sign.
If this form requires notarization, complete it online through a secure video call—no need to meet a notary in person or wait for an appointment.
We protect your documents and personal data by following strict security and privacy standards.
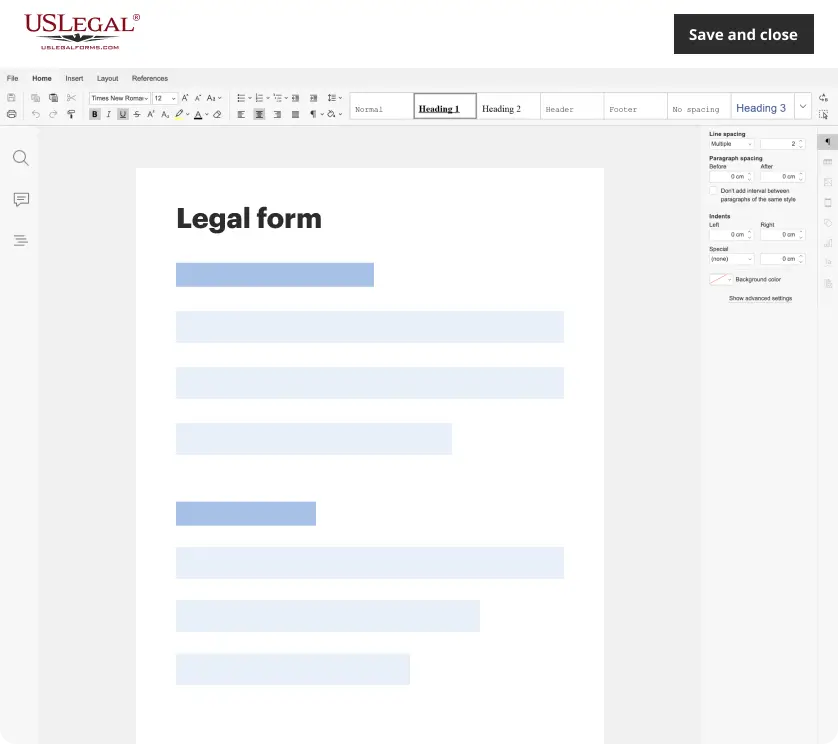
Make edits, fill in missing information, and update formatting in US Legal Forms—just like you would in MS Word.
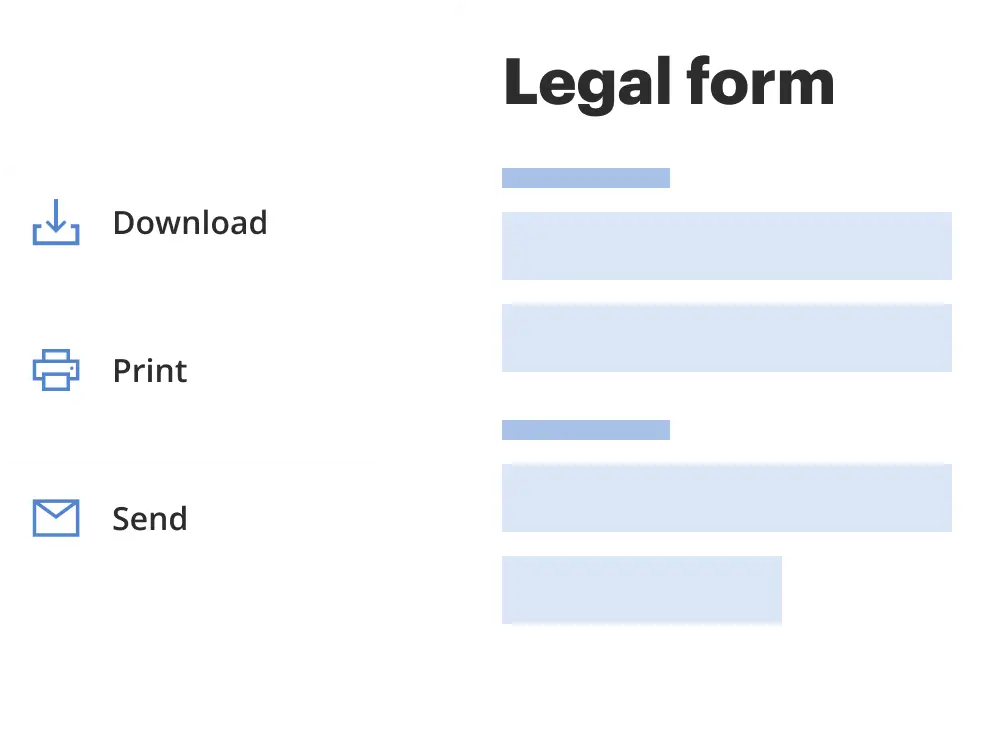
Download a copy, print it, send it by email, or mail it via USPS—whatever works best for your next step.
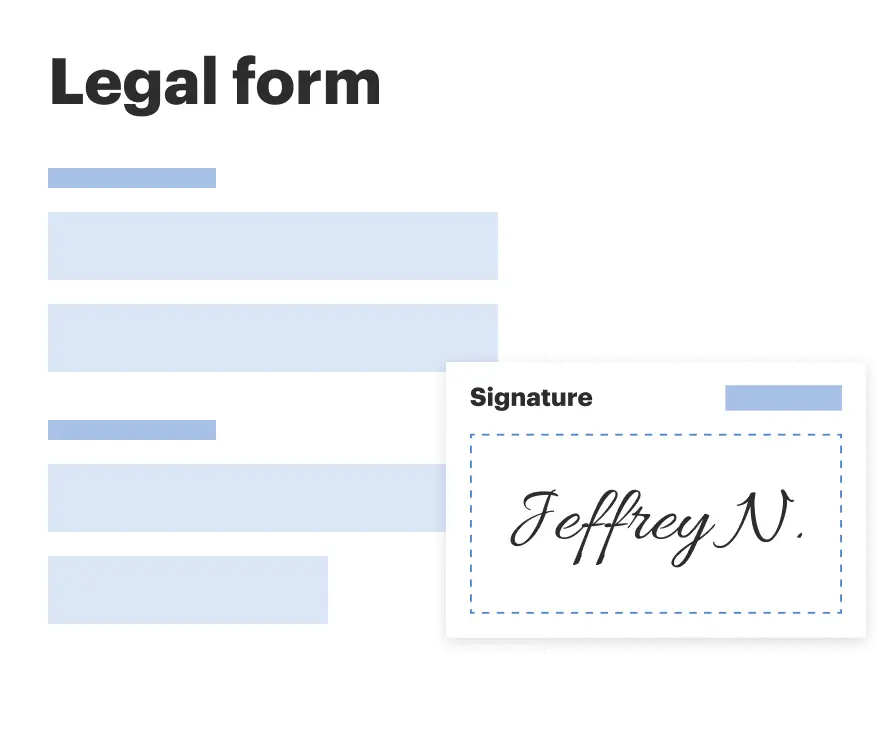
Sign and collect signatures with our SignNow integration. Send to multiple recipients, set reminders, and more. Go Premium to unlock E-Sign.

If this form requires notarization, complete it online through a secure video call—no need to meet a notary in person or wait for an appointment.
We protect your documents and personal data by following strict security and privacy standards.
Looking for another form?


How to fill out Advance Damage Release (Pipeline - From Owner)?
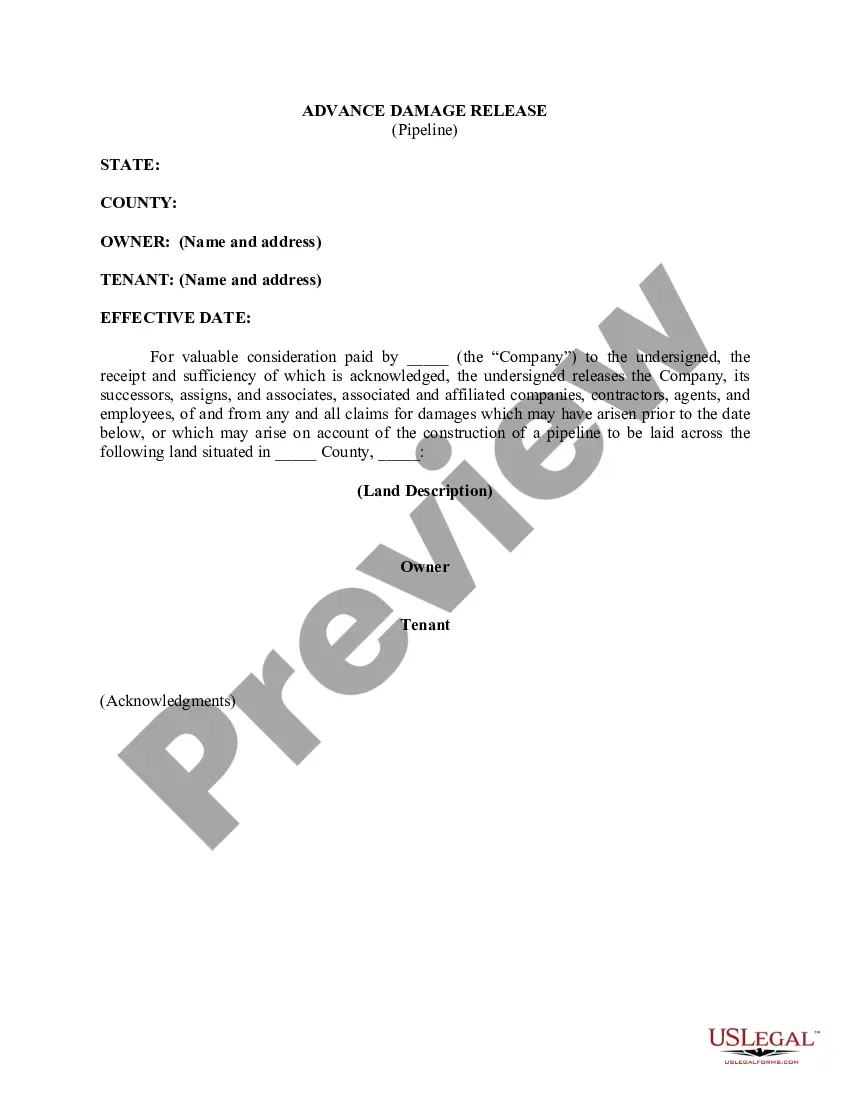
If you have to comprehensive, acquire, or print out legal document templates, use US Legal Forms, the largest variety of legal varieties, which can be found on the Internet. Utilize the site`s simple and hassle-free lookup to find the paperwork you will need. Numerous templates for enterprise and specific uses are sorted by types and suggests, or key phrases. Use US Legal Forms to find the Puerto Rico Advance Damage Release (Pipeline - From Owner) in a few mouse clicks.
When you are currently a US Legal Forms buyer, log in to your accounts and then click the Acquire key to obtain the Puerto Rico Advance Damage Release (Pipeline - From Owner). You can even accessibility varieties you formerly acquired in the My Forms tab of your respective accounts.
If you are using US Legal Forms initially, follow the instructions listed below:
- Step 1. Ensure you have chosen the shape for your correct city/country.
- Step 2. Utilize the Review solution to examine the form`s content material. Never forget about to read through the description.
- Step 3. When you are not happy with the kind, use the Search discipline on top of the display to get other variations from the legal kind design.
- Step 4. After you have identified the shape you will need, go through the Get now key. Pick the costs plan you choose and add your credentials to sign up to have an accounts.
- Step 5. Method the transaction. You can utilize your charge card or PayPal accounts to accomplish the transaction.
- Step 6. Find the format from the legal kind and acquire it in your gadget.
- Step 7. Comprehensive, revise and print out or indicator the Puerto Rico Advance Damage Release (Pipeline - From Owner).
Each legal document design you purchase is the one you have eternally. You have acces to each and every kind you acquired inside your acccount. Go through the My Forms section and choose a kind to print out or acquire yet again.
Compete and acquire, and print out the Puerto Rico Advance Damage Release (Pipeline - From Owner) with US Legal Forms. There are many professional and status-certain varieties you can use for your personal enterprise or specific requires.
Form popularity
FAQ
Conclusion. The Azure DevOps Server provides two different types of pipelines to perform build, deployment, testing and further actions. A Build Pipeline is used to generate Artifacts out of Source Code. A Release Pipeline consumes the Artifacts and conducts follow-up actions within a multi-staging system.
Set permissions for release pipelines Select the context menu for All release definitions, and then select Security. Choose the group you want to set permissions for, and then change the permission setting to grant or restrict access.
Sign-in to your Azure DevOps organization and go to your project. Go to Pipelines, and then select New pipeline.
To authorize any pipeline to use the service connection, go to Azure Pipelines, open the Settings page, select Service connections, and enable the setting Allow all pipelines to use this connection option for the connection.
To set permissions for all pools within the organization or collection, choose Security, and then add a user or group and select their role. To set permissions for a specific pool, choose the pool and then Security. Then add a user or group and select their role.
Pipelines only have one permission, Admin, which is required for sharing, editing and deleting a pipeline. Workspaces have different permissions, also called roles. Workspace roles determine the level of access to a workspace in a pipeline. Deployment pipelines do not support Microsoft 365 groups as pipeline admins.
To grant access to all pipelines, enter a check in the security box next to "Grant access permission to all pipelines" for the resource. You can do so when you're creating or editing a resource. You'll need to have the repository Administrator role to have this option available.
Set project-level pipeline permissions From within your project, select Pipelines > Pipelines. Select More actions > Manage security. Modify the permissions associated with an Azure DevOps group, for example, Build Administrators, or for an individual user.
")