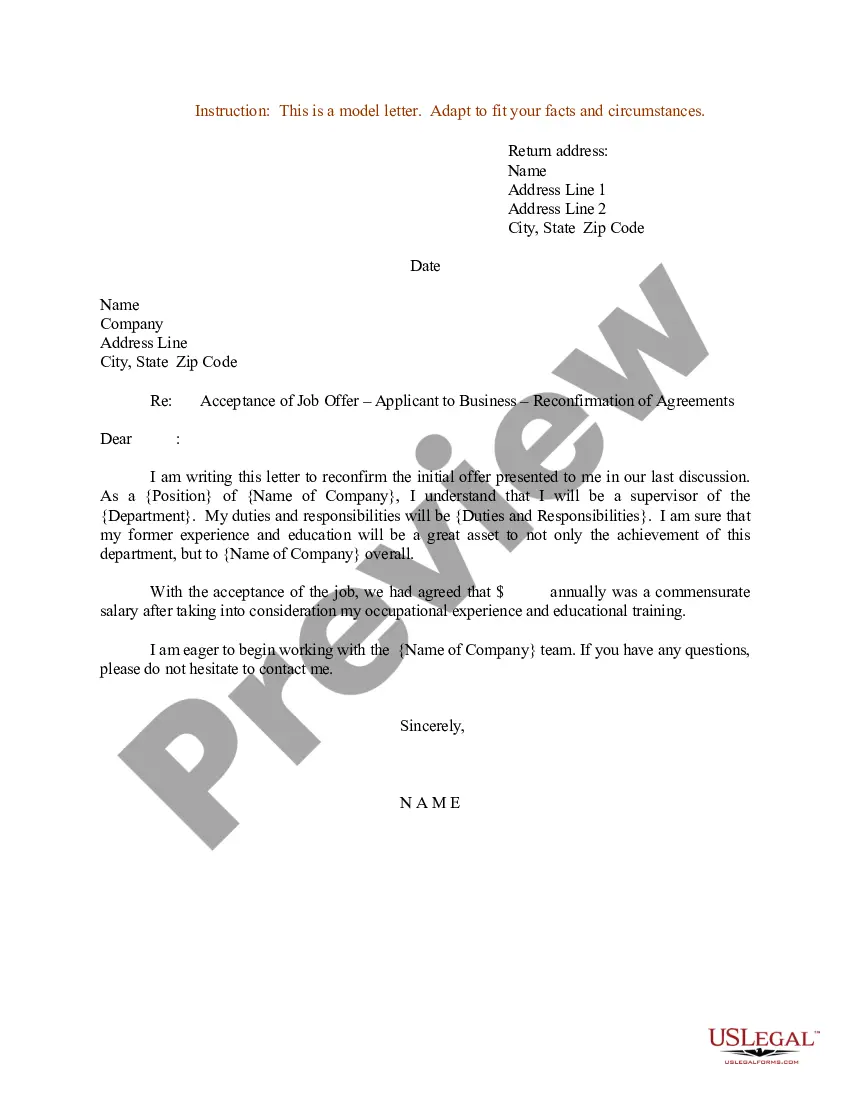
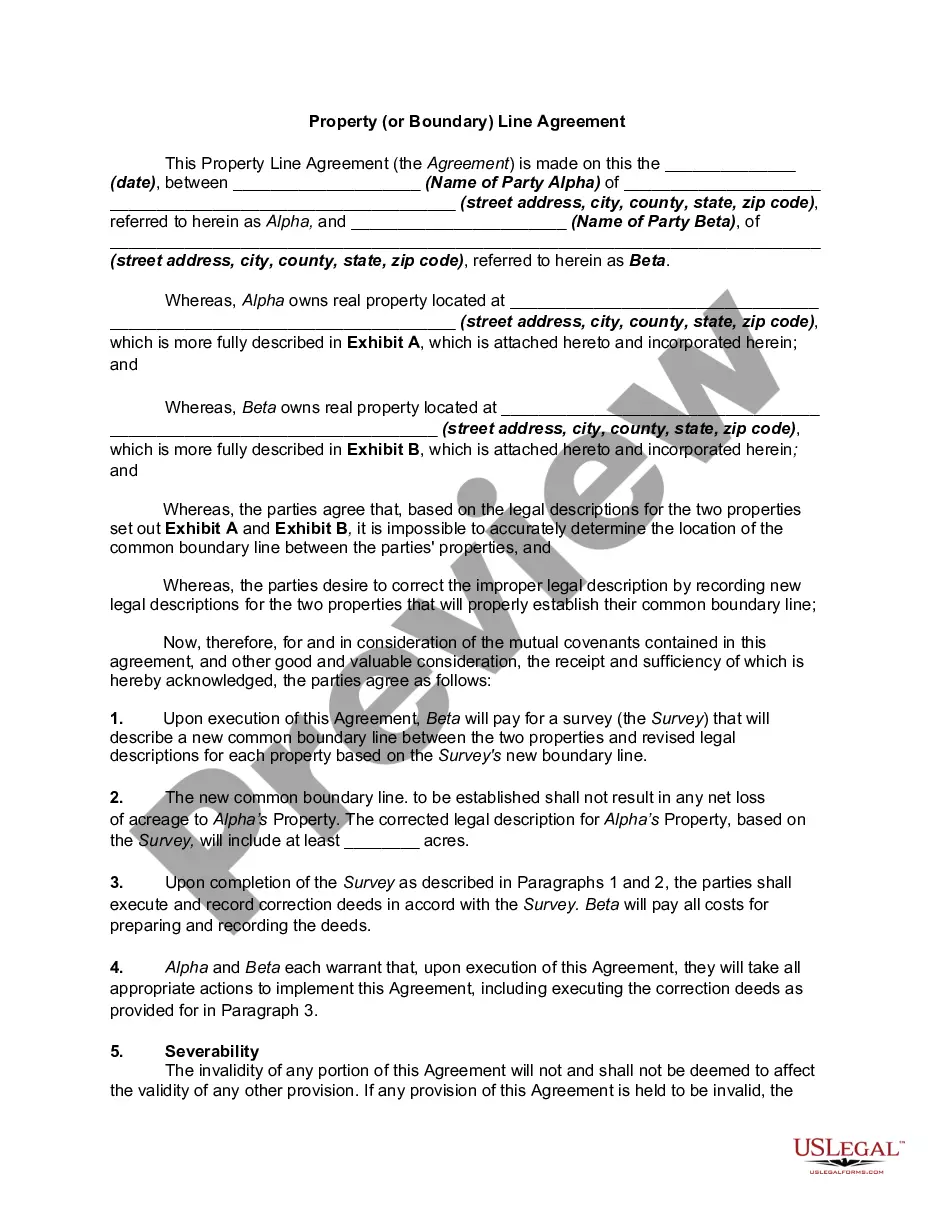
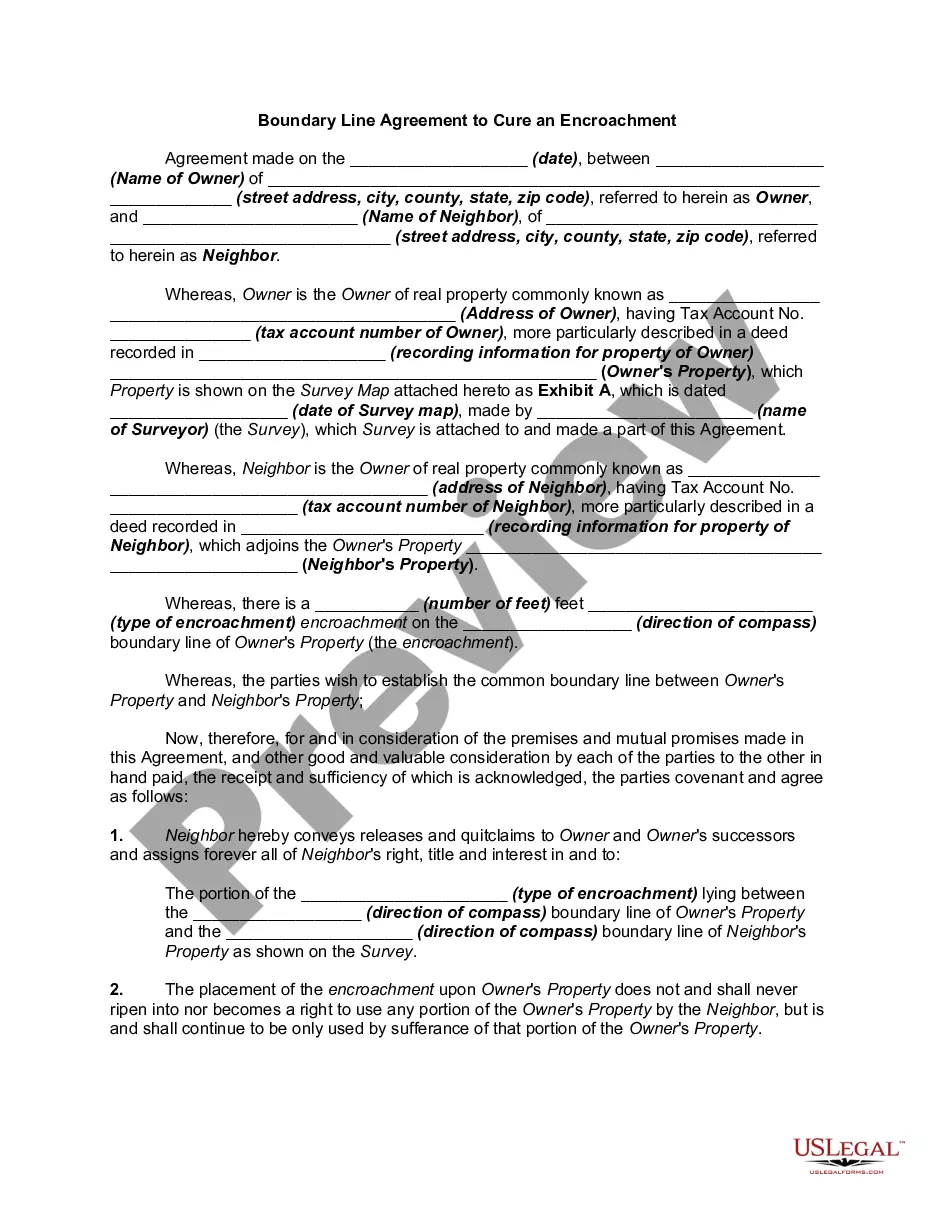
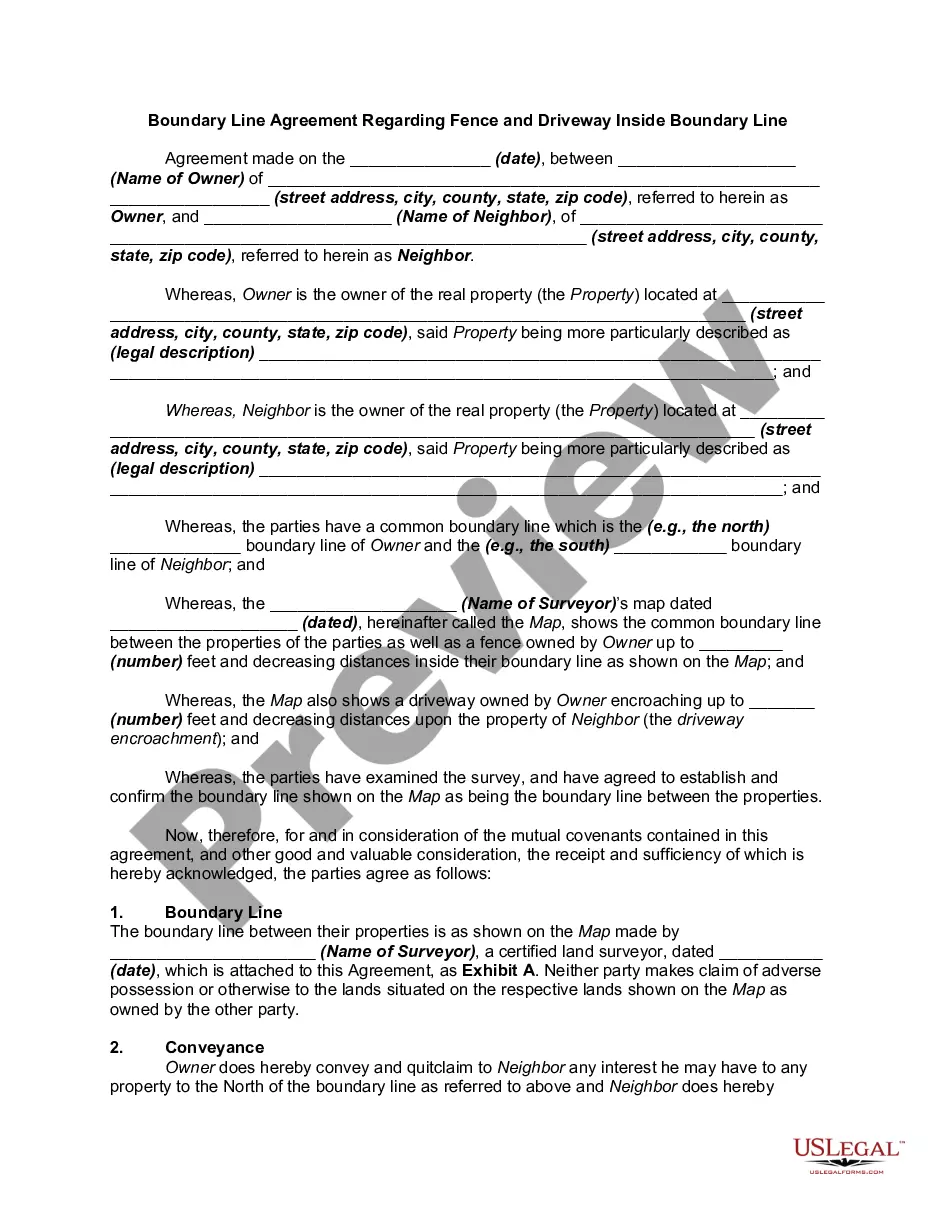
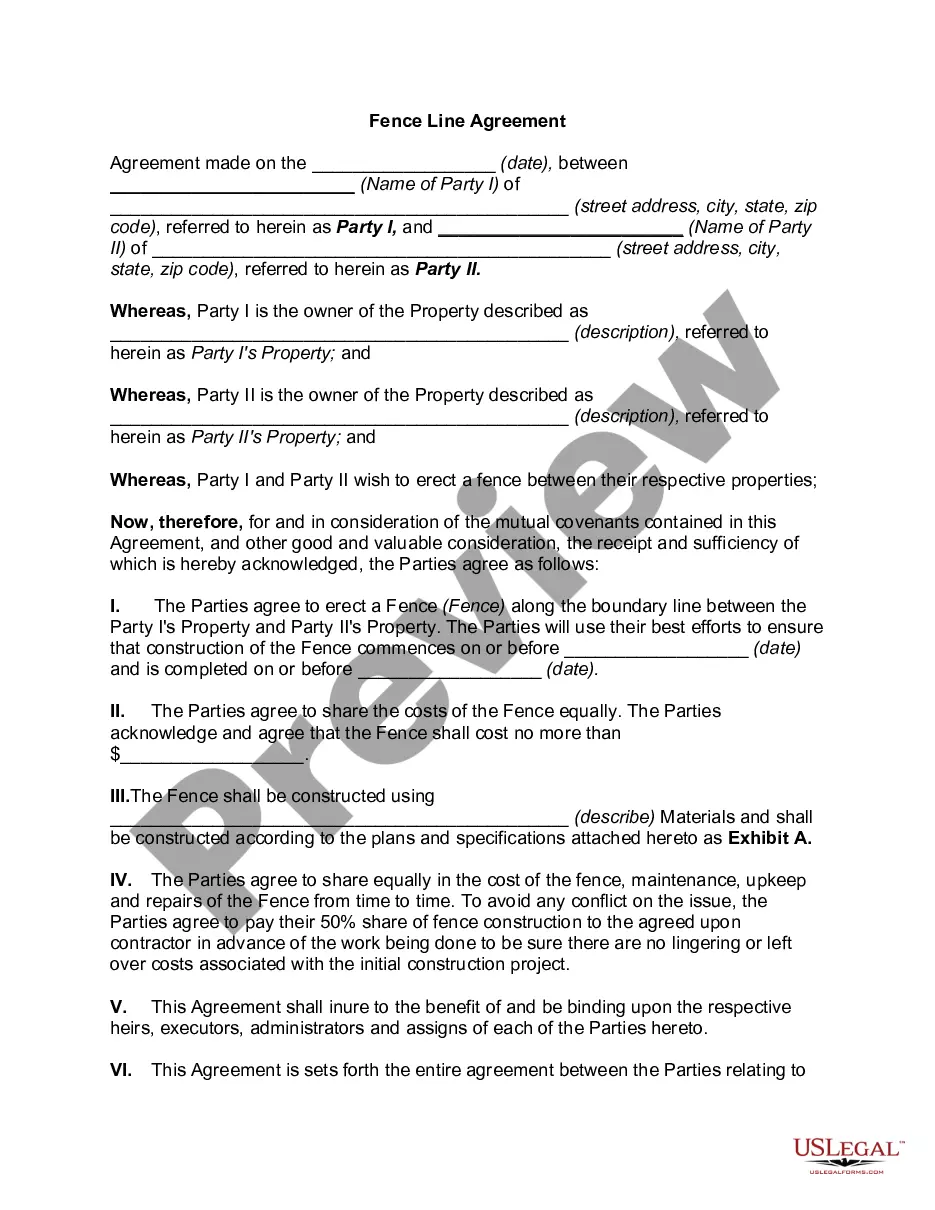
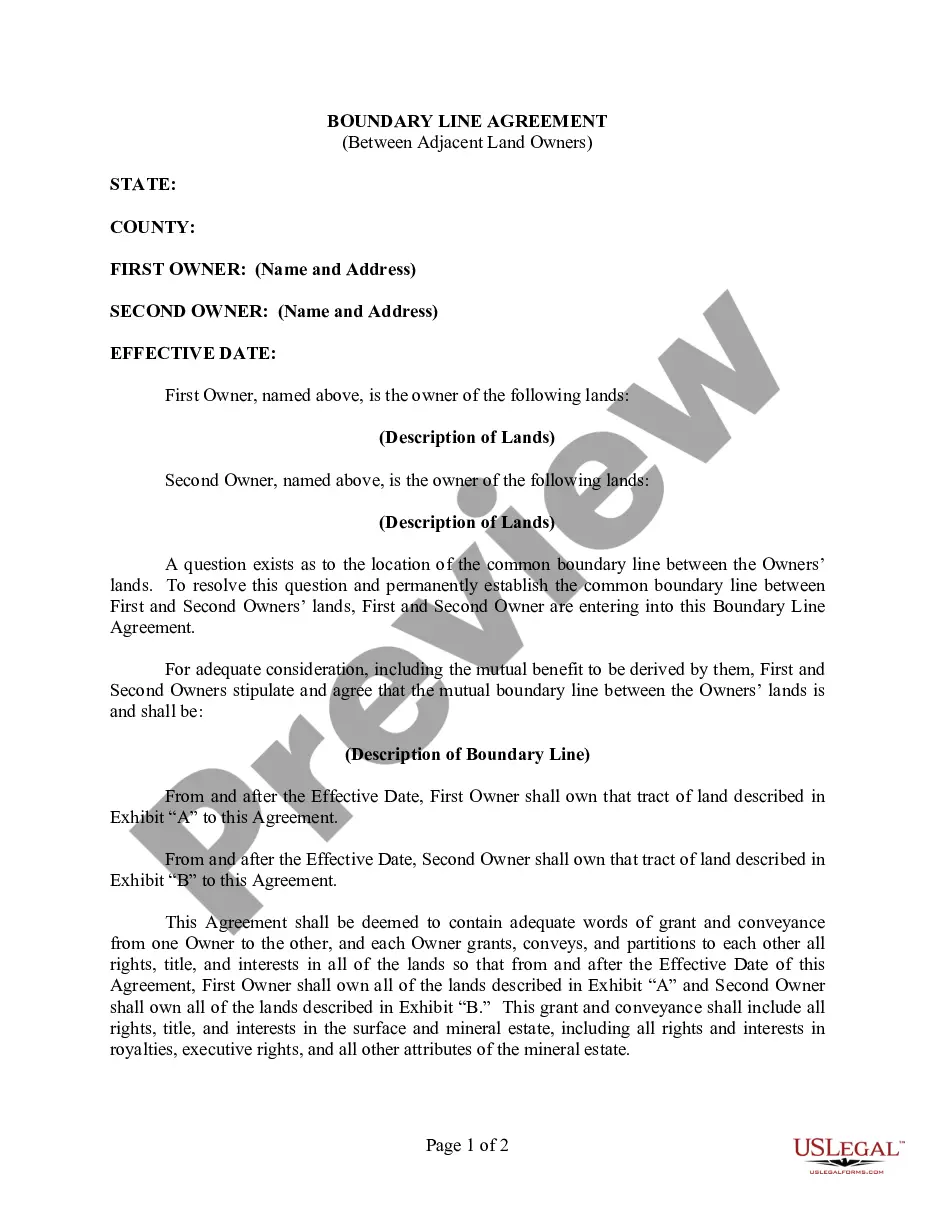
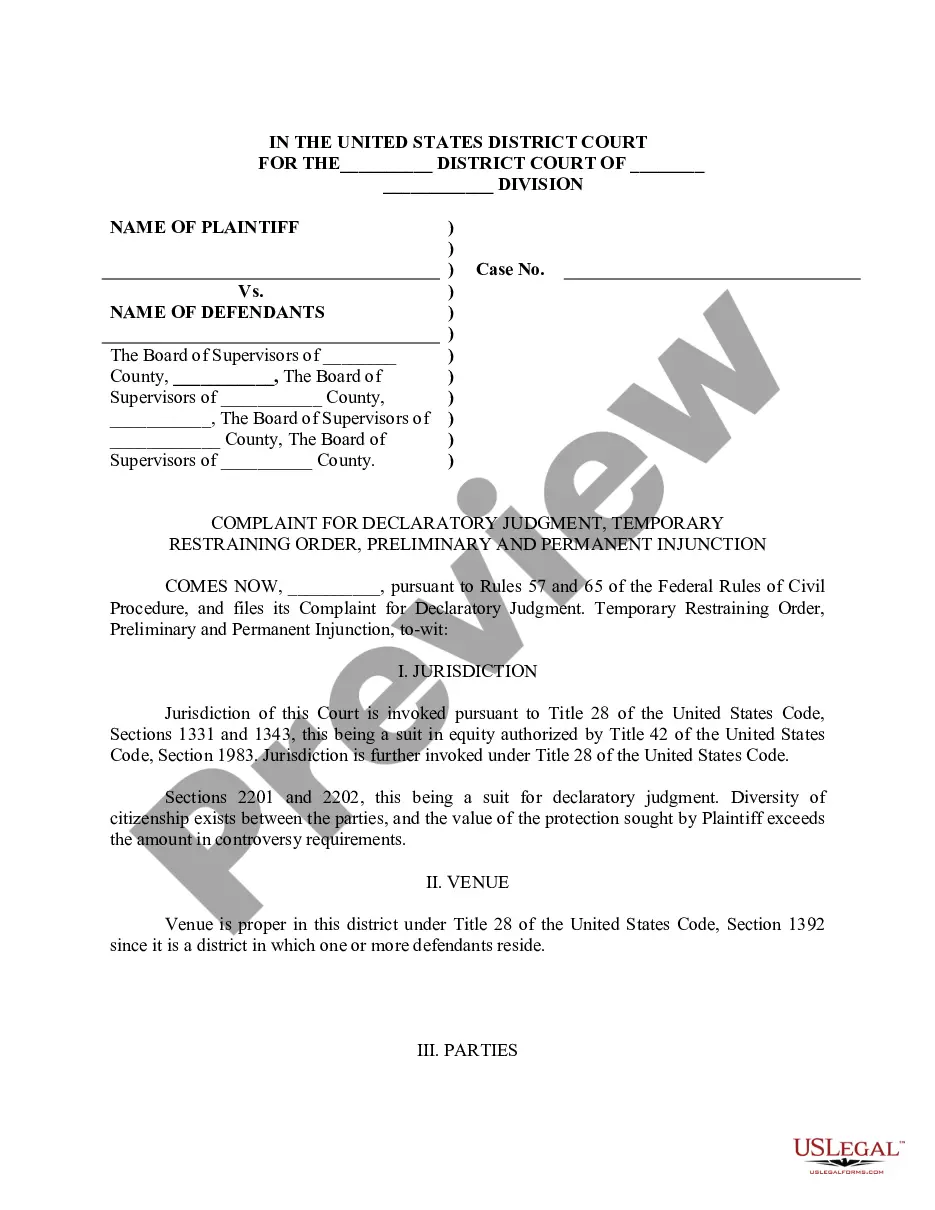
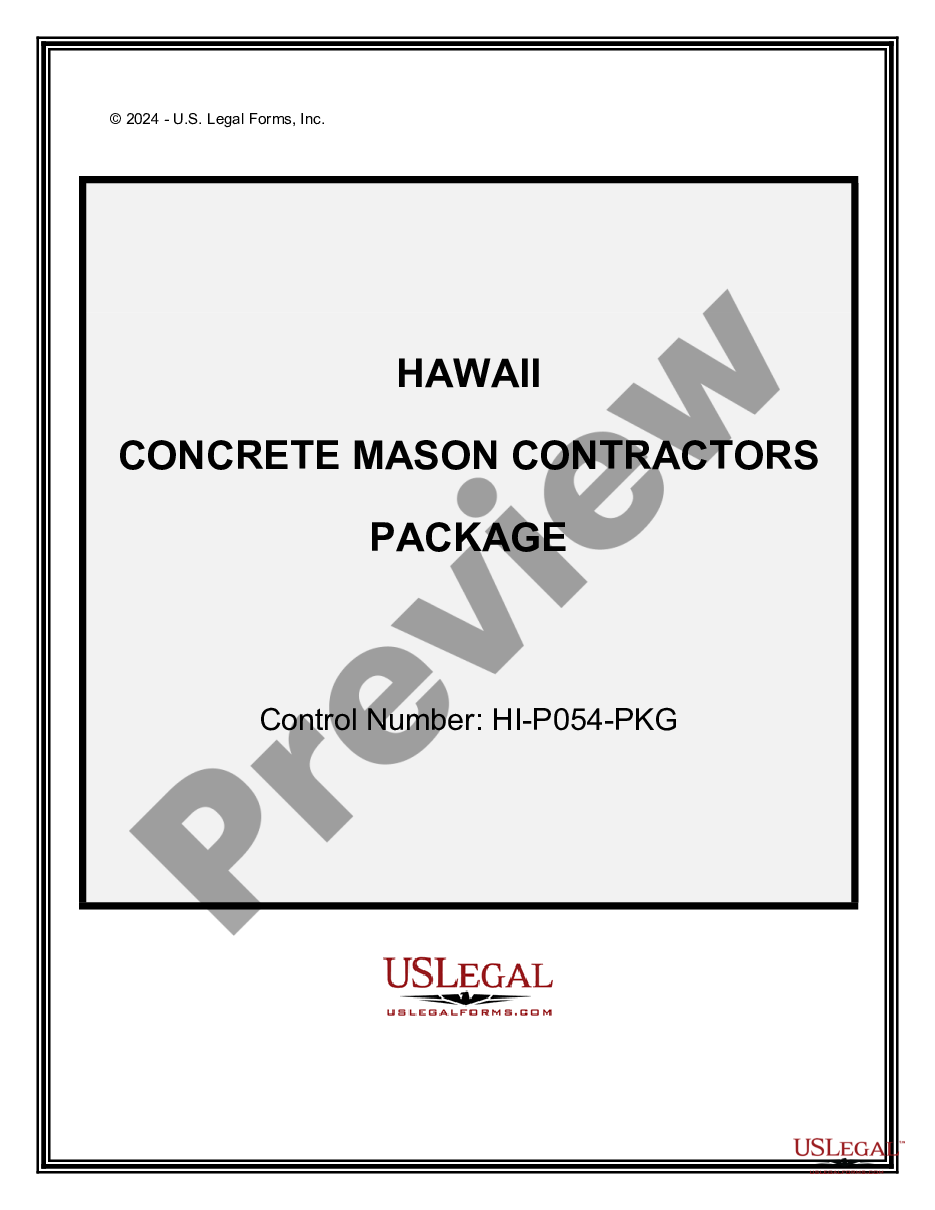
Border Lines For Project In Collin
Description


Get your form ready online
Our built-in tools help you complete, sign, share, and store your documents in one place.
Make edits, fill in missing information, and update formatting in US Legal Forms—just like you would in MS Word.
Download a copy, print it, send it by email, or mail it via USPS—whatever works best for your next step.
Sign and collect signatures with our SignNow integration. Send to multiple recipients, set reminders, and more. Go Premium to unlock E-Sign.
If this form requires notarization, complete it online through a secure video call—no need to meet a notary in person or wait for an appointment.
We protect your documents and personal data by following strict security and privacy standards.

Make edits, fill in missing information, and update formatting in US Legal Forms—just like you would in MS Word.

Download a copy, print it, send it by email, or mail it via USPS—whatever works best for your next step.

Sign and collect signatures with our SignNow integration. Send to multiple recipients, set reminders, and more. Go Premium to unlock E-Sign.

If this form requires notarization, complete it online through a secure video call—no need to meet a notary in person or wait for an appointment.

We protect your documents and personal data by following strict security and privacy standards.
Looking for another form?

Form popularity
FAQ
8. Creating a border Use the Rectangle tool and create a box that is 1-inch from all sides of the page. Highlight the rectangle you have created using the Selection tool. Click on the Stroke box located on the tool bar.
On the search bar, type “borders.” Select borders from the suggested results. To add a border to your design, click or tap on it from the options.
Canva's margins can't be adjusted, but they should be visible when you make your design. Access them via File > View Settings and choose “Show margins.” Ensure vital design components stay within these margins. Before downloading your design, inspect your design for errors, especially around bleeds and margins.
So again we're using 3/4 of an inch or 3/4. Right here on our ruler. And with a sharpened pencil weMoreSo again we're using 3/4 of an inch or 3/4. Right here on our ruler. And with a sharpened pencil we make a small Mark at 3/4s on the left side of our page Measuring Up From the Bottom.
Add borders and rounded corners to elements Tap an image or video. At the bottom corner of the editor, click on Style. Choose a border style. Click and drag the slider to adjust the border weight and/or corner rounding. You may also enter a value in the field next to it.
I'm selecting solid border you can see the preview. Here. And select the color black or any otherMoreI'm selecting solid border you can see the preview. Here. And select the color black or any other color of your choice. And under the width. Here you can specify the width.
Create or open an existing design. Inside the editor, click or tap on the Elements tab. On the search bar, type “borders.” Select borders from the suggested results. To add a border to your design, click or tap on it from the options.
To resize borders, click to select it, and drag any of the white circle handles on the edges in or out. To change its colour, click or tap to select it, and click the colour tile from the editor toolbar.
Line if it's necessary to double. Check you can look again at the beginning measure 34s. And slideMoreLine if it's necessary to double. Check you can look again at the beginning measure 34s. And slide your page or the ruler.
What you do is you go to the layout tab on your Ribbon. Then go to the margins. Button. And thenMoreWhat you do is you go to the layout tab on your Ribbon. Then go to the margins. Button. And then there's a list of margin settings that you can apply. And also you can specify custom margins.