Confirmation Letter Example With Address In Middlesex
Description
Get your form ready online
Our built-in tools help you complete, sign, share, and store your documents in one place.
Make edits, fill in missing information, and update formatting in US Legal Forms—just like you would in MS Word.
Download a copy, print it, send it by email, or mail it via USPS—whatever works best for your next step.
Sign and collect signatures with our SignNow integration. Send to multiple recipients, set reminders, and more. Go Premium to unlock E-Sign.
If this form requires notarization, complete it online through a secure video call—no need to meet a notary in person or wait for an appointment.
We protect your documents and personal data by following strict security and privacy standards.

Make edits, fill in missing information, and update formatting in US Legal Forms—just like you would in MS Word.

Download a copy, print it, send it by email, or mail it via USPS—whatever works best for your next step.

Sign and collect signatures with our SignNow integration. Send to multiple recipients, set reminders, and more. Go Premium to unlock E-Sign.

If this form requires notarization, complete it online through a secure video call—no need to meet a notary in person or wait for an appointment.

We protect your documents and personal data by following strict security and privacy standards.
Looking for another form?

Form popularity
FAQ
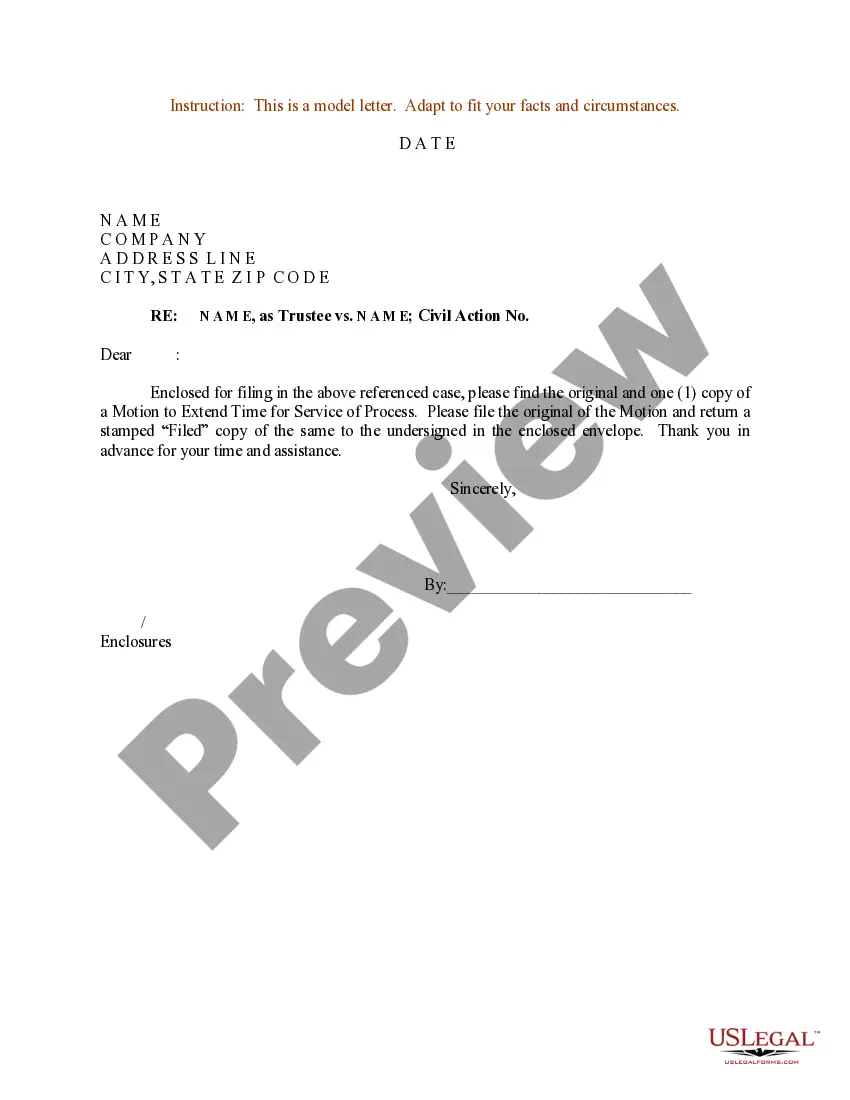
Writing the Confirmation Letter Step 1: Start with a Proper Salutation. Address the recipient using their professional title and name. Step 2: Clearly State the Purpose of the Letter. Step 3: Provide Relevant Details. Step 4: Include Any Necessary Instructions or Next Steps. Step 5: Express Gratitude and Offer Assistance.
Confirmation letters include the following components: Recipient Information: The name and contact information of the recipient. Sender Information: The name and contact information of the sender. Date: The date on which the letter is sent. Subject: A brief subject line indicating the purpose of the letter.
If you need to write a confirmation letter, here are five helpful steps you can use to write your own: Include a letter header. Start with an explanation. Add detailed information. Highlight attachments. End with a supportive statement.
structured confirmation letter should contain a header with contact details, an explanation of your decision, relevant information about the confirmation, details about attached documents, a supportive statement, and should be thoroughly proofread.
Writing the Letter as a Resident Start with your legal name. Certify your address. State the length of time you've resided at the residence. Include any other residents. Type your oath. Follow with a closing phrase and your name. Sign and date the letter. Create a line for the notary's signature.
Some basic tips to start Let them know how proud of them you are. Give them sound advice that will encourage them to develop and strengthen their faith. Include a blessing. Add an encouraging scripture or a prayer. Choose an appropriate way to sign off before writing your signature.
I am writing you today to request to receive the Sacrament of Confirmation. I want to be confirmed because I want to deepen my relationship with Jesus. I know that when I receive the gifts of the Holy Spirit, I will be more fully equipped to face the challenges that I will have in the future.
Writing the Letter as a Resident Start with your legal name. Certify your address. State the length of time you've resided at the residence. Include any other residents. Type your oath. Follow with a closing phrase and your name. Sign and date the letter. Create a line for the notary's signature.
If you need to write a confirmation letter, here are five helpful steps you can use to write your own: Include a letter header. Start with an explanation. Add detailed information. Highlight attachments. End with a supportive statement.
Writing the Confirmation Letter Step 1: Start with a Proper Salutation. Address the recipient using their professional title and name. Step 2: Clearly State the Purpose of the Letter. Step 3: Provide Relevant Details. Step 4: Include Any Necessary Instructions or Next Steps. Step 5: Express Gratitude and Offer Assistance.