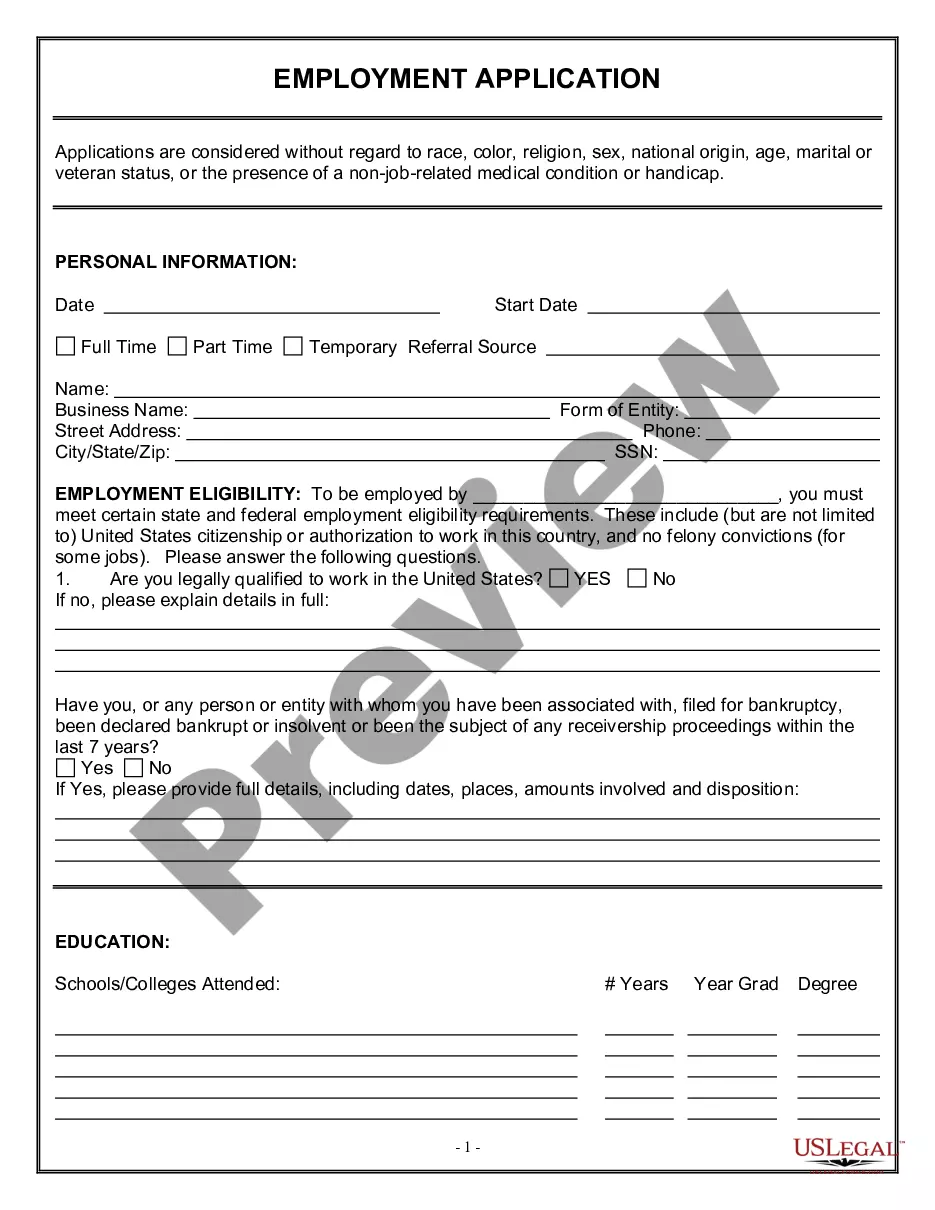
Employee Form Fillable For Excel In Wayne
Description


Get your form ready online
Our built-in tools help you complete, sign, share, and store your documents in one place.
Make edits, fill in missing information, and update formatting in US Legal Forms—just like you would in MS Word.
Download a copy, print it, send it by email, or mail it via USPS—whatever works best for your next step.
Sign and collect signatures with our SignNow integration. Send to multiple recipients, set reminders, and more. Go Premium to unlock E-Sign.
If this form requires notarization, complete it online through a secure video call—no need to meet a notary in person or wait for an appointment.
We protect your documents and personal data by following strict security and privacy standards.

Make edits, fill in missing information, and update formatting in US Legal Forms—just like you would in MS Word.

Download a copy, print it, send it by email, or mail it via USPS—whatever works best for your next step.

Sign and collect signatures with our SignNow integration. Send to multiple recipients, set reminders, and more. Go Premium to unlock E-Sign.

If this form requires notarization, complete it online through a secure video call—no need to meet a notary in person or wait for an appointment.

We protect your documents and personal data by following strict security and privacy standards.
Looking for another form?

Form popularity
FAQ
We recommend using the following fields and structure: Rename Sheet1 at the bottom to "Employees" In cell A1 type "Display Name" In cell B1 type "First Name " In cell C1 type "Last Name" In cell D1 type "Job Title" In cell E1 type "Email Address" In cell F1 type "Phone Number" In cell G1 type "Workplace"
We recommend using the following fields and structure: Rename Sheet1 at the bottom to "Employees" In cell A1 type "Display Name" In cell B1 type "First Name " In cell C1 type "Last Name" In cell D1 type "Job Title" In cell E1 type "Email Address" In cell F1 type "Phone Number" In cell G1 type "Workplace"
Follow these steps: Select the Developer tab in the top menu. Under Control, select Insert and choose the form element you need. Place the element on the spreadsheet. Right-click the element and select Format Controls to change its settings. Most Excel form elements read information from spreadsheet cells.
How to create a task tracker in Excel? Step 1: Open the Excel app and create a new workbook. Step 2: Add column headers. Step 3: Add the task details. Step 4: Use conditional formatting to highlight the priority. Step 5: Apply filters. Step 6: Sort data. Step 7: Customize.
Setting Up the Excel Attendance Tracker Start a new Excel spreadsheet and create columns for each date of the particular month. Create another column for employees to input their names in the left corner. Fill the columns matching weekends and public holidays with some color. Apply data validation.
On the Insert tab, in the Illustrations group, click SmartArt. In the Choose a SmartArt Graphic gallery, click Hierarchy, click an organization chart layout (such as Organization Chart), and then click OK. To enter your text, do one of the following: Click in a box in the SmartArt graphic, and then type your text.
You can find a variety of schedule templates in Excel, ranging from monthly schedules, weekday displays, and schedules with notes. There templates are pre-made and formatted, ready for you to add your own information. With so many available schedule templates, how do you know which one is the easiest to use?
Follow these steps: Select the Developer tab in the top menu. Under Control, select Insert and choose the form element you need. Place the element on the spreadsheet. Right-click the element and select Format Controls to change its settings. Most Excel form elements read information from spreadsheet cells.
Step 1: Create a New Spreadsheet. Your first step is to create the employee database spreadsheet. Step 2: Add Columns. Step 3: Collect and Enter Employee Information. Step 4: Set Permissions & Access. Step 5: Keep Your Employee Database Updated.
How to create a work schedule in Excel Open a blank spreadsheet. Start by searching for the Excel application on your computer or clicking on the Excel icon on your desktop. Create a header. Title your columns with weekdays. List employee names in each row. Enter shift details. Save your schedule.