Employee Form Fillable With Excel In San Jose
Description
Get your form ready online
Our built-in tools help you complete, sign, share, and store your documents in one place.
Make edits, fill in missing information, and update formatting in US Legal Forms—just like you would in MS Word.
Download a copy, print it, send it by email, or mail it via USPS—whatever works best for your next step.
Sign and collect signatures with our SignNow integration. Send to multiple recipients, set reminders, and more. Go Premium to unlock E-Sign.
If this form requires notarization, complete it online through a secure video call—no need to meet a notary in person or wait for an appointment.
We protect your documents and personal data by following strict security and privacy standards.
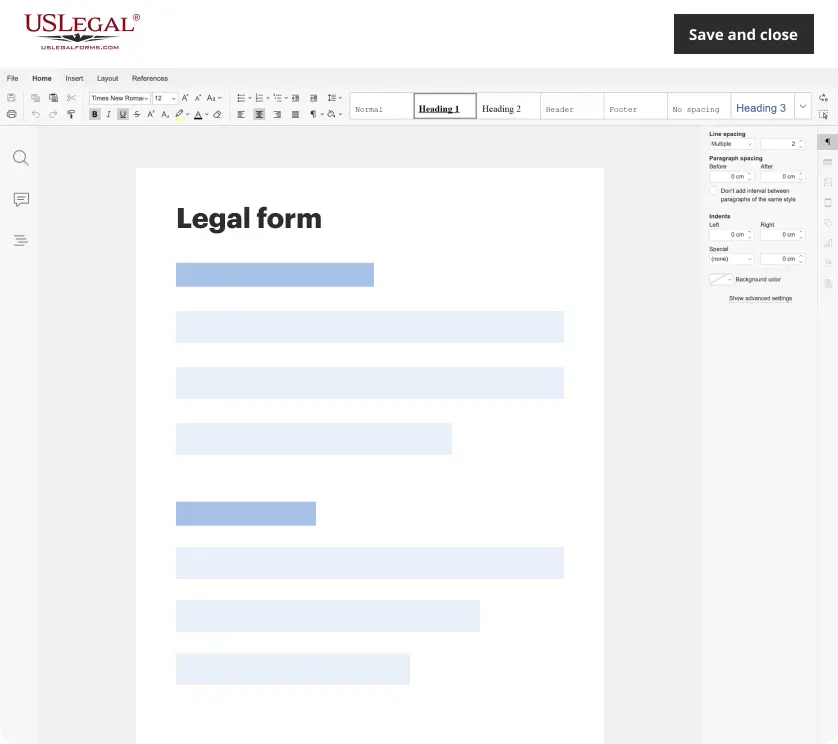
Make edits, fill in missing information, and update formatting in US Legal Forms—just like you would in MS Word.
Download a copy, print it, send it by email, or mail it via USPS—whatever works best for your next step.
Sign and collect signatures with our SignNow integration. Send to multiple recipients, set reminders, and more. Go Premium to unlock E-Sign.

If this form requires notarization, complete it online through a secure video call—no need to meet a notary in person or wait for an appointment.
We protect your documents and personal data by following strict security and privacy standards.
Looking for another form?
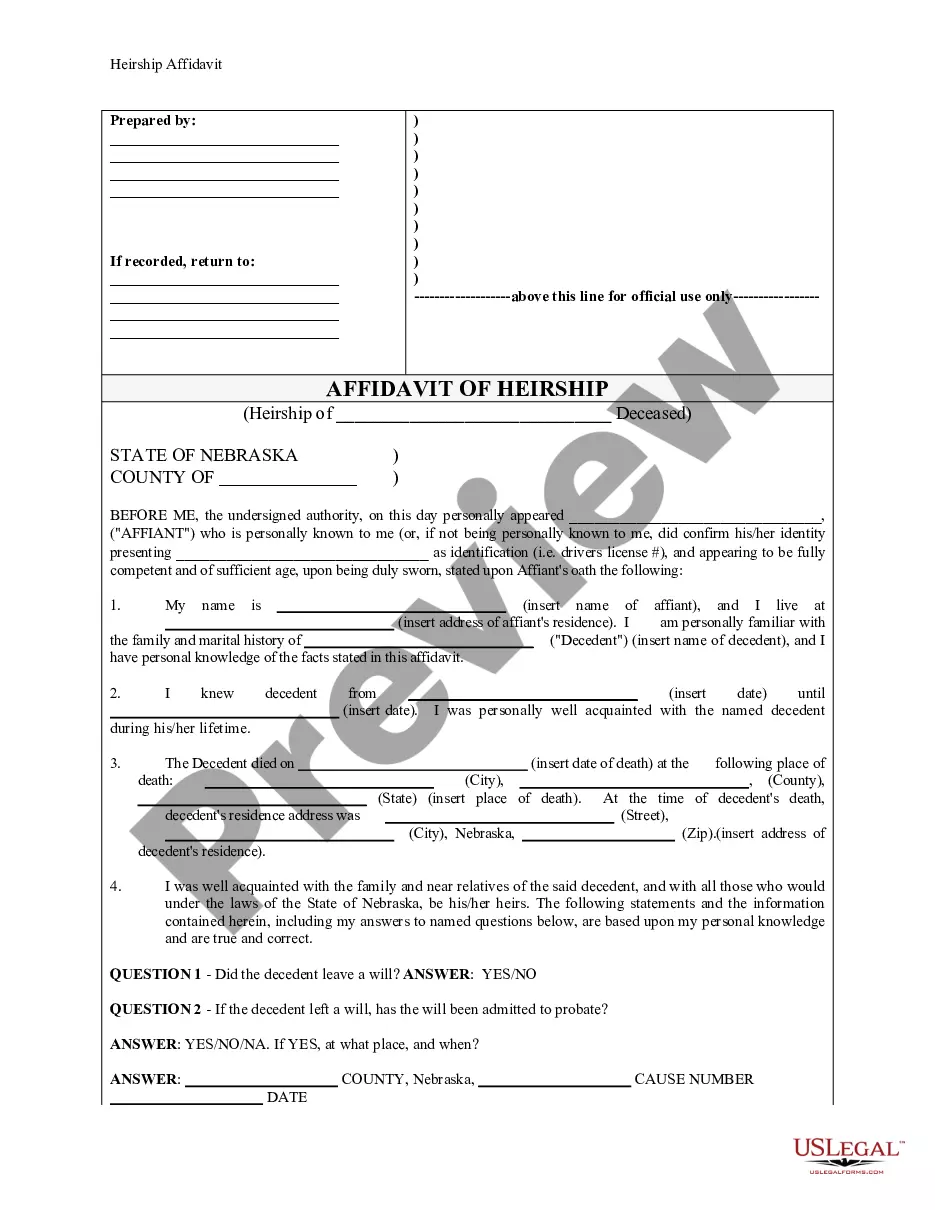


Form popularity
FAQ
Follow these steps: Select the Developer tab in the top menu. Under Control, select Insert and choose the form element you need. Place the element on the spreadsheet. Right-click the element and select Format Controls to change its settings. Most Excel form elements read information from spreadsheet cells.
Create forms that users complete or print in Excel Step 1: Show the Developer tab. On the Excel menu, click Preferences. Step 2: Add and format content controls. On the Developer tab, click the control that you want to add. Step 3: Protect the sheet that contains the form. Step 4: Test the form (optional)
Create a drop-down list In a new worksheet, type the entries you want to appear in your drop-down list. Select the cell in the worksheet where you want the drop-down list. Go to the Data tab on the Ribbon, and then Data Validation. On the Settings tab, in the Allow box, select List.
Step 1: Create a New Spreadsheet. Your first step is to create the employee database spreadsheet. Step 2: Add Columns. Step 3: Collect and Enter Employee Information. Step 4: Set Permissions & Access. Step 5: Keep Your Employee Database Updated.
Follow these steps: Select the Developer tab in the top menu. Under Control, select Insert and choose the form element you need. Place the element on the spreadsheet. Right-click the element and select Format Controls to change its settings. Most Excel form elements read information from spreadsheet cells.
There are several ways: From Microsoft Office Excel. Click "File" -> "Save As" -> Select "PDF" in the dropdown list. Or click "File" -> "Print" -> "Microsoft Print to PDF". From the File Explorer. Select the Excel file you want to convert, right-click, and choose "Convert to PDF in Foxit PDF Editor"
From the Prepare a form panel, Select Options > Import data. Note: Importing data from another file into a PDF form replaces any existing information in the individual form fields. However, if the imported data file contains one or more blank form fields, the original data won't be cleared upon import.
How To Create A Form In Excel? Step 1: Make a quick Excel table. Open an Excel spreadsheet, and you'll start on the first sheet tab (by default). Step 2: Add data entry form option to the Excel ribbon. Step 3: Enter form data. Step 4: Restrict data entry based on conditions. Step 5: Start collecting data.
Open the PDF file then go to “Form”->”Import” then choose the test. csv file to import.