Business Credit Applications With Powerapps And Microsoft Flow
Description


Get your form ready online
Our built-in tools help you complete, sign, share, and store your documents in one place.
Make edits, fill in missing information, and update formatting in US Legal Forms—just like you would in MS Word.
Download a copy, print it, send it by email, or mail it via USPS—whatever works best for your next step.
Sign and collect signatures with our SignNow integration. Send to multiple recipients, set reminders, and more. Go Premium to unlock E-Sign.
If this form requires notarization, complete it online through a secure video call—no need to meet a notary in person or wait for an appointment.
We protect your documents and personal data by following strict security and privacy standards.
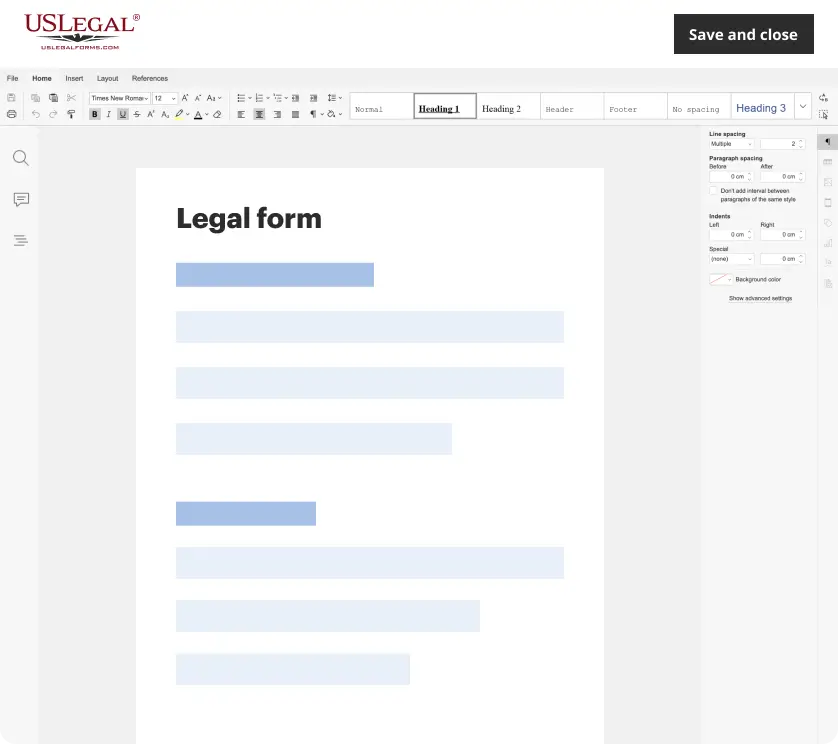
Make edits, fill in missing information, and update formatting in US Legal Forms—just like you would in MS Word.
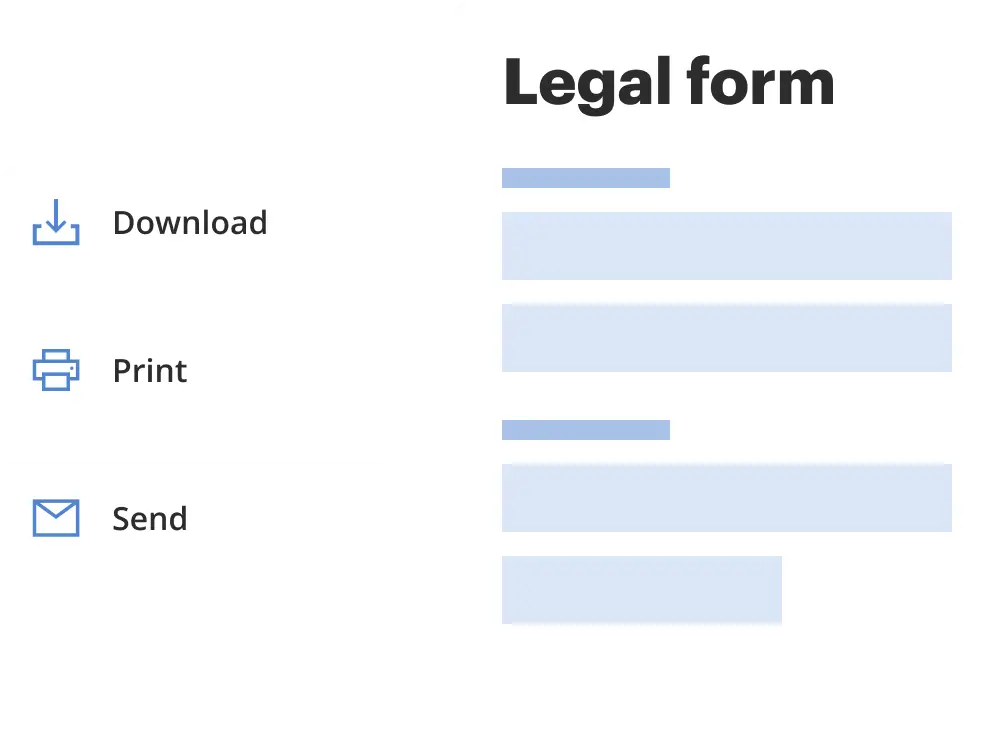
Download a copy, print it, send it by email, or mail it via USPS—whatever works best for your next step.

Sign and collect signatures with our SignNow integration. Send to multiple recipients, set reminders, and more. Go Premium to unlock E-Sign.

If this form requires notarization, complete it online through a secure video call—no need to meet a notary in person or wait for an appointment.
We protect your documents and personal data by following strict security and privacy standards.
Looking for another form?
How to fill out Kentucky Business Credit Application?
Precisely formulated official documentation serves as a key assurance for preventing complications and legal disputes, yet obtaining it without legal assistance may require time.
Whether you need to swiftly locate the latest Business Credit Applications With Powerapps And Microsoft Flow or any other forms for employment, family, or business scenarios, US Legal Forms is consistently available to assist.
The procedure is even more straightforward for current users of the US Legal Forms library. If your subscription is active, you only need to Log In to your account and click the Download button adjacent to the chosen document. Additionally, you can revisit the Business Credit Applications With Powerapps And Microsoft Flow at any time, as all records previously acquired on the platform remain accessible under the My documents section of your profile. Save time and resources on preparing formal documentation. Experience US Legal Forms today!
- Verify that the form aligns with your circumstances and locality by reviewing the description and preview.
- Search for another example (if necessary) using the Search bar located in the page header.
- Hit Buy Now after finding the correct template.
- Choose the pricing plan, Log In to your account or create a new one.
- Select your preferred payment option to buy the subscription plan (using a credit card or PayPal).
- Pick either PDF or DOCX format for your Business Credit Applications With Powerapps And Microsoft Flow.
- Press Download, then print the template to complete it or upload it to an online editor.
Form popularity
FAQ
Select the button in PowerApps screen and then click the Flows under Action. Once you will click on the Flows tab than Data window will open. Click on create a new flow. In below picture you can see that Data window is showing an option to create a flow associated with Button as well as the list of existing MS Flows.
As part of Power Apps, you also get the ability to add process automation to your apps with Microsoft Power Automate, simplifying app building using drag-and-drop automated workflows called flows.
Add a flow to an app. In this section, you'll learn about creating an app using Power Apps that uses the flow created in the earlier section. The app uses text entered in a text box when the button is selected to trigger the flow to create an item in the selected list.
Using Power Apps and Flow Together For example, if you want to configure a button in your Power App that when clicked, sends a meeting invite, updates an item in SharePoint, and updates an account record in Dynamics 365, you can do that!
In the Project Requests list, click or tap Flow, then Create a flow. In the right pane, click or tap Start approval when a new item is added. If you're not already signed in, sign into SharePoint and Outlook, then click or tap Continue. You now see the template for this flow, ready for you to complete.