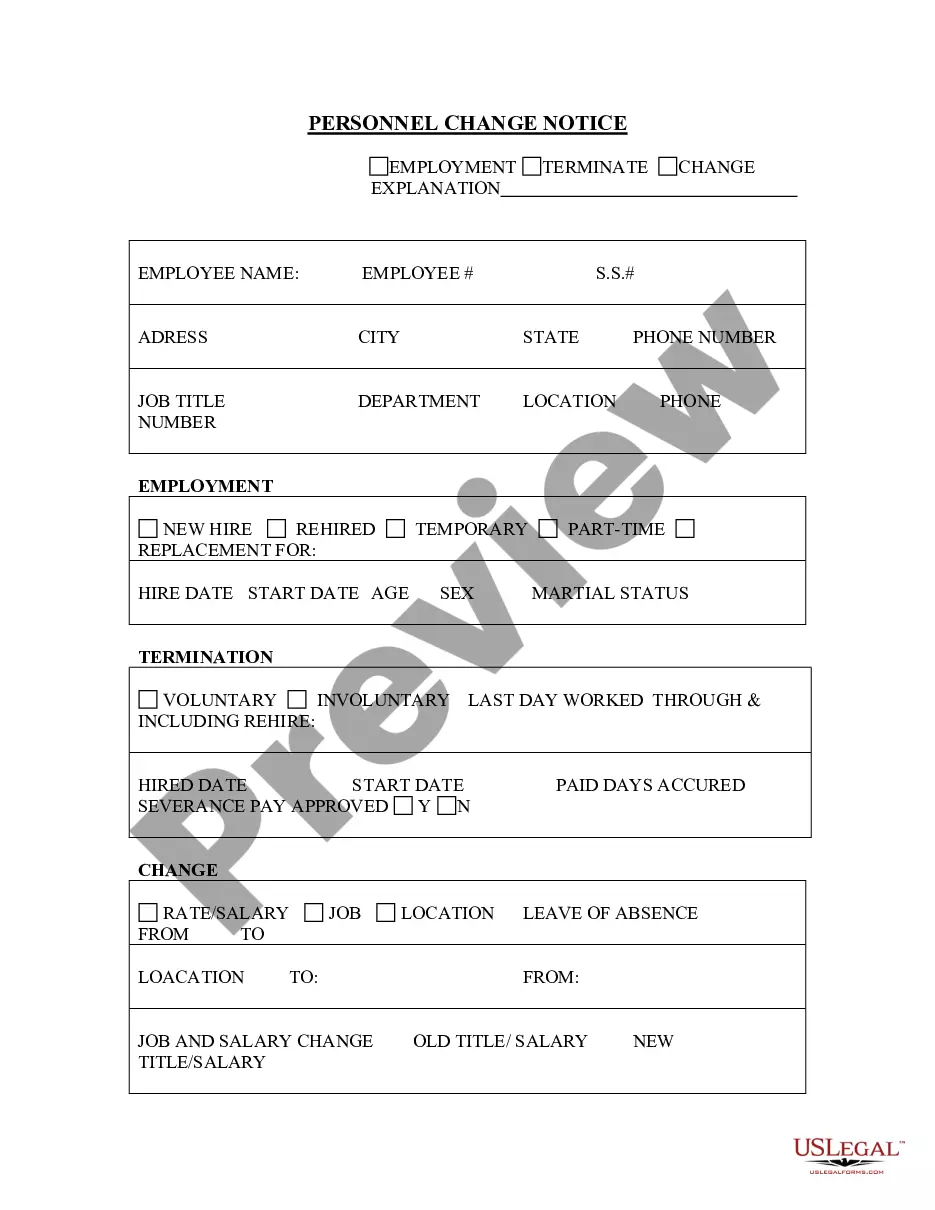
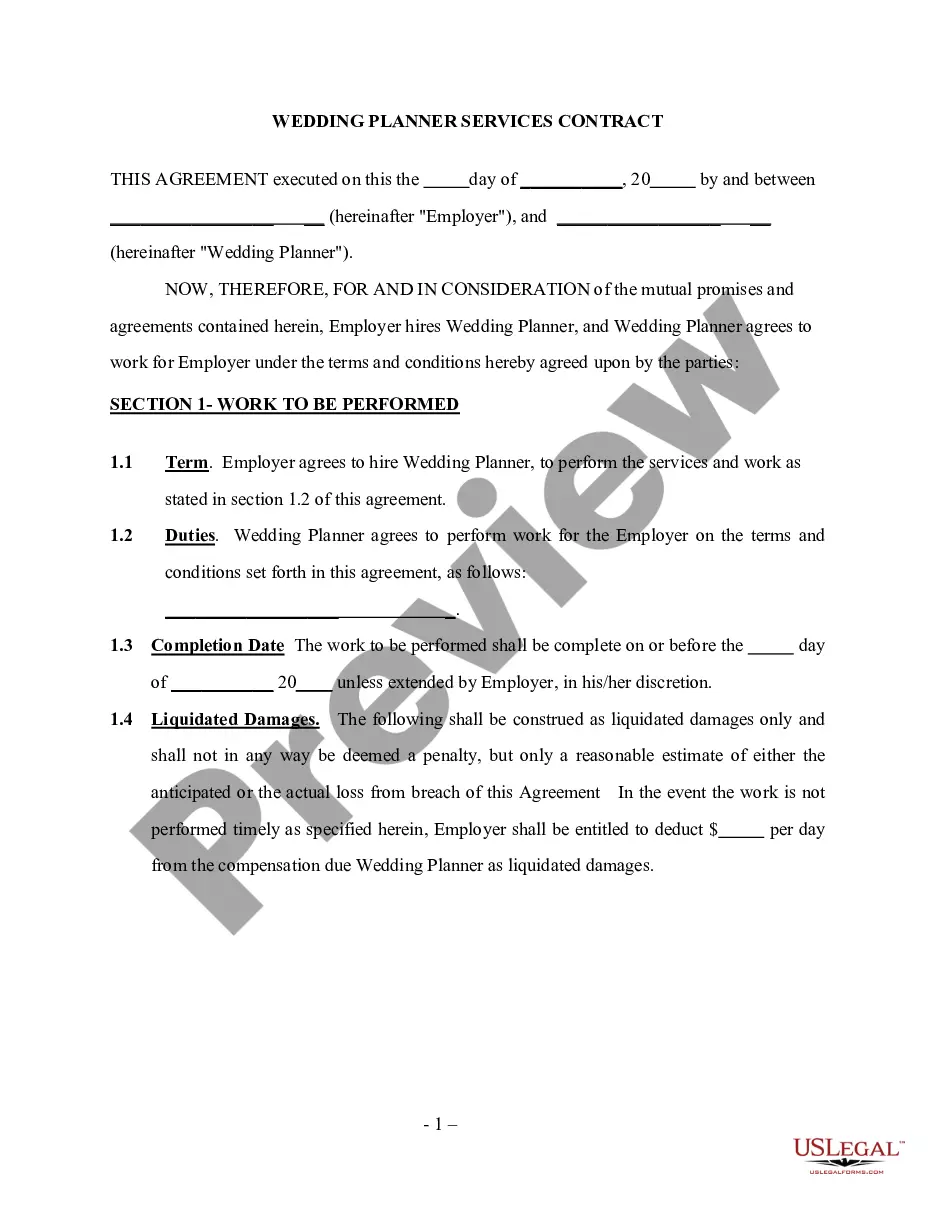
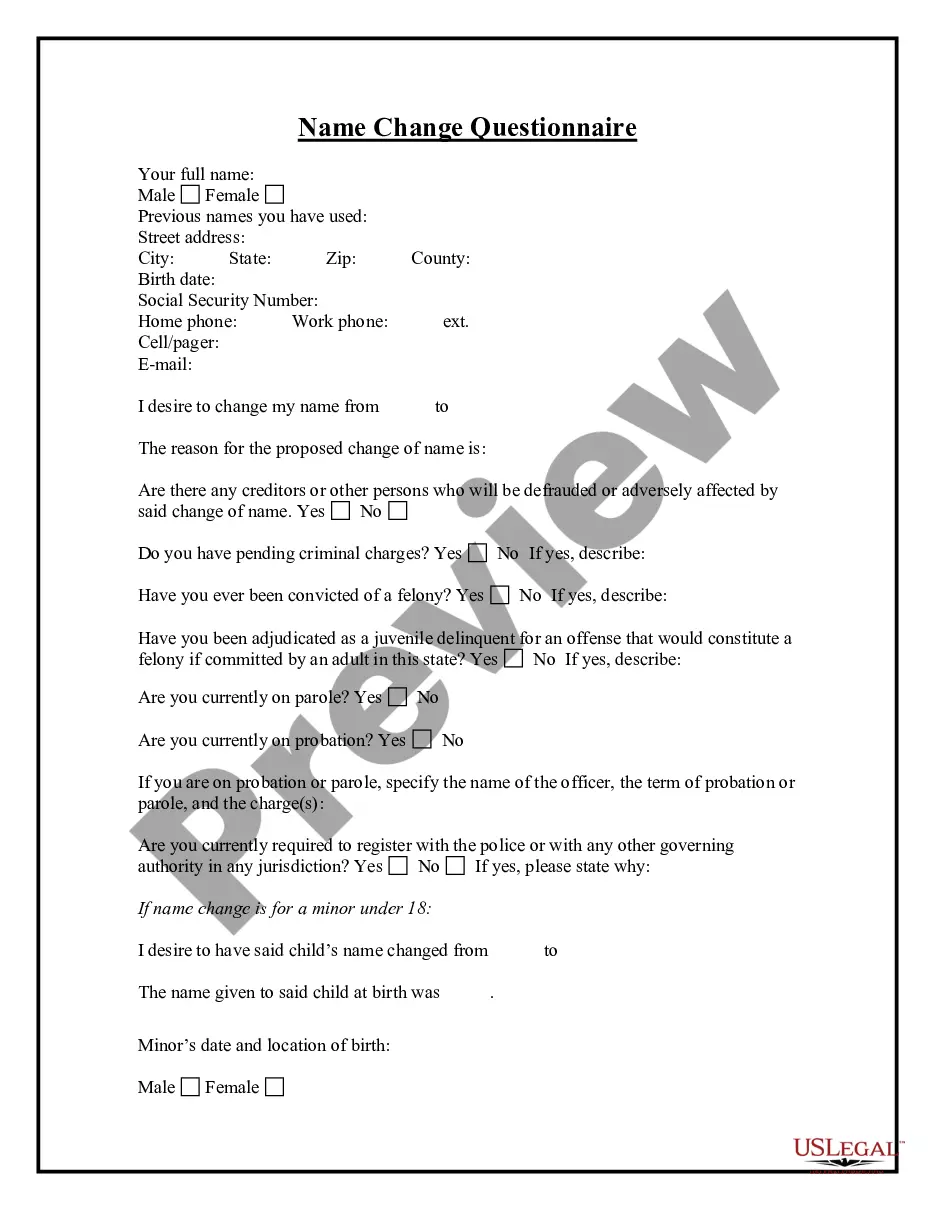
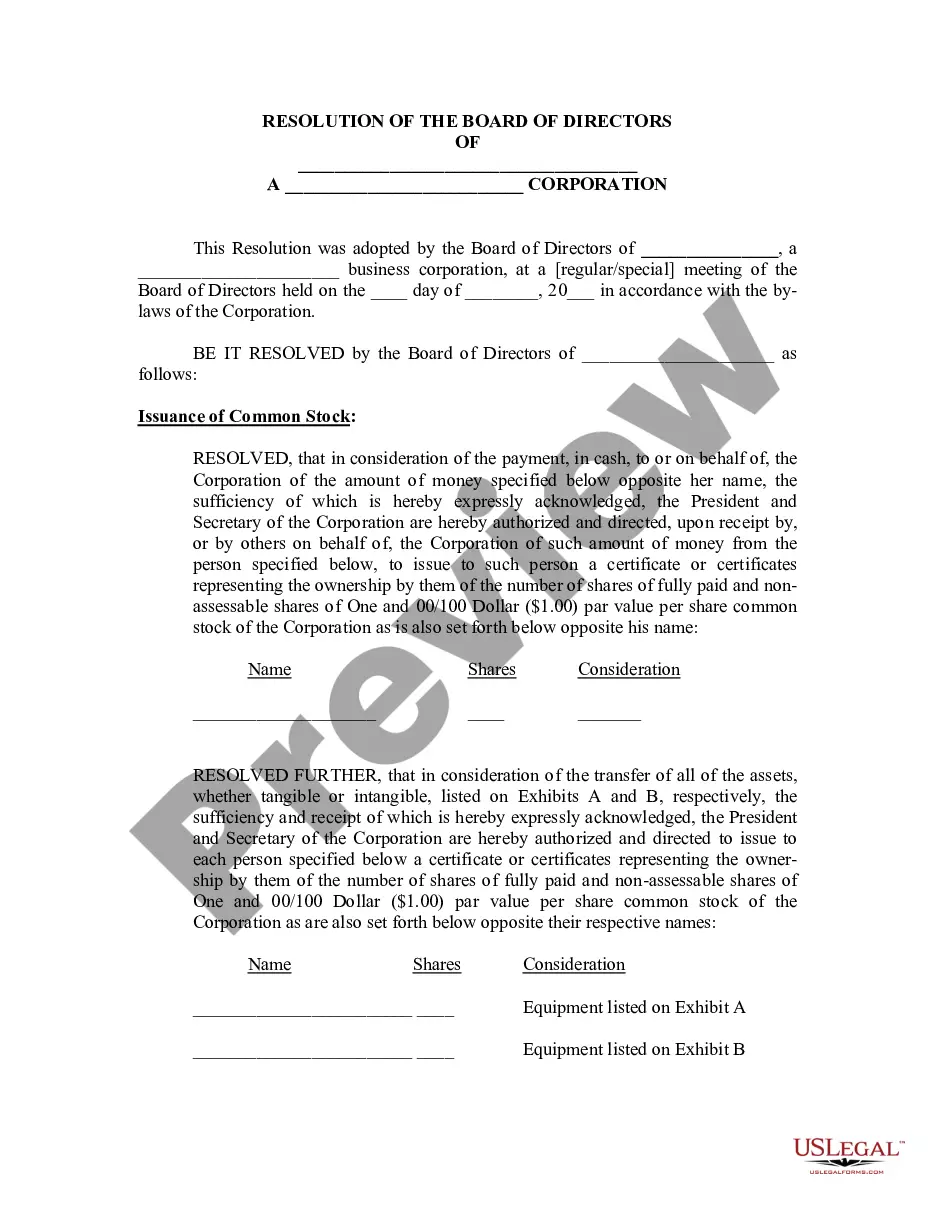
Account Name Change In Windows 11
Description


Get your form ready online
Our built-in tools help you complete, sign, share, and store your documents in one place.
Make edits, fill in missing information, and update formatting in US Legal Forms—just like you would in MS Word.
Download a copy, print it, send it by email, or mail it via USPS—whatever works best for your next step.
Sign and collect signatures with our SignNow integration. Send to multiple recipients, set reminders, and more. Go Premium to unlock E-Sign.
If this form requires notarization, complete it online through a secure video call—no need to meet a notary in person or wait for an appointment.
We protect your documents and personal data by following strict security and privacy standards.

Make edits, fill in missing information, and update formatting in US Legal Forms—just like you would in MS Word.

Download a copy, print it, send it by email, or mail it via USPS—whatever works best for your next step.

Sign and collect signatures with our SignNow integration. Send to multiple recipients, set reminders, and more. Go Premium to unlock E-Sign.

If this form requires notarization, complete it online through a secure video call—no need to meet a notary in person or wait for an appointment.

We protect your documents and personal data by following strict security and privacy standards.
Looking for another form?

How to fill out Idaho Name Change Notification Package For Brides, Court Ordered Name Change, Divorced, Marriage?
The Account Name Modification In Windows 11 you observe on this page is a reusable official template prepared by professional attorneys in compliance with federal and local statutes and regulations.
For over 25 years, US Legal Forms has supplied individuals, organizations, and legal experts with more than 85,000 validated, state-specific forms for any business and personal circumstance. It’s the fastest, easiest and most dependable method to acquire the documents you require, as the service assures bank-level data security and anti-malware safeguards.
Choose the format you desire for your Account Name Change In Windows 11 (PDF, DOCX, RTF) and save the sample on your device.
- Search for the document you require and assess it.
- Browse through the example you looked for and preview it or check the form description to confirm it meets your needs. If it doesn’t, utilize the search feature to find the correct one. Click Buy Now once you have located the template you need.
- Register and Log In.
- Select the pricing plan that fits you and create an account. Use PayPal or a credit card to make a swift payment. If you already possess an account, Log In and verify your subscription to continue.
- Obtain the fillable template.
Form popularity
FAQ
Open File Explorer. Make sure Hidden items are enabled. Copy out the pictures you will find there to another folder, then delete them from that folder and paste your new user account picture in that folder. Restart your PC, re-try to change your account picture now.
To change a local account's username in Windows 11, go to Control Panel > User Accounts, make sure your profile is selected, and choose Change your/the account name. If Windows is linked to a Microsoft account, go to Settings > Accounts > Your info > Manage my accounts.
Change your account picture Select Start > Settings > Accounts > Your info . Under Adjust your photo, select Choose a file > Browse files to select an existing photo. Or, if your device has a camera, select Take a photo > Open camera and take a new photo.
How to change your username in Windows 11 Open Control Panel. ... Click "Change your account name" ... Type in your new name. ... Check for your new name on the sign-in screen.
How to change your username in Windows 11 Open Control Panel. ... Click "Change your account name" ... Type in your new name. ... Check for your new name on the sign-in screen.