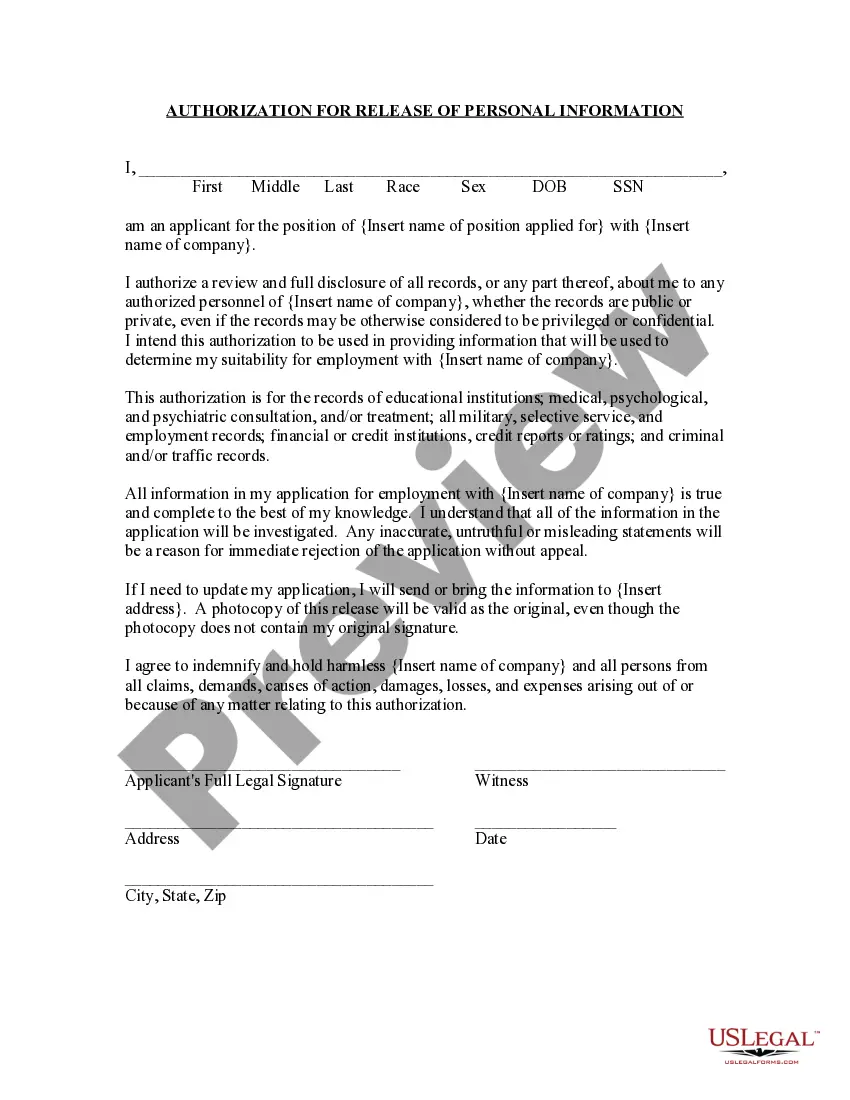
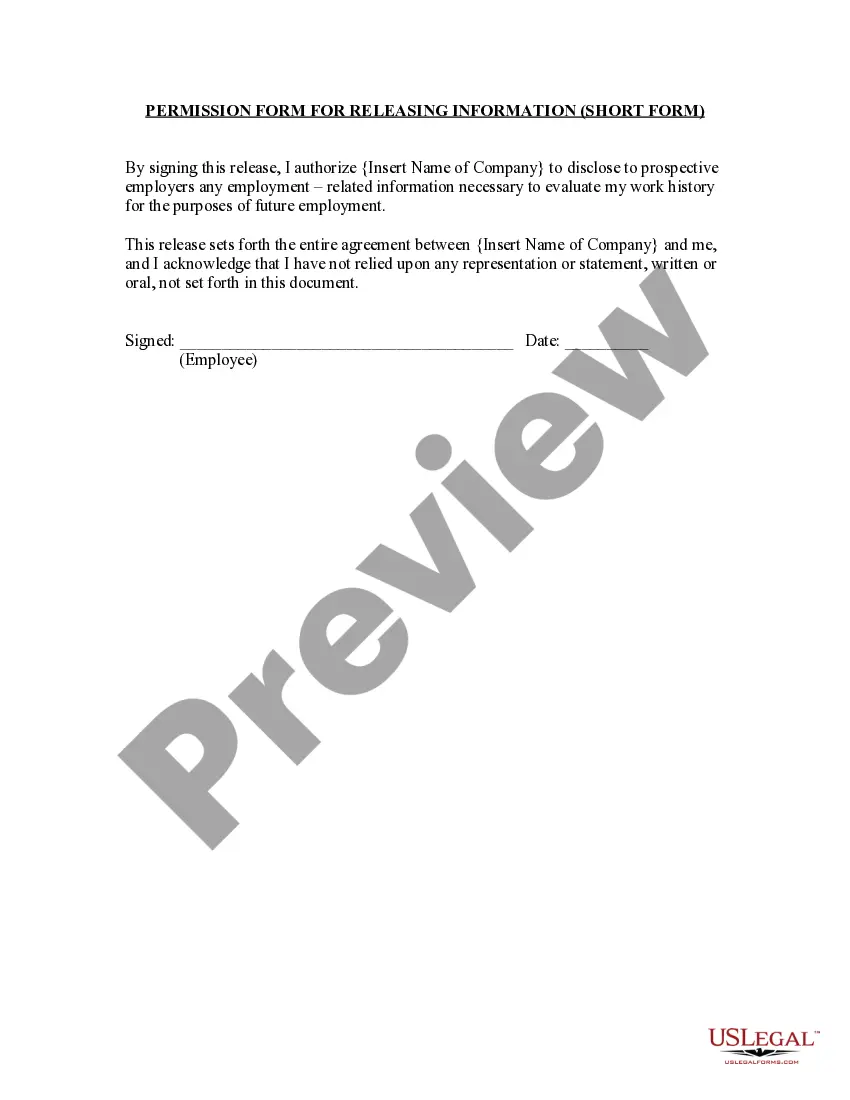
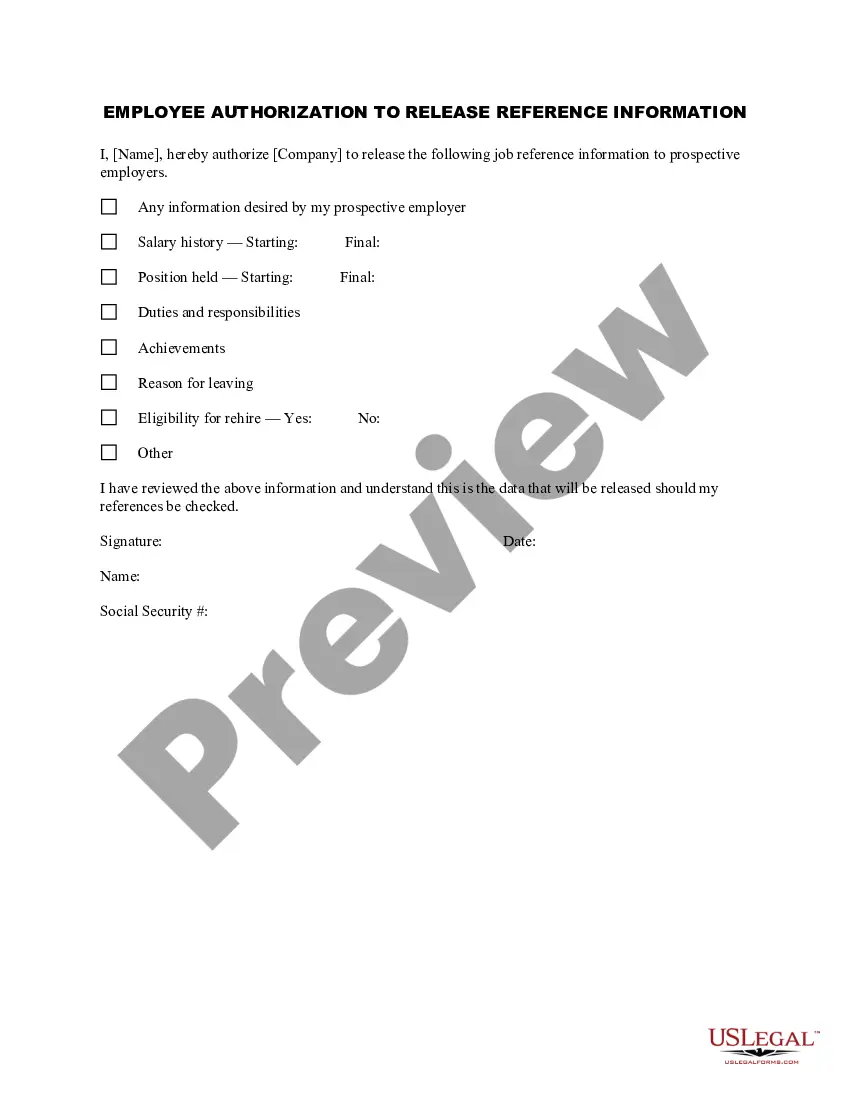
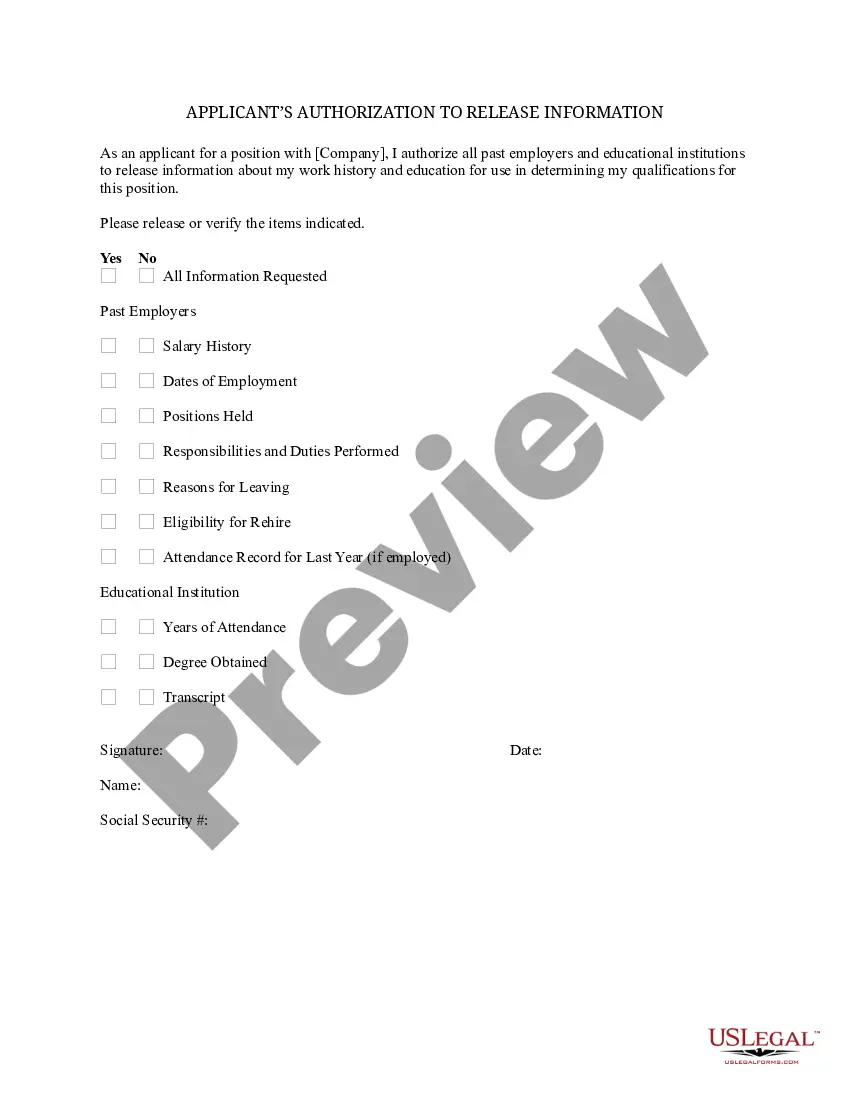
Travis Texas Authorization by Applicant for Employment to Release Information
Description

How to fill out Authorization By Applicant For Employment To Release Information?
Drafting legal documents can be tedious.
Moreover, if you opt to hire a legal expert to draft a business contract, documents for ownership transfer, pre-nuptial agreement, separation papers, or the Travis Authorization by Applicant for Employment to Release Information, it could result in significant expenses.
Browse the page and confirm there is a template available for your region. Review the form description and utilize the Preview option, if available, to ensure it is the template you need. Don't be concerned if the form does not meet your expectations - search for the correct one in the header. Click Buy Now after finding the necessary sample and choose the most appropriate subscription. Log In or create an account to proceed with your payment. Complete the payment using a credit card or via PayPal. Select the file format for your Travis Authorization by Applicant for Employment to Release Information and download it. Once done, you can print it out and fill it in on paper or upload the samples to an online editor for a quicker and more efficient completion. US Legal Forms allows you to access all the paperwork you have ever acquired multiple times - you can locate your templates in the My documents tab in your profile. Give it a try today!
- What is the optimal method to conserve time and finances while producing valid documents that comply fully with your state and municipal laws and regulations.
- US Legal Forms is an ideal solution, whether you require templates for personal or commercial purposes.
- US Legal Forms boasts the largest online repository of state-specific legal documents, offering users contemporary and professionally validated templates for every circumstance, all conveniently located in one spot.
- Therefore, if you seek the latest version of the Travis Authorization by Applicant for Employment to Release Information, it is easily accessible on our platform.
- Acquiring the documents requires minimal time.
- Users with existing accounts should verify their subscription is active, Log In, and select the sample using the Download button.
- For those who have not yet subscribed, follow these steps to obtain the Travis Authorization by Applicant for Employment to Release Information.
Form popularity
FAQ
A pipeline in Travis is called a job. It practically translates into a process that runs in a Virtual Machine (VM). Travis allows us to create several jobs (i.e., several VM's that can run in parallel) and define certain stages for each job.
Trigger Travis CI builds using the API V3 by sending a POST request to /repo/{slugid}/requests : Get an API token from your Travis CI Profile page. You'll need the token to authenticate most of these API requests.
To get started with Travis CI using GitHub # Go to Travis-ci.com and Sign up with GitHub. Accept the Authorization of Travis CI.Click on your profile picture in the top right of your Travis Dashboard, click Settings and then the green Activate button, and select the repositories you want to use with Travis CI.
To get started with Travis CI using GitHub # Go to Travis-ci.com and Sign up with GitHub. Accept the Authorization of Travis CI.Click on your profile picture in the top right of your Travis Dashboard, click Settings and then the green Activate button, and select the repositories you want to use with Travis CI.
Travis. yml , which is a YAML format text file, to the root directory of the repository. This file specifies the programming language used, the desired building and testing environment (including dependencies which must be installed before the software can be built and tested), and various other parameters.
Running a Container Based Docker Image Locally Download and install the Docker Engine. Select an image from Docker Hub.Switch to the travis user: su - travis. Clone your git repository into the / folder of the image. Manually install any dependencies. Manually run your Travis CI build command.
To get started with Travis CI using GitHub # Go to Travis-ci.com and Sign up with GitHub. Accept the Authorization of Travis CI.Click on your profile picture in the top right of your Travis Dashboard, click Settings and then the green Activate button, and select the repositories you want to use with Travis CI.
Travis CI is a commercial CI tool whereas Jenkins is an open-source tool. Travis CI takes very less time to get started while Jenkins needs elaborate setup. Travis CI offers less customization option whereas Jenkins offers vast customization options.
There are three types of commands: Non-API Commands, General API Commands and Repository Commands. All commands take the form of travis COMMAND ARGUMENTS OPTIONS .