Lost-Missing Receipt Declaration
About this form
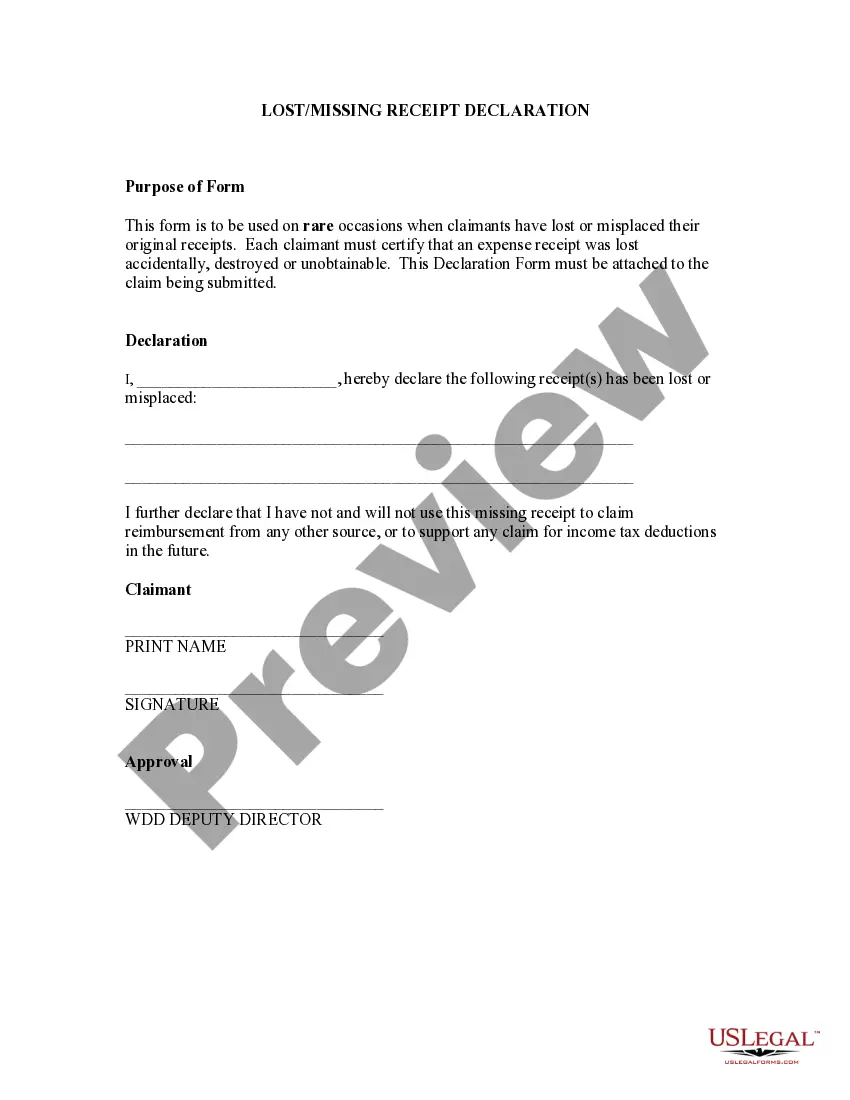
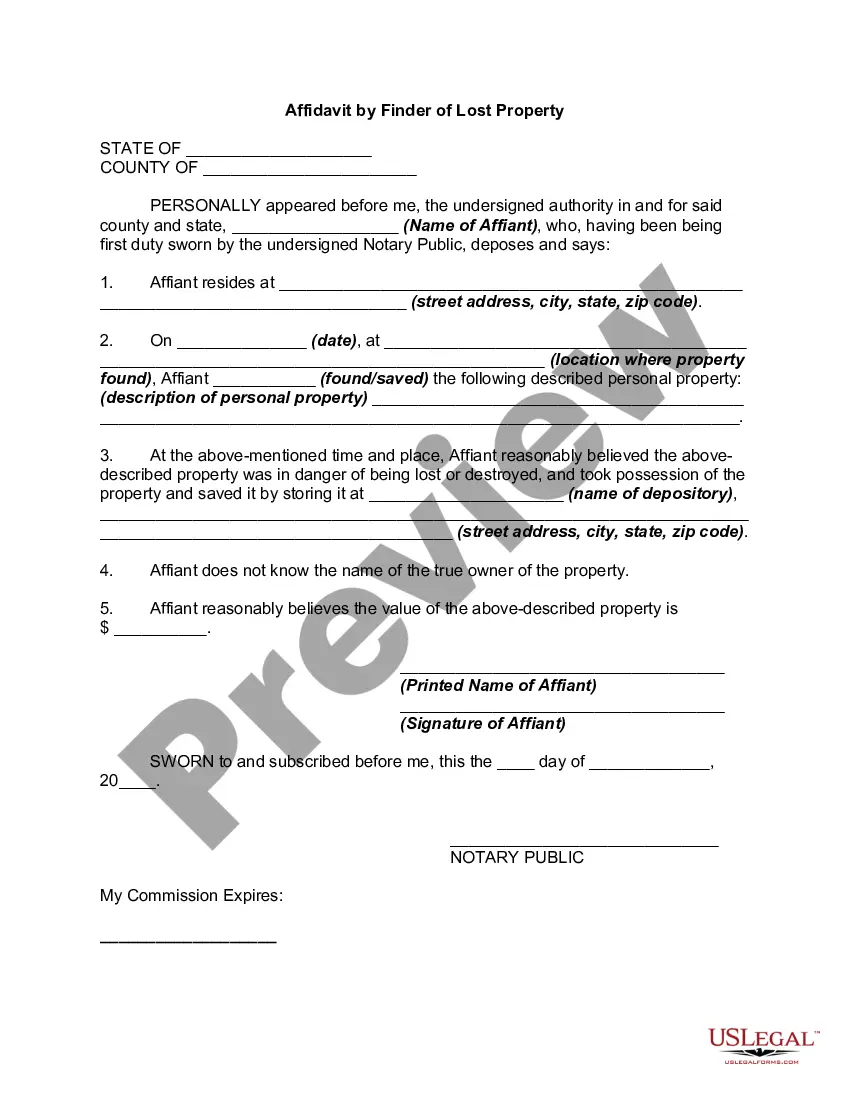
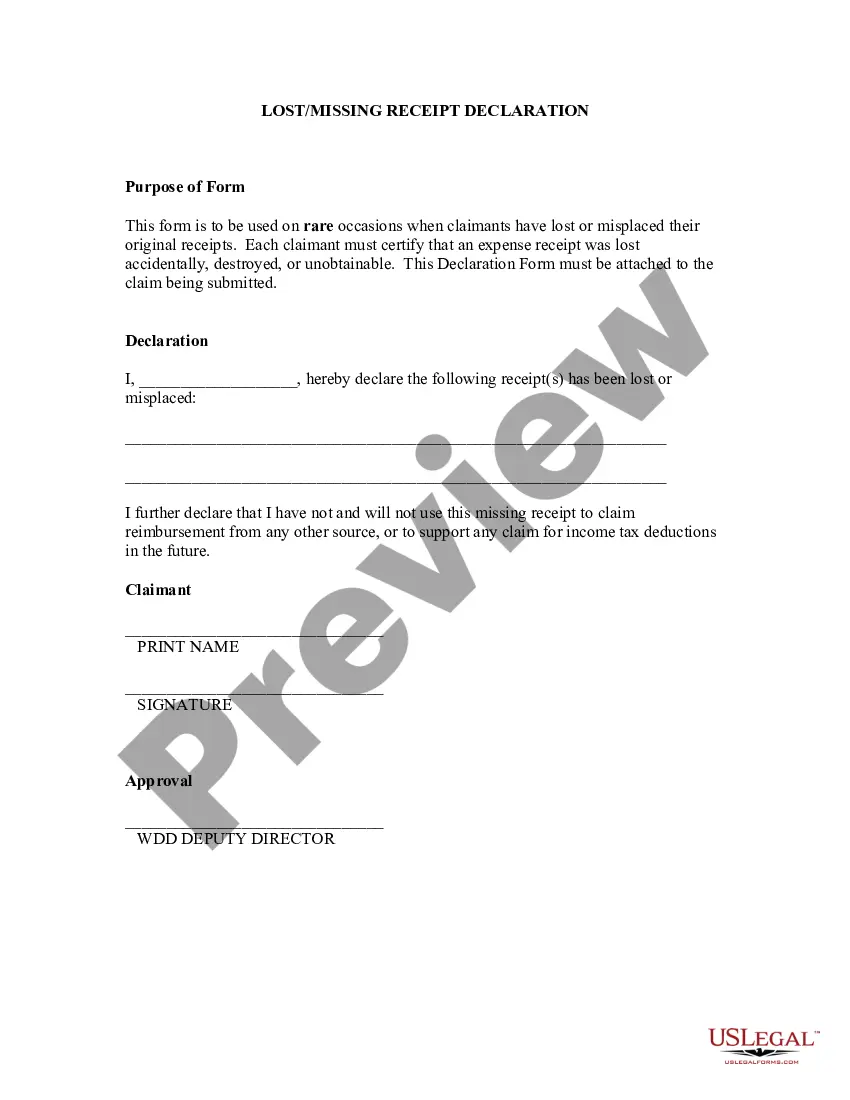
The Lost-Missing Receipt Declaration is a legal document used when a claimant has lost or misplaced their original receipts. This declaration allows the claimant to certify that the receipt was accidentally lost, destroyed, or cannot be found, and it must be submitted along with a claim. Unlike other reimbursement forms, this declaration specifically addresses situations where proof of expense is unattainable due to loss or misplacement.
Key components of this form
- Claimant's declaration of lost or missing receipt(s)
- Certification that the expense receipt will not be used for other claims
- Signature and printed name of the claimant
- Signature of the WDD Deputy Director for approval
Common use cases
This form should be used in situations where you have lost or cannot locate a receipt that is necessary for submitting an expense claim. For example, if you need to claim reimbursement for a business expense but cannot find the original receipt, this form provides a way to certify its loss while ensuring compliance with reporting requirements.
Who can use this document
- Individuals who have lost or misplaced receipts needed for expense reimbursement
- Claimants submitting a claim that requires supporting receipts
- Anyone needing to ensure transparency in expense reporting to avoid duplicate claims
Completing this form step by step
- Identify the name of the claimant and fill it in the designated space.
- Clearly list the details of the receipt(s) that have been lost or misplaced.
- Sign and print your name in the appropriate fields to certify the declaration.
- Ensure that the form is attached to the claim being submitted.
- Obtain the necessary approval signature from the WDD Deputy Director.
Is notarization required?
This form does not typically require notarization unless specified by local law. However, it is recommended to check with local regulations to ensure compliance with any specific requirements.
Get your form ready online
Our built-in tools help you complete, sign, share, and store your documents in one place.
Make edits, fill in missing information, and update formatting in US Legal Forms—just like you would in MS Word.
Download a copy, print it, send it by email, or mail it via USPS—whatever works best for your next step.
Sign and collect signatures with our SignNow integration. Send to multiple recipients, set reminders, and more. Go Premium to unlock E-Sign.
If this form requires notarization, complete it online through a secure video call—no need to meet a notary in person or wait for an appointment.
We protect your documents and personal data by following strict security and privacy standards.
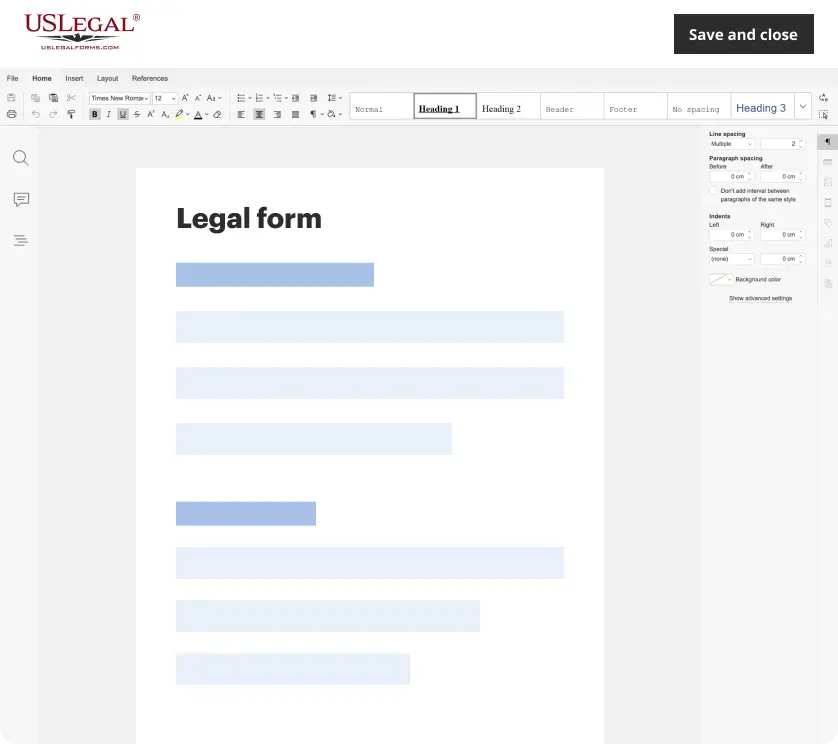
Make edits, fill in missing information, and update formatting in US Legal Forms—just like you would in MS Word.
Download a copy, print it, send it by email, or mail it via USPS—whatever works best for your next step.
Sign and collect signatures with our SignNow integration. Send to multiple recipients, set reminders, and more. Go Premium to unlock E-Sign.

If this form requires notarization, complete it online through a secure video call—no need to meet a notary in person or wait for an appointment.
We protect your documents and personal data by following strict security and privacy standards.
Avoid these common issues
- Failing to include specific details about the lost receipt(s).
- Not signing the declaration, which can render the form invalid.
- Using the form without attaching it to the corresponding claim.
- Submitting the form without obtaining the required approval signature.
Why use this form online
- Convenience of completing the form from anywhere, at any time.
- Editability allows users to correct any errors before submission.
- Access to templates created by licensed attorneys ensures legal accuracy.
Main things to remember
- The Lost-Missing Receipt Declaration is essential for claiming reimbursements without original receipts.
- Proper completion and certification of this form help maintain integrity in expense reporting.
- Always attach this declaration to your claim submission for it to be valid.
Looking for another form?
Form popularity
FAQ
Note With the report open, click Manage Receipts > Missing Receipt Declaration. The Create Receipt Declaration window appears. Select each entry that requires the declaration. Click Accept & Create. An image of the affidavit is created.
Other forms of proof of purchase include a: credit or debit card statement. lay-by agreement. receipt number or reference number given over the phone or internet. warranty card with details of the manufacturer or supplier, date and amount of purchase.
To claim expenses without a receipt or invoice, you will often need to explain the reason for the missing evidence and provide a signed statement justifying the expense and asserting that the amount is correct. This signed statement is known as an affidavit.
From within the mobile application, select the expense entry to which you want to add the Missing Receipt Declaration. At the top of the expense details, select Add Receipt. From the list of options that appear, select Missing Receipt Declaration. On the Disclaimer and Agreement screen, select Accept.
From within the mobile application, select the expense entry to which you want to add the Missing Receipt Declaration. At the top of the expense details, select Add Receipt. From the list of options that appear, select Missing Receipt Declaration. On the Disclaimer and Agreement screen, select Accept.
The Missing Receipt Declaration (which some users may remember as the ?Missing Receipt Affidavit?) allows a user to provide a declaration for lost or misplaced required receipt images. They can digitally sign a declaration that can be submitted instead of the actual imaged receipts.
Upload and Attach a Receipt to an Expense Line Open the expense line and click Attach Receipt Image. Expense Report Screenshot. Click Upload Receipt Image.Select a receipt file and click Open. The receipt will appear next to the expense. Click Save Expense.Repeat steps 1 ? 5 for each line requiring a receipt.