Contract Management With Docusign In King
Description


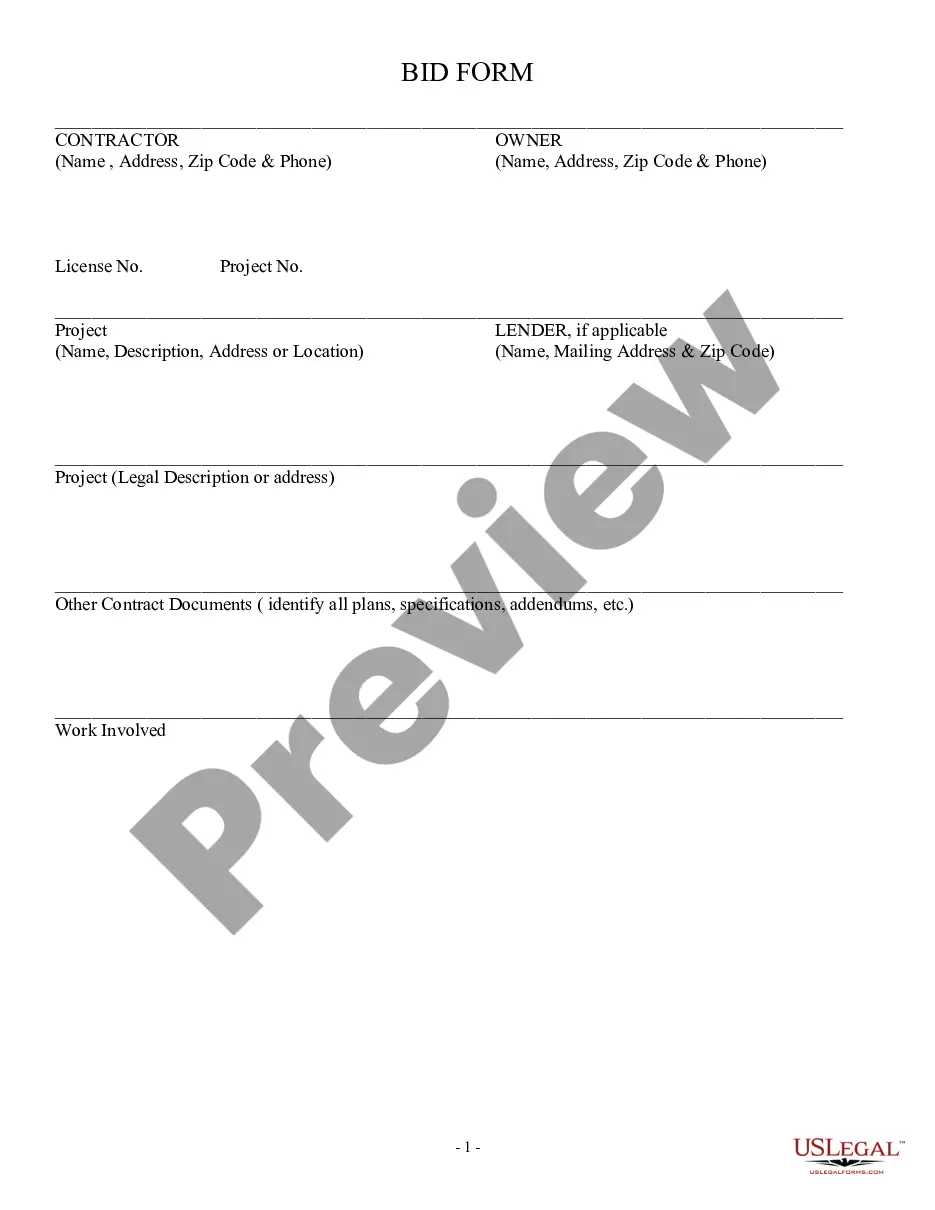
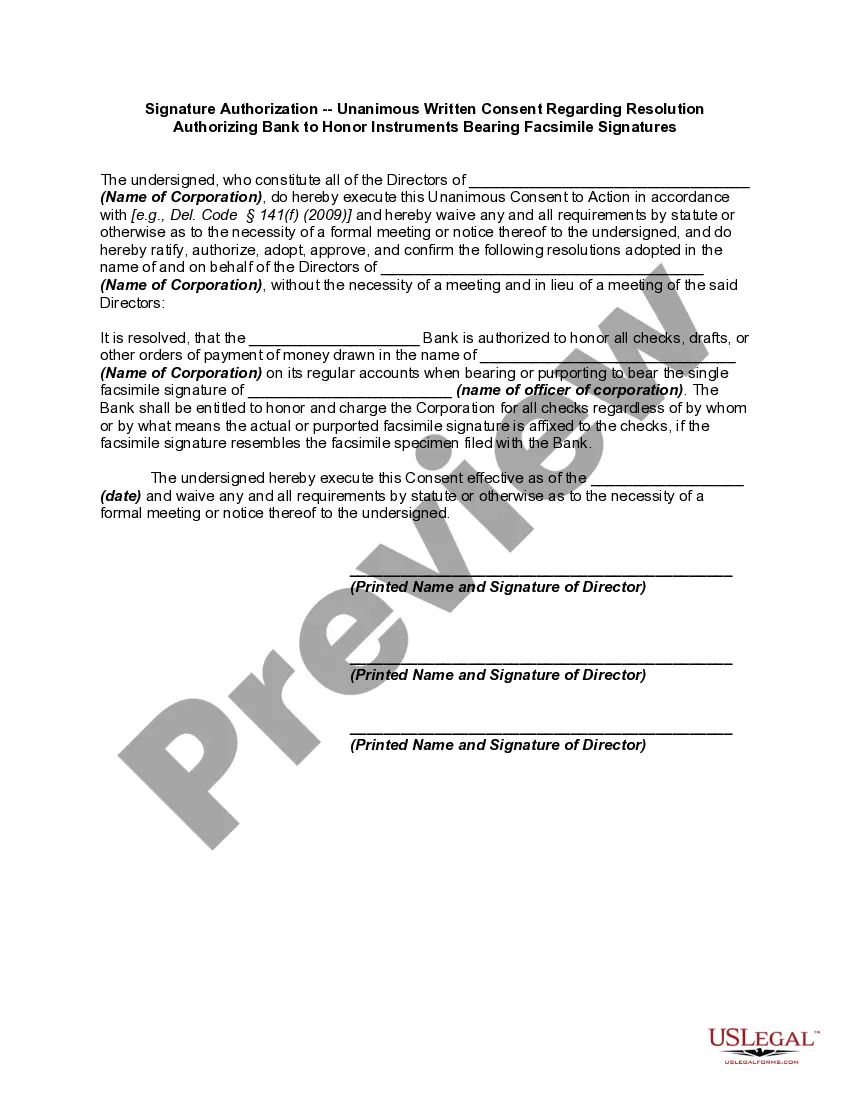
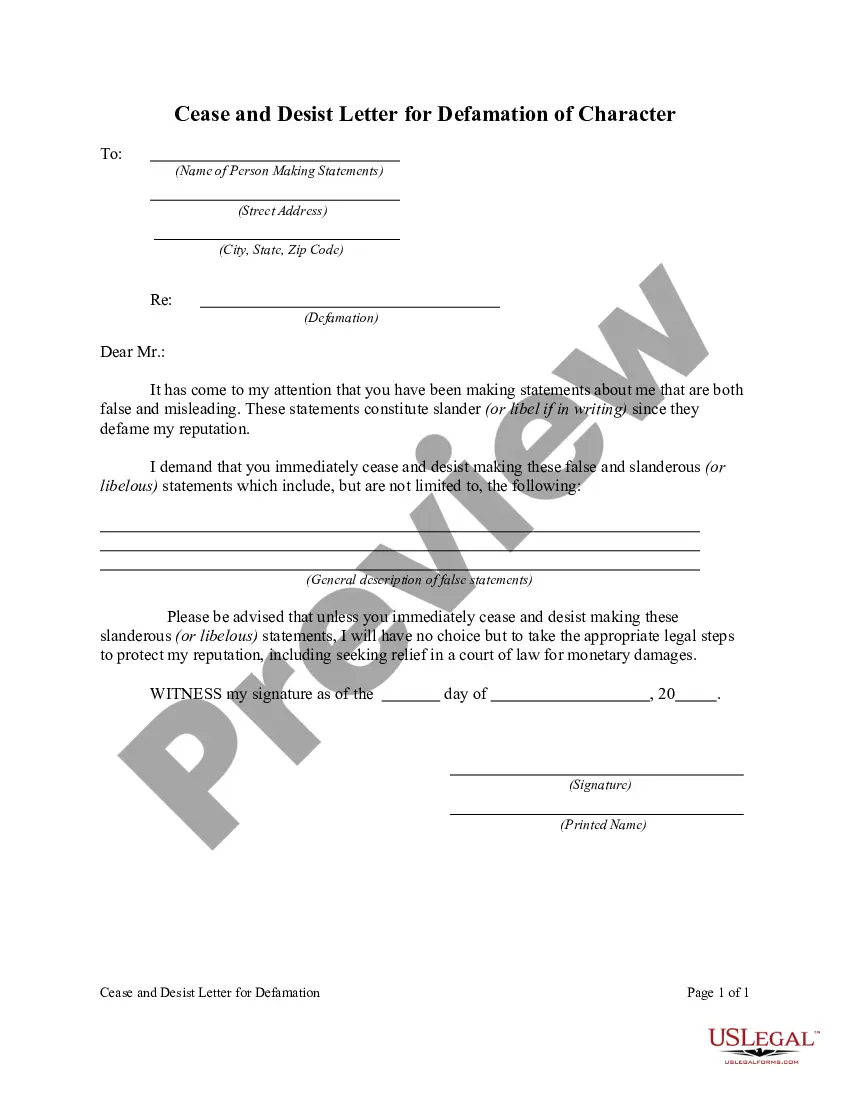
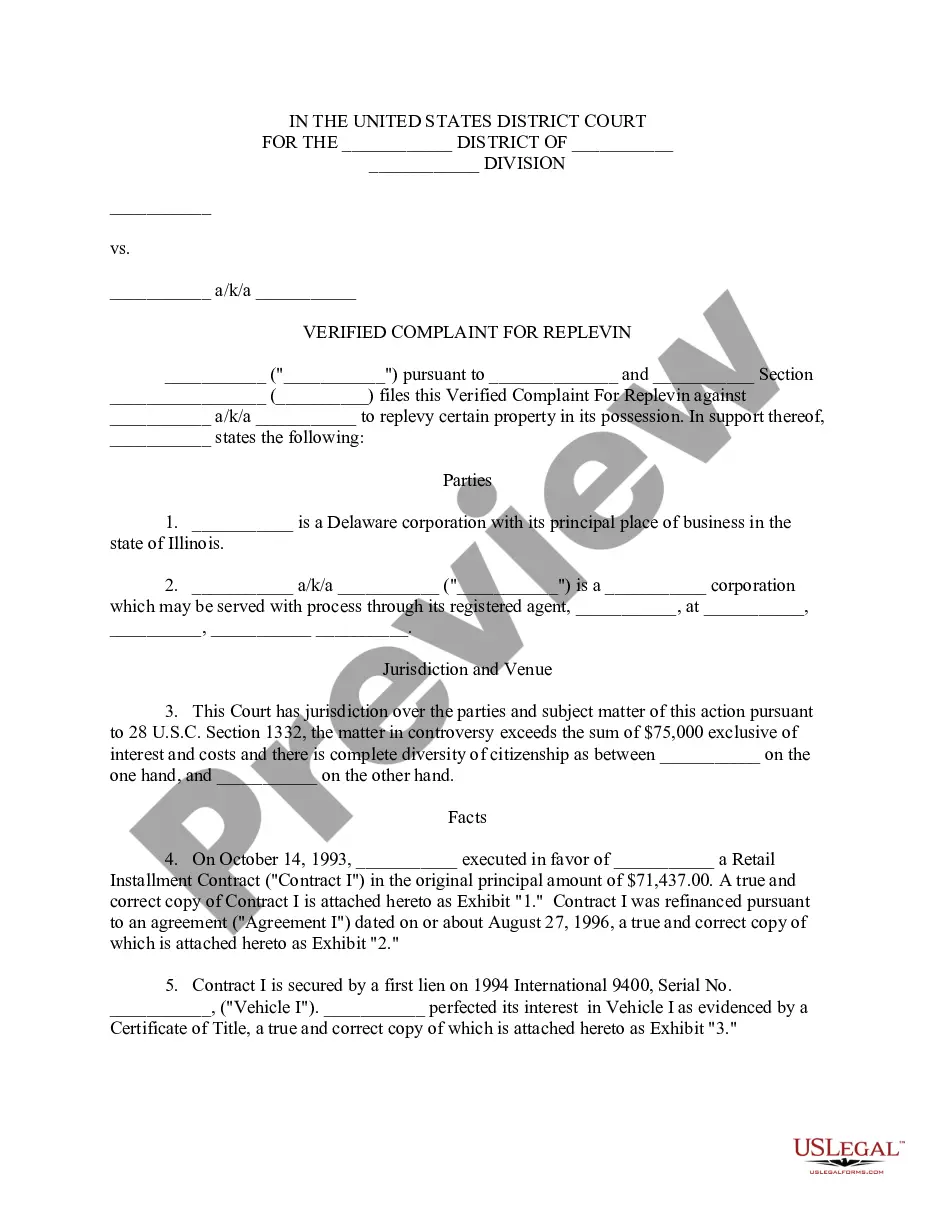
Get your form ready online
Our built-in tools help you complete, sign, share, and store your documents in one place.
Make edits, fill in missing information, and update formatting in US Legal Forms—just like you would in MS Word.
Download a copy, print it, send it by email, or mail it via USPS—whatever works best for your next step.
Sign and collect signatures with our SignNow integration. Send to multiple recipients, set reminders, and more. Go Premium to unlock E-Sign.
If this form requires notarization, complete it online through a secure video call—no need to meet a notary in person or wait for an appointment.
We protect your documents and personal data by following strict security and privacy standards.

Make edits, fill in missing information, and update formatting in US Legal Forms—just like you would in MS Word.

Download a copy, print it, send it by email, or mail it via USPS—whatever works best for your next step.

Sign and collect signatures with our SignNow integration. Send to multiple recipients, set reminders, and more. Go Premium to unlock E-Sign.

If this form requires notarization, complete it online through a secure video call—no need to meet a notary in person or wait for an appointment.

We protect your documents and personal data by following strict security and privacy standards.
Looking for another form?

Form popularity
FAQ
Step-by-Step Guide to Redlining in Step 1: Open the Document in . Step 2: Select the 'Prepare' Tab. Step 3: Click on 'Start Redlining' ... Step 4: Use the Redline Toolbar to Make Changes. Step 5: Save and Send the Document.
CLM (Contract Lifecycle Management) allows you to streamline the contract lifecycle by automating manual tasks, orchestrating complex workflows and reducing unnecessary risk.
Contract lifecycle management (CLM) automates and streamlines contract processes during key stages. These stages include initiation, authoring, process and workflow, negotiation and approval, execution, ongoing management and compliance (within the repository), and contract renewal.
What is CLM (Contract Lifecycle Management)? CLM stands for contract lifecycle management which streamlines the contract process.
ESSENTIAL DUTIES AND RESPONSIBILITIES: Design, develop, test, and implement custom solutions using CLM to meet business requirements related to contract management. Integrate CLM with other systems, such as CRM, ERP, and document repositories, to ensure seamless data flow and process automation.
CLM software has found its application across various business sectors, proving to be a valuable tool for several departments within an organisation. Here's a rundown on who exactly can benefit from using it: Legal teams: The legal department often finds itself buried under the bulky paperwork of contracts.
How to Create a Contract Step 1: Set Up a Account. Step 2: Prepare Your Contract Document. Step 3: Add Recipients and Define Signing Order. Step 4: Add Fields for Recipients to Fill Out. Step 5: Customize the Email Message. Step 6: Send the Contract.
To allow customers to add NDA redlines before entering your room, you need to use the Integration. To enable redlining, access your templates in . Select the template that you are using as your NDA in your portal and open advanced options in order to select "Allow recipients to edit the document."
How To Enable Document Markup on an Envelope As you set up your envelope, in the Add Documents and Recipients view, select ADVANCED OPTIONS. In the Advanced Options modal, enable the setting Allow recipients to edit. Select SAVE. Finish setting up your document as usual, and send it.