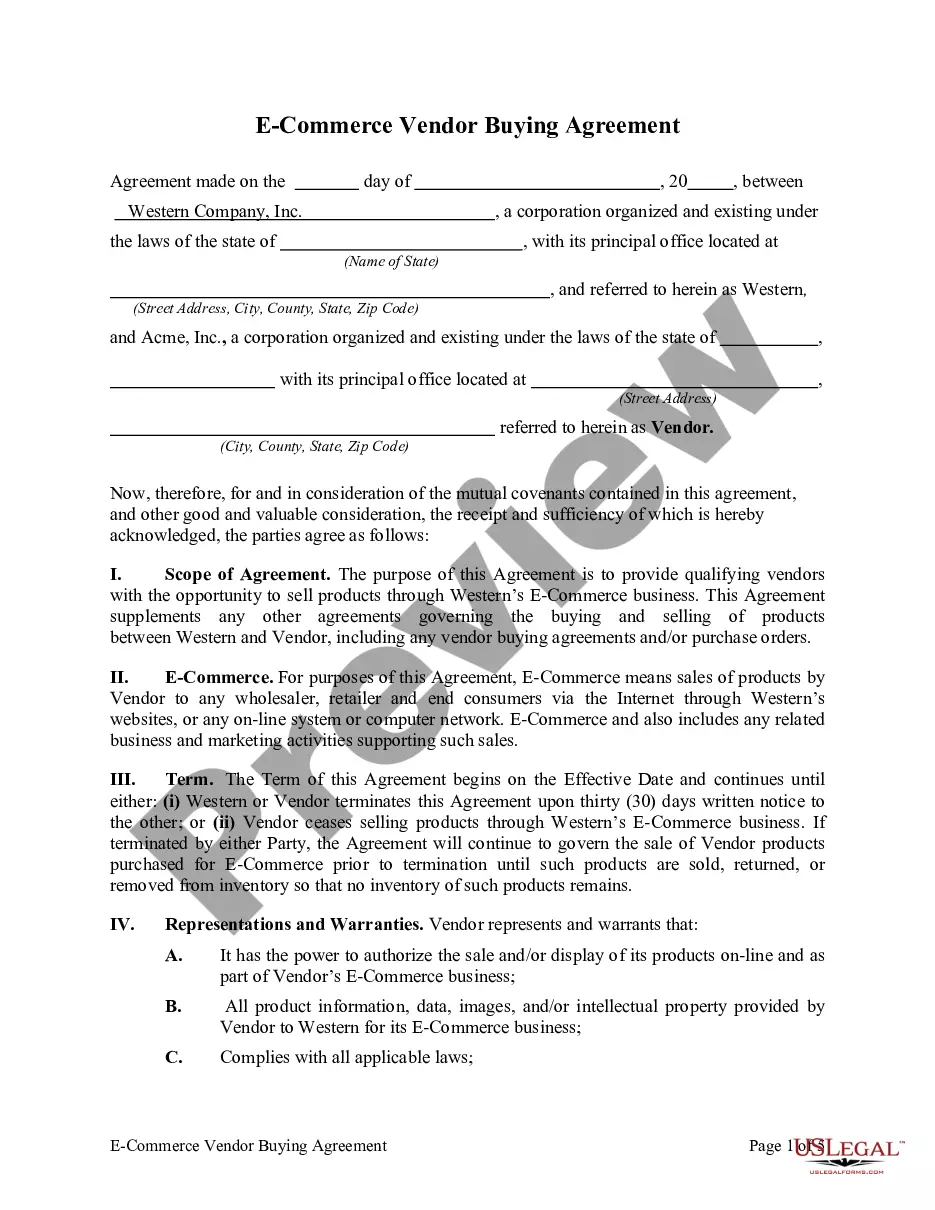
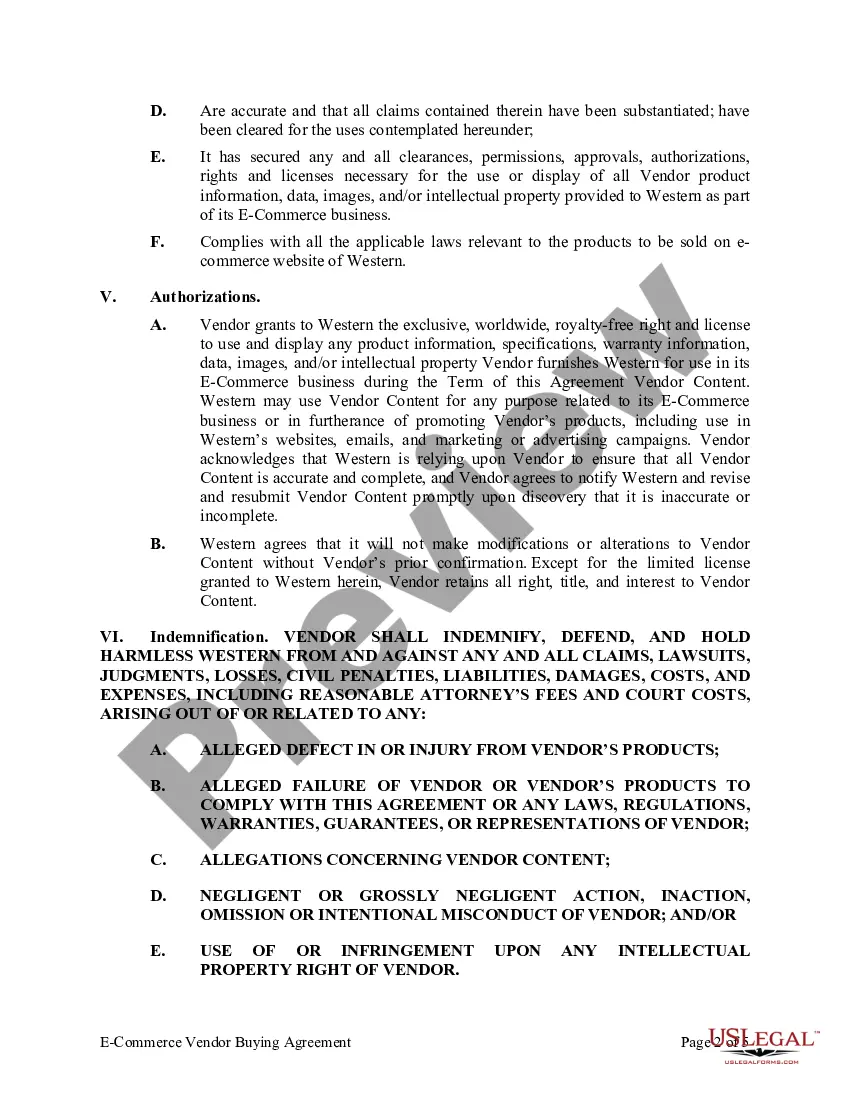
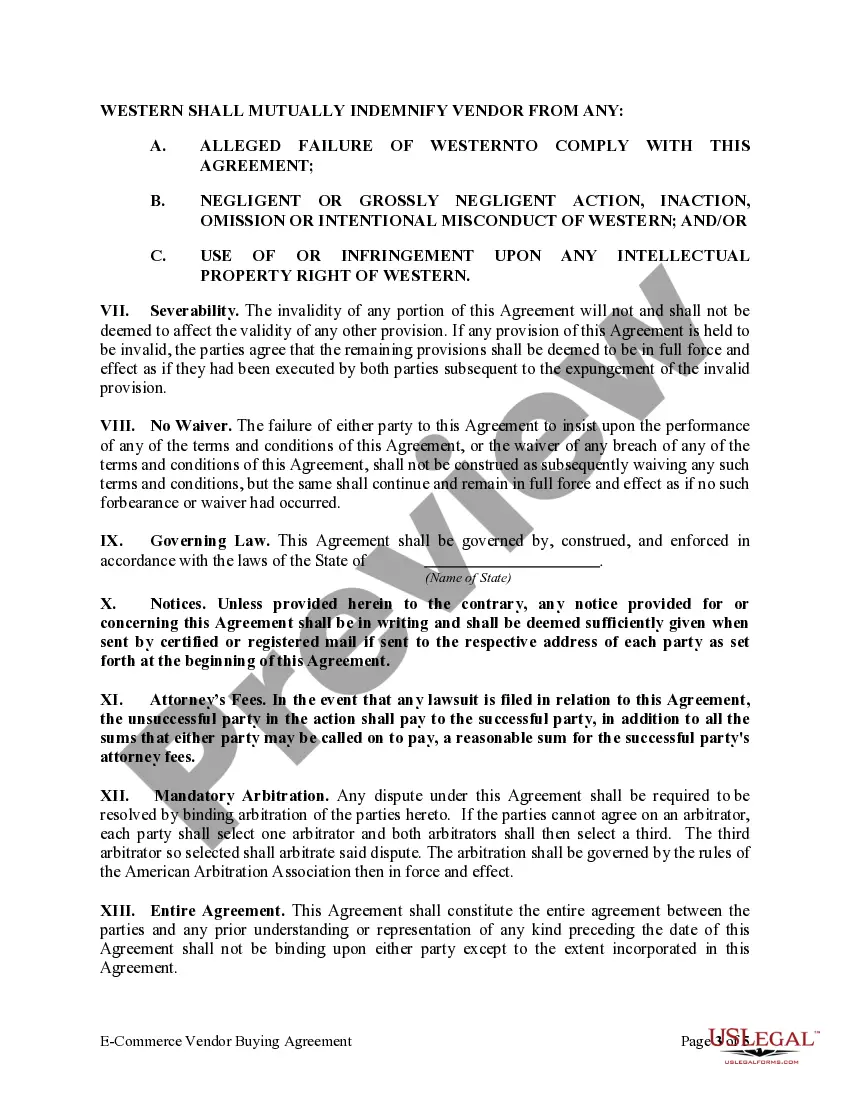
Vendor Agreement For Services In Phoenix
Description
Get your form ready online
Our built-in tools help you complete, sign, share, and store your documents in one place.
Make edits, fill in missing information, and update formatting in US Legal Forms—just like you would in MS Word.
Download a copy, print it, send it by email, or mail it via USPS—whatever works best for your next step.
Sign and collect signatures with our SignNow integration. Send to multiple recipients, set reminders, and more. Go Premium to unlock E-Sign.
If this form requires notarization, complete it online through a secure video call—no need to meet a notary in person or wait for an appointment.
We protect your documents and personal data by following strict security and privacy standards.
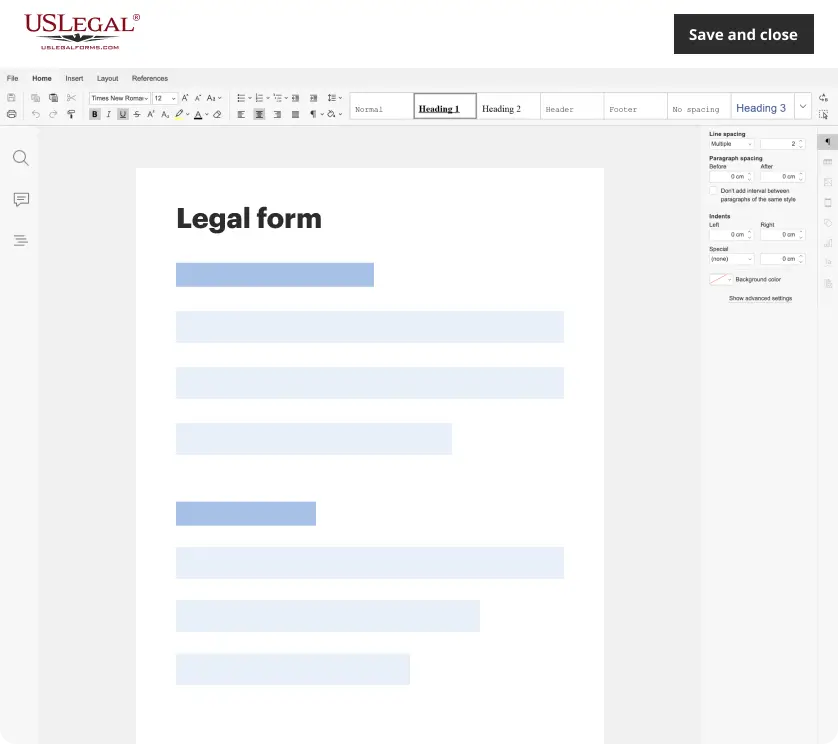
Make edits, fill in missing information, and update formatting in US Legal Forms—just like you would in MS Word.
Download a copy, print it, send it by email, or mail it via USPS—whatever works best for your next step.
Sign and collect signatures with our SignNow integration. Send to multiple recipients, set reminders, and more. Go Premium to unlock E-Sign.
If this form requires notarization, complete it online through a secure video call—no need to meet a notary in person or wait for an appointment.
We protect your documents and personal data by following strict security and privacy standards.
Looking for another form?
Form popularity
FAQ
Creating a vendor contract Step 1: Specify business terms. The first part of each vendor contract usually outlines the business terms including. Step 2: Outline legal concepts. This section usually begins with the representations and warranties section. Step 3: Address consequences.
Vendors often provide additional services beyond just supplying goods, such as installation, maintenance, or customer support.
Write the contract in six steps Start with a contract template. Open with the basic information. Describe in detail what you have agreed to. Include a description of how the contract will be ended. Write into the contract which laws apply and how disputes will be resolved. Include space for signatures.
A vendor contract (otherwise known as a vendor agreement) is a business contract between two parties covering the exchange of goods or services in return for compensation. Vendor contracts establish the business relationship conditions and include details on each party's obligations under the contract.
Step 1: Familiarize Yourself With the Industry. Step 2: Determine Your Business Goals. Step 3: Lay the Foundation to Become a Vendor. Step 4: Get Any Necessary Licensing or Registrations. Step 5: Market to and Network With Your Target Audience. Step 6: Negotiate Your First Sale. Step 7: Learn to Use the Vendor Portal.
In order to do business with the State of Arizona, businesses are required to register an account on the Arizona Procurement Portal (APP).
In order to do business with the State of Arizona, businesses are required to register an account on the Arizona Procurement Portal (APP). If you have any questions, please email the APP Help Desk at app@azdoa or call (602) 542-7600.
To begin the registration process, visit and click the tab titled Want to do business with the State? You will need your entity's exact legal name as registered with the federal government and your federal tax identification number to complete the process. Registration takes about ten minutes.
To do business with the city you must register in procurePHX. To register, you must have a signed, scanned copy of your W-9. Need Help? Email vendor.support@phoenix or call (602) 262-1819.