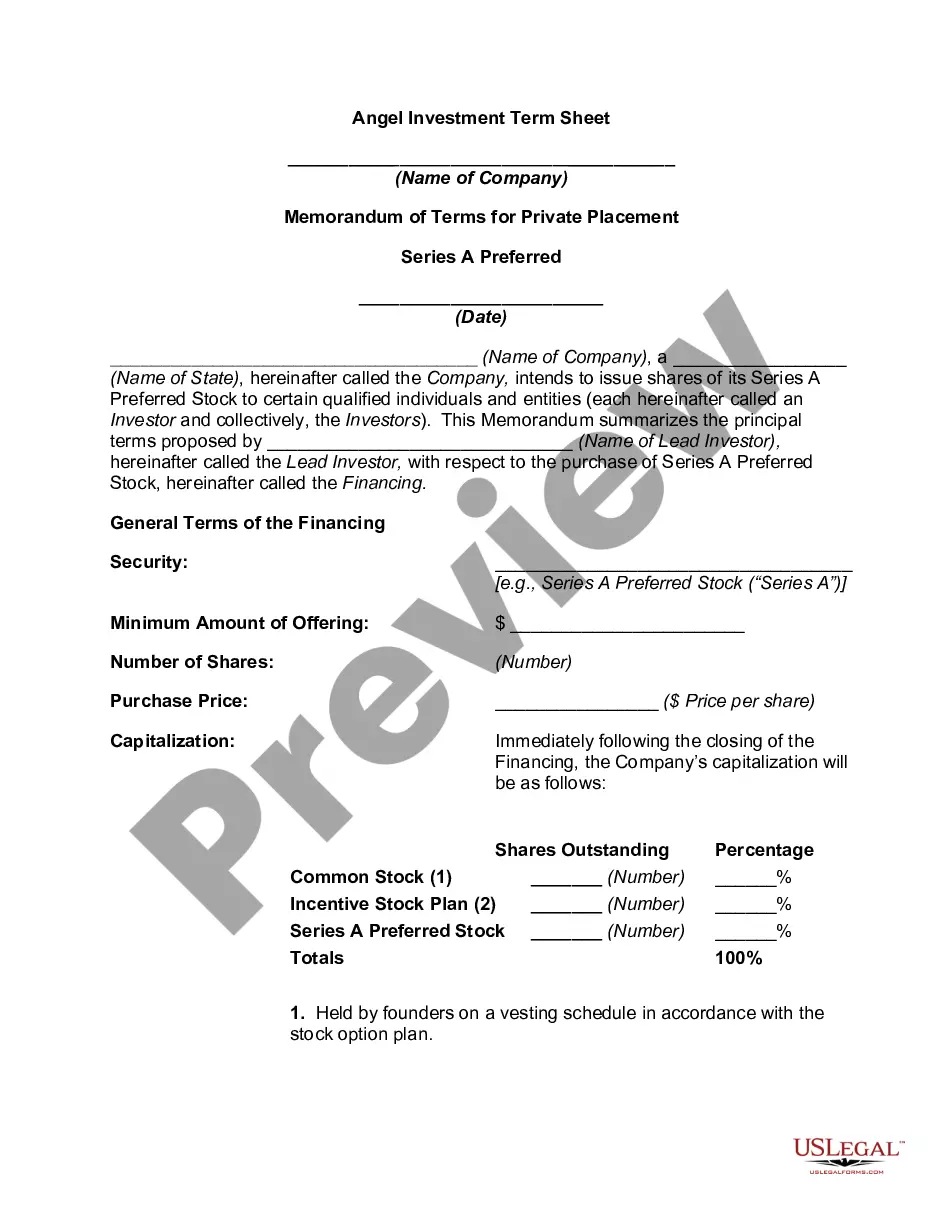
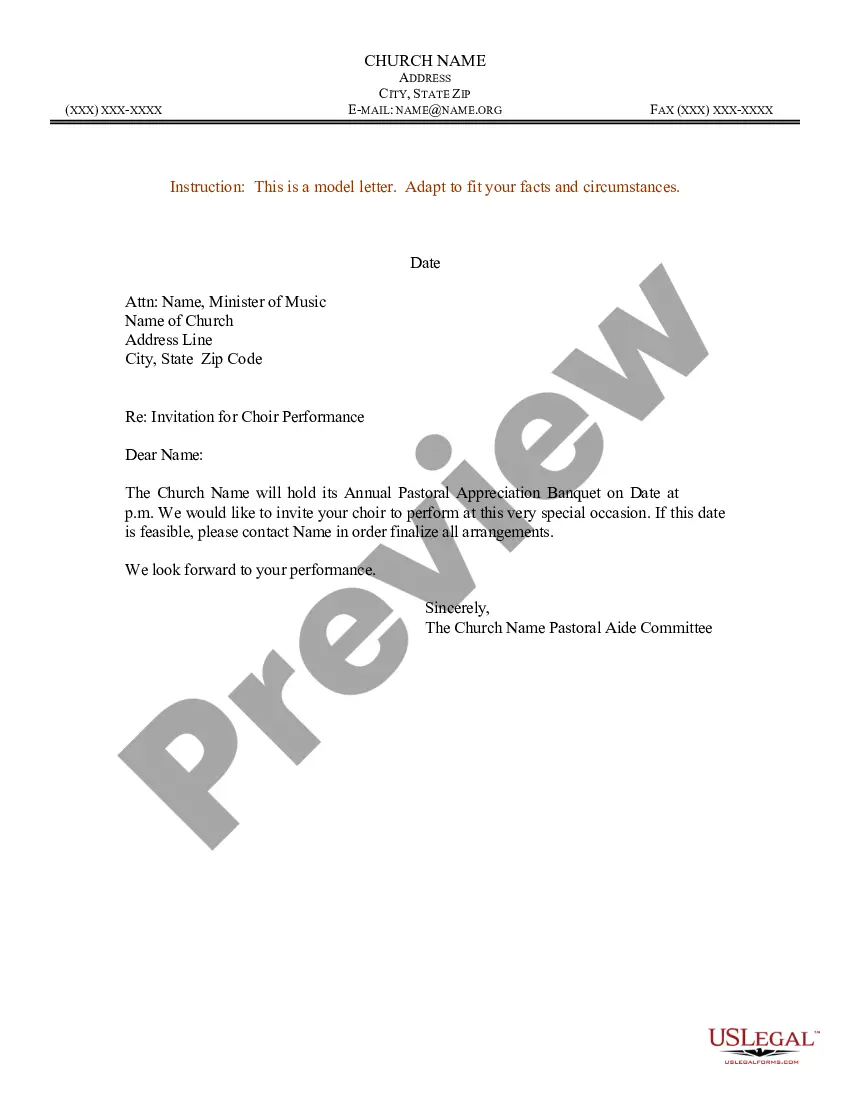
Letter Invitation For Visa In North Carolina
Description
Get your form ready online
Our built-in tools help you complete, sign, share, and store your documents in one place.
Make edits, fill in missing information, and update formatting in US Legal Forms—just like you would in MS Word.
Download a copy, print it, send it by email, or mail it via USPS—whatever works best for your next step.
Sign and collect signatures with our SignNow integration. Send to multiple recipients, set reminders, and more. Go Premium to unlock E-Sign.
If this form requires notarization, complete it online through a secure video call—no need to meet a notary in person or wait for an appointment.
We protect your documents and personal data by following strict security and privacy standards.
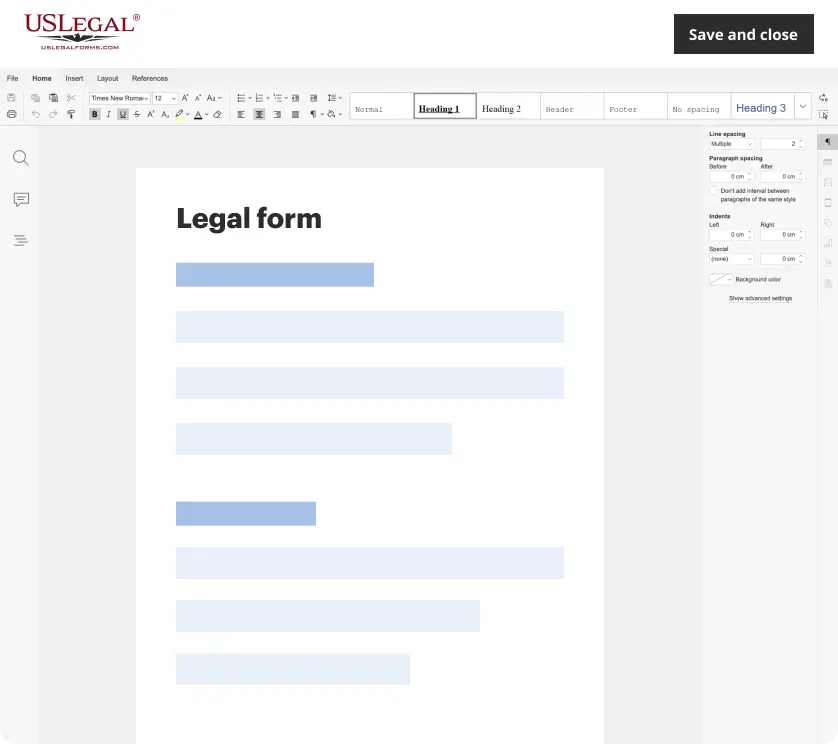
Make edits, fill in missing information, and update formatting in US Legal Forms—just like you would in MS Word.
Download a copy, print it, send it by email, or mail it via USPS—whatever works best for your next step.
Sign and collect signatures with our SignNow integration. Send to multiple recipients, set reminders, and more. Go Premium to unlock E-Sign.
If this form requires notarization, complete it online through a secure video call—no need to meet a notary in person or wait for an appointment.
We protect your documents and personal data by following strict security and privacy standards.
Looking for another form?
Form popularity
FAQ
Immigrant visas are issued to foreign nationals who intend to live permanently in the United States. Nonimmigrant visas are for foreign nationals wishing to enter the United States on a temporary basis - for tourism, medical treatment, business, temporary work, study, or other similar reasons.
A citizen of a foreign country who wishes to enter the United States must, in most cases, first obtain a visa to do so. This can be either a nonimmigrant visa for a temporary stay or an immigrant visa for permanent residence. For many, a "B" visitor visa is the easiest and most appropriate one to get.
Applying for Your Work Visa To apply, you need to fill out a DS-160 online. Fill out the application and print it out to bring with you to your interview. While completing the application you will need to upload your photo. Next you must schedule an interview if you're between the ages of 14 and 79.
Documents to include with your invitation letter Proof of financial support, like bank statements or employment details. Ownership or rental documents for the host's residence. A detailed itinerary of planned activities. Event-related documentation, such as a registration confirmation or program agenda.
A letter of invitation for a B-1/B-2 travel visa should include the following information: Name and contact information for the host. Host's immigration status (for example, “U.S. citizen”) Relationship between the host and the visa applicant. Visa applicant's full name and address. Purpose of the trip.
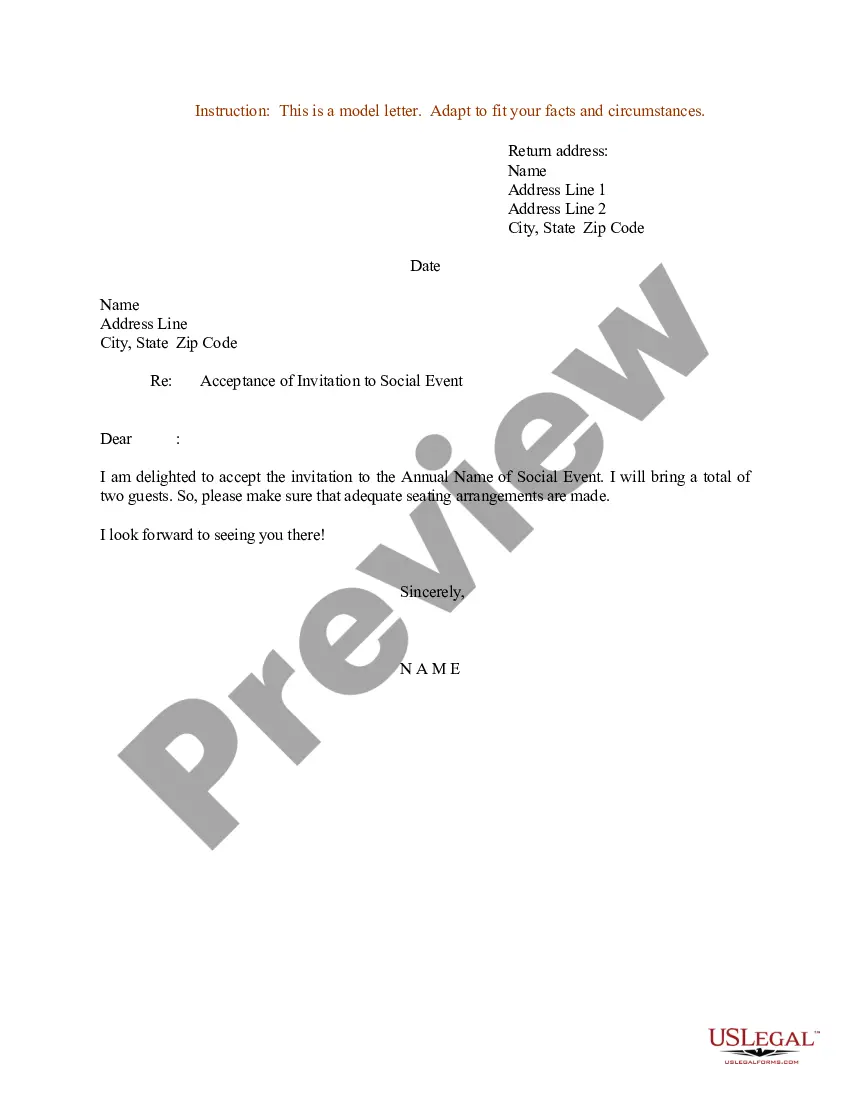
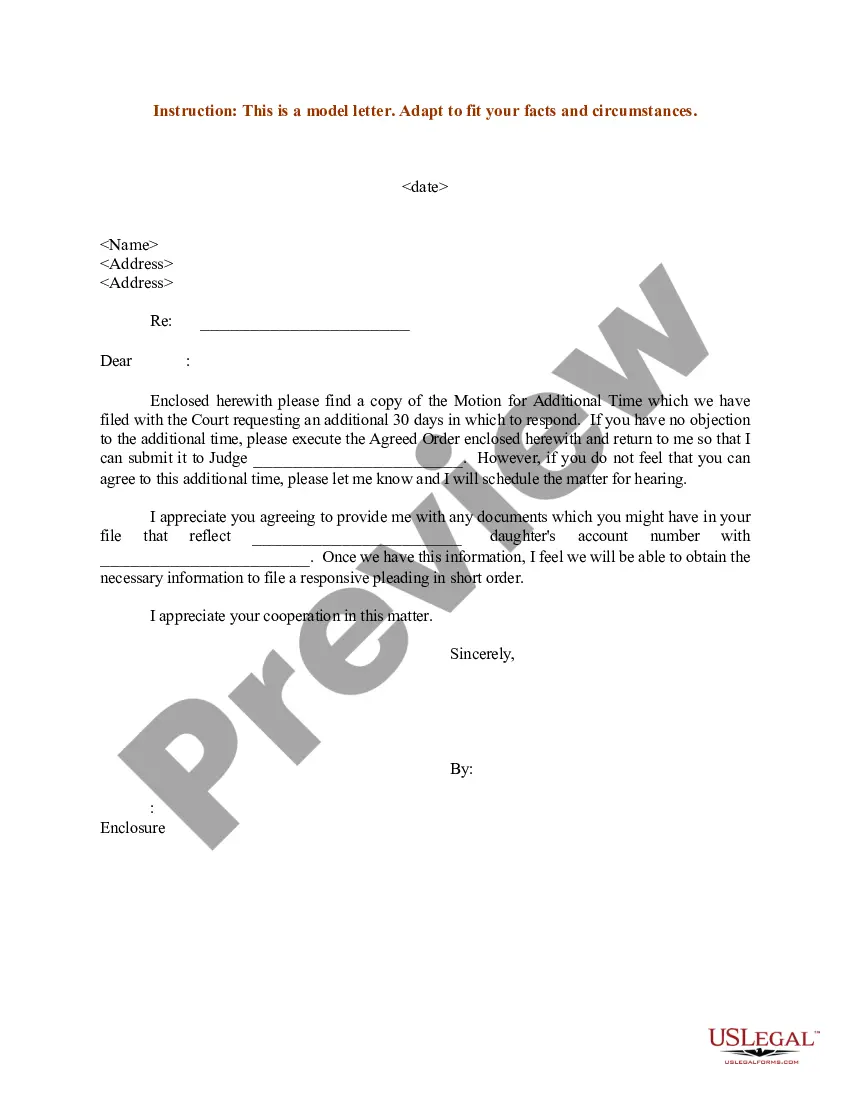
Format and Sample of Invitation Letter addressed to the Embassy. I am writing this letter to support the visitor visa application for Visitor's Name. She / he is fully resident in country, and is my relationship. She / he lives at Visitor's Address and their home phone number is (YY)X.
Your cover letter should include your personal information, the purpose of your visit, the duration of your stay, your travel itinerary, proof of financial means, and any ties to your home country that show you will return after your visit. It should also have a polite closing, requesting visa approval. 4.
Families, relatives and friends who plan to visit you in the U.S. will most likely need to apply for a tourist visa (B1/B2 visa). There are no specific documents, e.g. Form I-20 or DS-2019, with which to apply for a B1/B2 visa. However, there are some guidelines on what a consular official expects of applicants.
I, Host Name, residing at Host Address, am writing to invite my Relation, e.g., mother, Visitor's Name, to visit me in Host Country for a period of Duration, e.g., 3 months starting from Date. During this time, Visitor's Name will stay with me, and I will cover their accommodation and expenses.
Click either “Add by name” or “Add by UID” (if a profile has already been created for an individual applicant) and add the applicants one by one, then click “Save”. Once you hit “Save”, that individual applicant will be added to the group appointment.