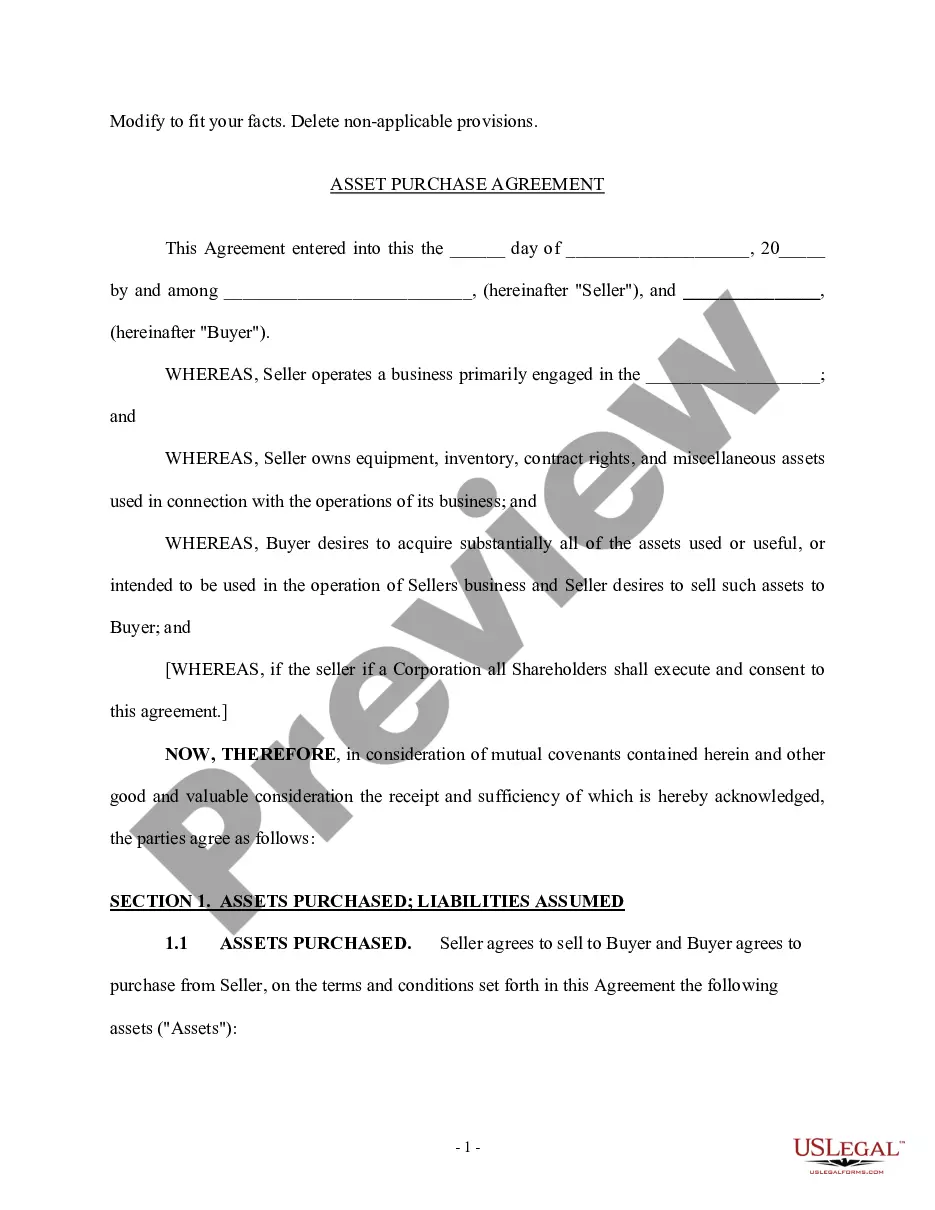
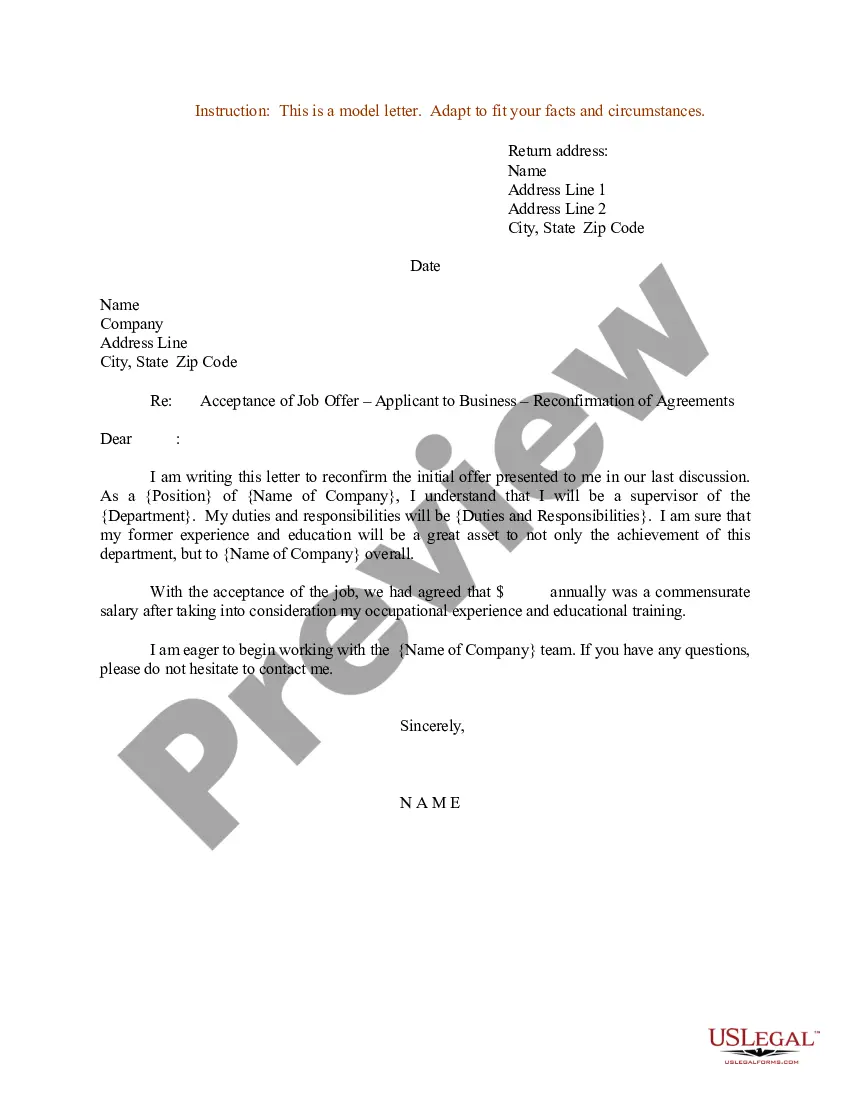
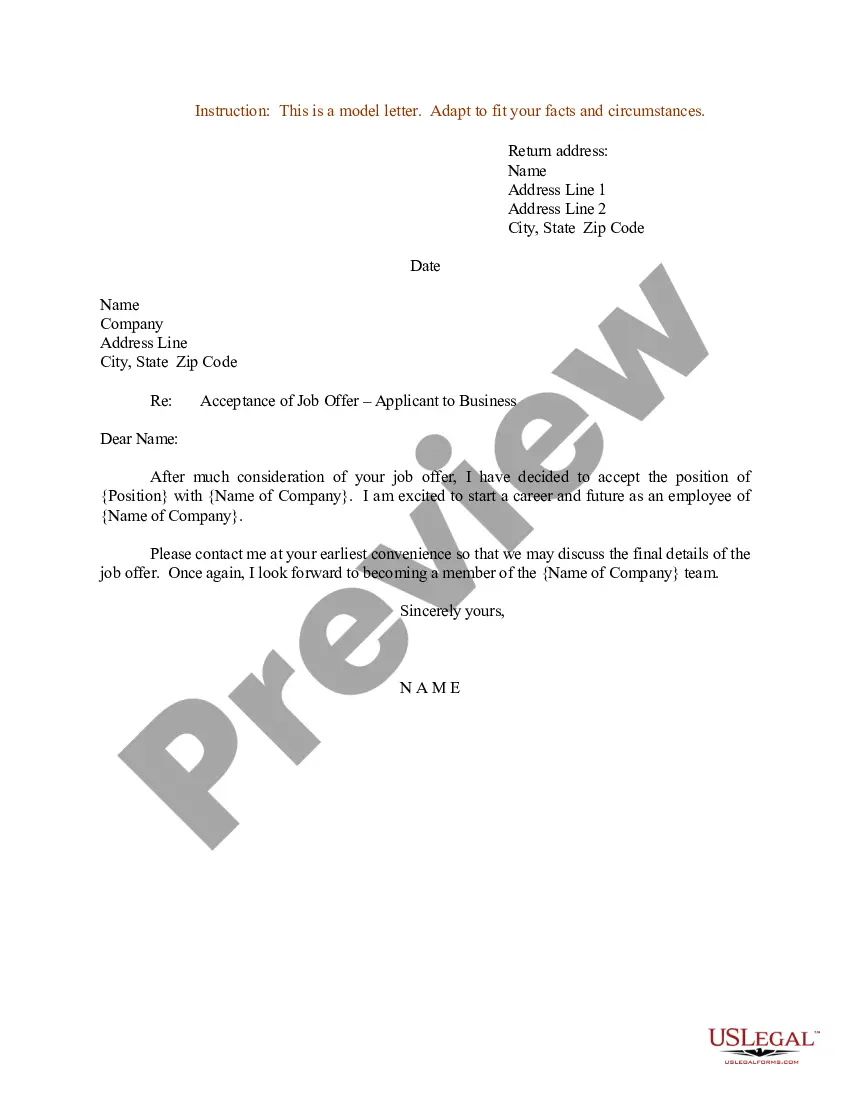
Letter To Accept Admission Offer In Queens
Description
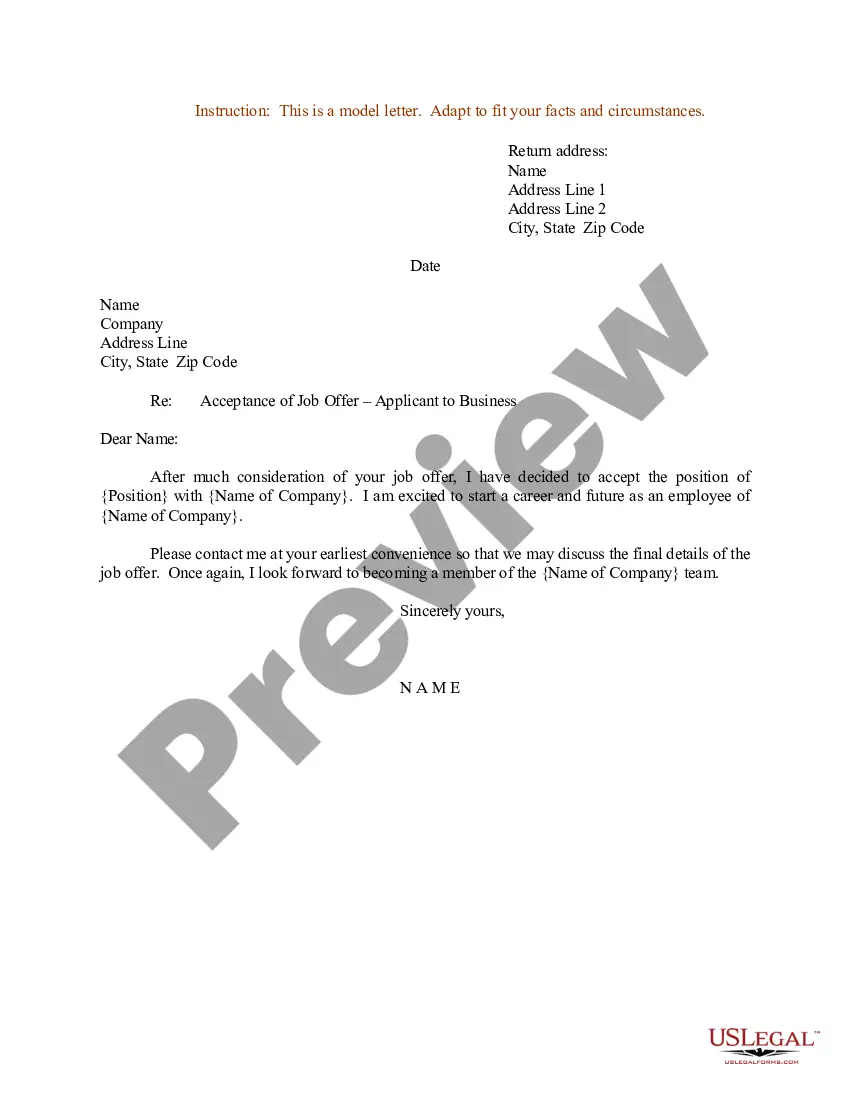
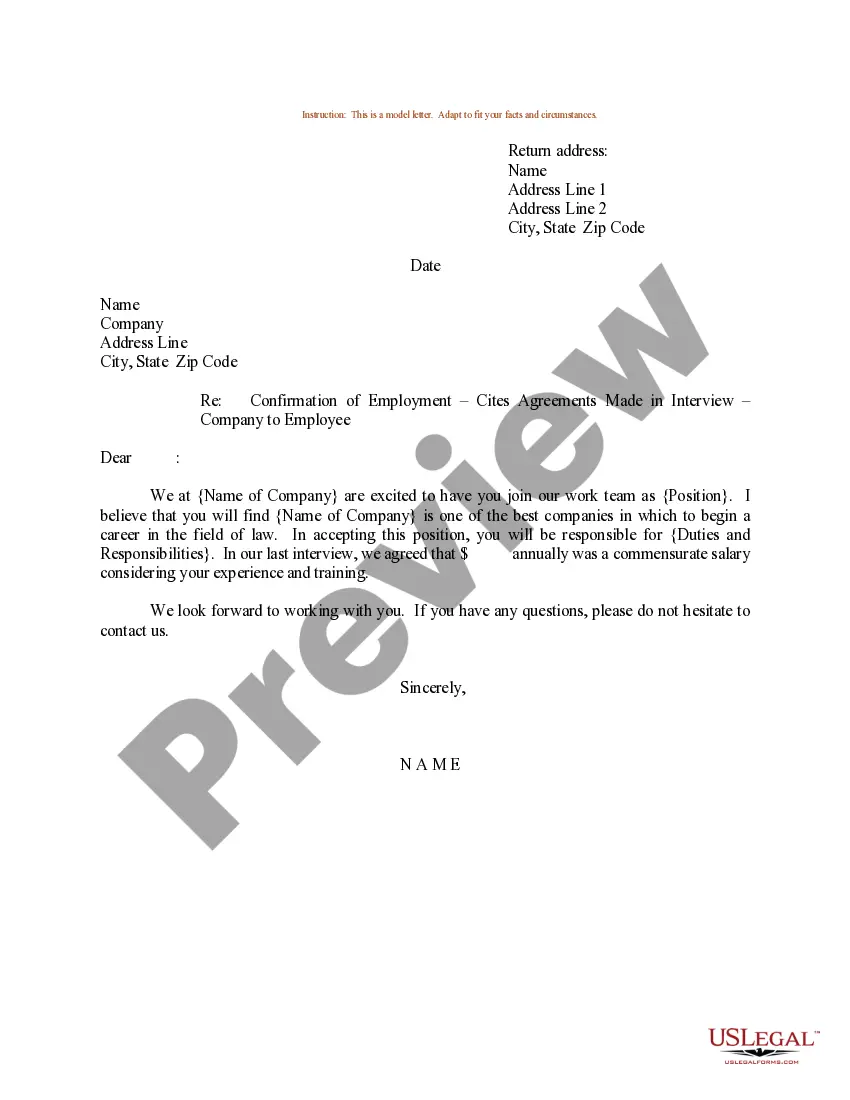
Get your form ready online
Our built-in tools help you complete, sign, share, and store your documents in one place.
Make edits, fill in missing information, and update formatting in US Legal Forms—just like you would in MS Word.
Download a copy, print it, send it by email, or mail it via USPS—whatever works best for your next step.
Sign and collect signatures with our SignNow integration. Send to multiple recipients, set reminders, and more. Go Premium to unlock E-Sign.
If this form requires notarization, complete it online through a secure video call—no need to meet a notary in person or wait for an appointment.
We protect your documents and personal data by following strict security and privacy standards.
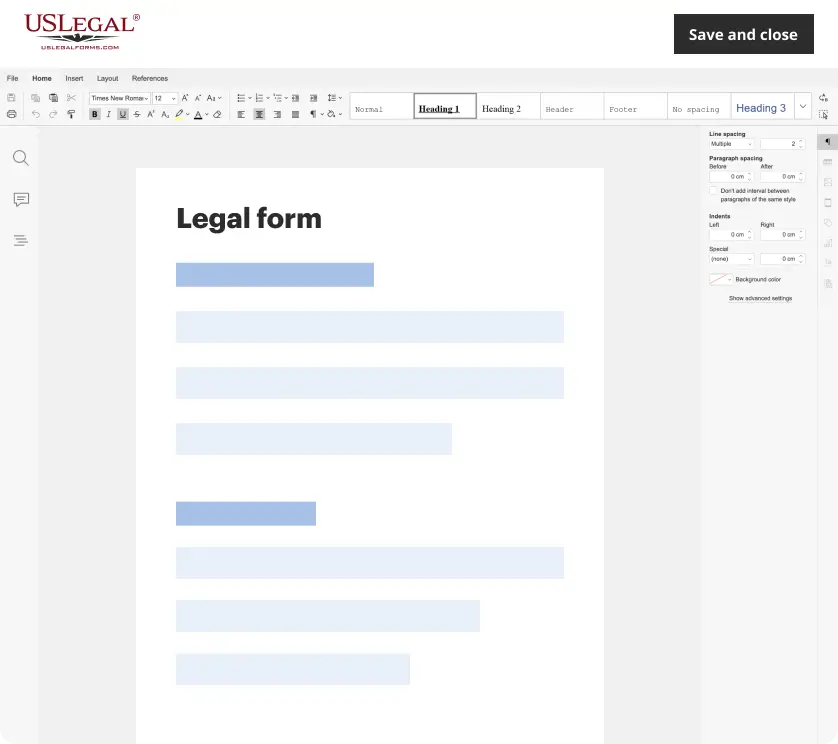
Make edits, fill in missing information, and update formatting in US Legal Forms—just like you would in MS Word.
Download a copy, print it, send it by email, or mail it via USPS—whatever works best for your next step.
Sign and collect signatures with our SignNow integration. Send to multiple recipients, set reminders, and more. Go Premium to unlock E-Sign.

If this form requires notarization, complete it online through a secure video call—no need to meet a notary in person or wait for an appointment.
We protect your documents and personal data by following strict security and privacy standards.
Looking for another form?
Form popularity
FAQ
Send a courteous email or letter to the admissions office thanking them for the offer and informing them of your decision. Remember – each college may have a unique process for either accepting or declining your admissions offers so look at the details carefully.
Follow these simple steps to ensure you include the important details in your acceptance letter: Address the letter to the recruiter. Express your gratitude for the offer. Confirm the terms of employment. Format your letter appropriately. Proofread your letter. Send your letter and follow up with the recruiter.
How to write an admissions acceptance letter Prepare the header. Begin the letter with an official header that includes the student's full name and address. Confirm the candidate's admission. Share congratulations. Explain how to accept. Include optional details. Encourage them to accept.
Thank the admissions office for their time and consideration during the application process. Conclude the letter politely, such as ``Sincerely'' or ``Best regards,'' followed by your name. It's important to respond promptly, as colleges often have deadlines for students to accept or decline their offers.
From High School to Higher Education We won't only review academic success, but also your extracurricular accomplishments, special talents, awards, and life experiences you've had. Queens College requires a personal statement/essay as part of our review process.
Log Into the College's Student Portal You likely set up an applicant portal with a school once you submitted your application. You can often accept admission within the portal.
If you received your college acceptance letter via email, you can respond directly to that email. If the letter was sent through direct mail, consider replying with a physical letter. The college admissions board often specifies their preferred method of communication in the acceptance letter.
Say YES to Queen's! If you're planning to come to Queen's, be sure to accept your offer of admission through OUAC/TEAS. Log in to OUAC/TEAS, select "Choices/Offers,” accept your offer of admission, and record your confirmation number for your reference.
Accept your admission offer and reserve your seat today! Visit cunyfirst.cuny and log in using your CUNYfirst username and password. Click “Student Center” under the CUNYfirst menu. Scroll down to the Admissions section and click “View Details” for Queens College. Click “I Accept Offer.”
You will get an acceptance letter via email as well as via regular mail – you can also check your application status and admission by logging into your CUNYfirst account.