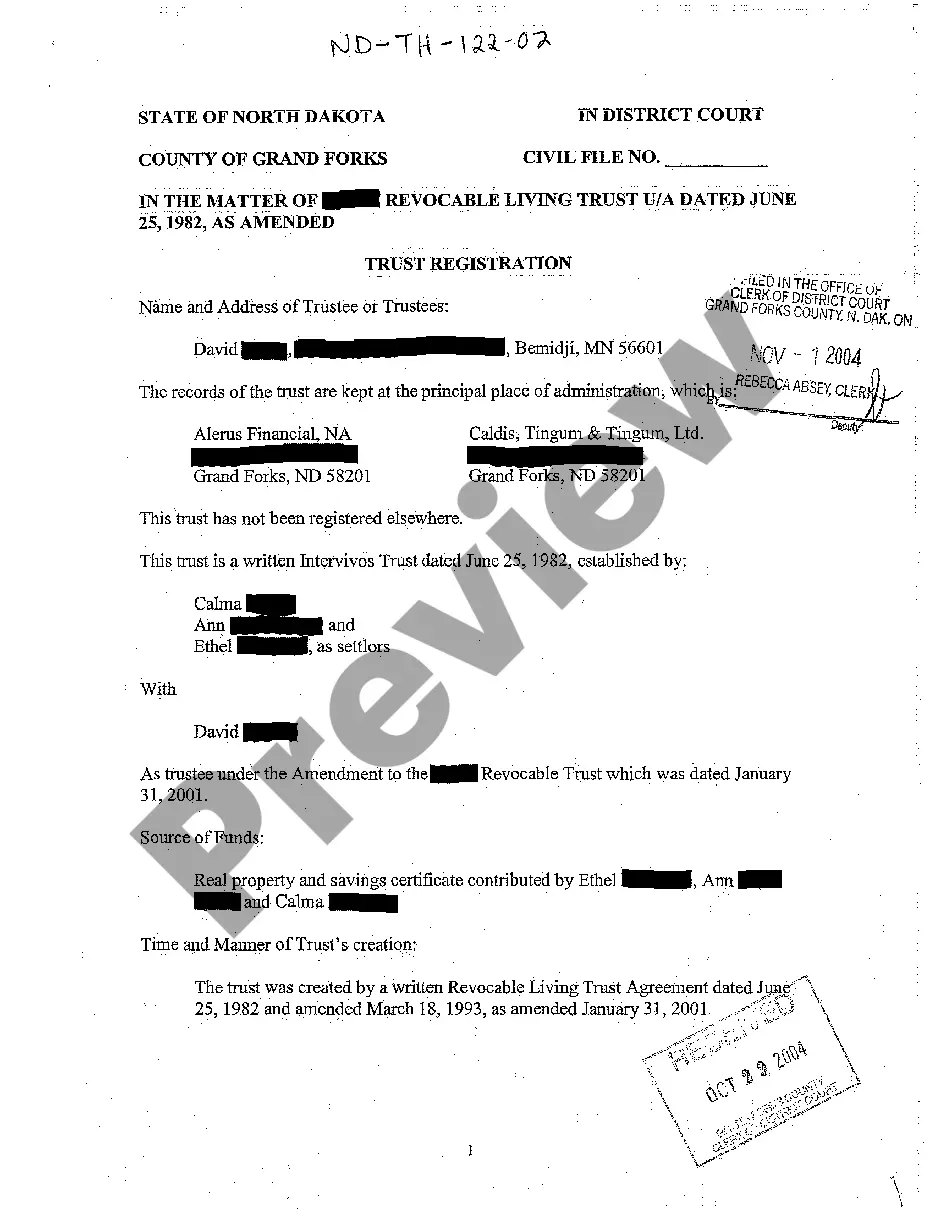
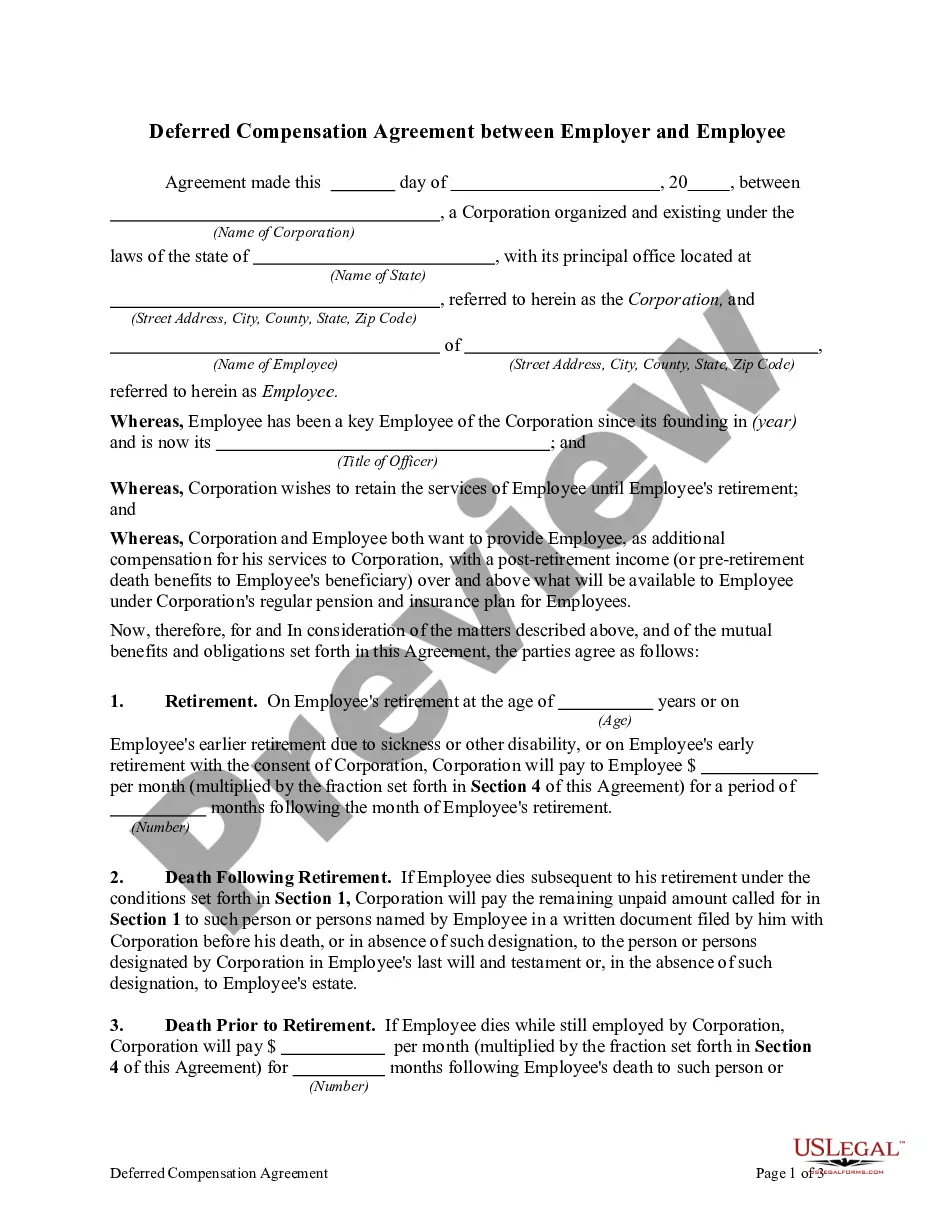
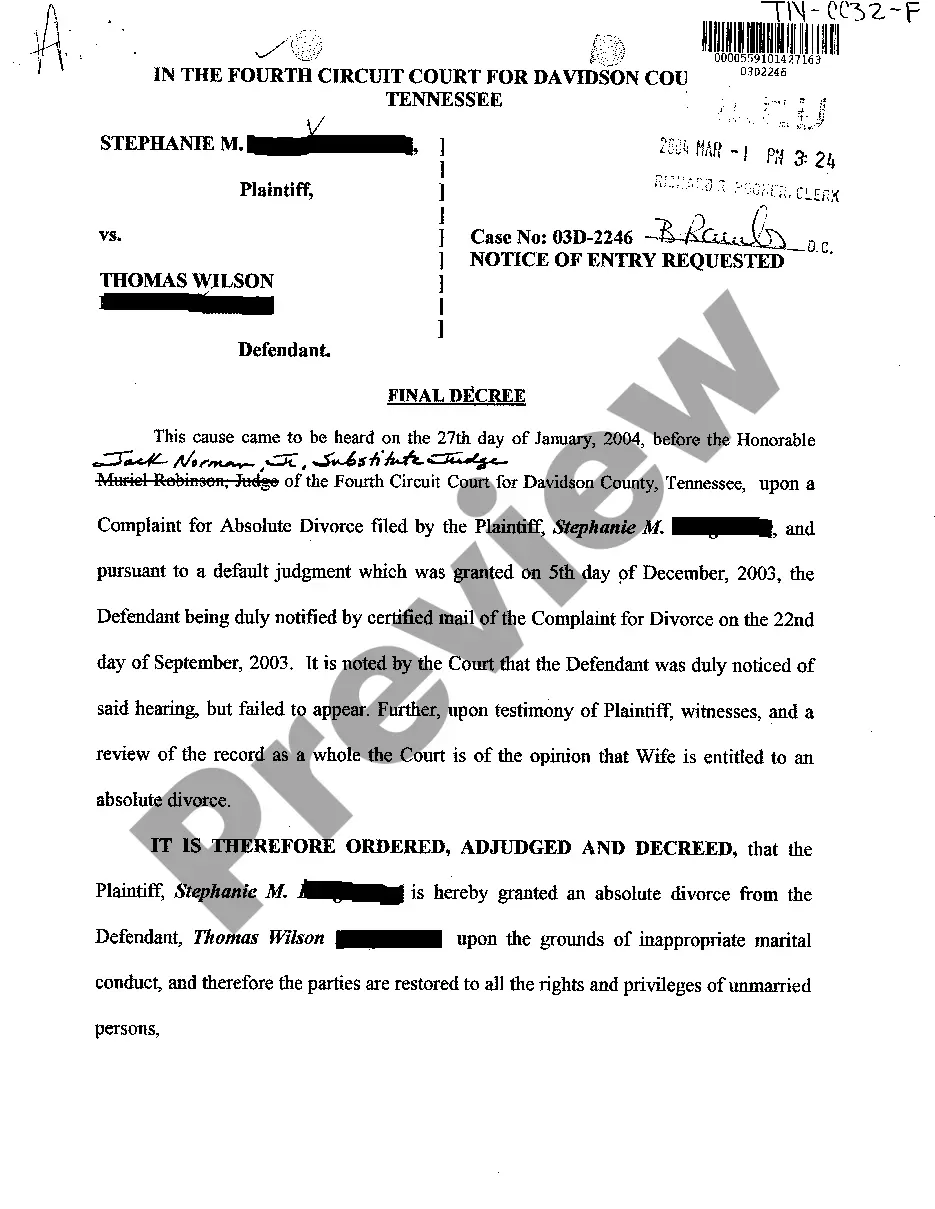
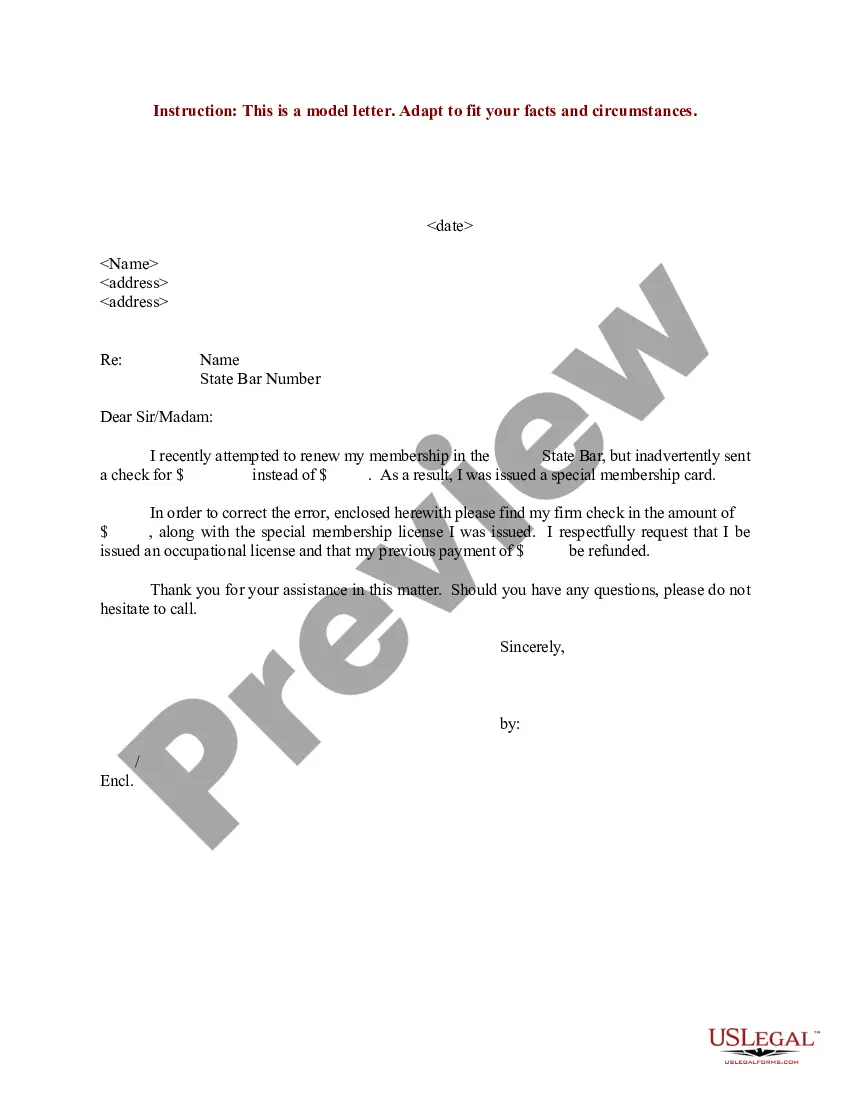
Chattel Form Paper With Lines In Kings
Description


Get your form ready online
Our built-in tools help you complete, sign, share, and store your documents in one place.
Make edits, fill in missing information, and update formatting in US Legal Forms—just like you would in MS Word.
Download a copy, print it, send it by email, or mail it via USPS—whatever works best for your next step.
Sign and collect signatures with our SignNow integration. Send to multiple recipients, set reminders, and more. Go Premium to unlock E-Sign.
If this form requires notarization, complete it online through a secure video call—no need to meet a notary in person or wait for an appointment.
We protect your documents and personal data by following strict security and privacy standards.

Make edits, fill in missing information, and update formatting in US Legal Forms—just like you would in MS Word.

Download a copy, print it, send it by email, or mail it via USPS—whatever works best for your next step.

Sign and collect signatures with our SignNow integration. Send to multiple recipients, set reminders, and more. Go Premium to unlock E-Sign.

If this form requires notarization, complete it online through a secure video call—no need to meet a notary in person or wait for an appointment.

We protect your documents and personal data by following strict security and privacy standards.
Looking for another form?
Form popularity
FAQ
Select the text where you want to add the border or rule. In the Format sidebar, click the Layout button near the top. Click the line type pop-up menu in the Paragraph Borders controls, then choose a line style. A rule appears above each paragraph you selected.
You can print some types of lined paper, graph paper, or music paper and create your own, original notebook or loose-leaf. Load paper in the printer. Select Various Prints on the control panel. Select Personal Stationery > Ruled Paper. Select the type of ruled line. Make the paper settings.
On the Design tab, click the Page Setup Dialog Box Launcher. You can also open the Page Setup dialog box by right-clicking the page tab and then clicking Page Setup. On the Print Setup tab, under Print, select the Gridlines check box.
You can use the lined paper templates for Word to print your own lined paper with different line heights or line colors. The template was created using a Table, so to change the row heights or borders, select the rows or columns that you want to modify, then right-click on one of them and select Table Properties.
You can use the lined paper templates for Word to print your own lined paper with different line heights or line colors. The template was created using a Table, so to change the row heights or borders, select the rows or columns that you want to modify, then right-click on one of them and select Table Properties.
Using the Drawing Tool for Lined Paper Access the Drawing Tool: Click on “Insert” in the menu, then select “Drawing” and “+ New.” This opens up a drawing canvas where you can start creating your lines.
You can print some types of lined paper, graph paper, or music paper and create your own, original notebook or loose-leaf. Load paper in the printer. Select Various Prints on the control panel. Select Personal Stationery > Ruled Paper. Select the type of ruled line. Make the paper settings.
Medium ruled (or college ruled) paper has 9⁄32 in (7.1 mm) spacing between horizontal lines, with a vertical margin drawn about 1+1⁄4 inches (32 mm) from the left-hand edge of the page. Its use is very common in the United States.