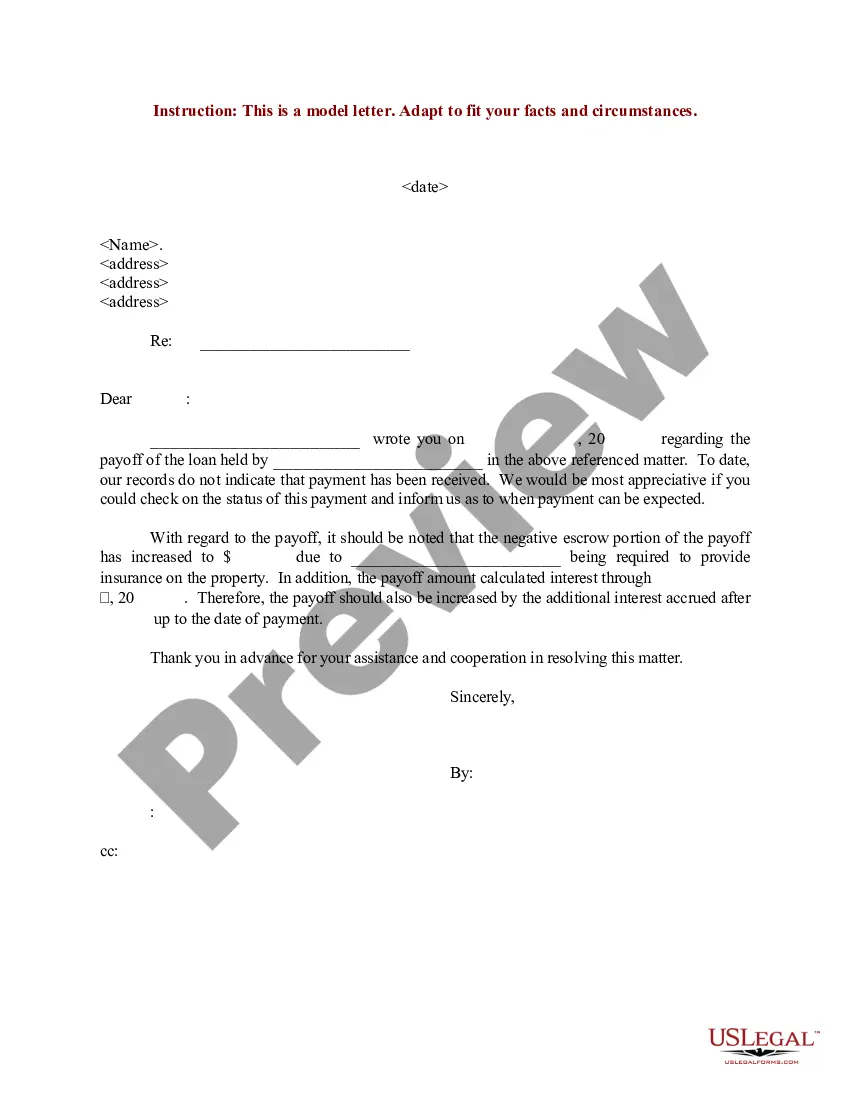
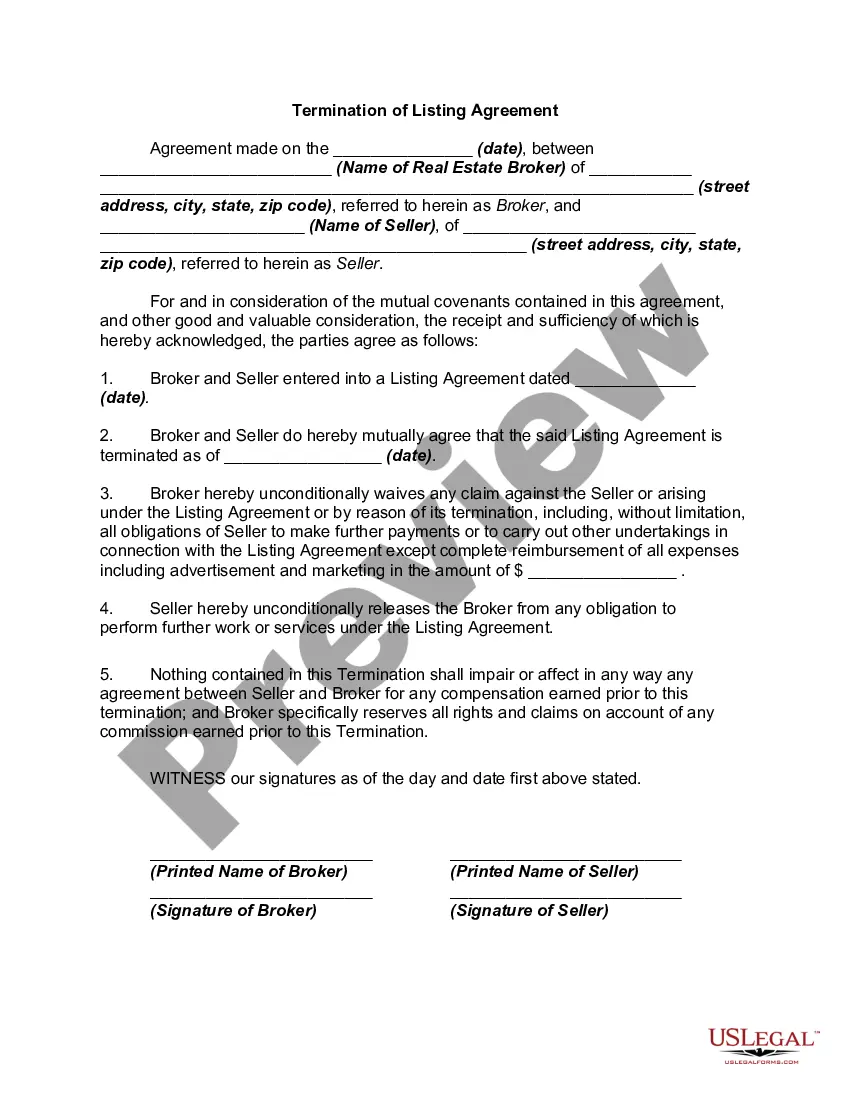
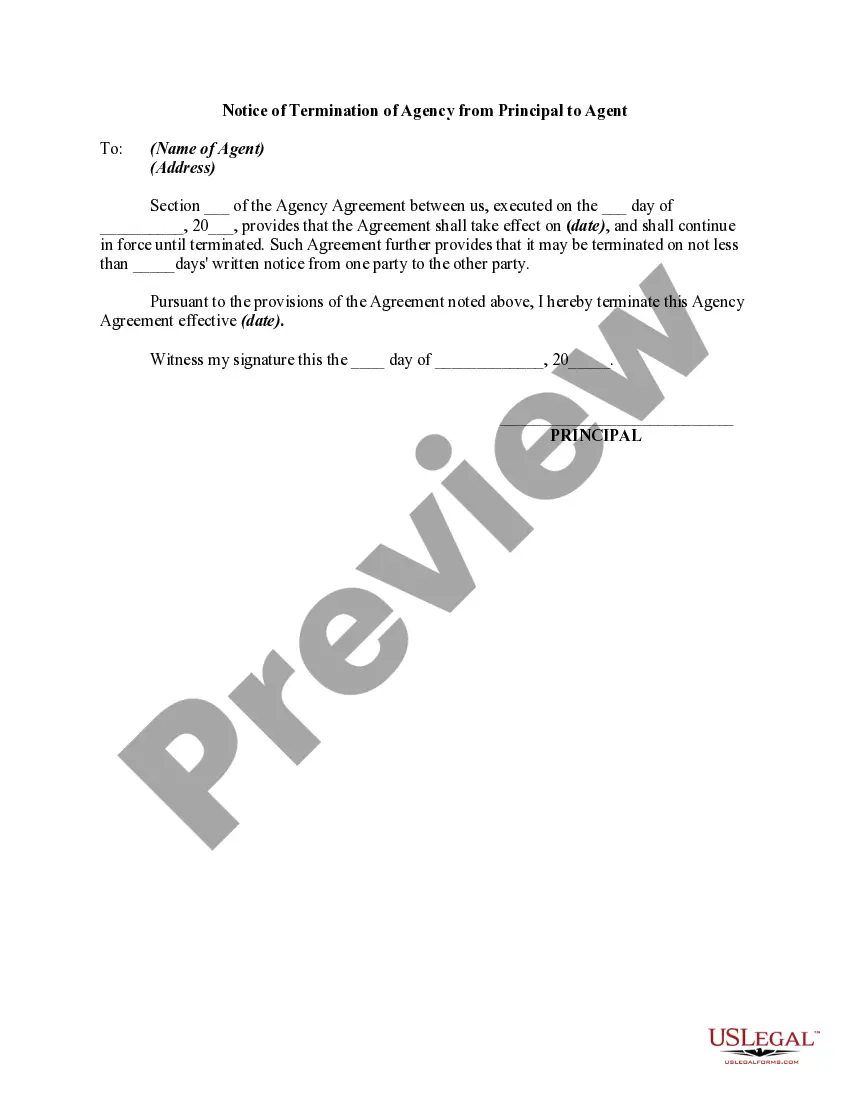
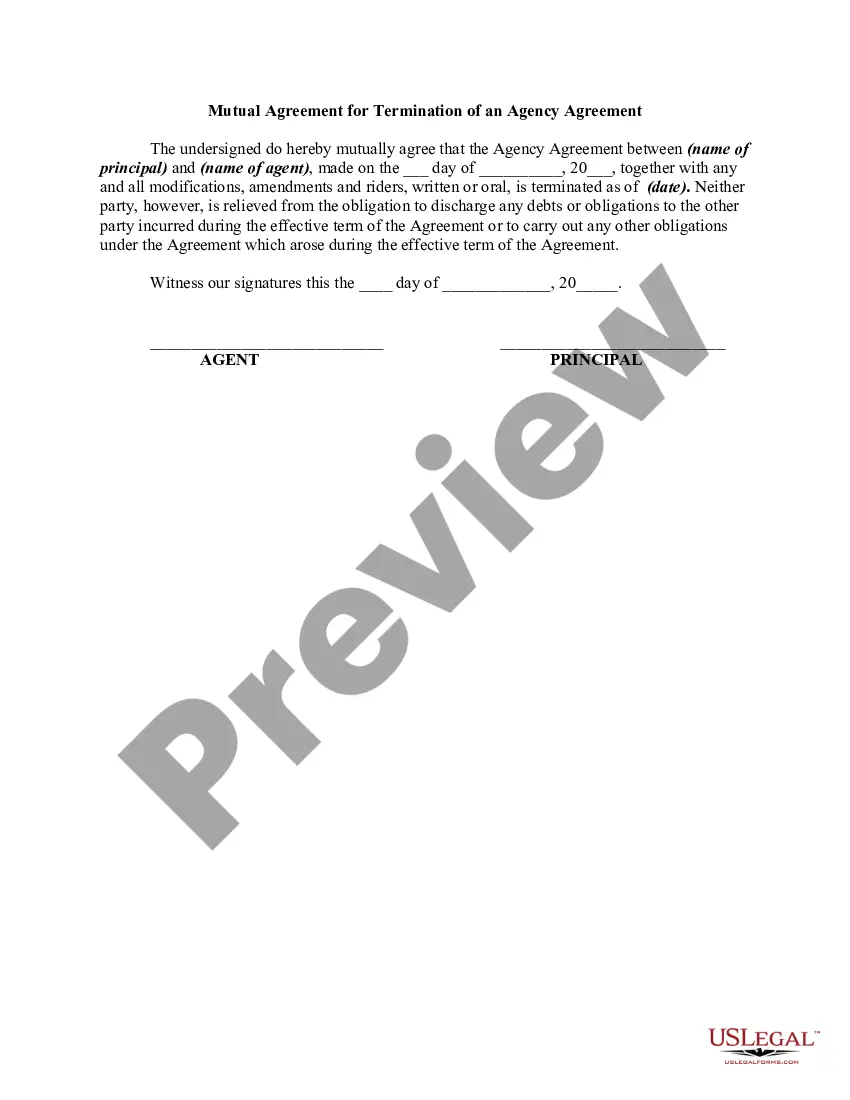
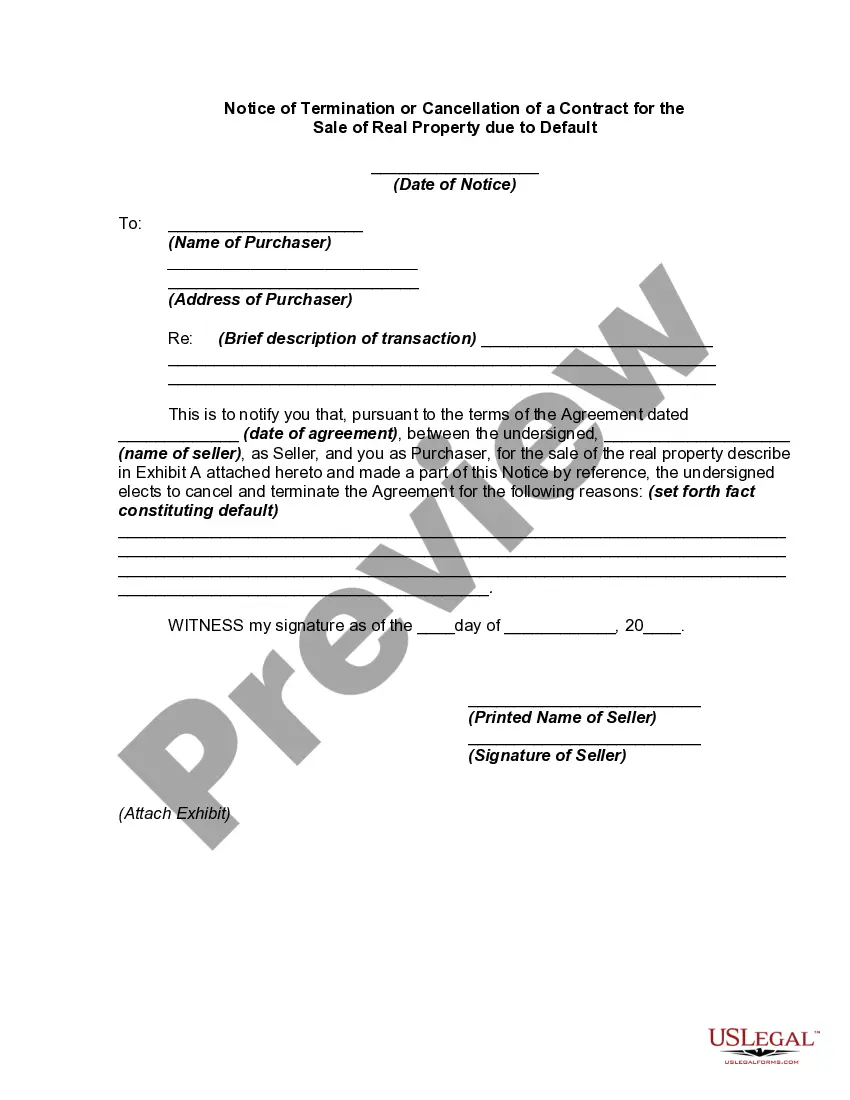
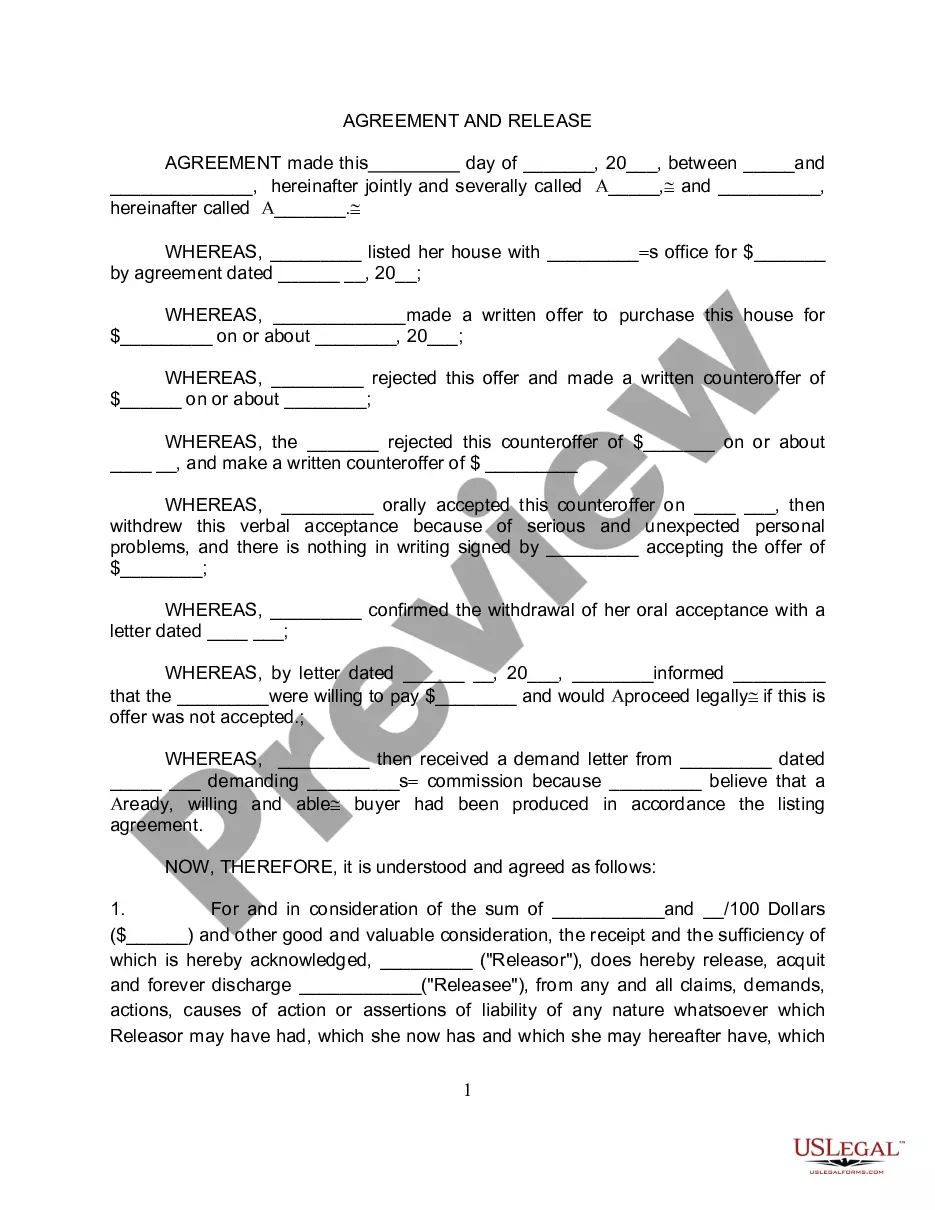
Cancellation Form Fillable With Excel In Middlesex
Description
Get your form ready online
Our built-in tools help you complete, sign, share, and store your documents in one place.
Make edits, fill in missing information, and update formatting in US Legal Forms—just like you would in MS Word.
Download a copy, print it, send it by email, or mail it via USPS—whatever works best for your next step.
Sign and collect signatures with our SignNow integration. Send to multiple recipients, set reminders, and more. Go Premium to unlock E-Sign.
If this form requires notarization, complete it online through a secure video call—no need to meet a notary in person or wait for an appointment.
We protect your documents and personal data by following strict security and privacy standards.
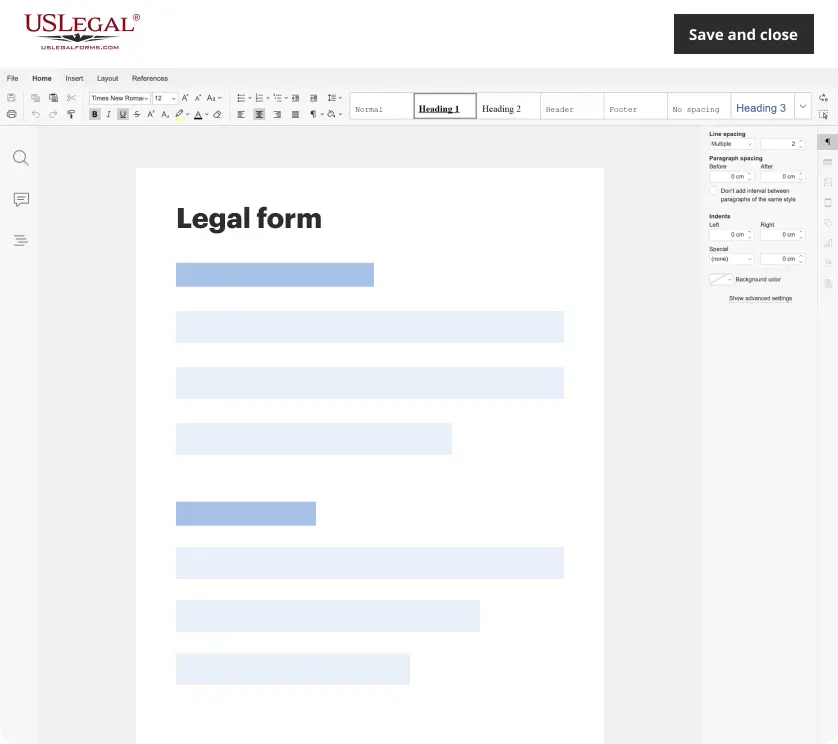
Make edits, fill in missing information, and update formatting in US Legal Forms—just like you would in MS Word.
Download a copy, print it, send it by email, or mail it via USPS—whatever works best for your next step.
Sign and collect signatures with our SignNow integration. Send to multiple recipients, set reminders, and more. Go Premium to unlock E-Sign.

If this form requires notarization, complete it online through a secure video call—no need to meet a notary in person or wait for an appointment.
We protect your documents and personal data by following strict security and privacy standards.
Looking for another form?

Form popularity
FAQ
Article Details Ensure the PDF form's fields names are exactly the same as the Excel document's. See the screenshot below. Go back to Excel, click “File”-“Save As”-choose “Save As Type” “CSV UTF-8(Comma delimated)(. csv)”. Open the PDF file then go to “Form”->”Import” then choose the test. csv file to import.
Click Review > Share Workbook. On the Editing tab, select the Allow changes by more than one user ... check box. On the Advanced tab, select the options that you want to use for tracking and updating changes, and then click OK.
Follow these steps: Select the Developer tab in the top menu. Under Control, select Insert and choose the form element you need. Place the element on the spreadsheet. Right-click the element and select Format Controls to change its settings. Most Excel form elements read information from spreadsheet cells.
You can create a form in Excel by adding content controls, such as buttons, check boxes, list boxes, and combo boxes to a workbook. Other people can use Excel to fill out the form and then print it if they choose to.
Follow these steps to lock cells in a worksheet: Select the cells you want to lock. On the Home tab, in the Alignment group, select the small arrow to open the Format Cells popup window. On the Protection tab, select the Locked check box, and then select OK to close the popup.
Follow these steps: Select the Developer tab in the top menu. Under Control, select Insert and choose the form element you need. Place the element on the spreadsheet. Right-click the element and select Format Controls to change its settings. Most Excel form elements read information from spreadsheet cells.
Steps to Create a Form in Excel Step 1: Add Data Entry Form Option. You will notice that there actually is no option or tab to create a data entry form on the toolbar at the top. Step 2: Create a Table. Step 3: Enter Form Data. Step 4: Data Validation. Step 5: How to Search for Records. Step 6: Data Collection.
But there is still a way by following the steps below: Ensure the PDF form's fields names are exactly the same as the Excel document's. Go back to Excel, click “File”-“Save As”-choose “Save As Type” “CSV UTF-8(Comma delimated)(. Open the PDF file then go to “Form”->”Import” then choose the test.