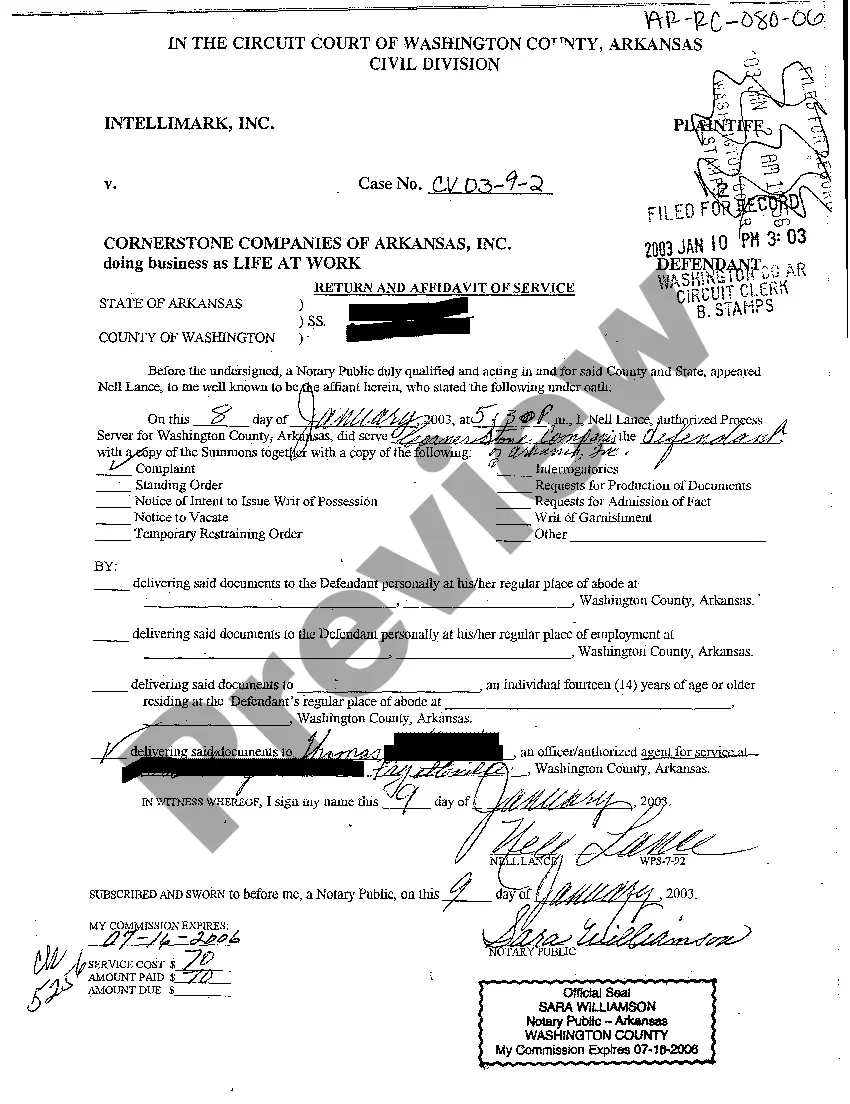
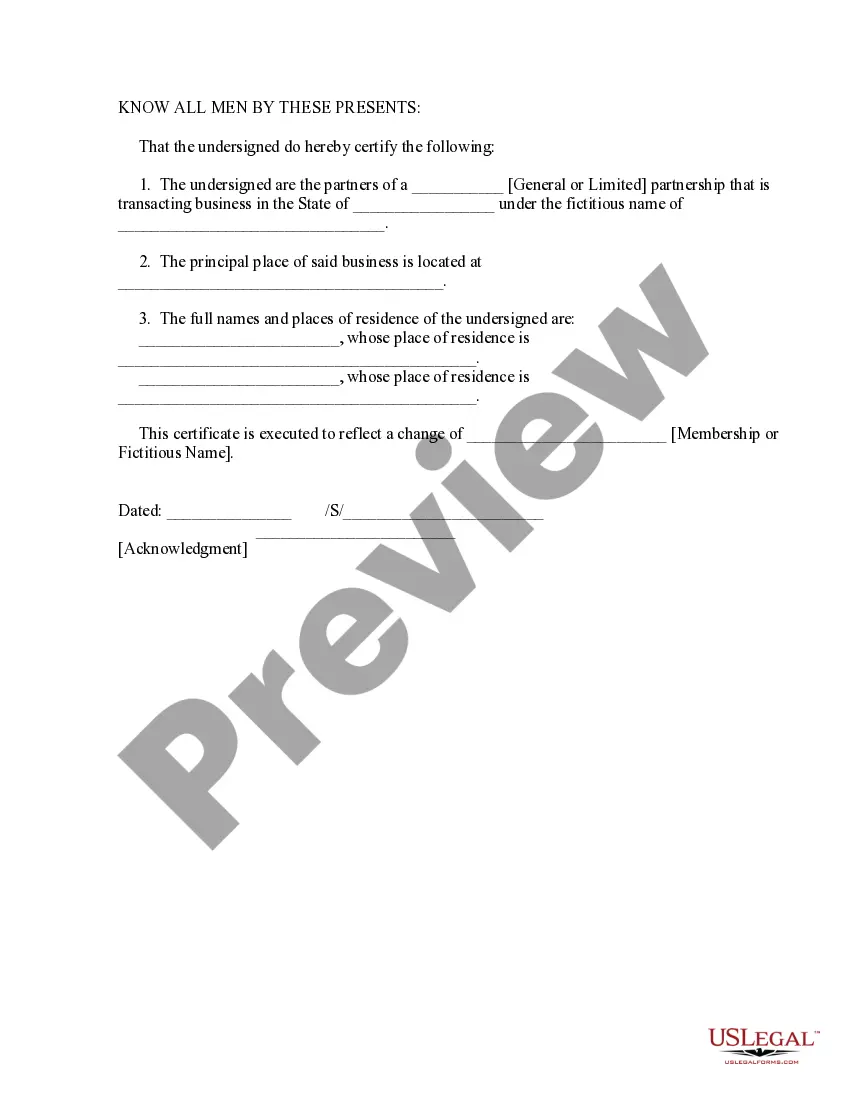
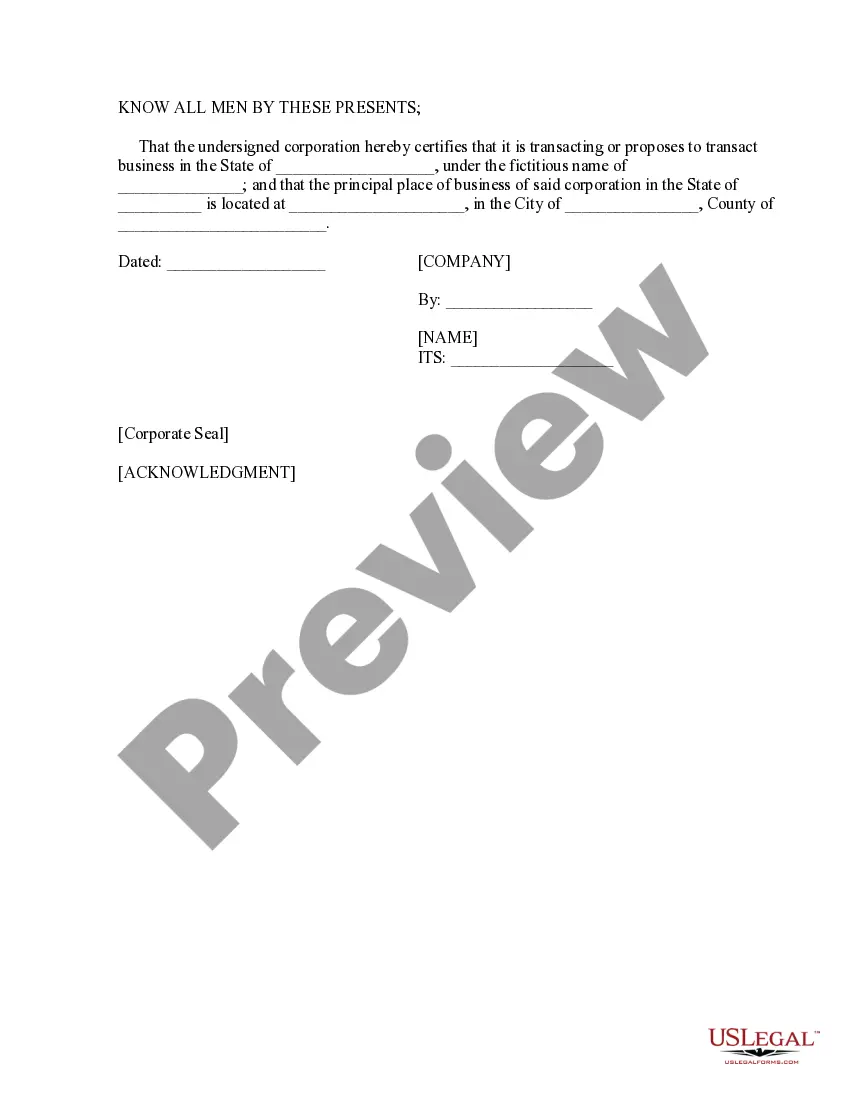
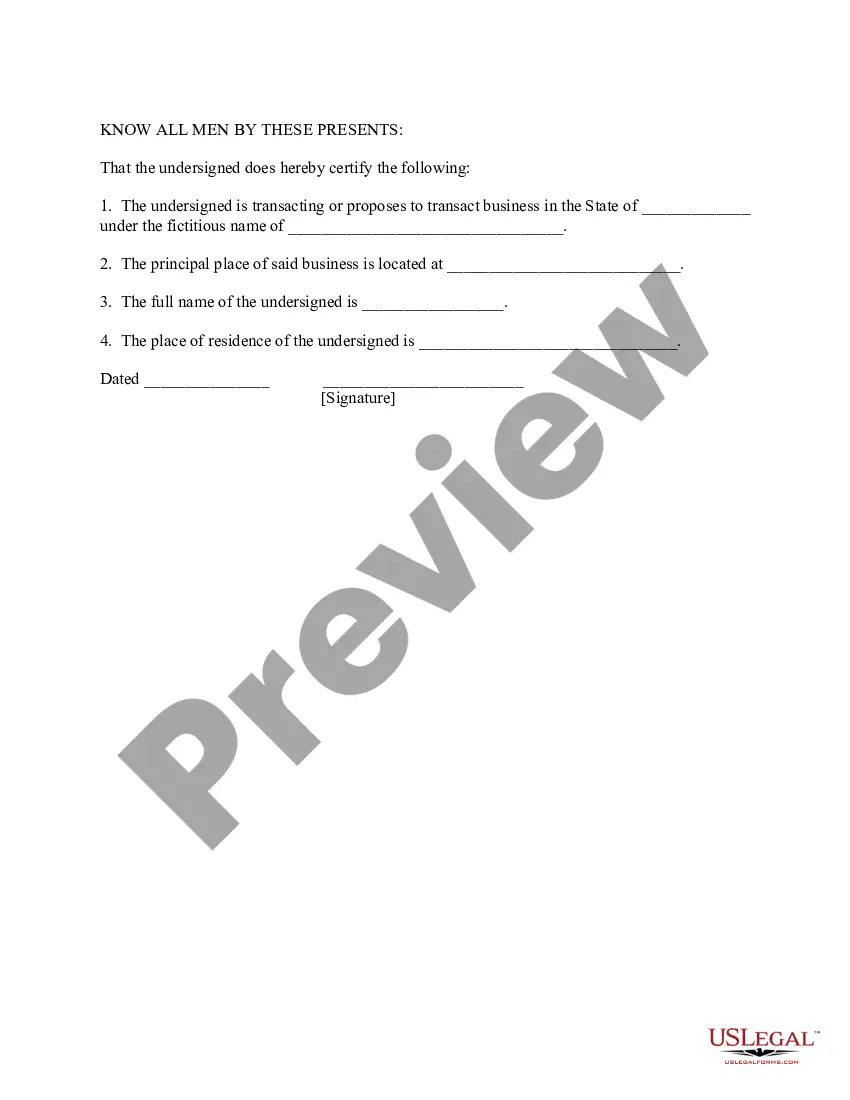
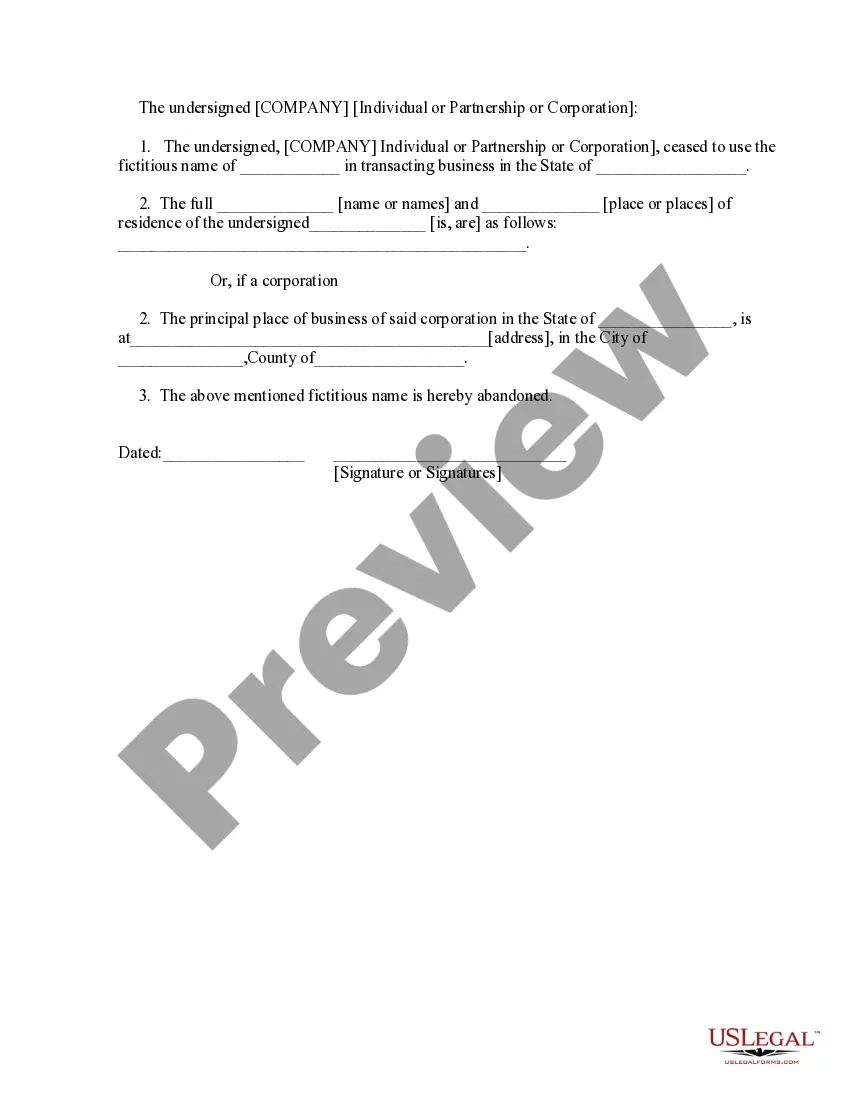
Certificate of Installation
About this form
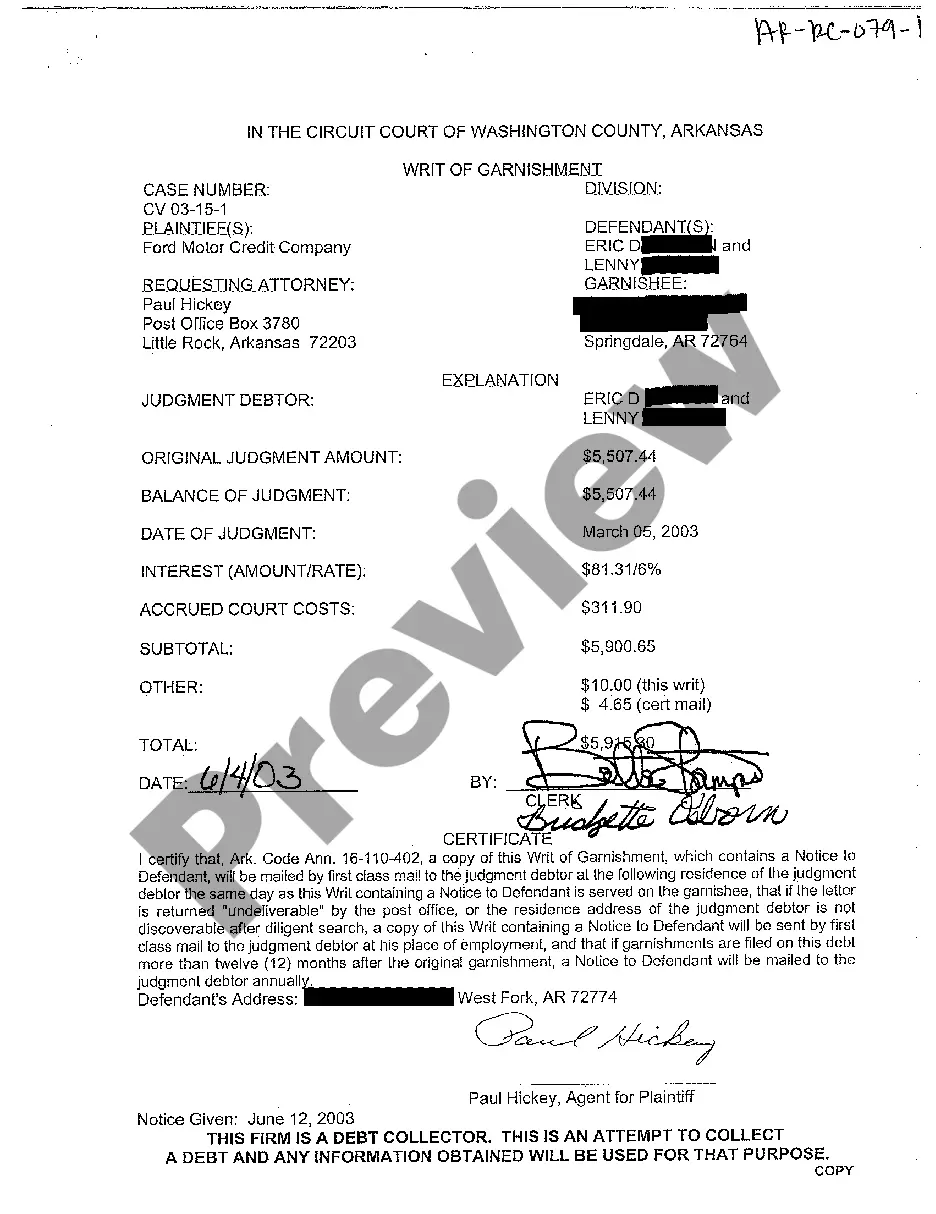
The Certificate of Installation is a legal document used to confirm that leased equipment has been successfully installed and is operational. This form serves as an official record for both the installer and the lessee, indicating when rental payments for the equipment will begin. It is essential for tracking the installation status of equipment under lease agreements, distinguishing it from other documents like lease agreements themselves, which detail the terms of the lease but do not confirm installation status.
Key parts of this document
- Details of the parties involved: Installer and Lessee
- Date of installation and operational status
- Reference to the specific lease agreement paragraph governing rental payments
Common use cases
This form should be used when leased equipment has been installed and is ready for use. It is necessary for both the lessee and the installer to formally document the operational status, enabling the commencement of rental payments. Scenarios may include installations of office equipment, machinery, or any other leased items requiring verification of setup prior to usage.
Who can use this document
- Businesses leasing equipment that require confirmation of installation
- Installers who need a formal document to establish completion of their work
- Lessee organizations or individuals aiming to document the start of rental payments for leased equipment
Steps to complete this form
- Identify the names of the installer and lessee.
- Enter the date when the equipment was installed and made operational.
- Reference the specific paragraph from the lease agreement that states when rental payments begin.
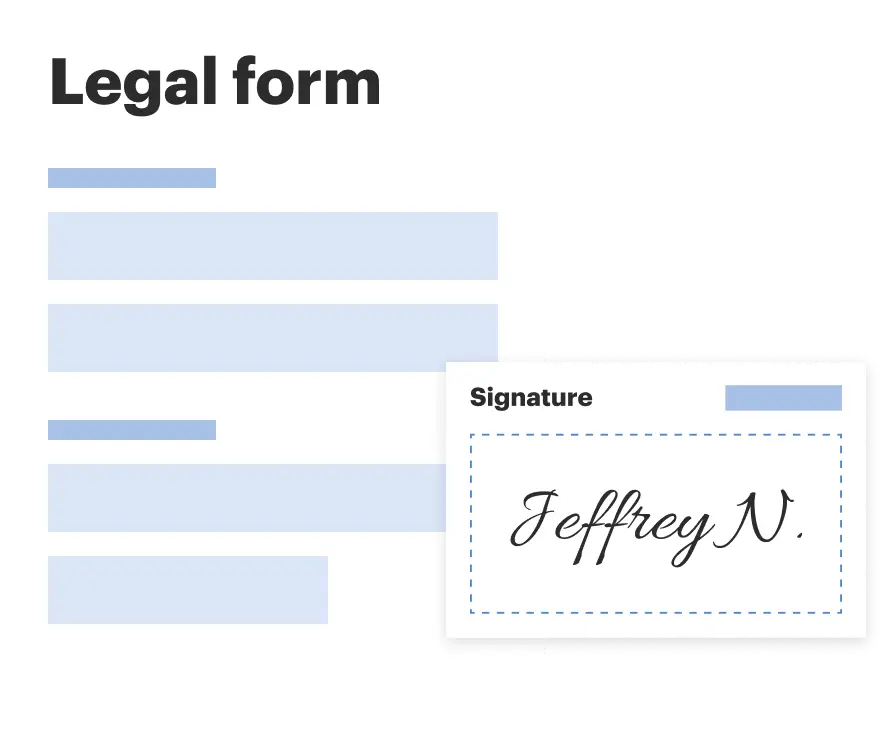
- Have the installer and lessee sign the document, including their titles.
Is notarization required?
This form does not typically require notarization to be legally valid. However, some jurisdictions or document types may still require it. US Legal Forms provides secure online notarization powered by Notarize, available 24/7 for added convenience.
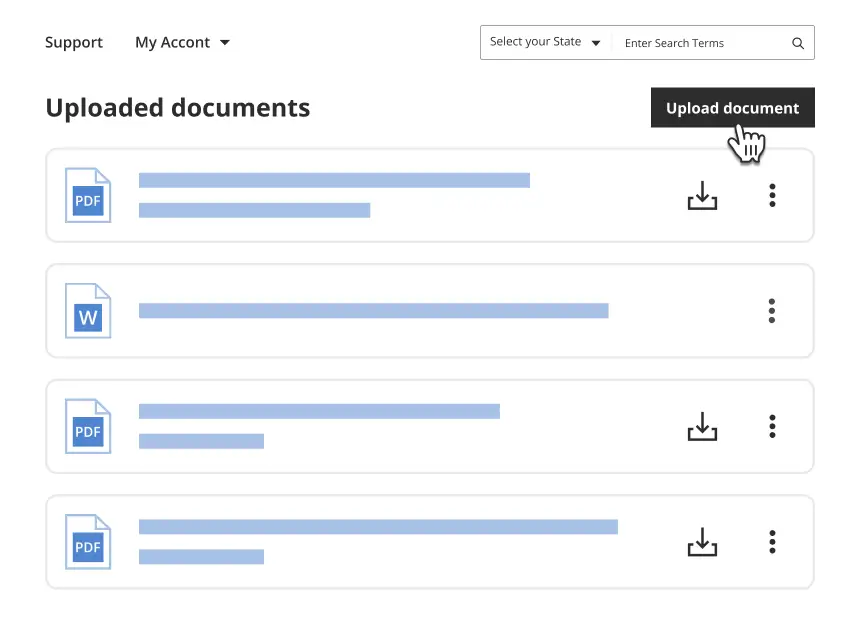
Get your form ready online
Our built-in tools help you complete, sign, share, and store your documents in one place.
Make edits, fill in missing information, and update formatting in US Legal Forms—just like you would in MS Word.
Download a copy, print it, send it by email, or mail it via USPS—whatever works best for your next step.
Sign and collect signatures with our SignNow integration. Send to multiple recipients, set reminders, and more. Go Premium to unlock E-Sign.
If this form requires notarization, complete it online through a secure video call—no need to meet a notary in person or wait for an appointment.
We protect your documents and personal data by following strict security and privacy standards.
Make edits, fill in missing information, and update formatting in US Legal Forms—just like you would in MS Word.
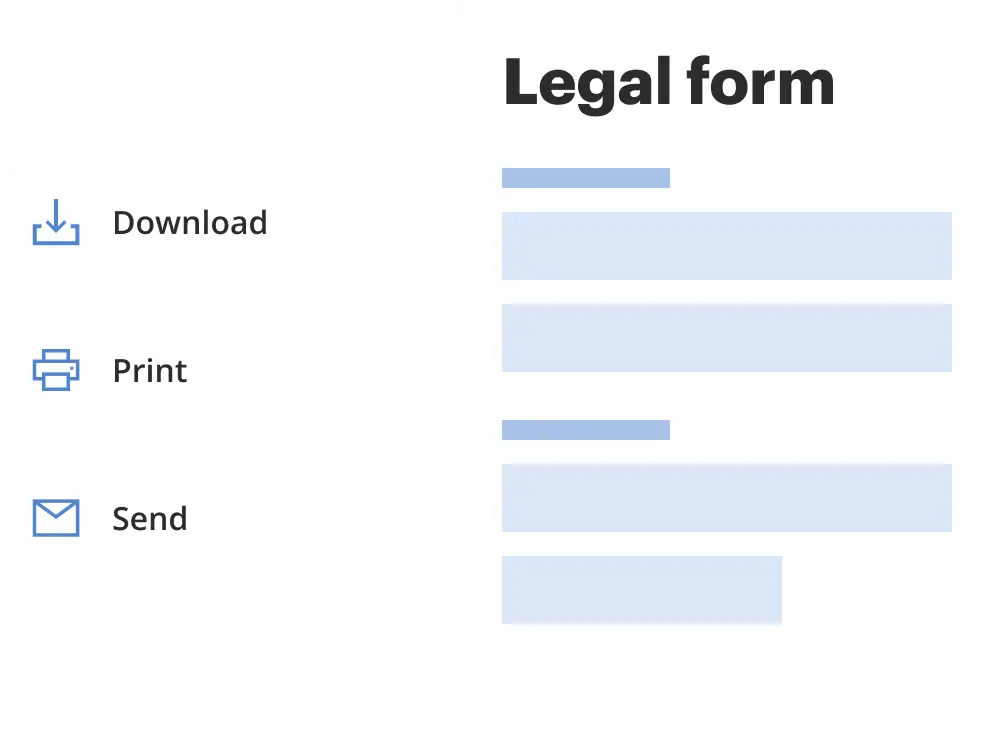
Download a copy, print it, send it by email, or mail it via USPS—whatever works best for your next step.
Sign and collect signatures with our SignNow integration. Send to multiple recipients, set reminders, and more. Go Premium to unlock E-Sign.
If this form requires notarization, complete it online through a secure video call—no need to meet a notary in person or wait for an appointment.
We protect your documents and personal data by following strict security and privacy standards.
Avoid these common issues
- Failing to include the installation date, which could lead to confusion about when payments should start.
- Not referencing the correct paragraph from the lease agreement, causing potential disputes.
- Omitting signatures, which may render the document invalid.
Why use this form online
- Immediate access to a professionally drafted document that ensures legal compliance.
- Editable format allows users to personalize the form with ease.
- Time-saving, as users can complete and download the form quickly.
Looking for another form?
Form popularity
FAQ
Client Digital Certificate - Windows Using Chrome Open Google Chrome.Select Show Advanced Settings > Manage Certificates. Click Import to start the Certificate Import Wizard. Click Next.? Browse to your downloaded certificate PFX file and click Next.
Steps to Certificates in Linux Step 1: Open the terminal window (Ctrl + Shift + T) Open the terminal application on your Linux system. Step 2: Copy the certificate to the system.Step 3: Update the certificate authority list.Step 4: Verify the certificate installation.
Add a digital certificate Sign in to your Google Admin console.In the Admin console, go to Menu Devices.Click Certificates. To apply the setting to everyone, leave the top organizational unit selected.Click Add Certificate. Enter a name for the certificate. Click Upload, select the PEM file, and click Open.
Import the certificate into the local computer store In the Open box, type mmc, and then select OK. On the File menu, select Add/Remove snap-in. In the Add/Remove Snap-in dialog box, select Add. In the Add Standalone Snap-in dialog box, select Certificates, and then select Add.
A certificate Open your phone's Settings app. Tap Security Advanced settings. Encryption & credentials. Tap a certificate. Wi-Fi certificate. In the top left, tap Menu . Tap where you saved the certificate. Tap the file. If needed, enter the key store password.Enter a name for the certificate. Tap OK.
A certificate Open your phone's Settings app. Tap Security Advanced settings. Encryption & credentials. Tap a certificate. Wi-Fi certificate. In the top left, tap Menu . Tap where you saved the certificate. Tap the file. If needed, enter the key store password.Enter a name for the certificate. Tap OK.
Select Run from the Start menu, and then enter certmgr. msc. The Certificate Manager tool for the current user appears. To view your certificates, under Certificates - Current User in the left pane, expand the directory for the type of certificate you want to view.
On the File menu, select Add/Remove snap-in. In the Add/Remove Snap-in dialog box, select Add. In the Add Standalone Snap-in dialog box, select Certificates, and then select Add. In the Certificates snap-in dialog box, select Computer account, and then select Next.