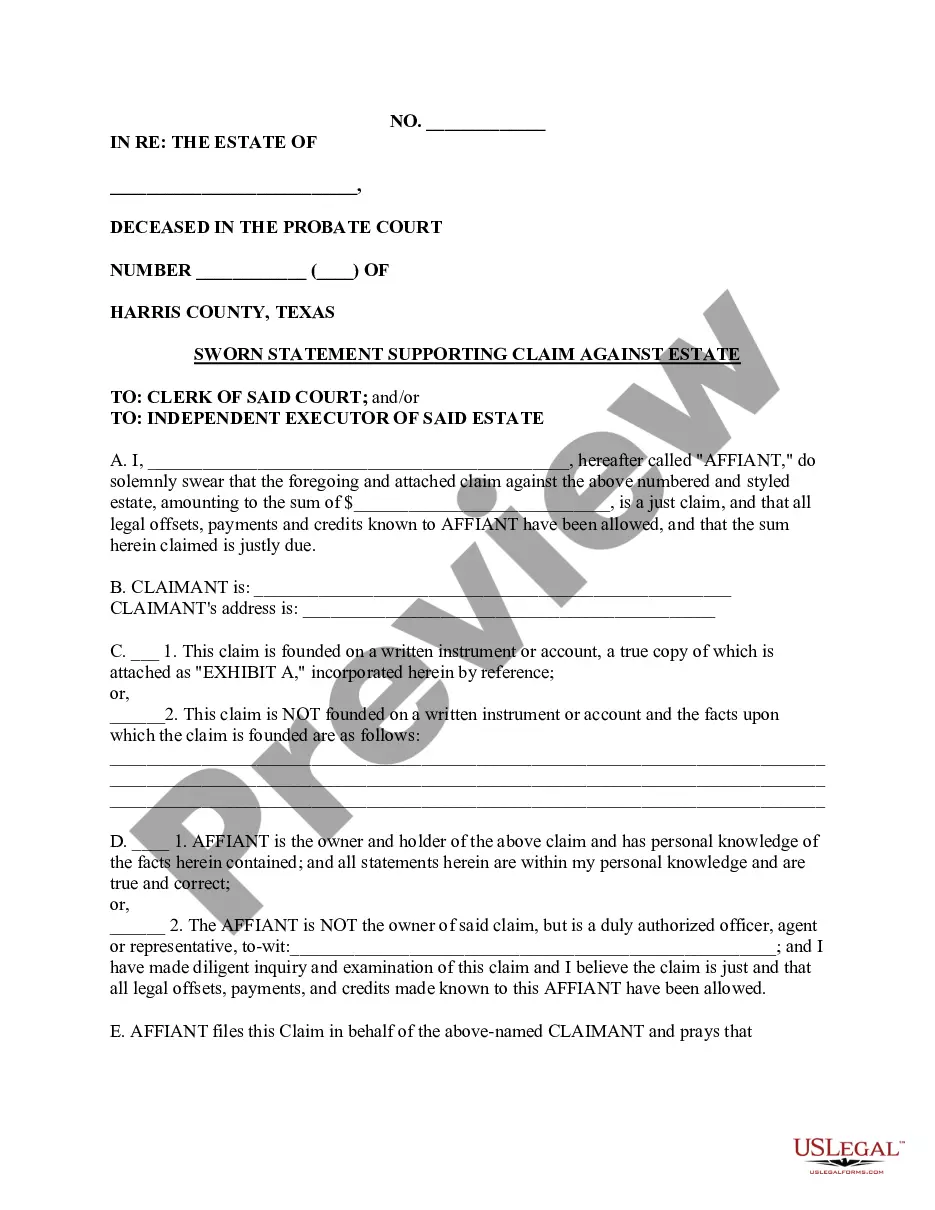
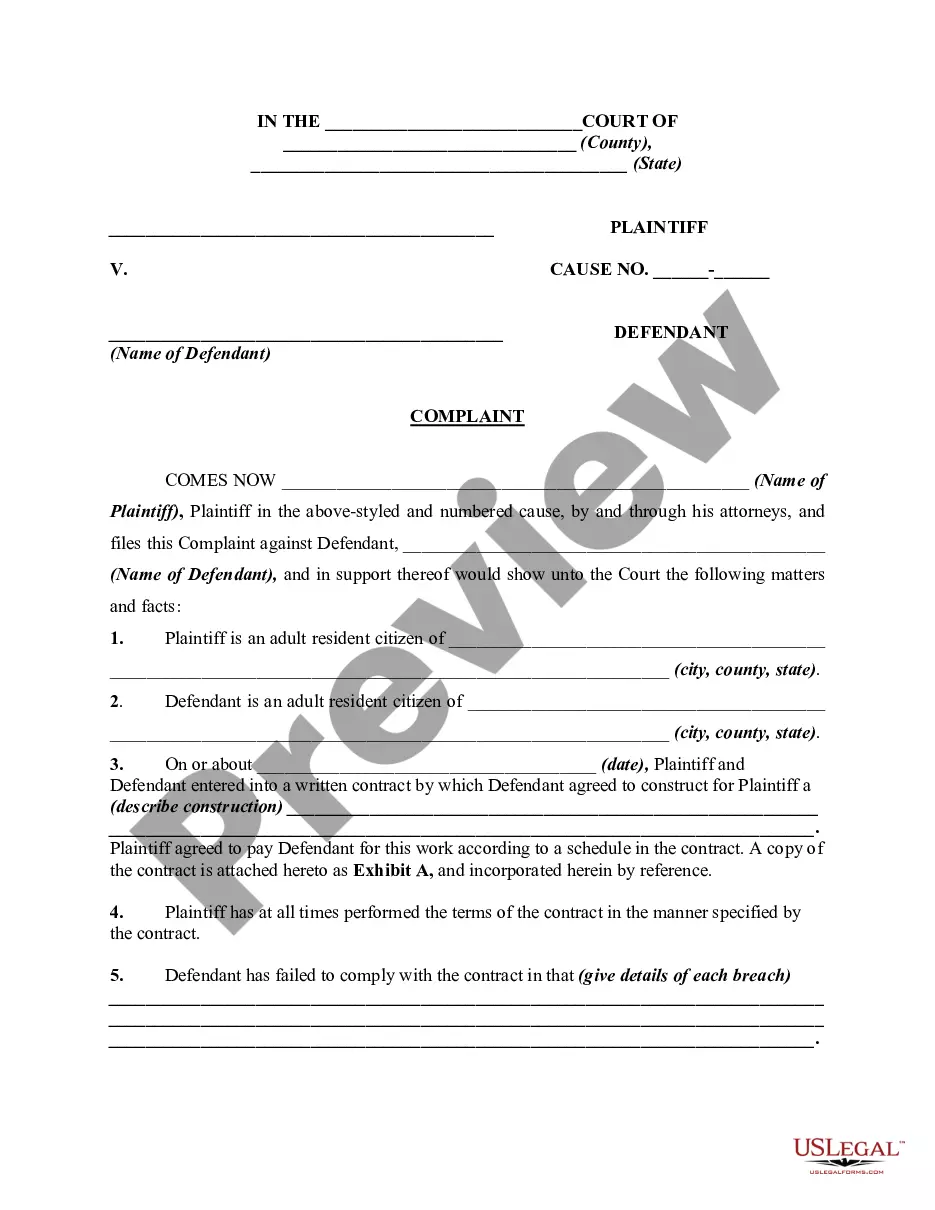
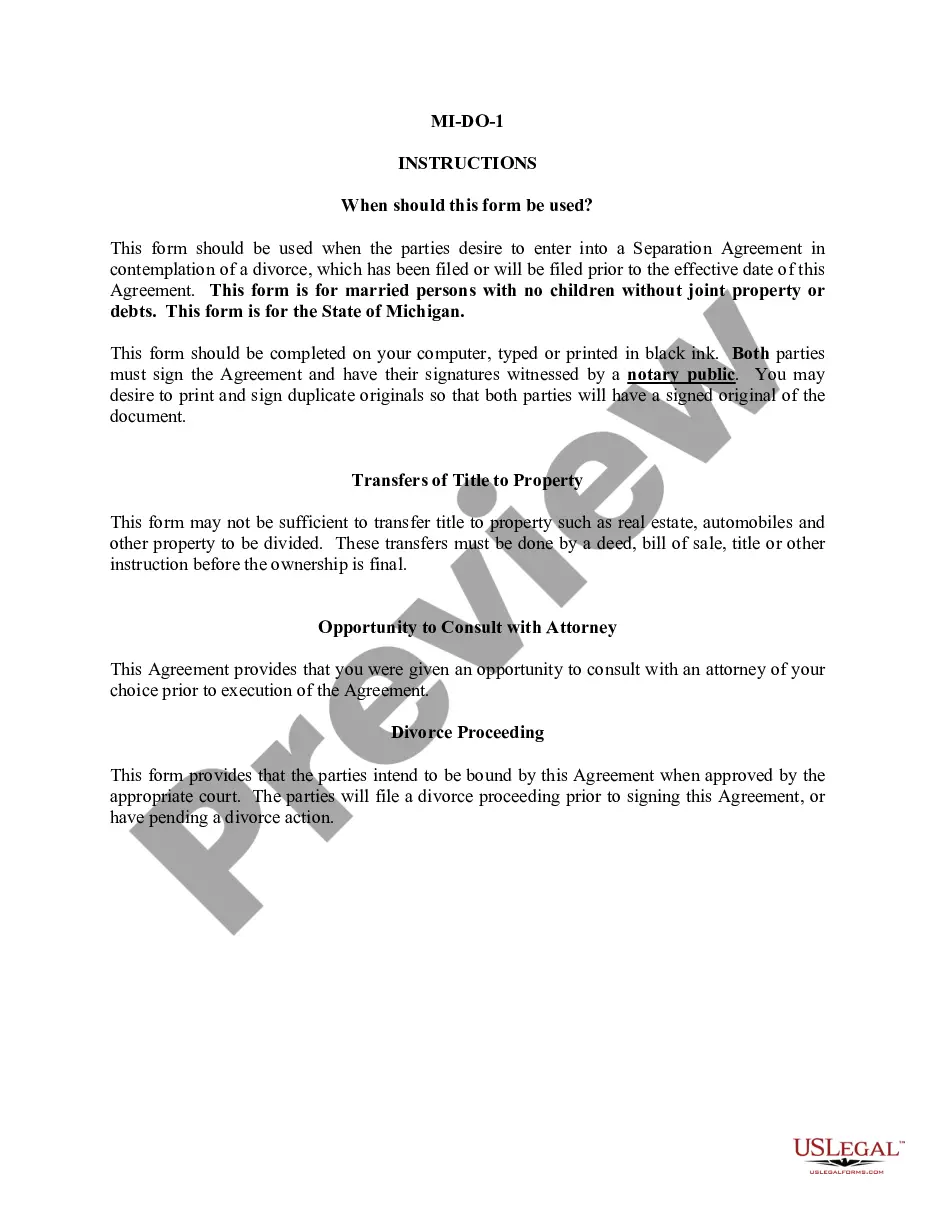
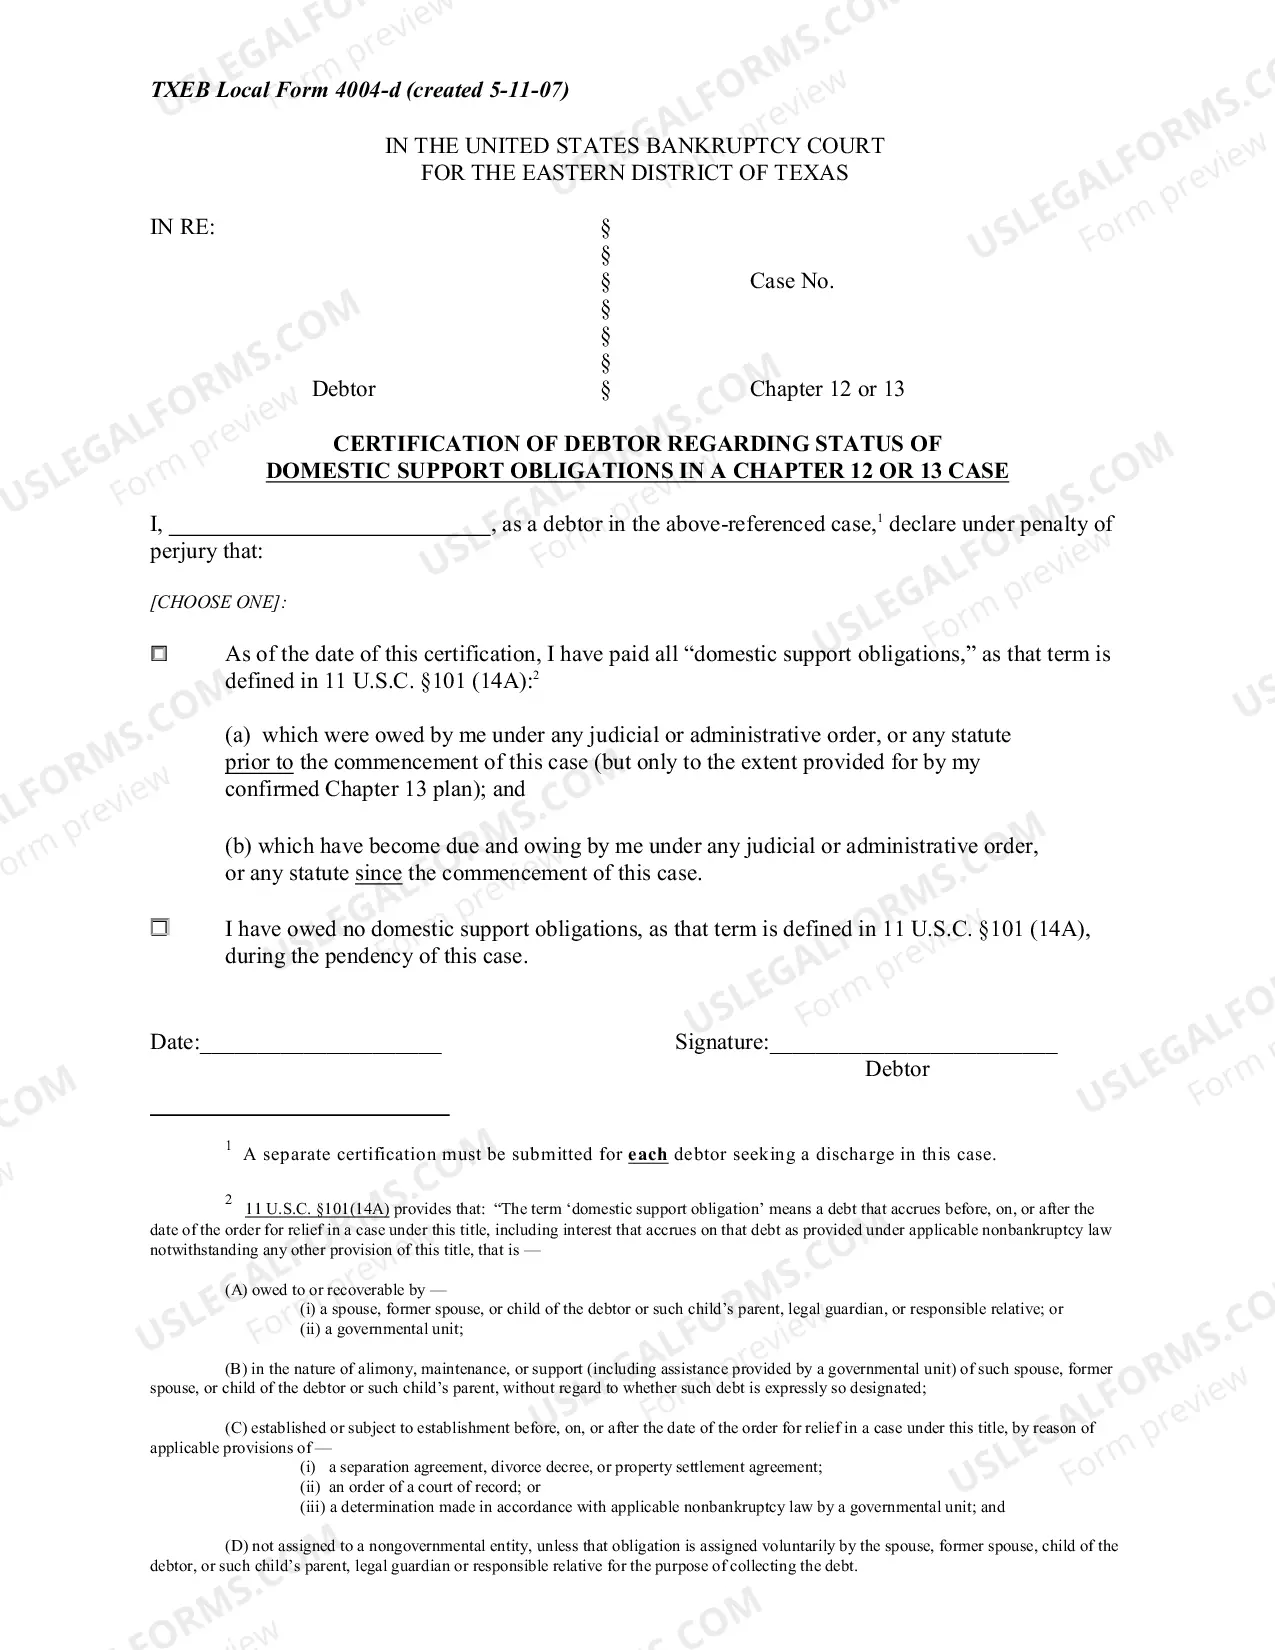
Caregiver Form Template With Drop Down List In Suffolk
Description


Get your form ready online
Our built-in tools help you complete, sign, share, and store your documents in one place.
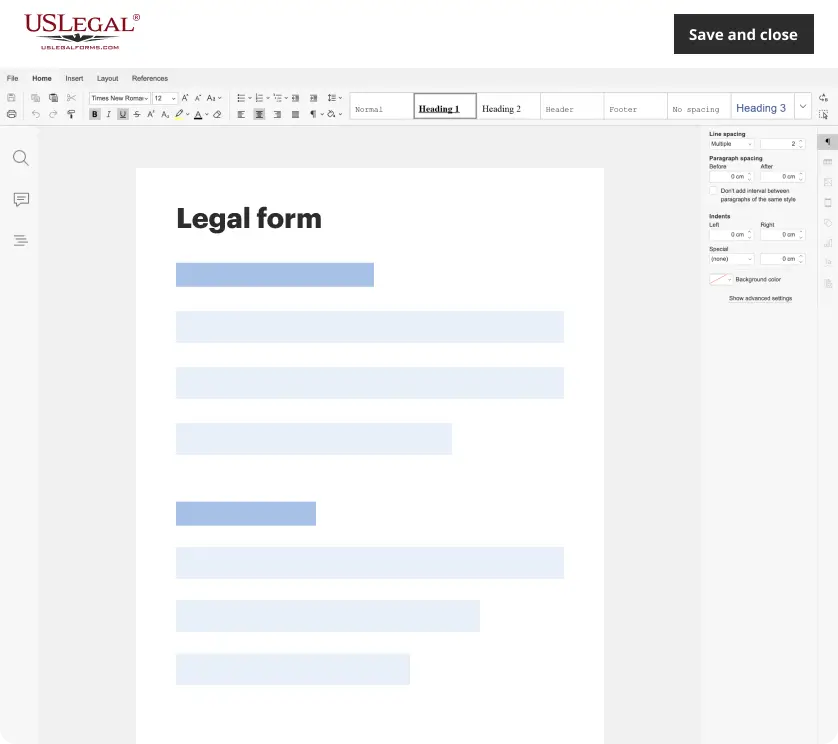
Make edits, fill in missing information, and update formatting in US Legal Forms—just like you would in MS Word.
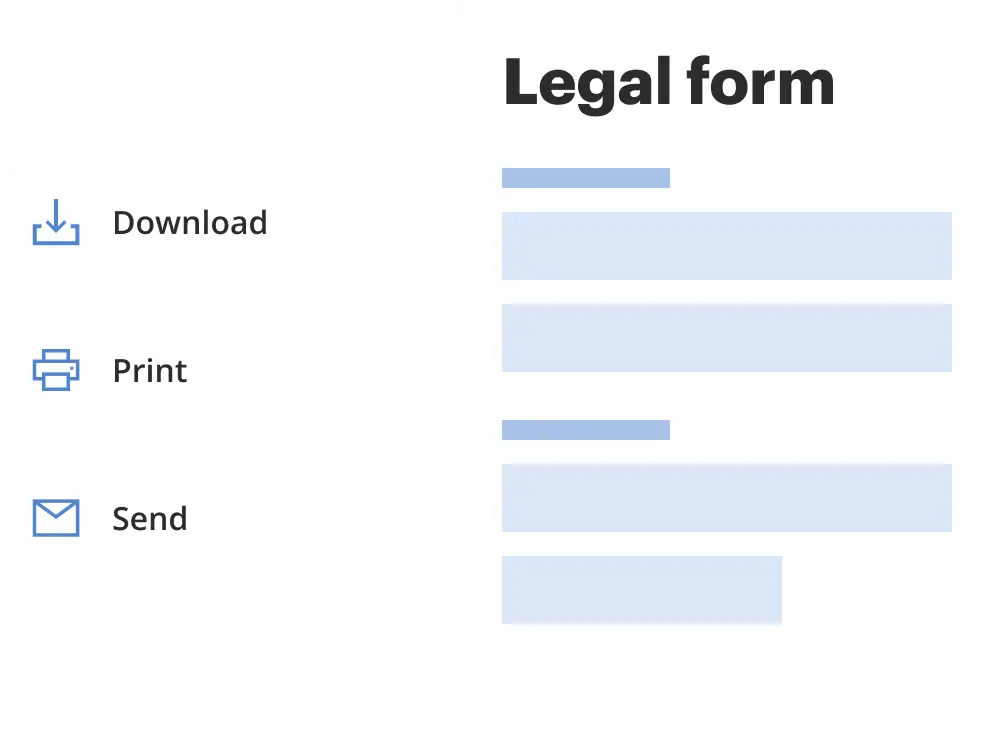
Download a copy, print it, send it by email, or mail it via USPS—whatever works best for your next step.
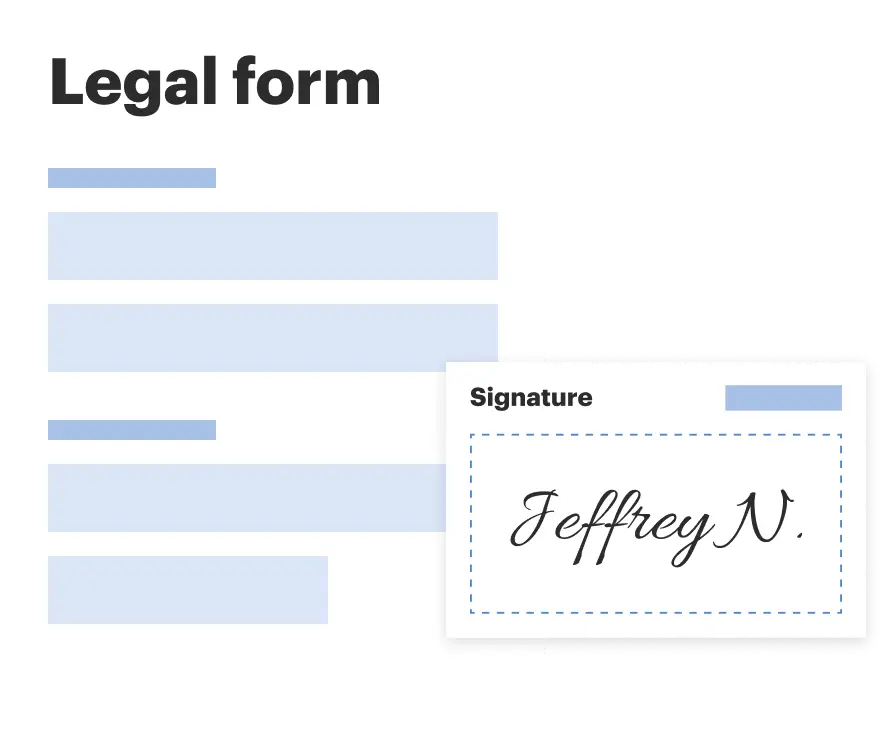
Sign and collect signatures with our SignNow integration. Send to multiple recipients, set reminders, and more. Go Premium to unlock E-Sign.
If this form requires notarization, complete it online through a secure video call—no need to meet a notary in person or wait for an appointment.
We protect your documents and personal data by following strict security and privacy standards.
Make edits, fill in missing information, and update formatting in US Legal Forms—just like you would in MS Word.
Download a copy, print it, send it by email, or mail it via USPS—whatever works best for your next step.
Sign and collect signatures with our SignNow integration. Send to multiple recipients, set reminders, and more. Go Premium to unlock E-Sign.

If this form requires notarization, complete it online through a secure video call—no need to meet a notary in person or wait for an appointment.
We protect your documents and personal data by following strict security and privacy standards.
Looking for another form?


Form popularity
FAQ
Yes, you can add a dropdown in Microsoft Forms. All you need to do is select the Choice question when adding a new question, then click on the three horizontal dots at the lower right corner of the question. Afterward, simply click the Drop-down option to make your question into a dropdown selection.
Insert a combo box or a drop-down list Go to Developer > Combo Box Content Control or Drop-Down List Content Control . Select the content control, and then select Properties. To create a list of choices, select Add under Drop-Down List Properties. Type a choice in Display Name, such as Yes, No, or Maybe.
In Microsoft Forms, you can create a multiple-choice dropdown list by adding a Dropdown question type. However, if you require dynamic dropdowns or interconnected options, consider using Clappia, which offers advanced features for data collection forms.
Project – Creating a Custom Field as a Drop-Down List. Click the Format tab on the ribbon, and then click Custom Fields (in the Columns group). This will open the Custom Field Dialog box, which is shown below. In the Field section, make sure Task is selected on the left hand side, and Text is selected on the right.
Create a drop-down list In a new worksheet, type the entries you want to appear in your drop-down list. Select the cell in the worksheet where you want the drop-down list. Go to the Data tab on the Ribbon, and then Data Validation. On the Settings tab, in the Allow box, select List.
Create a drop-down list In a new worksheet, type the entries you want to appear in your drop-down list. Select the cell in the worksheet where you want the drop-down list. Go to the Data tab on the Ribbon, and then Data Validation. On the Settings tab, in the Allow box, select List.
How to add a drop-down list in Word in 5 simple steps Enable the Developer tab (if not already enabled) ... Navigate to the Developer tab. Insert a Dropdown Control. Customize the Word drop-down list. Save and use the Microsoft Word drop-down list:
To create a checklist format, enable the Multiple answers option. This allows users to check multiple boxes. Add more items by clicking the Add option. If you want to give responders the option of adding their own option, add the Other option field.
Insert a combo box or a drop-down list Go to Developer > Combo Box Content Control or Drop-Down List Content Control . Select the content control, and then select Properties. To create a list of choices, select Add under Drop-Down List Properties. Type a choice in Display Name, such as Yes, No, or Maybe.
How to add a drop-down list in Word in 5 simple steps Enable the Developer tab (if not already enabled) ... Navigate to the Developer tab. Insert a Dropdown Control. Customize the Word drop-down list. Save and use the Microsoft Word drop-down list: