Transfer Lettering
Description
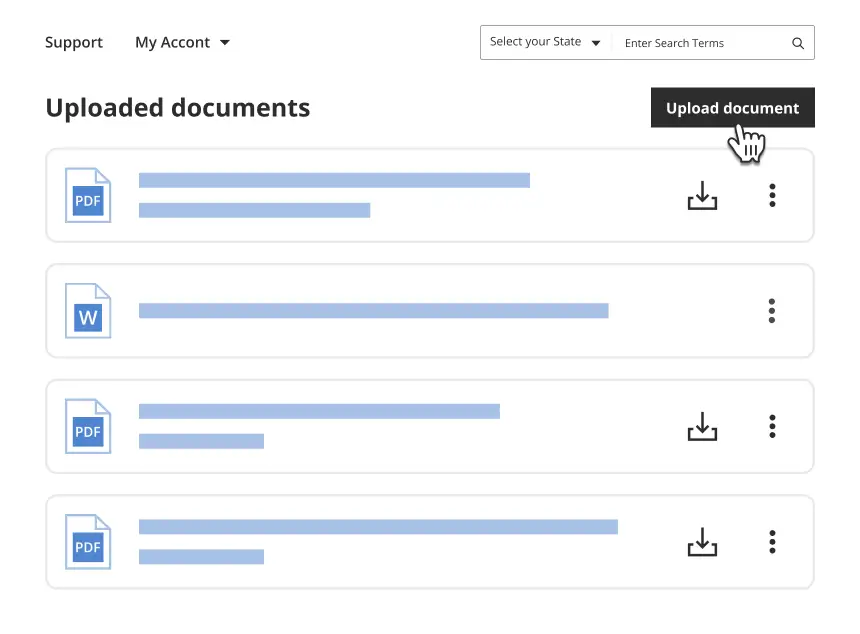
Get your form ready online
Our built-in tools help you complete, sign, share, and store your documents in one place.
Make edits, fill in missing information, and update formatting in US Legal Forms—just like you would in MS Word.
Download a copy, print it, send it by email, or mail it via USPS—whatever works best for your next step.
Sign and collect signatures with our SignNow integration. Send to multiple recipients, set reminders, and more. Go Premium to unlock E-Sign.
If this form requires notarization, complete it online through a secure video call—no need to meet a notary in person or wait for an appointment.
We protect your documents and personal data by following strict security and privacy standards.
Make edits, fill in missing information, and update formatting in US Legal Forms—just like you would in MS Word.
Download a copy, print it, send it by email, or mail it via USPS—whatever works best for your next step.
Sign and collect signatures with our SignNow integration. Send to multiple recipients, set reminders, and more. Go Premium to unlock E-Sign.

If this form requires notarization, complete it online through a secure video call—no need to meet a notary in person or wait for an appointment.
We protect your documents and personal data by following strict security and privacy standards.
Looking for another form?
How to fill out Assignment Of Promissory Note And Liens?
- Log into your US Legal Forms account if you're a returning user, and ensure your subscription is active to access your documents easily.
- For first-time users, begin by previewing the desired form. Check the description to confirm its alignment with your needs and jurisdiction requirements.
- If adjustments are needed, utilize the Search feature at the top of the site to find a more suitable template.
- Select the form that meets your criteria, and click on the Buy Now button to choose your preferred subscription plan.
- Complete your registration and provide payment information via credit card or PayPal to make your purchase.
- Download your selected form directly to your device, and it will also be available in the My Forms section of your profile for future access.
With US Legal Forms, you gain access to a robust collection of legal documents at a lower cost compared to competitors. The platform not only simplifies the document acquisition process but also connects you with premium experts for assistance, ensuring your forms are precise and legally compliant.
Start using US Legal Forms today and experience the ease of transferring lettering with the right legal documents. Explore your options now!
Form popularity
FAQ
Begin by printing or writing your letters on the appropriate transfer paper. Place the paper onto the fabric, ensuring proper alignment, and apply heat using an iron or heat press. Press firmly for the recommended time, and allow it to cool before peeling away the backing. Utilizing this method will help you achieve professional-looking transfer lettering on fabric.
To perform dry transfer lettering, start by positioning the letters on your desired surface. Use a bone folder or a wooden stick to rub over the letters, applying consistent pressure. Layering is key, so gradually lift the carrier sheet to reveal the lettering sticking to the surface. This technique provides a cleaner application for your transfer lettering projects.
Carefully peel the decal from the transfer tape by lifting one edge using a craft knife or your fingernail. If it resists, enhance the process by applying heat with a heat gun to loosen the adhesive. Keep the transfer tape steady to avoid damaging the decal. Mastering this step is essential in perfecting your transfer lettering skills.
To remove residue from transfer tape, use a gentle adhesive remover or rubbing alcohol on a soft cloth. Apply the solution, let it sit for a minute, and then wipe it away with a clean cloth. Make sure to test the area first to ensure there's no damage to your surface. Keeping your transfer lettering projects neat involves regular cleaning of your tools.
Start by peeling back a corner of the vinyl while holding the transfer tape down. Use a slow, steady motion to prevent tearing the vinyl. If you find the vinyl is resistant, use a heat gun to soften the adhesive slightly. This will facilitate the process of getting vinyl off while working with transfer lettering techniques.
To remove vinyl from strong grip transfer tape, gently lift one corner of the vinyl with a craft knife or your fingernail. Slowly peel off the vinyl while applying slight pressure on the transfer tape. If it sticks, a heat gun on low can soften the adhesive, making the removal easier. This method ensures a smooth process without damaging your design while learning about transfer lettering.
Writing a professional transfer letter involves clearly stating your intention and providing concise details. Begin with your contact information and the recipient’s details, followed by a salutation. Keep your message straightforward, respectful, and end with a polite closing. You can find templates for such letters on platforms like US Legal Forms for ease.
Attaching letters to fabric can be done using various methods such as sewing, ironing, or gluing. For a clean finish, you might consider using transfer lettering methods where the letters adhere through heat. No matter the approach, ensure that the letters are secure to withstand washing and wear.
To trace from paper to cloth, first secure the paper template on the fabric using tape or pins. Use a fabric pencil or marker to carefully outline the design. This technique is excellent for creating custom transfer lettering with precision.
Tracing letters on paper is simple and effective. Place your chosen letter template over a blank sheet and use a pencil to outline the letters carefully. This method allows you to create custom designs for transfer lettering later on.
