Checklist Office 365
Description


Get your form ready online
Our built-in tools help you complete, sign, share, and store your documents in one place.
Make edits, fill in missing information, and update formatting in US Legal Forms—just like you would in MS Word.
Download a copy, print it, send it by email, or mail it via USPS—whatever works best for your next step.
Sign and collect signatures with our SignNow integration. Send to multiple recipients, set reminders, and more. Go Premium to unlock E-Sign.
If this form requires notarization, complete it online through a secure video call—no need to meet a notary in person or wait for an appointment.
We protect your documents and personal data by following strict security and privacy standards.

Make edits, fill in missing information, and update formatting in US Legal Forms—just like you would in MS Word.

Download a copy, print it, send it by email, or mail it via USPS—whatever works best for your next step.

Sign and collect signatures with our SignNow integration. Send to multiple recipients, set reminders, and more. Go Premium to unlock E-Sign.

If this form requires notarization, complete it online through a secure video call—no need to meet a notary in person or wait for an appointment.

We protect your documents and personal data by following strict security and privacy standards.
Looking for another form?
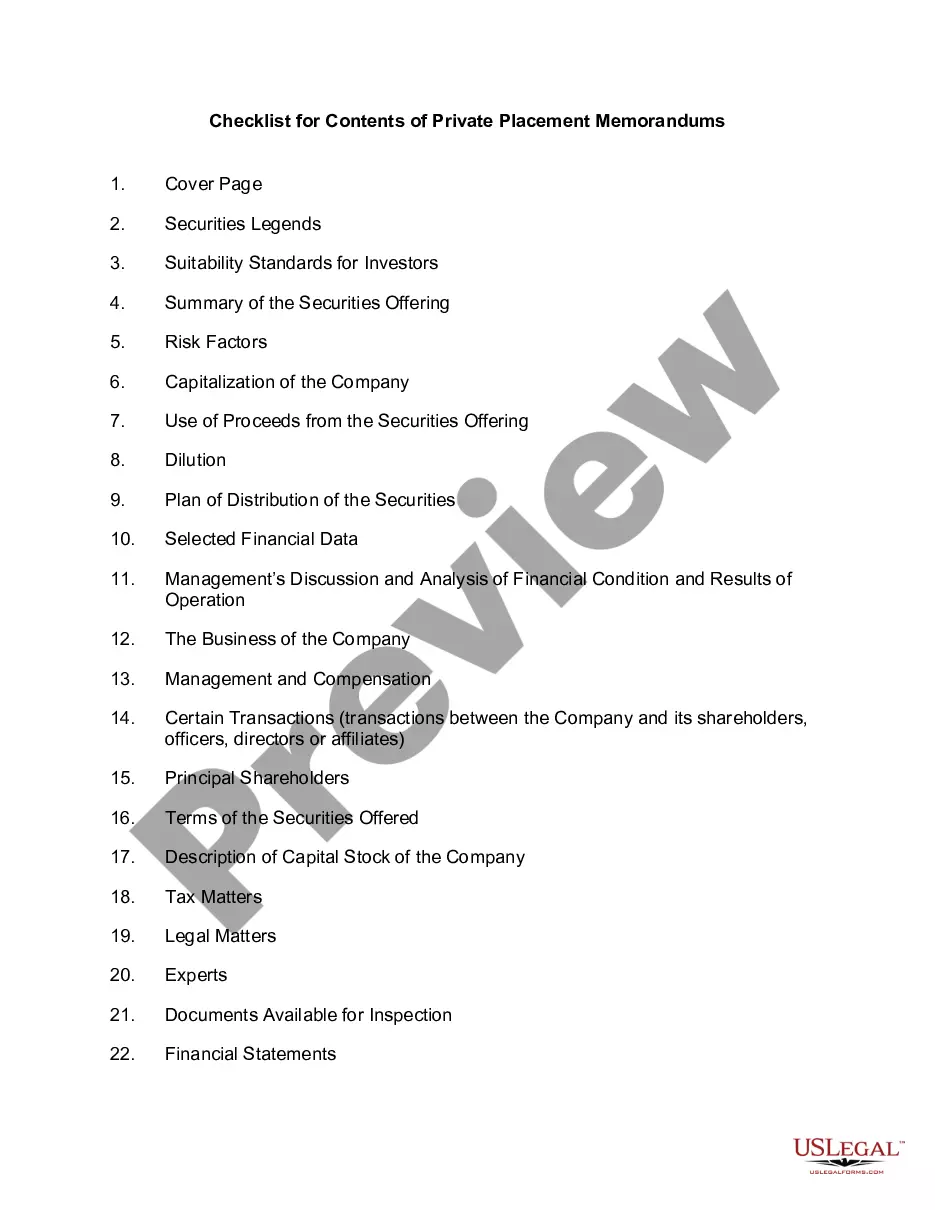
How to fill out Checklist For Limited Security Offering?
- Log in to your US Legal Forms account if you're a returning user and download the required form template by clicking the Download button. Ensure your subscription is active, and renew if necessary.
- For first-time users, start by checking the Preview mode and reading the form descriptions. Confirm that the template meets your requirements and complies with local jurisdiction regulations.
- If you need a different template, utilize the Search tab to locate the appropriate form. Once you find a suitable option, proceed to the next step.
- Purchase the document by selecting the Buy Now button and choosing your preferred subscription plan. Remember to create an account to unlock the full range of resources.
- Complete your purchase by entering your payment information or using PayPal. Once processed, move onto the final step.
- Download the form to your device. You can also access it anytime later through the My Forms section in your profile.
By following these straightforward steps, you will gain access to a comprehensive collection of legal forms that are easy to navigate and customize.
Don’t miss out on the opportunity to simplify your legal document processes with US Legal Forms. Start today and ensure your documents are precise and legally sound!
Form popularity
FAQ
To create a checklist, start by identifying the purpose and items you want to track. Next, open your preferred Office 365 application, such as Word or Excel, and type your list. Use the formatting options to insert checkboxes or create a bulleted list. Finally, share your checklist with others to collaborate and track progress together, leveraging the powerful features of Office 365.
Yes, Microsoft Forms can effectively serve as a checklist tool. You can create a new form and add multiple choice questions with checkboxes for users to select their choices. This feature simplifies data collection and task management, making your checklist interactive and user-friendly. Integrating Microsoft Forms within your Office 365 suite allows easy collaboration and insights.
To create a check-off list in Excel, open a new or existing spreadsheet and input your tasks in a column. Next, from the 'Developer' tab, insert checkboxes next to each task. This feature allows you to easily mark items as completed, making your checklist effective and visually appealing. Leveraging Office 365 for task management streamlines your workflow and enhances productivity.
Creating a checkable list in Office 365 is straightforward. Start by outlining your list in Word or Excel. For Word, you can insert checkboxes through the 'Developer' tab, while in Excel, you can utilize the 'Form Controls' to add checkboxes to your cells. This approach not only helps you keep track of tasks but also provides clarity and organization to your projects.
To add a fillable checkbox in Word 365, begin by opening your document and navigating to the 'Developer' tab. If this tab is not visible, you can enable it in the Word options. Once in the 'Developer' tab, click on the 'Check Box Content Control' button. This function allows you to create an interactive checklist for your users, enhancing engagement and usability.
To create a checklist in Office 365, first, choose the application that suits your needs, such as Word, Excel, or OneNote. Start a new document or worksheet, and then list the items you want to include. You can easily format this list by adding checkboxes or using bullet points. Utilizing the checklist features in Office 365 allows for efficient tracking and management of tasks.
Creating a checklist in Office 365 can enhance your task management. You can use Microsoft Planner or OneNote to list items. Simply add tasks in Planner or create a table in OneNote, and ensure your team collaborates efficiently. By doing this, you leverage the powerful features of Checklist Office 365, contributing to smooth project execution.
To create a list in Microsoft 365, open the Lists app from your Microsoft 365 dashboard. Click on 'New List', and select a template or start from scratch. You can add columns, customize with different types of entries, and collaborate with others, making your checklist Office 365 an effective tool for any collaboration effort.
Creating a checklist in Microsoft 365 is straightforward. Open Microsoft To Do or OneNote, select 'New List', and then start adding tasks or items for your checklist. This feature integrates seamlessly across your devices, ensuring you have access to your checklist Office 365 anytime, anywhere, streamlining your productivity.
To create a checklist in Microsoft Forms, start by opening the Forms app. Click on 'New Form' and add a title. Utilize the 'Choice' question type to list items for your checklist, allowing users to select multiple options. Once you are done, share the form with your team, making it a practical tool for any project within your Checklist Office 365 framework.