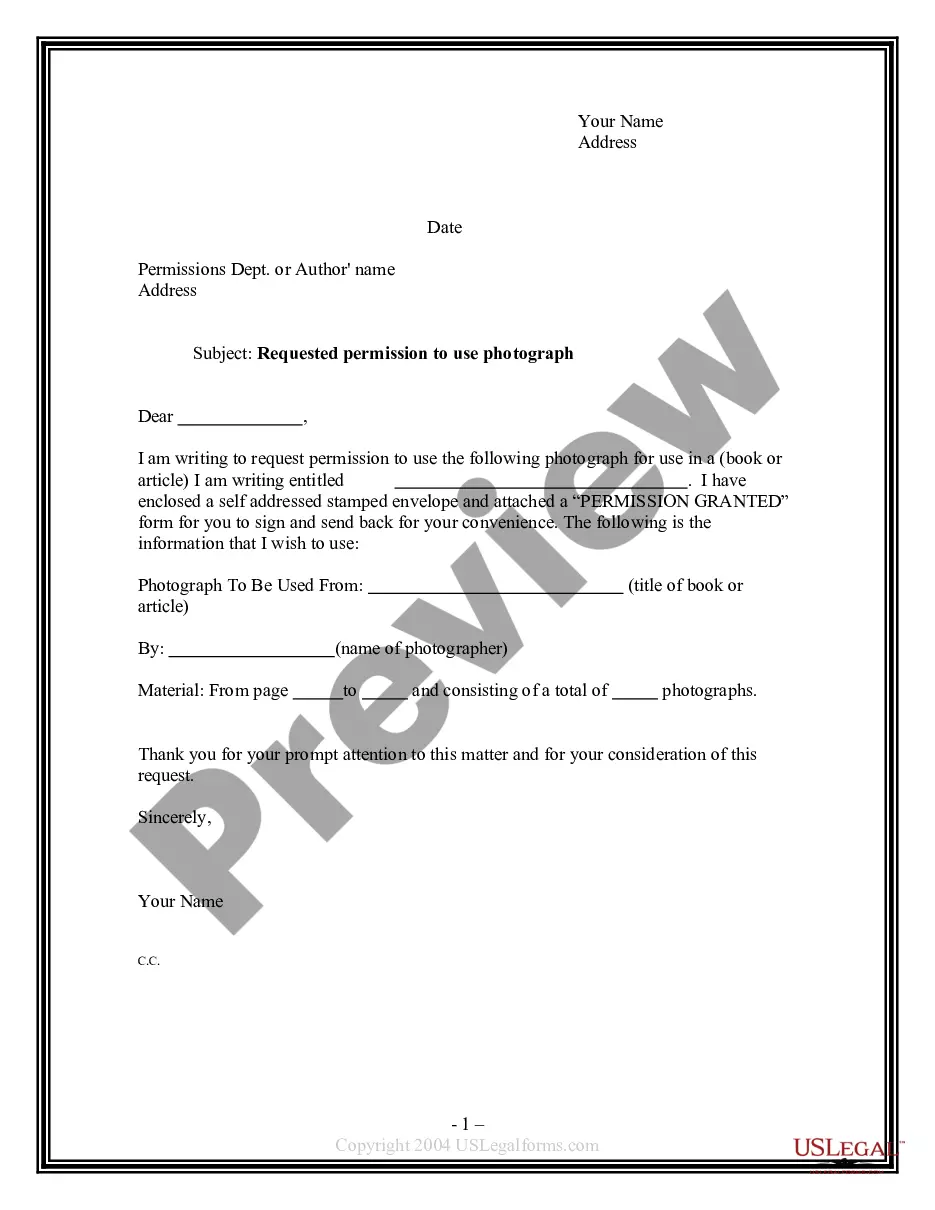
Photo Use Permission With The User
Description
Get your form ready online
Our built-in tools help you complete, sign, share, and store your documents in one place.
Make edits, fill in missing information, and update formatting in US Legal Forms—just like you would in MS Word.
Download a copy, print it, send it by email, or mail it via USPS—whatever works best for your next step.
Sign and collect signatures with our SignNow integration. Send to multiple recipients, set reminders, and more. Go Premium to unlock E-Sign.
If this form requires notarization, complete it online through a secure video call—no need to meet a notary in person or wait for an appointment.
We protect your documents and personal data by following strict security and privacy standards.
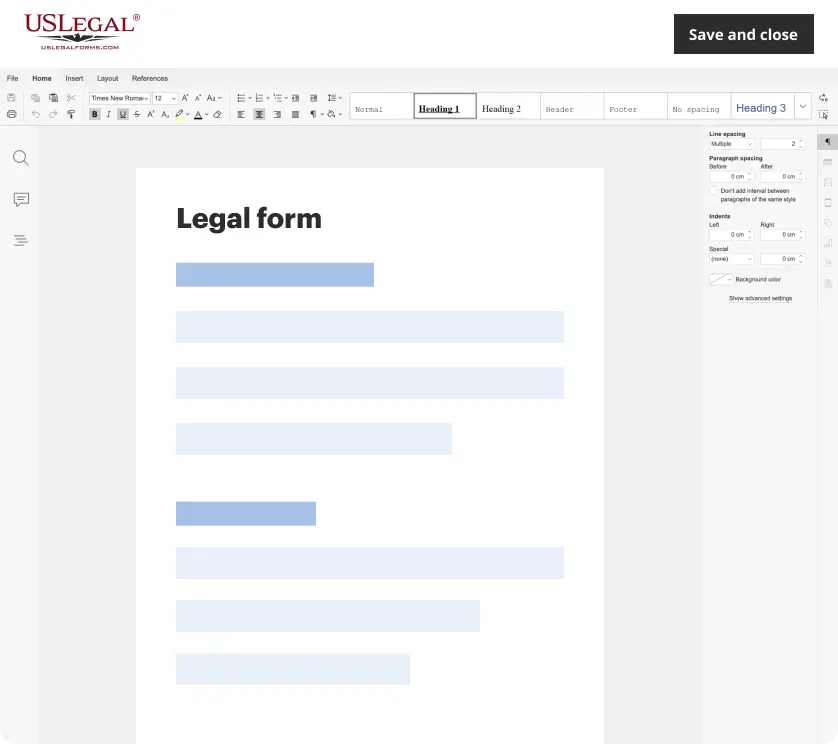
Make edits, fill in missing information, and update formatting in US Legal Forms—just like you would in MS Word.
Download a copy, print it, send it by email, or mail it via USPS—whatever works best for your next step.
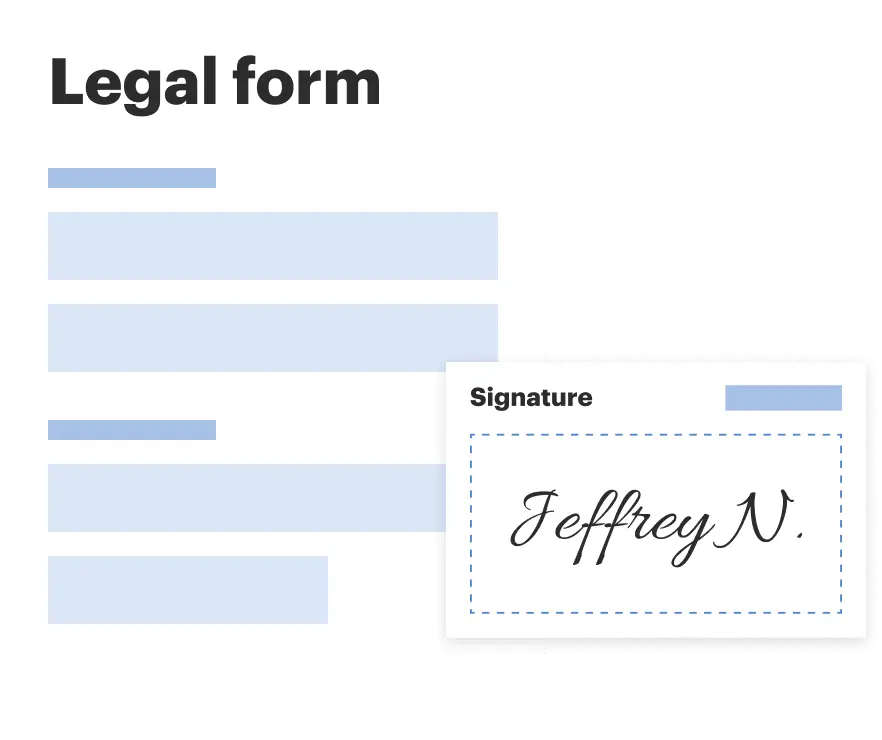
Sign and collect signatures with our SignNow integration. Send to multiple recipients, set reminders, and more. Go Premium to unlock E-Sign.
If this form requires notarization, complete it online through a secure video call—no need to meet a notary in person or wait for an appointment.
We protect your documents and personal data by following strict security and privacy standards.
Looking for another form?
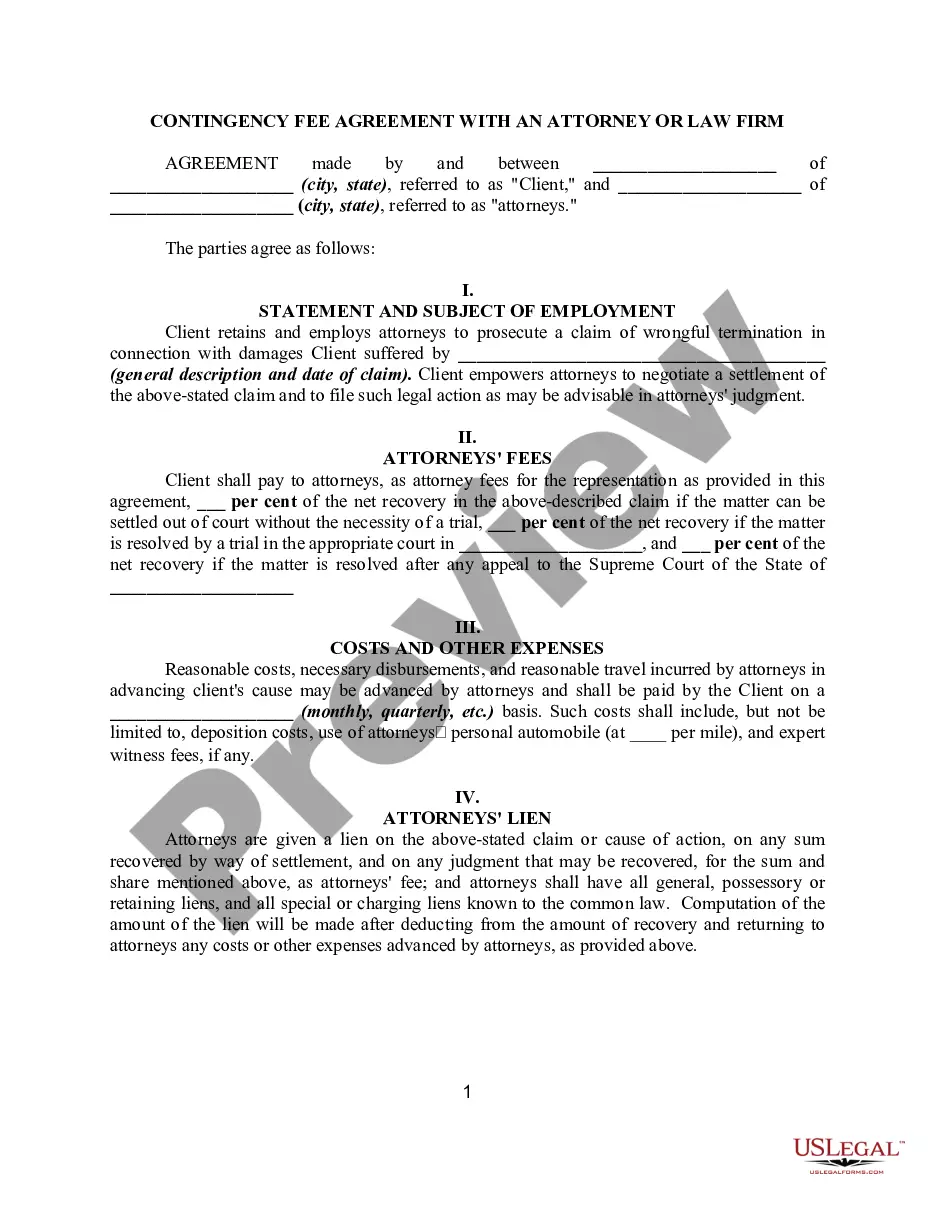
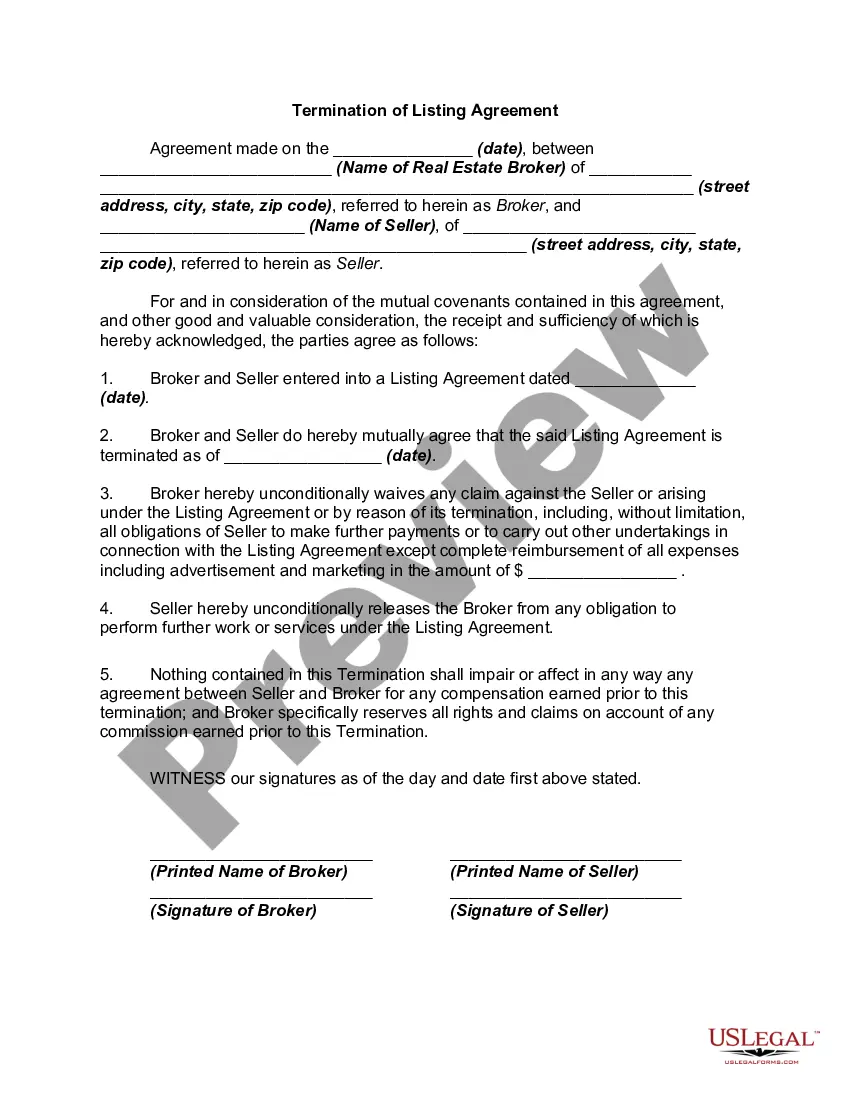
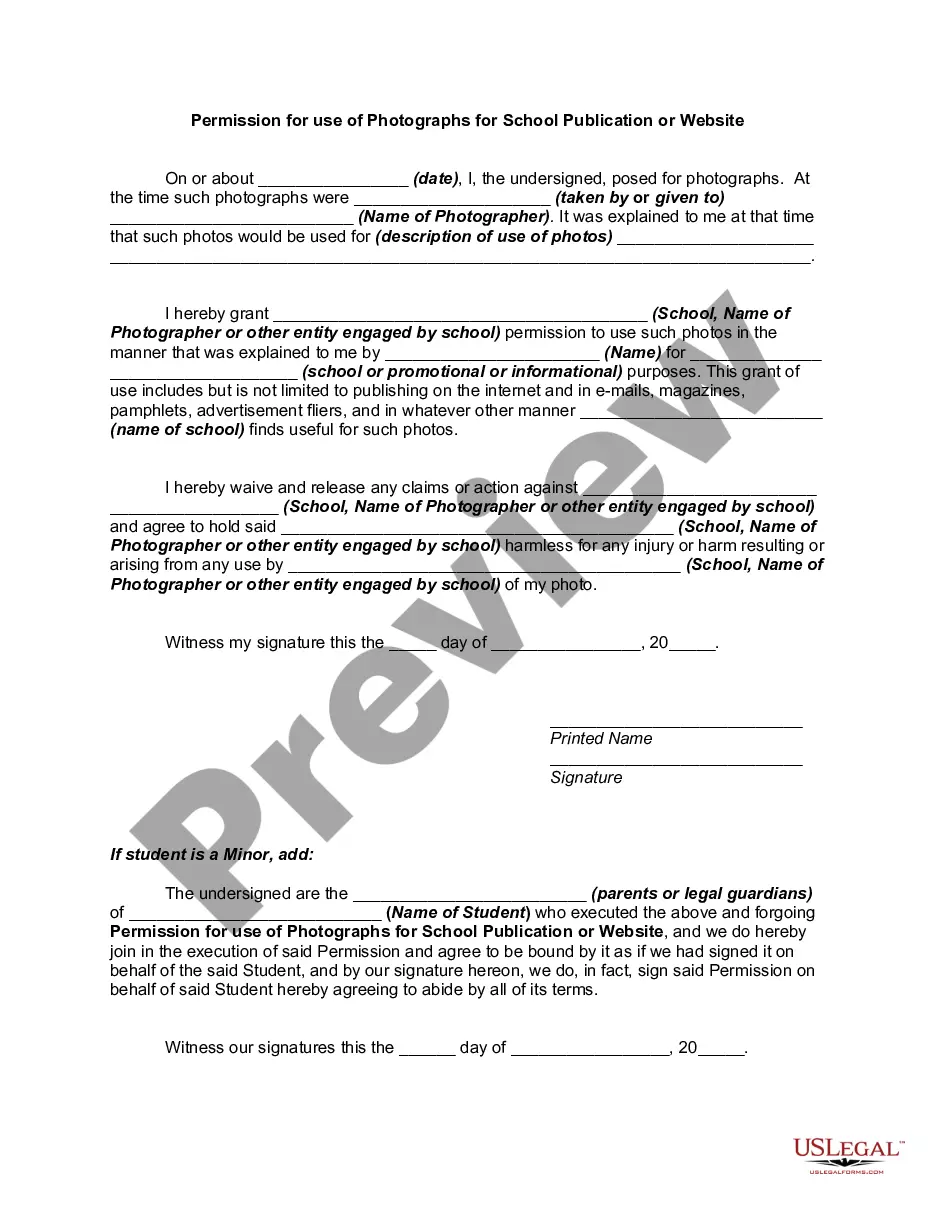
How to fill out Permission For Use Of Photographs For School Publication Or Website?
- Log in to your US Legal Forms account if you're already a user. Ensure your subscription is active; renew if necessary.
- If you're a new user, start by browsing our library of legal forms. Look for the appropriate photo use permission form based on your jurisdiction requirements.
- In case the initial form does not meet your needs, utilize the search bar to find a suitable alternate template.
- Once you've identified the correct document, click on the 'Buy Now' option and choose a subscription plan that aligns with your needs. You will need to create an account to gain access to our vast resources.
- Proceed to checkout by entering your credit card details or utilizing your PayPal account to finalize the subscription purchase.
- Download your selected form and save it for future reference. You can access it anytime from the 'My Forms' section of your profile.
In conclusion, US Legal Forms simplifies the process of obtaining photo use permission with the user through its extensive online library and user-friendly interface. With over 85,000 editable legal forms and access to premium experts, you are equipped to navigate legal documentation effectively.
Start your journey today by accessing the resources available at US Legal Forms, and ensure your photography rights are legally secured!
Form popularity
FAQ
To share files with user permissions, right-click on the file or folder and select the sharing option. You can invite users by adding their email addresses while ensuring to include specific photo use permission with the user to control their access level. This approach allows for effective collaboration while safeguarding your content.
In Windows, to give permissions to a user, locate the file or folder in question, right-click on it, and choose 'Properties.' Then, under the 'Sharing' or 'Security' tab, you can grant photo use permission with the user, allowing them access to your files securely.
To add a permission set to a user, first navigate to the permission management section of your system. Choose the user and then assign the relevant permission set, which can include photo use permission with the user. This action enables the user to utilize shared resources effectively.
Adding permissions to a user involves accessing the user management interface in your application. You can assign roles or specific access rights as needed, including specifying photo use permission with the user, ensuring they can manage photos appropriately. This approach promotes collaborative efforts without compromising security.
To add permissions to an IAM user, log in to the AWS Management Console and navigate to the IAM section. Select the user and then attach the appropriate policy, which might include specific photo use permission with the user. This way, you empower them with the necessary access rights based on their role.
To change permissions on photos in Windows 10, right-click on the photo file, select 'Properties,' and navigate to the 'Security' tab. From there, you can adjust the photo use permission with the user by editing their access levels. This ensures that only authorized users can interact with your photos.
To add special permissions to a user, access the settings or permissions section in your software. Look for the user management options. You can easily designate specific photo use permission with the user, allowing them to access or modify certain images as needed.
A photo disclaimer statement clarifies the terms under which images may be used. For instance, you may say, 'All photos used on this website are either owned by us or used with permission. We respect copyright and have obtained photo use permission with the user for all our images.' This helps set clear expectations and protects your legal interests while acknowledging the rights of the original creators.
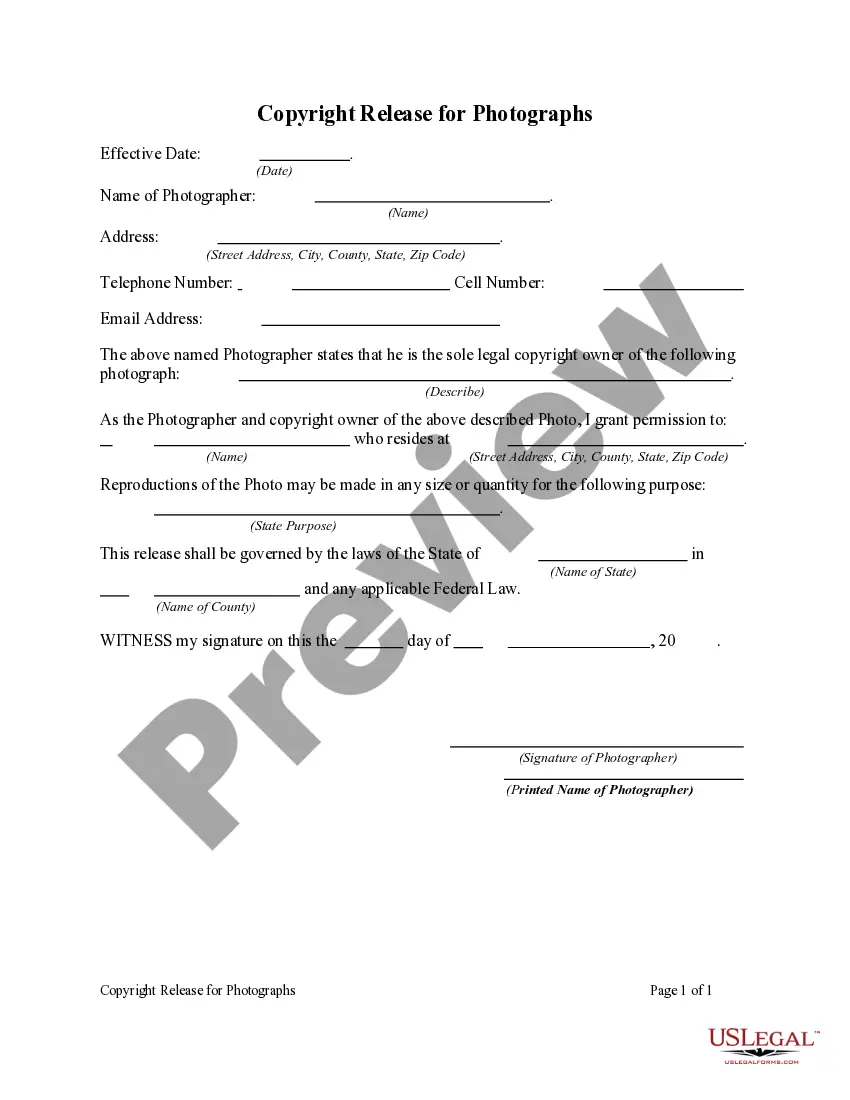
To get permission to use a photo, first identify the copyright owner of the image. Reach out to them directly, clearly stating your intentions for photo use and how the image will be incorporated. It's beneficial to be transparent and polite to establish trust, as this helps in securing photo use permission with the user. Always follow up to ensure you have documented consent.
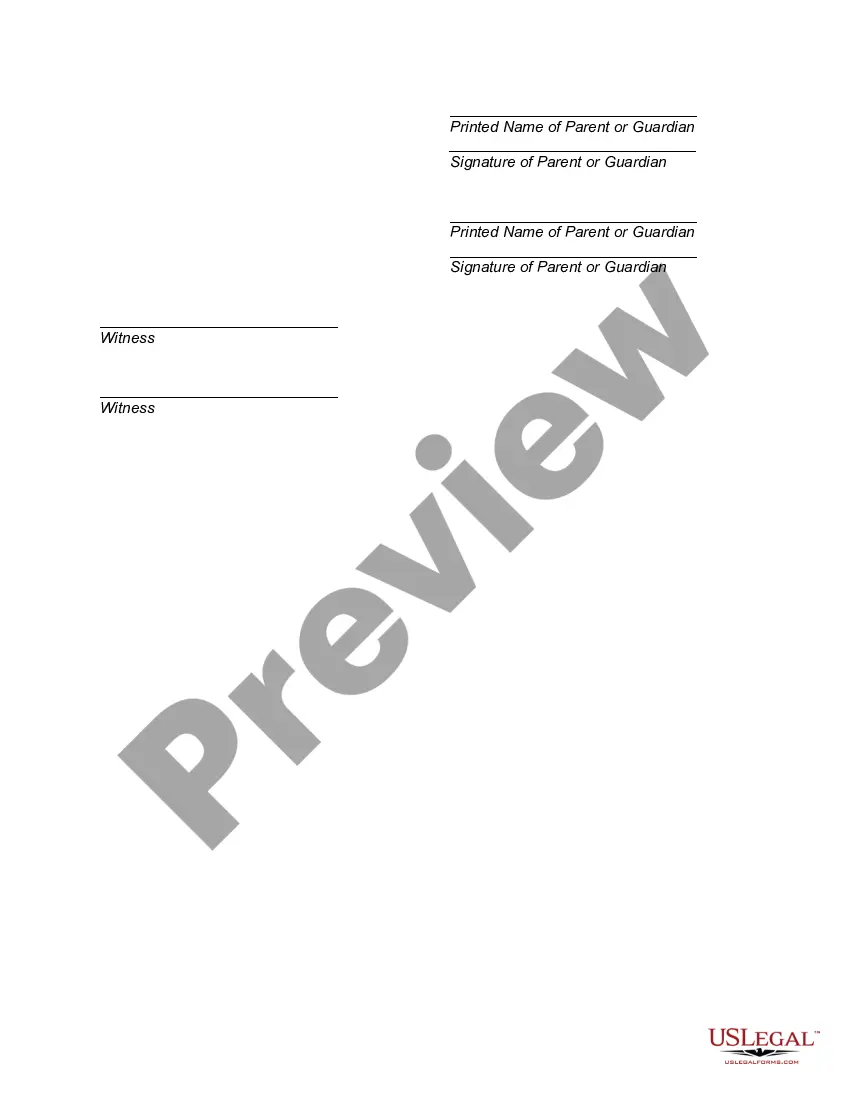
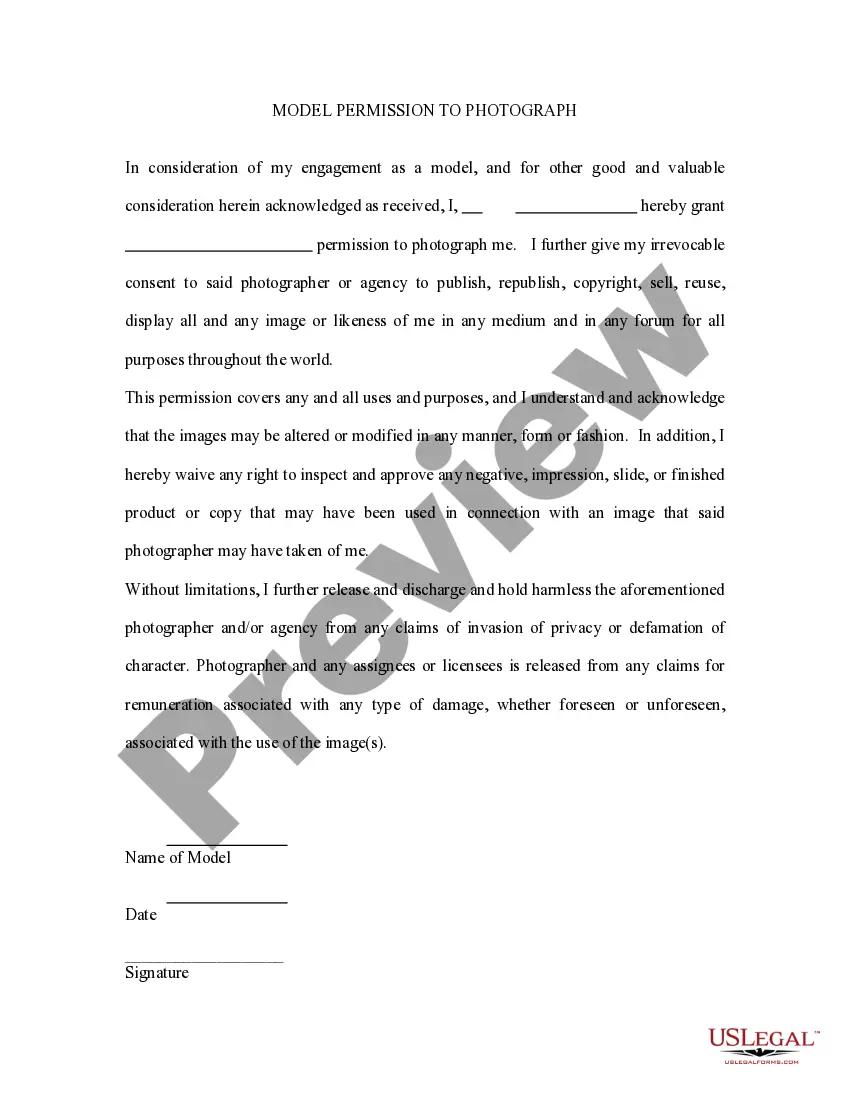
Writing a photography consent form is essential for obtaining photo use permission with the user. Start by including the purpose of the photo use and clearly state how the images will be used. Make sure to outline both the rights of the photographer and the rights of the person being photographed. Finally, provide space for signatures and dates to confirm mutual agreement.