Sample Invoice For Speaking Engagement In Franklin
Description
Get your form ready online
Our built-in tools help you complete, sign, share, and store your documents in one place.
Make edits, fill in missing information, and update formatting in US Legal Forms—just like you would in MS Word.
Download a copy, print it, send it by email, or mail it via USPS—whatever works best for your next step.
Sign and collect signatures with our SignNow integration. Send to multiple recipients, set reminders, and more. Go Premium to unlock E-Sign.
If this form requires notarization, complete it online through a secure video call—no need to meet a notary in person or wait for an appointment.
We protect your documents and personal data by following strict security and privacy standards.
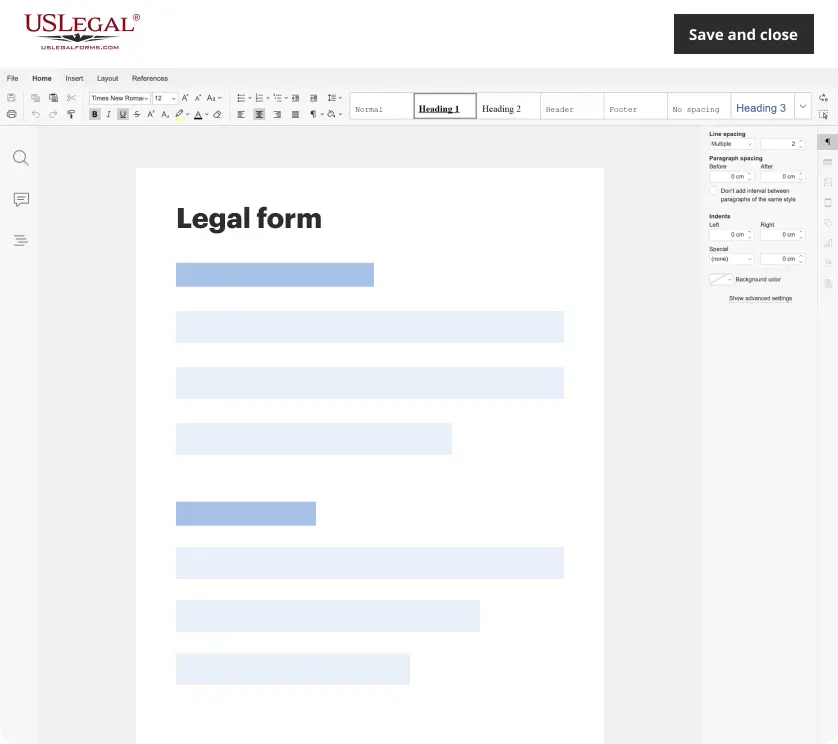
Make edits, fill in missing information, and update formatting in US Legal Forms—just like you would in MS Word.
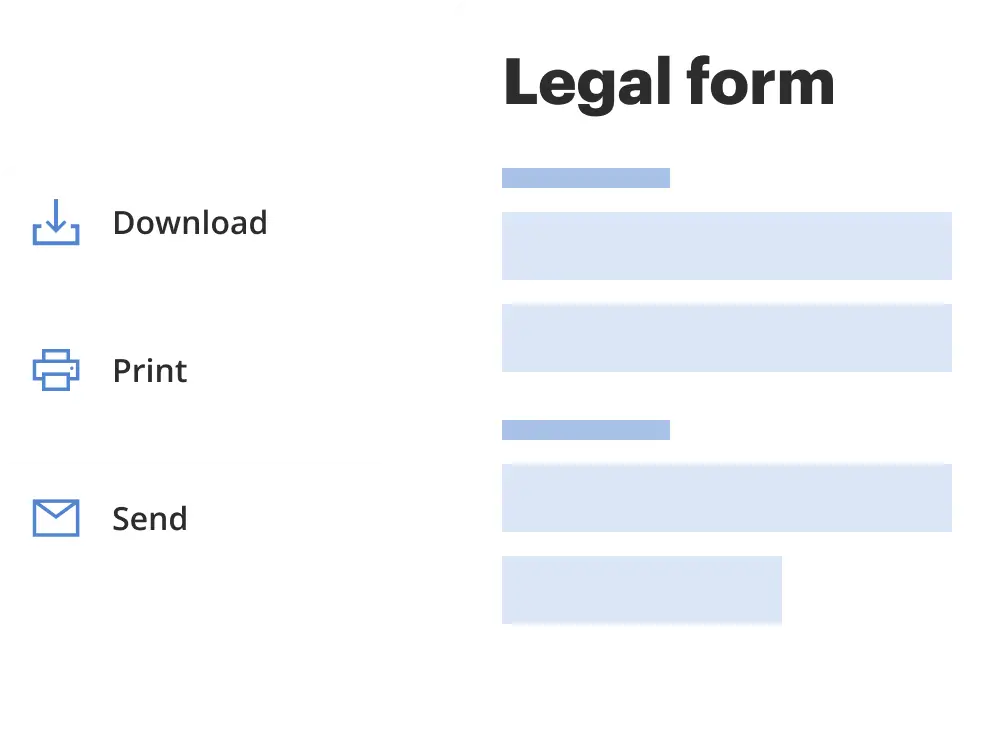
Download a copy, print it, send it by email, or mail it via USPS—whatever works best for your next step.
Sign and collect signatures with our SignNow integration. Send to multiple recipients, set reminders, and more. Go Premium to unlock E-Sign.
If this form requires notarization, complete it online through a secure video call—no need to meet a notary in person or wait for an appointment.
We protect your documents and personal data by following strict security and privacy standards.
Looking for another form?
Form popularity
FAQ
Always make sure to include the following details on any invoice you send out: Legal company name and number Office address The client's name and address Invoice number Invoice date Due date Any tax numbers that may be required by local law Payment terms Itemized list of products or services that you provided 8.
Set up formatting. The first step in making any invoice is to set up how it will look. Add your business information. Enter your client's information. Add an invoice number and date. Specify a payment due date. List products and services provided (line items) ... Calculate the total amount due. Outline your terms and conditions.
Hi Recipient name, I hope you're well. Please see attached invoice number invoice number for product/service name, due on invoice due date. Don't hesitate to reach out if you have any questions.
Start with the basics: your name, address, and contact details, followed by the client's information. Then, describe the services rendered, including dates, venue, and other relevant details. Specify the total amount due, including taxes if applicable, and the due date for payment.
Set up formatting. The first step in making any invoice is to set up how it will look. Add your business information. Enter your client's information. Add an invoice number and date. Specify a payment due date. List products and services provided (line items) ... Calculate the total amount due. Outline your terms and conditions.
The following details should definitely be included in a freelancer's invoice: Title. Name and logo. Contact details. Client's name and client's information. Invoice date. Invoice number. List of services with the rate charged (before tax) ... Tax rate and amount, if applicable.