Letter Instruction Sample With Attachment In Franklin
Description
Get your form ready online
Our built-in tools help you complete, sign, share, and store your documents in one place.
Make edits, fill in missing information, and update formatting in US Legal Forms—just like you would in MS Word.
Download a copy, print it, send it by email, or mail it via USPS—whatever works best for your next step.
Sign and collect signatures with our SignNow integration. Send to multiple recipients, set reminders, and more. Go Premium to unlock E-Sign.
If this form requires notarization, complete it online through a secure video call—no need to meet a notary in person or wait for an appointment.
We protect your documents and personal data by following strict security and privacy standards.

Make edits, fill in missing information, and update formatting in US Legal Forms—just like you would in MS Word.

Download a copy, print it, send it by email, or mail it via USPS—whatever works best for your next step.

Sign and collect signatures with our SignNow integration. Send to multiple recipients, set reminders, and more. Go Premium to unlock E-Sign.

If this form requires notarization, complete it online through a secure video call—no need to meet a notary in person or wait for an appointment.

We protect your documents and personal data by following strict security and privacy standards.
Looking for another form?

Form popularity
FAQ
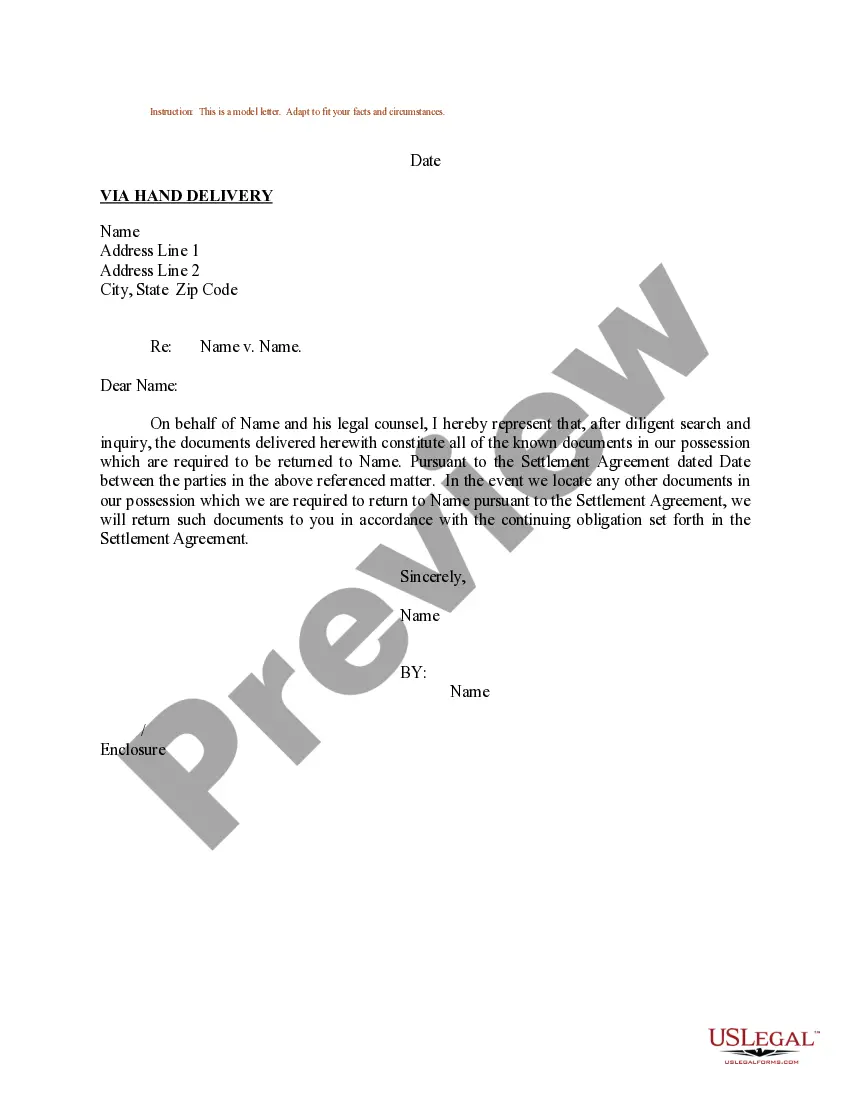
Under your name at the end of the letter, skip two lines. On the third line, write "Enclosure:" or "Enclosures:" if there are multiple documents. Skip a line after "Enclosures:" and then begin your list of enclosures. Put each enclosed document title on its own line.
Here are six steps to write a letter of instruction: Create a header. Before you write the content of the letter, create a header at the top left-hand corner of the document. Address the reader. Explain the project or task. List each step. Conclude your letter. Revise the document.
Under your name and title, type “Enclosure:” or “Attachment:” to indicate that you've included additional documents. On the next line, provide a brief description of the contents. In a typical letter with an attachment, you might state “Curriculum Vitae,” for example.
You can simply write, “Please find attached.” or its short form: PFA. “Attached” is the correct word for electronic communication. After skipping another line, write the body of the letter. Use standard paragraph formatting to make the letter as easy to read and understand as possible.
If you have enclosed any documents along with the letter, such as a resume, you indicate this simply by typing Enclosures below the closing. As an option, you may list the name of each document you are including in the envelope.
Under your name and title, type “Enclosure:” or “Attachment:” to indicate that you've included additional documents. On the next line, provide a brief description of the contents. In a typical letter with an attachment, you might state “Curriculum Vitae,” for example.
Here are a few alternatives: I've attached item. Please have a look at the attached item. The item you asked for is attached. Please refer to the attached item for more details. The attached item includes . . .
To add a preparer attachment, return to data entry and open screen PDF. Enter the Reference Source, a Description and the File Name.
Under your name and title, type “Enclosure:” or “Attachment:” to indicate that you've included additional documents. On the next line, provide a brief description of the contents. In a typical letter with an attachment, you might state “Curriculum Vitae,” for example.
I would like to apply for the position of Industrial Trainee at your company. provide reasons why the company should accept your application provide the duration of attachment I enclose my resume for your consideration. Thank You.