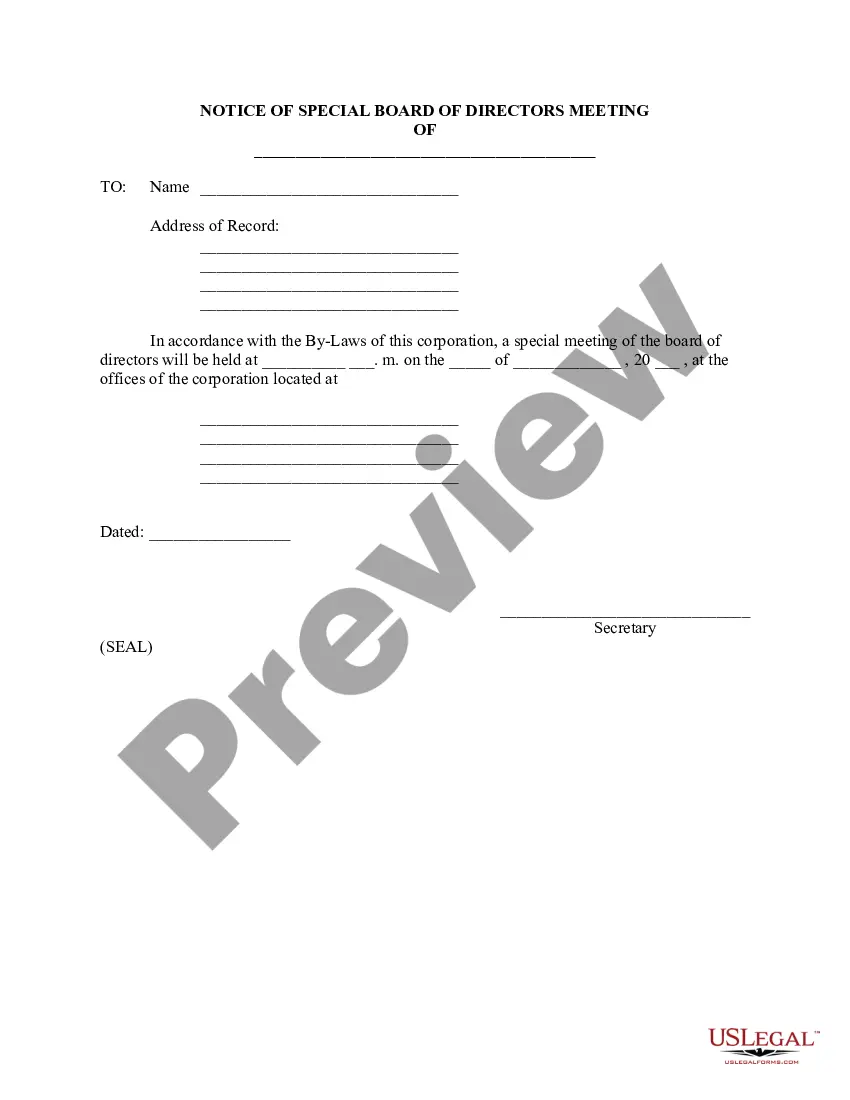
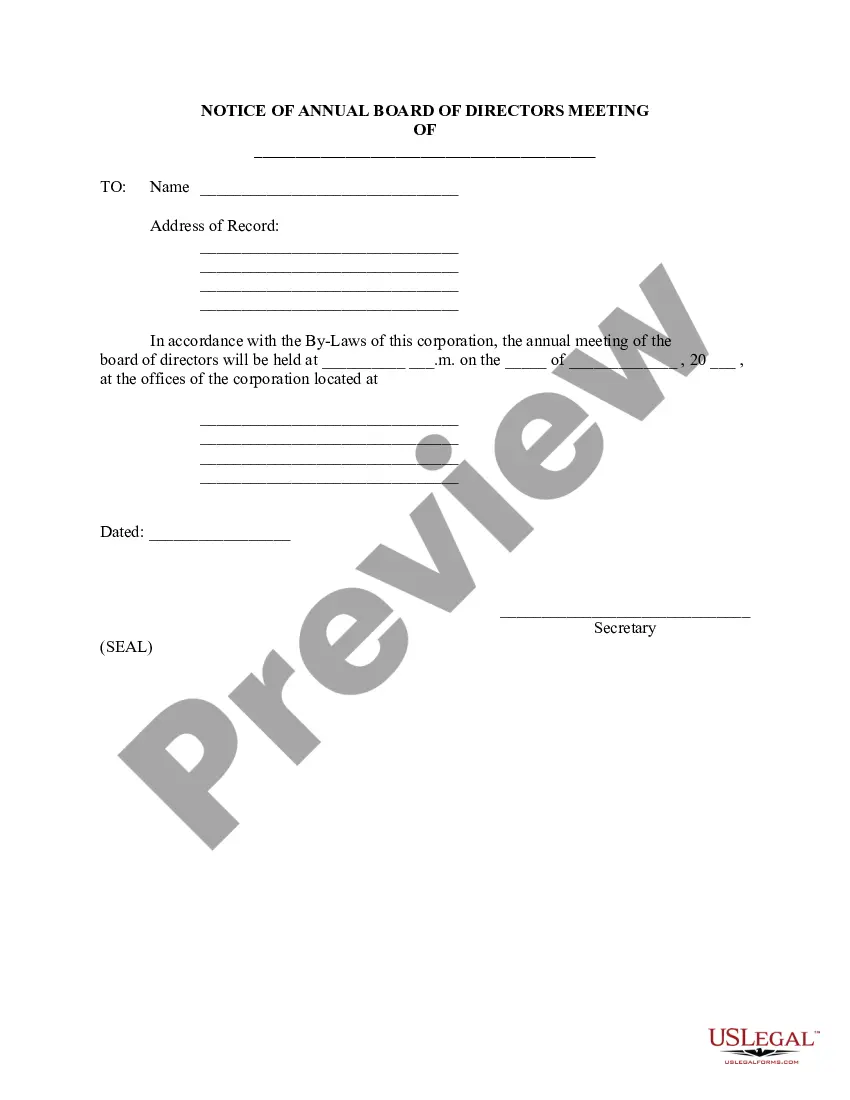
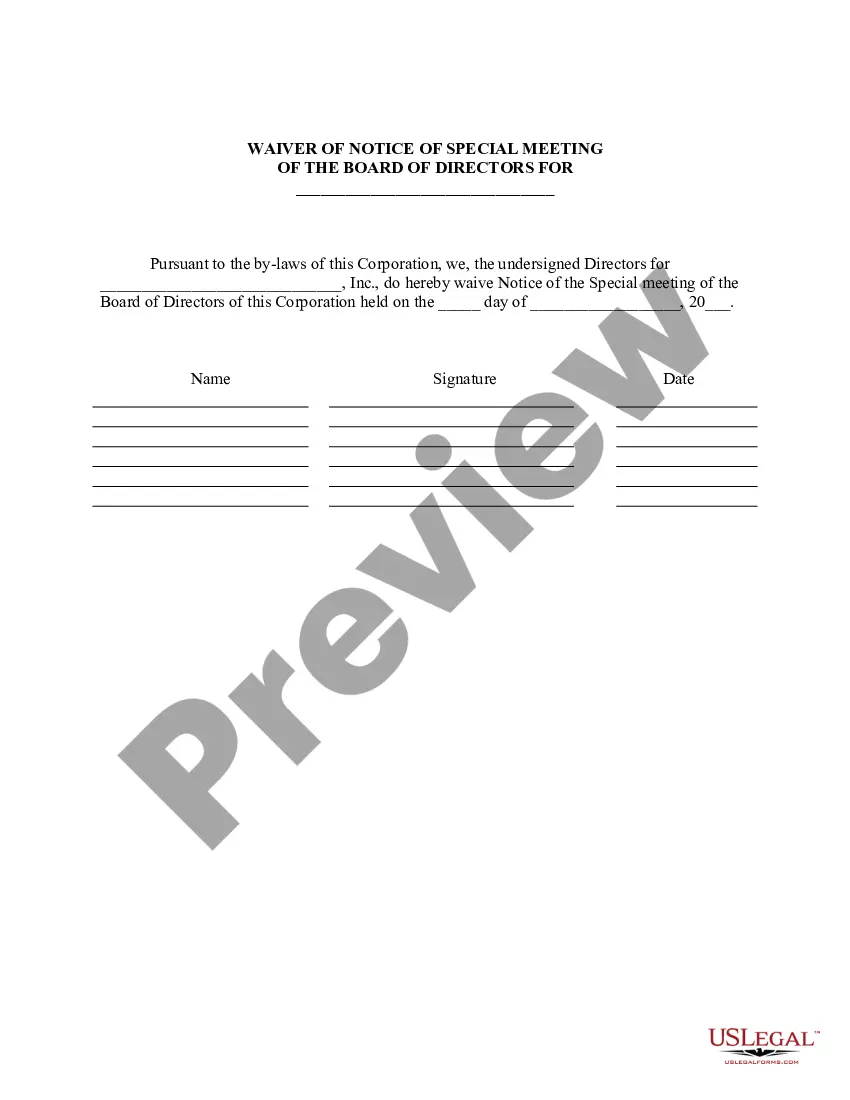
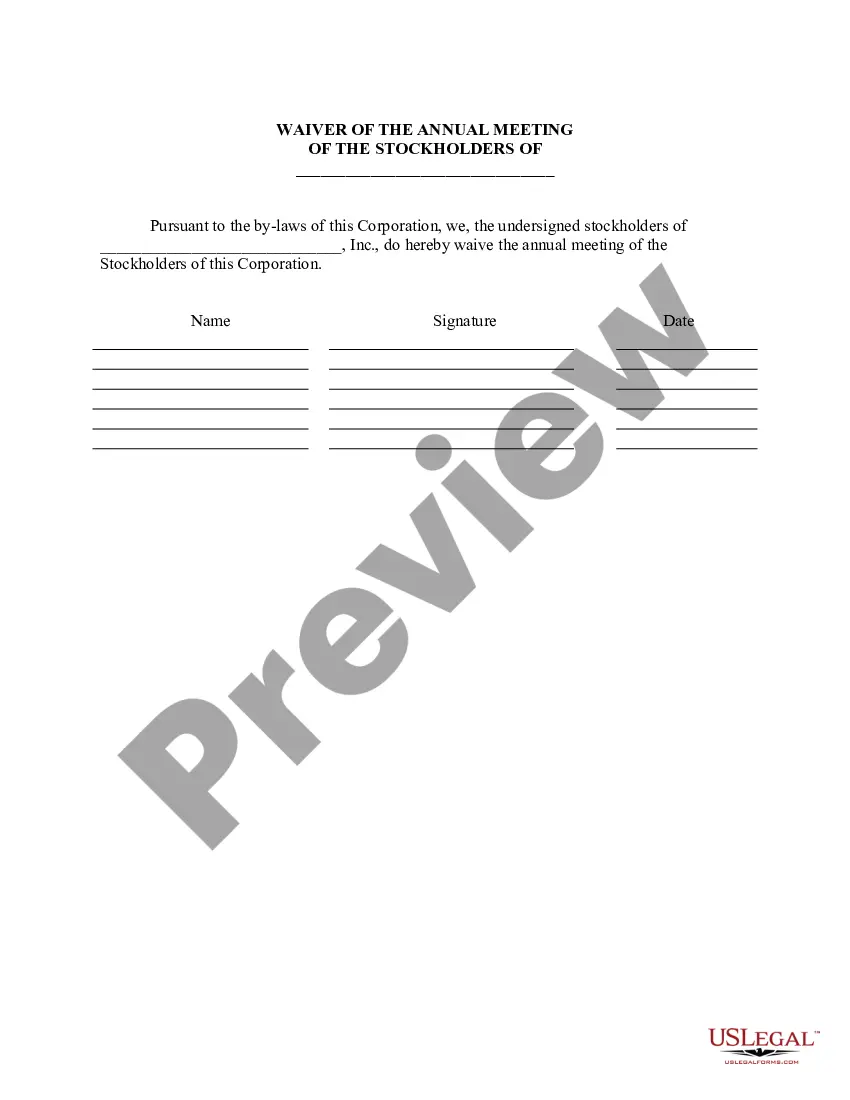
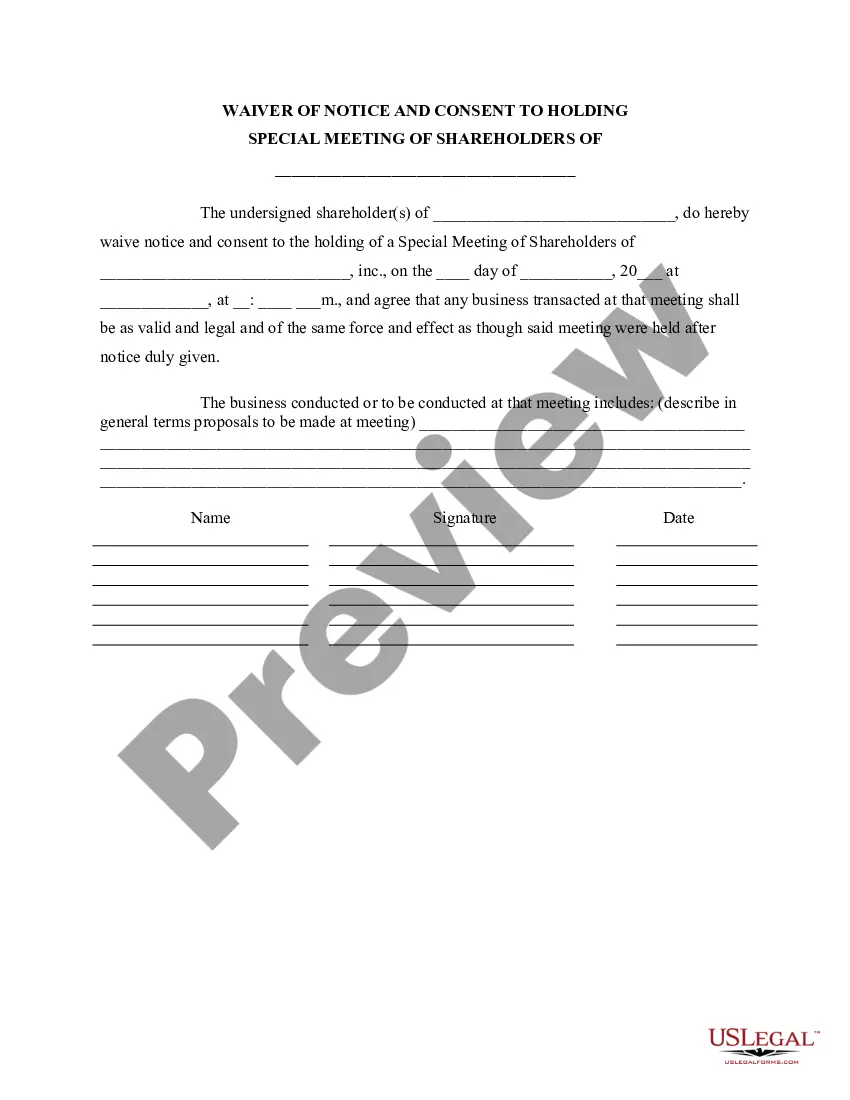
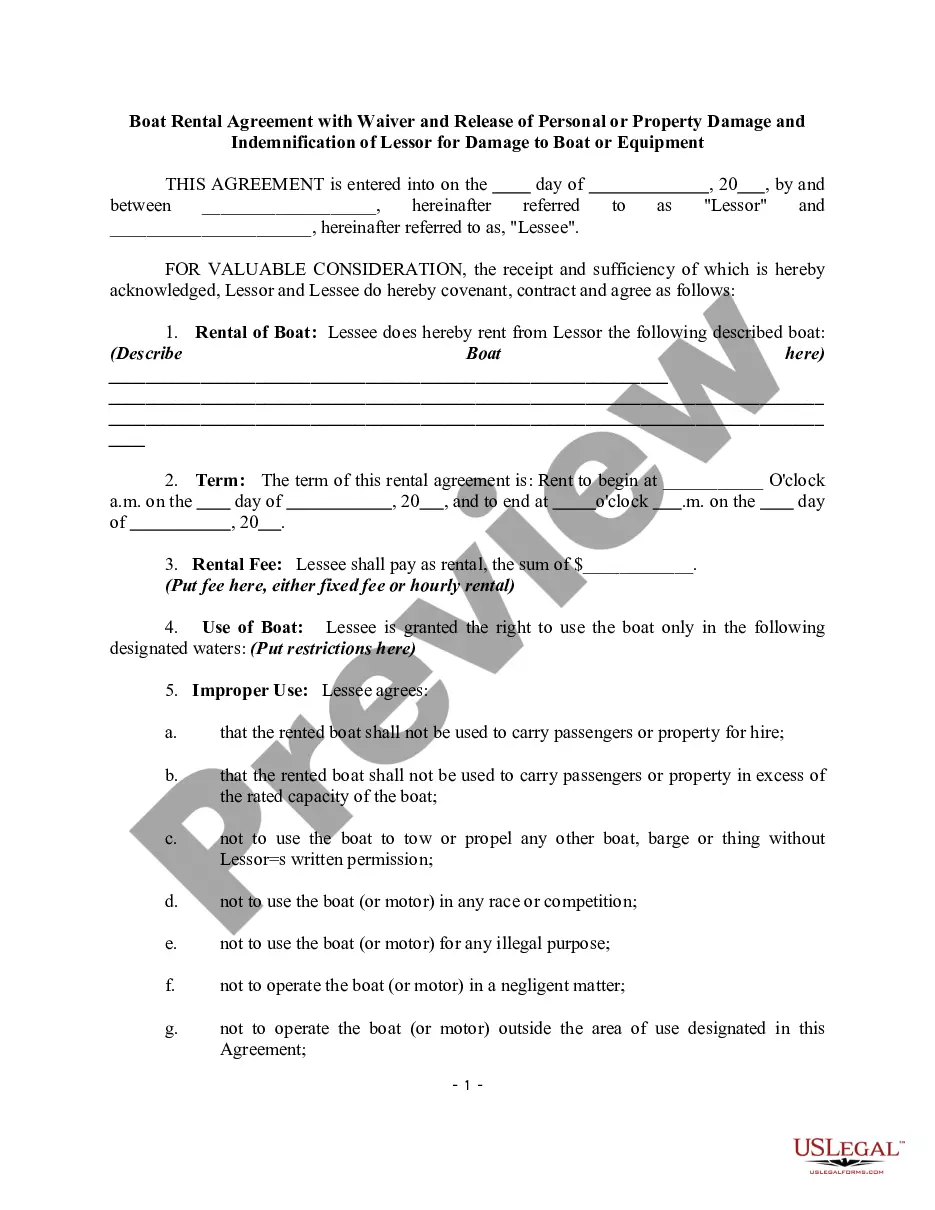
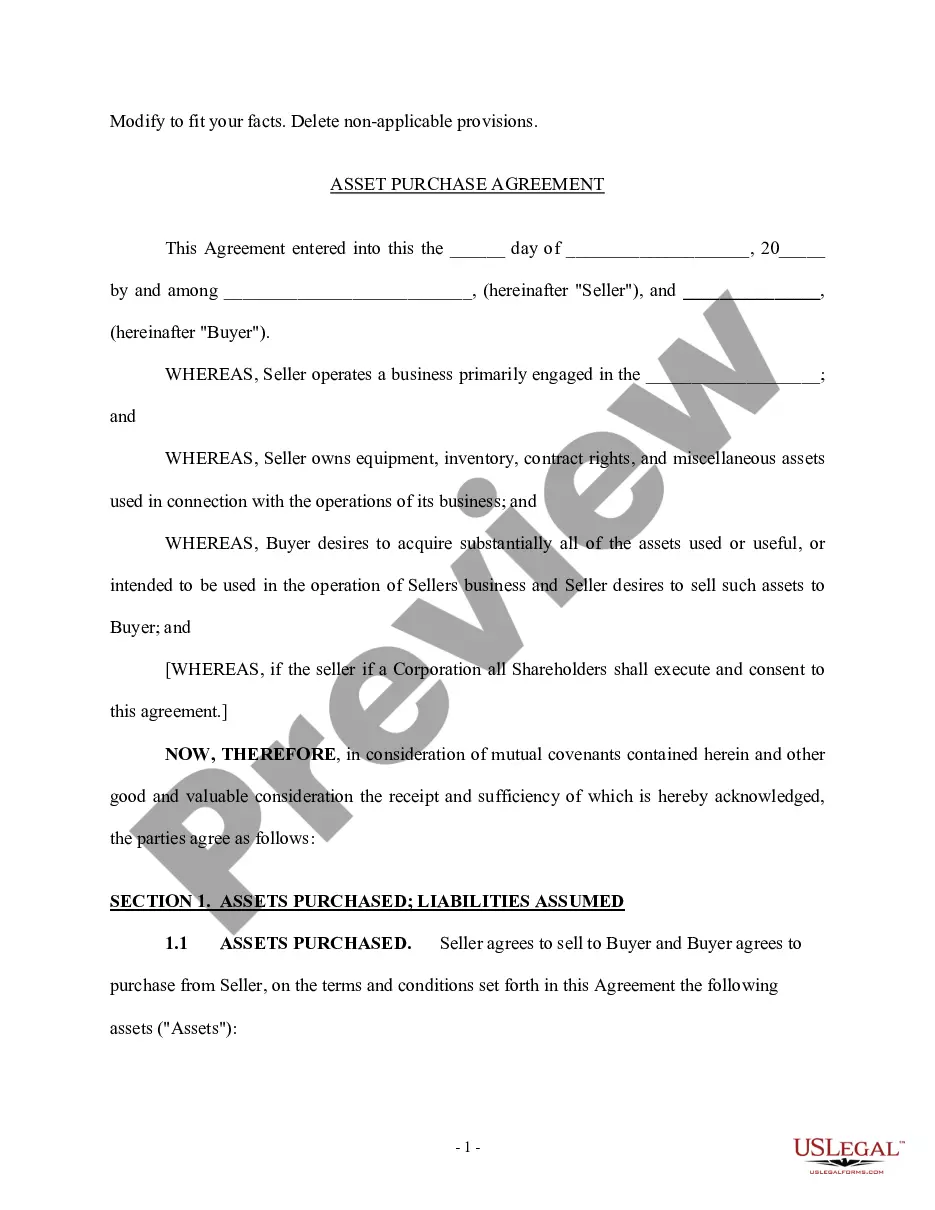
Meeting Board Template With Lines In Suffolk
Description
Get your form ready online
Our built-in tools help you complete, sign, share, and store your documents in one place.
Make edits, fill in missing information, and update formatting in US Legal Forms—just like you would in MS Word.
Download a copy, print it, send it by email, or mail it via USPS—whatever works best for your next step.
Sign and collect signatures with our SignNow integration. Send to multiple recipients, set reminders, and more. Go Premium to unlock E-Sign.
If this form requires notarization, complete it online through a secure video call—no need to meet a notary in person or wait for an appointment.
We protect your documents and personal data by following strict security and privacy standards.

Make edits, fill in missing information, and update formatting in US Legal Forms—just like you would in MS Word.

Download a copy, print it, send it by email, or mail it via USPS—whatever works best for your next step.

Sign and collect signatures with our SignNow integration. Send to multiple recipients, set reminders, and more. Go Premium to unlock E-Sign.

If this form requires notarization, complete it online through a secure video call—no need to meet a notary in person or wait for an appointment.

We protect your documents and personal data by following strict security and privacy standards.
Looking for another form?

Form popularity
FAQ
Sign in to the Zoom web portal. On the left menu, click Whiteboards. Click the Trash tab. To the right of the whiteboard you want to recover, click the ellipses icon . Click Remove from Trash. (Optional) To recover multiple whiteboards, click the check boxes beside the whiteboard names.
Here is the process you can use: Go to OneDrive and open My files. Select the Whiteboard folder to see all your whiteboards. Choose the board you want to copy as a template. Click the ... icon. Click Copy to and then click Copy Here to copy the file to your Whiteboard folder.
How to create a custom template Create or open an existing whiteboard. At the top right, click the ellipsis icon . Select Save Page as Template. Enter a name, add description, and select categories for your template. Click Save Template.
How to upload documents and images to the whiteboard Sign in to the Zoom desktop client. Create or open a whiteboard. In the toolbar on the left side of the screen, click the Upload PDFs and Images icon . The file dialog will appear. Select a file or image from your computer. Click Open.
Create a new whiteboard or open an existing whiteboard that you want to save as a template. Go to template panel and click My templates. Click on Create new template.
Open the Zoom Desktop App. Select Whiteboards on the top right bar. This is what the pointer looks like. Select Save to save a copy of the whiteboard as a PDF or PNG to your computer.
Click the “Format” button to change the writing color, font, font size, and line width. 11. Click the “Undo” and “Redo” buttons to undo or redo actions. Click “Clear” to erase content.
Open the Zoom Desktop App. Select Whiteboards on the top right bar. This is what the pointer looks like. Select Save to save a copy of the whiteboard as a PDF or PNG to your computer.
Account Sign in to the Zoom web portal. Click Account Management, then Account Settings. Click the Whiteboard tab. Under the In-meeting Whiteboard section, click the Enable In-Meeting Whiteboard toggle to enable or disable the option. If a verification dialog appears, click Enable or Disable to verify the change.