Correction Form For Passport In Montgomery
Description
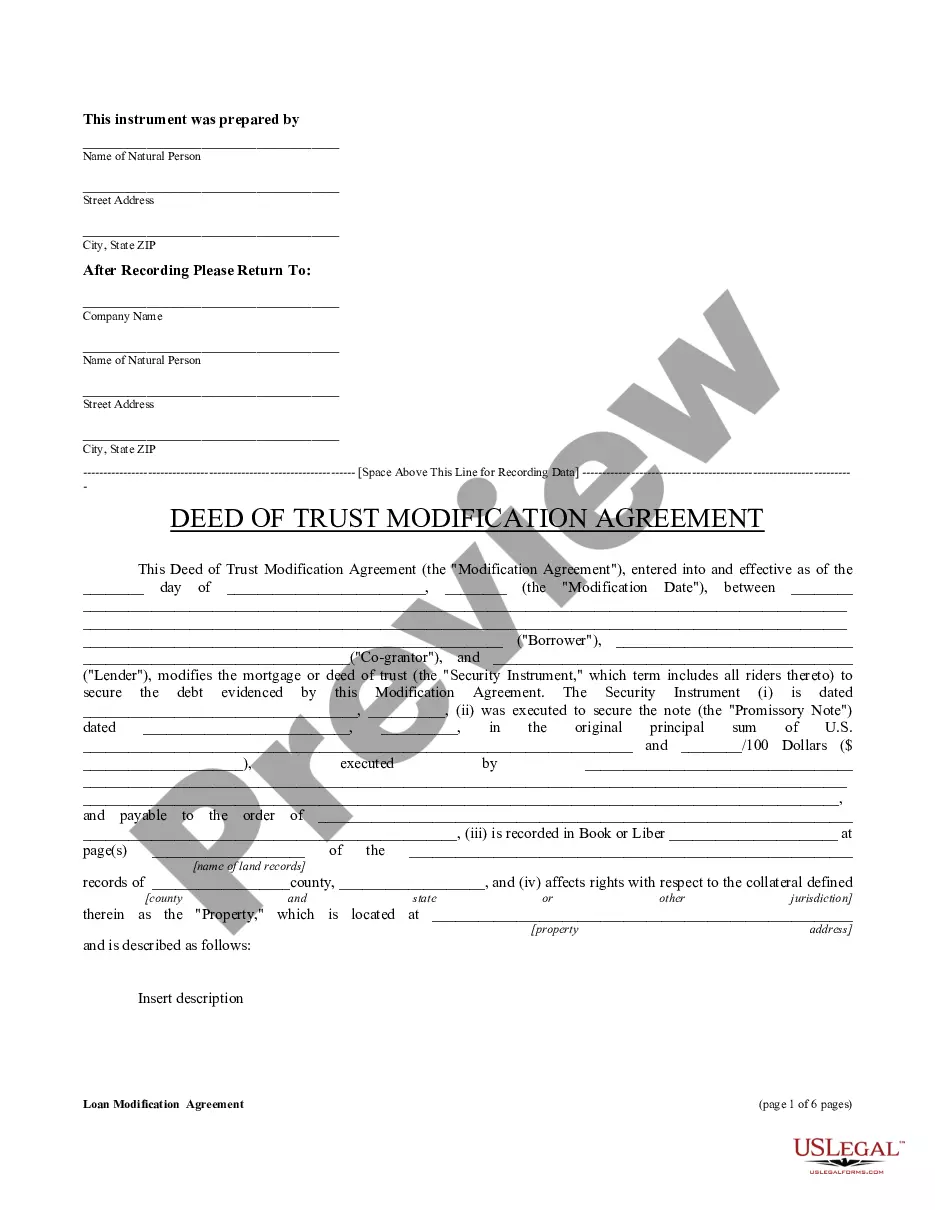
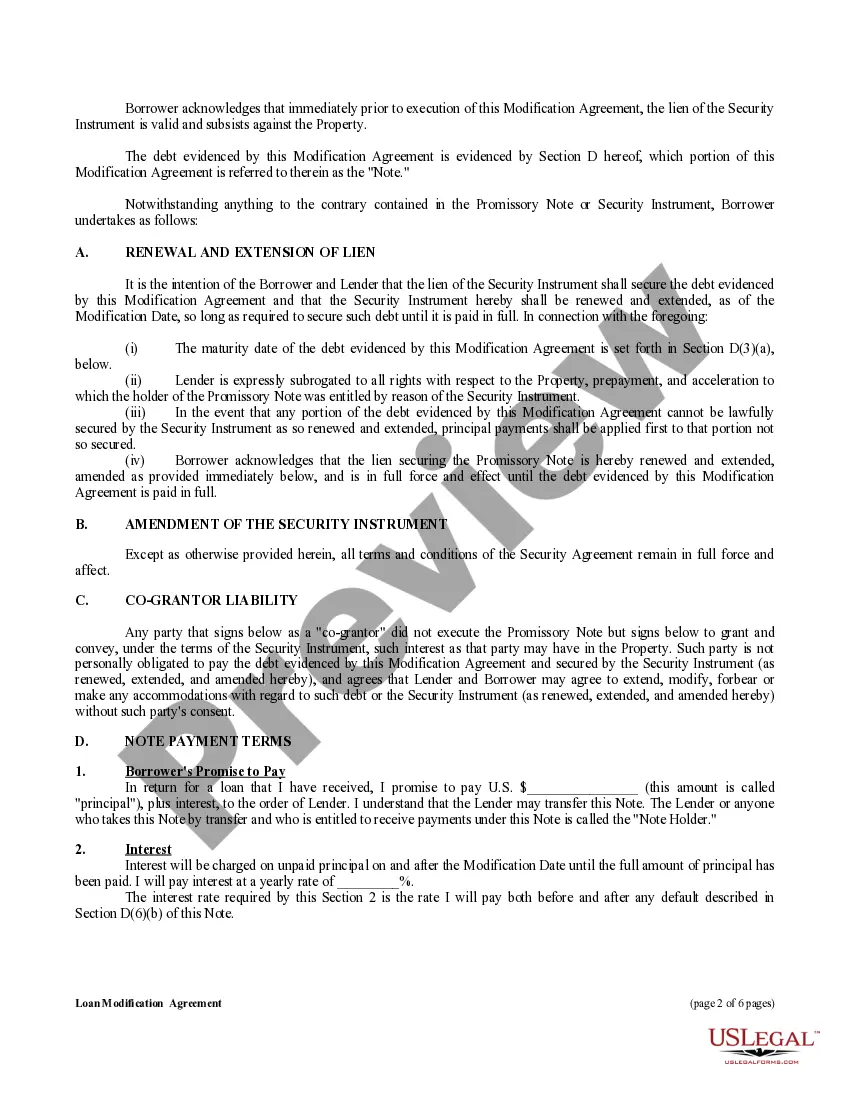
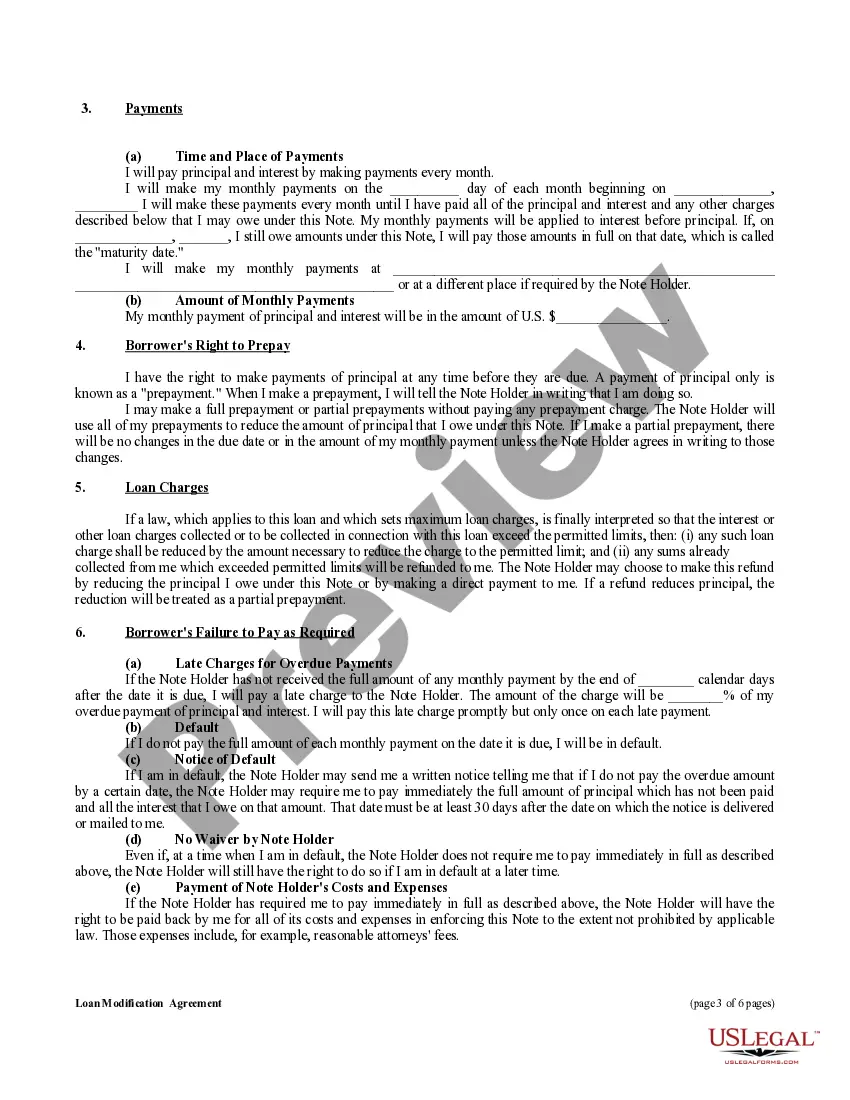
Get your form ready online
Our built-in tools help you complete, sign, share, and store your documents in one place.
Make edits, fill in missing information, and update formatting in US Legal Forms—just like you would in MS Word.
Download a copy, print it, send it by email, or mail it via USPS—whatever works best for your next step.
Sign and collect signatures with our SignNow integration. Send to multiple recipients, set reminders, and more. Go Premium to unlock E-Sign.
If this form requires notarization, complete it online through a secure video call—no need to meet a notary in person or wait for an appointment.
We protect your documents and personal data by following strict security and privacy standards.
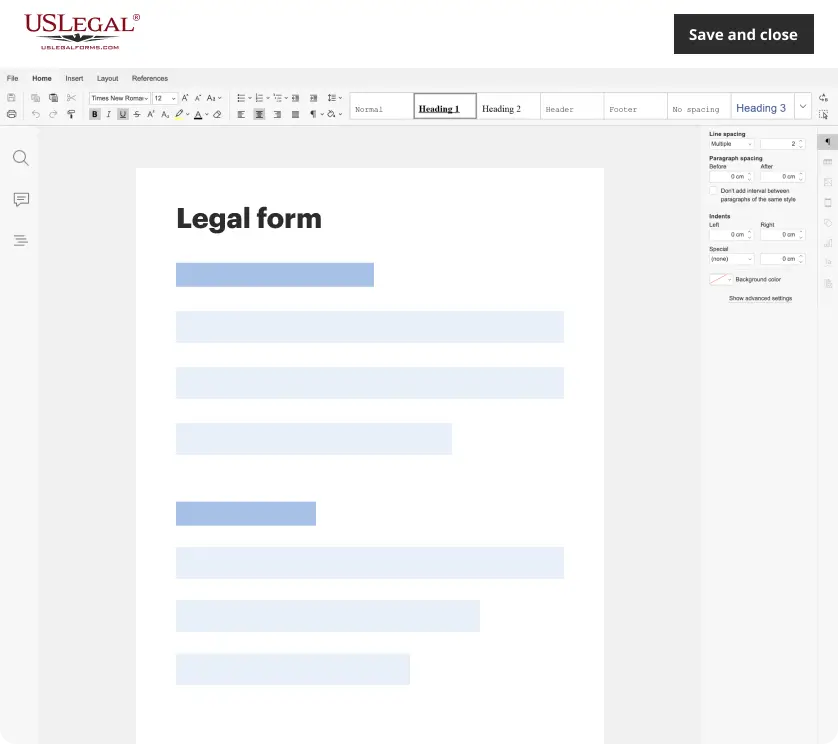
Make edits, fill in missing information, and update formatting in US Legal Forms—just like you would in MS Word.
Download a copy, print it, send it by email, or mail it via USPS—whatever works best for your next step.
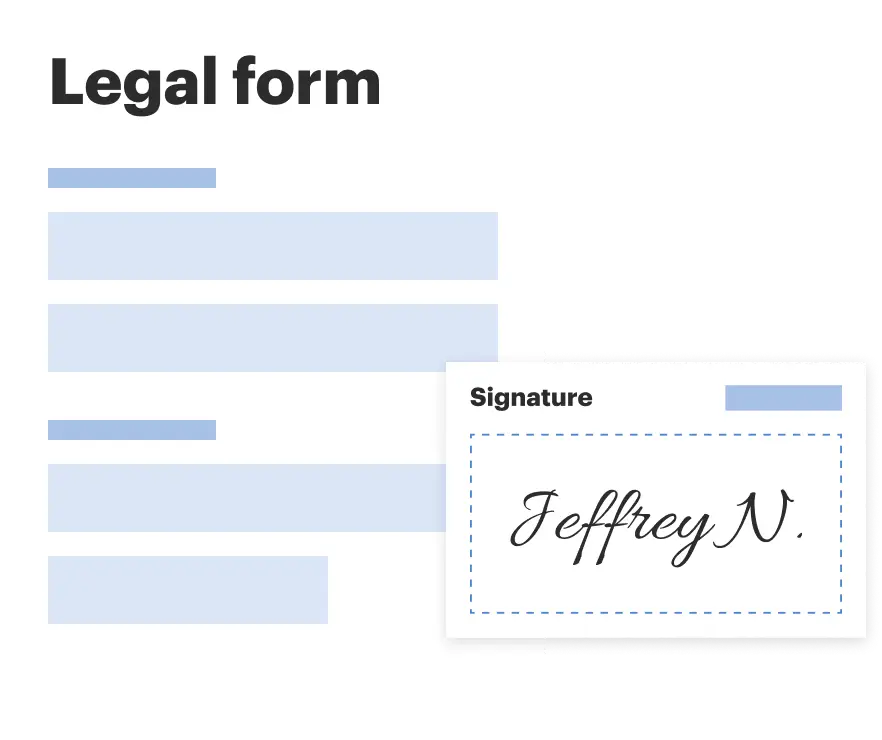
Sign and collect signatures with our SignNow integration. Send to multiple recipients, set reminders, and more. Go Premium to unlock E-Sign.
If this form requires notarization, complete it online through a secure video call—no need to meet a notary in person or wait for an appointment.
We protect your documents and personal data by following strict security and privacy standards.
Looking for another form?
Form popularity
FAQ
Some reasons to deny a passport include: A valid, unsealed federal warrant of arrest. A federal or state criminal court order. A condition of parole or probation forbidding departure from the United States (or the jurisdiction of the court)
Step 2 - Fill out your application form If you make a mistake, you can cross it out and initial next to the change. If you have signed incorrectly, please fill in a new form.
Any mistake in the passport application can be corrected during the appointment at the passport Seva Kendra, provided you have the original documents and copies - copies can be made at the Passport Seva Kendra as well - to substantiate the change.
If the error seems minor—just a wrong digit in your date of birth, a slight misspelling of your name, or an incorrect place of birth—you may be tempted to see if you can travel on it anyway. While it's technically possible to travel on a passport that has minor errors, it does incur a large risk.
Submit Form DS-5504 by mail with your current passport, your original or certified name change document (no photocopies or notarized copies), and a color passport photo. You may: Use our online guide to fill out and print Form DS-5504; or. Print Form DS-5504 and complete by hand.
In order to renew your passport by mail, please submit the following mandatory documents: 1. Form DS-82. You can print the form from the Department's public facing e-Forms webpage to ensure you are using the latest version. Search the form number in the search box at the top of the main page (DS-0082).
Step-by-Step Guide to Changing Your Passport Data Step 1: Visit the Nigerian Immigration Service (NIS) Website. Step 2: Fill Out the Data Modification Form. Step 3: Make the Necessary Payment. Step 4: Submit Your Application. Step 5: Attend an Interview (If Required) ... Step 6: Biometric Data Capture. Step 7: Wait for Approval.
To correct a data or printing error, submit the following by mail: Form DS-5504 (find mailing instructions on the form) Your current passport. One color photo.
Entry of applicants into the Passport Office is not prohibited to make any correction in their documents or to get any updates. If any correction is needed after submission of the application, applicant can visit enquiry counter in the RPO concerned either by scheduling an appointment online or walk-in.
Step-by-Step Guide to Changing Your Passport Data Step 1: Visit the Nigerian Immigration Service (NIS) Website. Step 2: Fill Out the Data Modification Form. Step 3: Make the Necessary Payment. Step 4: Submit Your Application. Step 5: Attend an Interview (If Required) ... Step 6: Biometric Data Capture. Step 7: Wait for Approval.