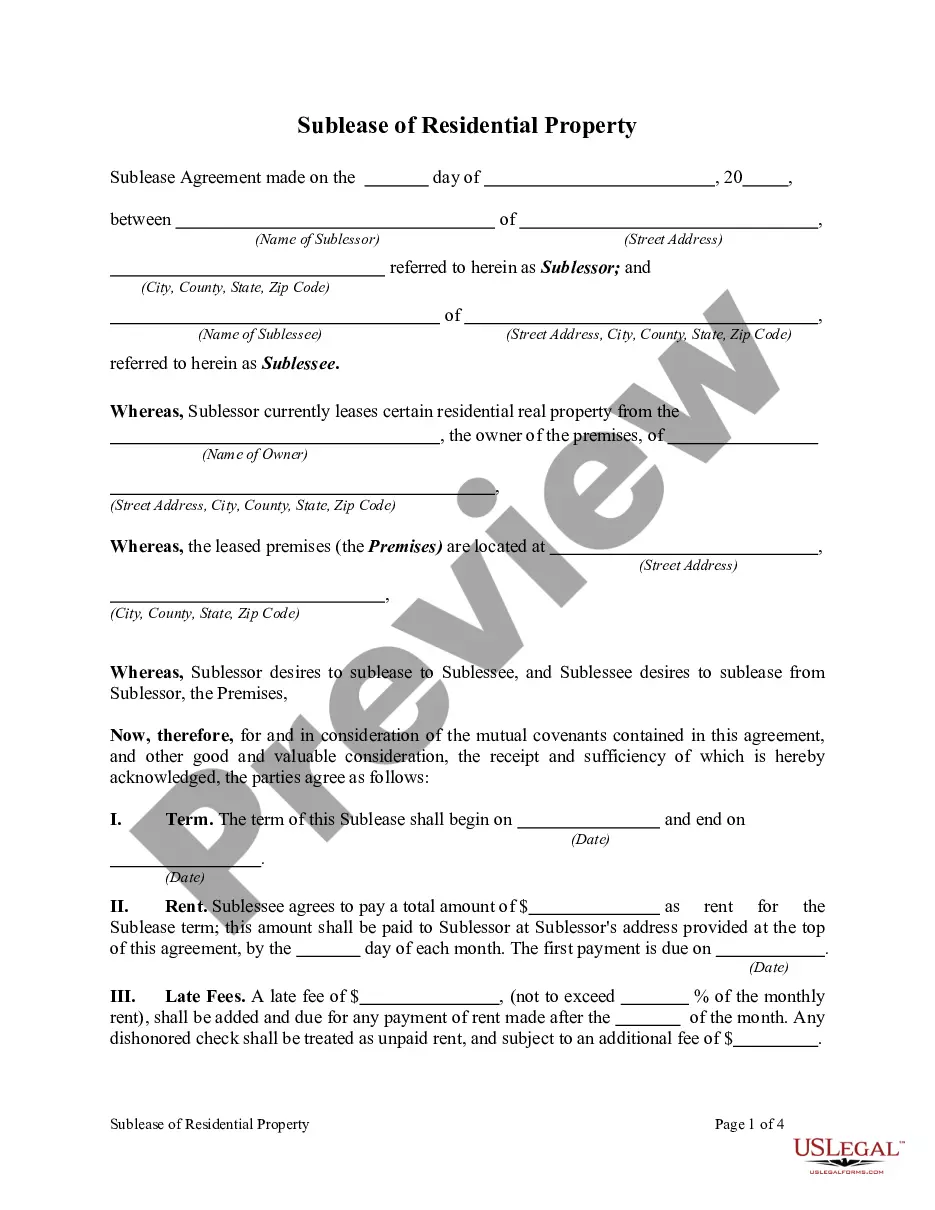
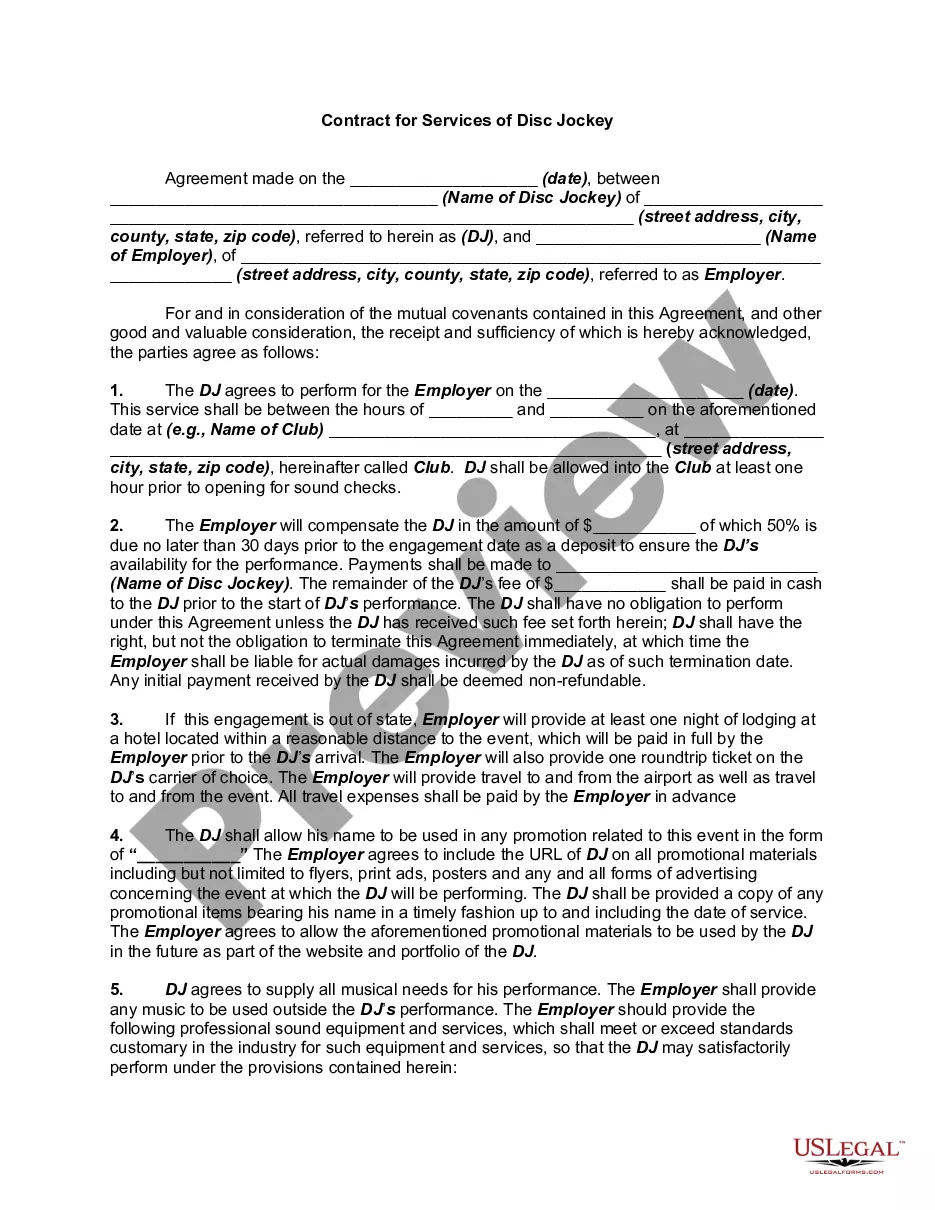
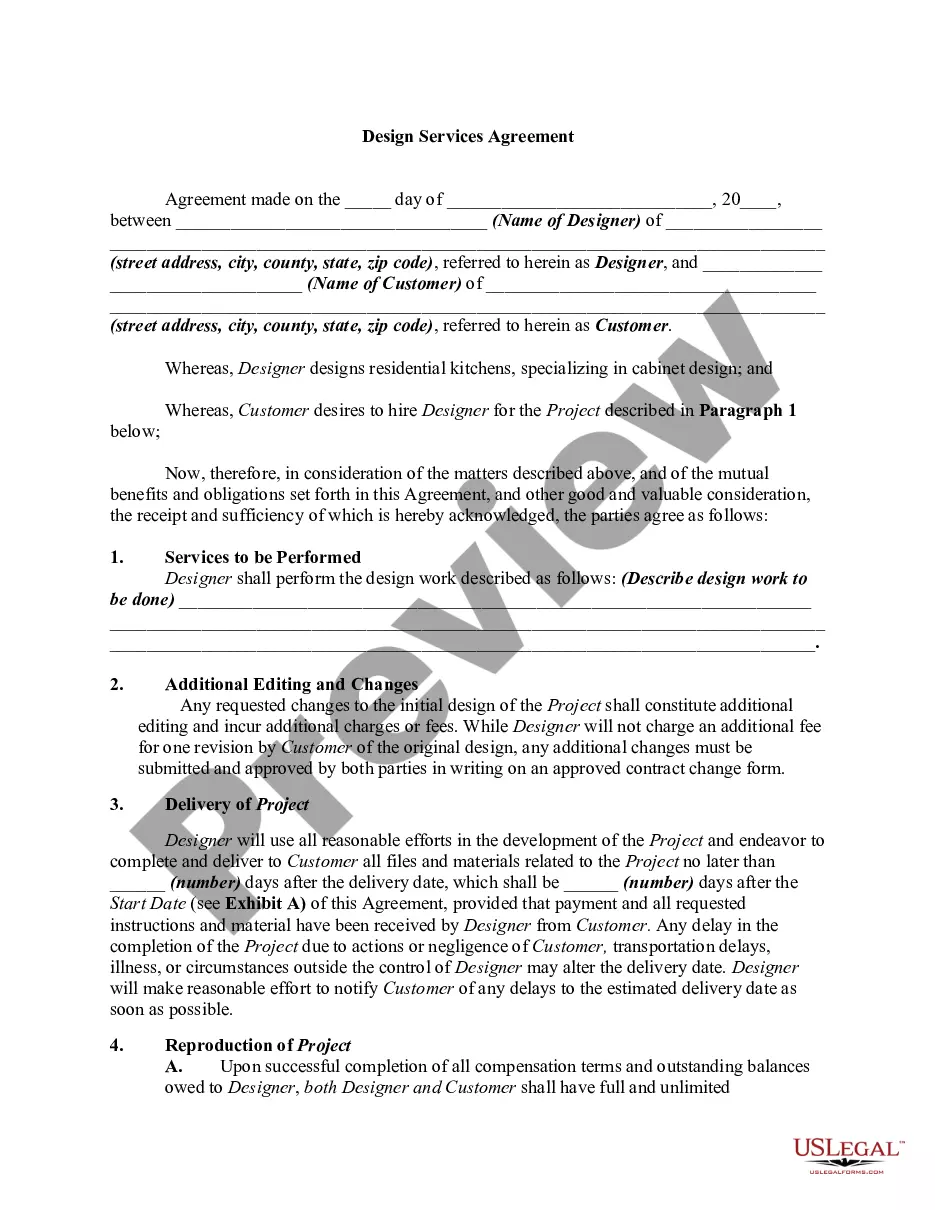
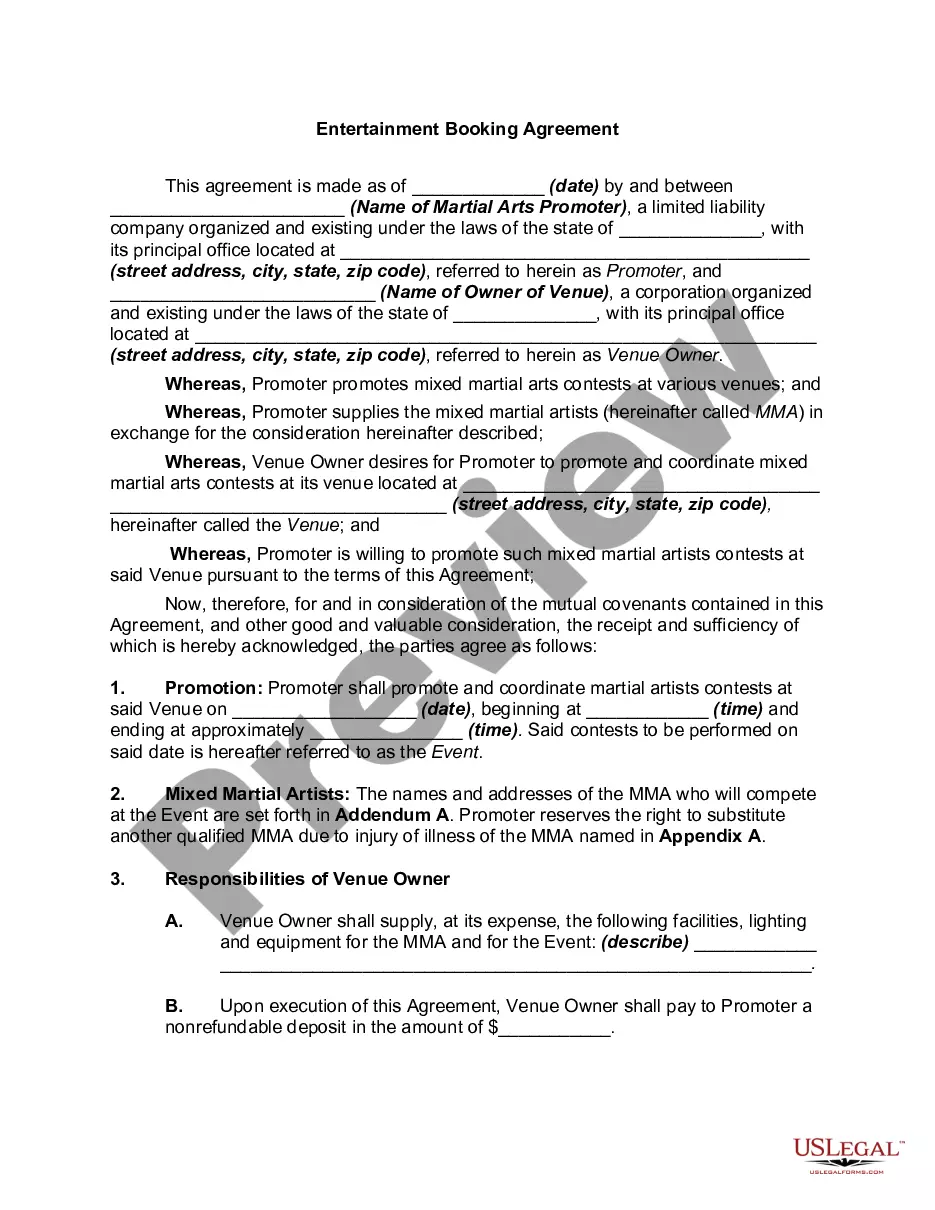
Entertainment Contract Form For Wordpress In Montgomery
Description


Get your form ready online
Our built-in tools help you complete, sign, share, and store your documents in one place.
Make edits, fill in missing information, and update formatting in US Legal Forms—just like you would in MS Word.
Download a copy, print it, send it by email, or mail it via USPS—whatever works best for your next step.
Sign and collect signatures with our SignNow integration. Send to multiple recipients, set reminders, and more. Go Premium to unlock E-Sign.
If this form requires notarization, complete it online through a secure video call—no need to meet a notary in person or wait for an appointment.
We protect your documents and personal data by following strict security and privacy standards.

Make edits, fill in missing information, and update formatting in US Legal Forms—just like you would in MS Word.

Download a copy, print it, send it by email, or mail it via USPS—whatever works best for your next step.

Sign and collect signatures with our SignNow integration. Send to multiple recipients, set reminders, and more. Go Premium to unlock E-Sign.

If this form requires notarization, complete it online through a secure video call—no need to meet a notary in person or wait for an appointment.

We protect your documents and personal data by following strict security and privacy standards.
Looking for another form?
Form popularity
FAQ
To use Conversational Forms on your WordPress site, first and Activate the Conversational Forms Addon. Then, from the form-building page, head over to your WPForms Settings to Enable Conversational Form Mode on the form you want to make interactive.
Create an Email Subscription Form in WordPress Step 1: the WPForms Plugin. Step 2: Select an Email Subscription Form Template. Step 3: Customize the Template. Step 4: Connect the Email Subscription Form to MailerLite. Step 5: Publish Your Email Subscription Form in WordPress.
Upgrade Your Website with a Premium WordPress Theme Go to Paid Member Subscriptions > Subscription Plans in your WordPress dashboard. Click on Add New to launch the subscription plan editor. Enter a name and a brief description for your subscription plan. This information will help users understand what the plan offers.
Step 1: a WordPress form plugin. The first step is to and activate a great WordPress form builder plugin. Step 2: Create a form. Now that you've installed your new contact form plugin, it's time to create a new form. Step 3: Add form fields. Step 4: Publish the created form.
Submission Settings In the List View, click on “Form” to select the parent Form block. In the Form block settings, click “Submission Settings” to expand the options. In the “On Submission” dropdown, choose from the following options: Show a summary of submitted fields.
How to Create Online Contracts in WordPress Step 1: WPForms. First things first, you need WPForms installed on your website. Step 2: Get the WPForms Signature Addon. Step 3: Create a Contract Form. Step 4: Publish Your Digital Contract Form.
Building a subscription form Step 1: Determine what information you want to collect from your subscribers. Step 2: consider the design and layout of your subscription form. Step 3: establish trust and provide transparency. Step 4: consider implementing additional features to enhance the user experience.
To add the Subscribe block, click the + Block Inserter icon and search for “subscribe”. Click it to add the block to the post or page. Using your keyboard, you can also type /subscribe on a new line and press enter to quickly add a new Subscribe block.
How to Add Membership Registration Form Plugin to WordPress Customize the Membership Registration Form template. Log in to the Elfsight's account. Obtain the unique plugin code and copy it. Go to WordPress and enter the code into the webpage editor.