Change File Name With Power Automate
Description


Get your form ready online
Our built-in tools help you complete, sign, share, and store your documents in one place.
Make edits, fill in missing information, and update formatting in US Legal Forms—just like you would in MS Word.
Download a copy, print it, send it by email, or mail it via USPS—whatever works best for your next step.
Sign and collect signatures with our SignNow integration. Send to multiple recipients, set reminders, and more. Go Premium to unlock E-Sign.
If this form requires notarization, complete it online through a secure video call—no need to meet a notary in person or wait for an appointment.
We protect your documents and personal data by following strict security and privacy standards.

Make edits, fill in missing information, and update formatting in US Legal Forms—just like you would in MS Word.

Download a copy, print it, send it by email, or mail it via USPS—whatever works best for your next step.

Sign and collect signatures with our SignNow integration. Send to multiple recipients, set reminders, and more. Go Premium to unlock E-Sign.

If this form requires notarization, complete it online through a secure video call—no need to meet a notary in person or wait for an appointment.

We protect your documents and personal data by following strict security and privacy standards.
Looking for another form?
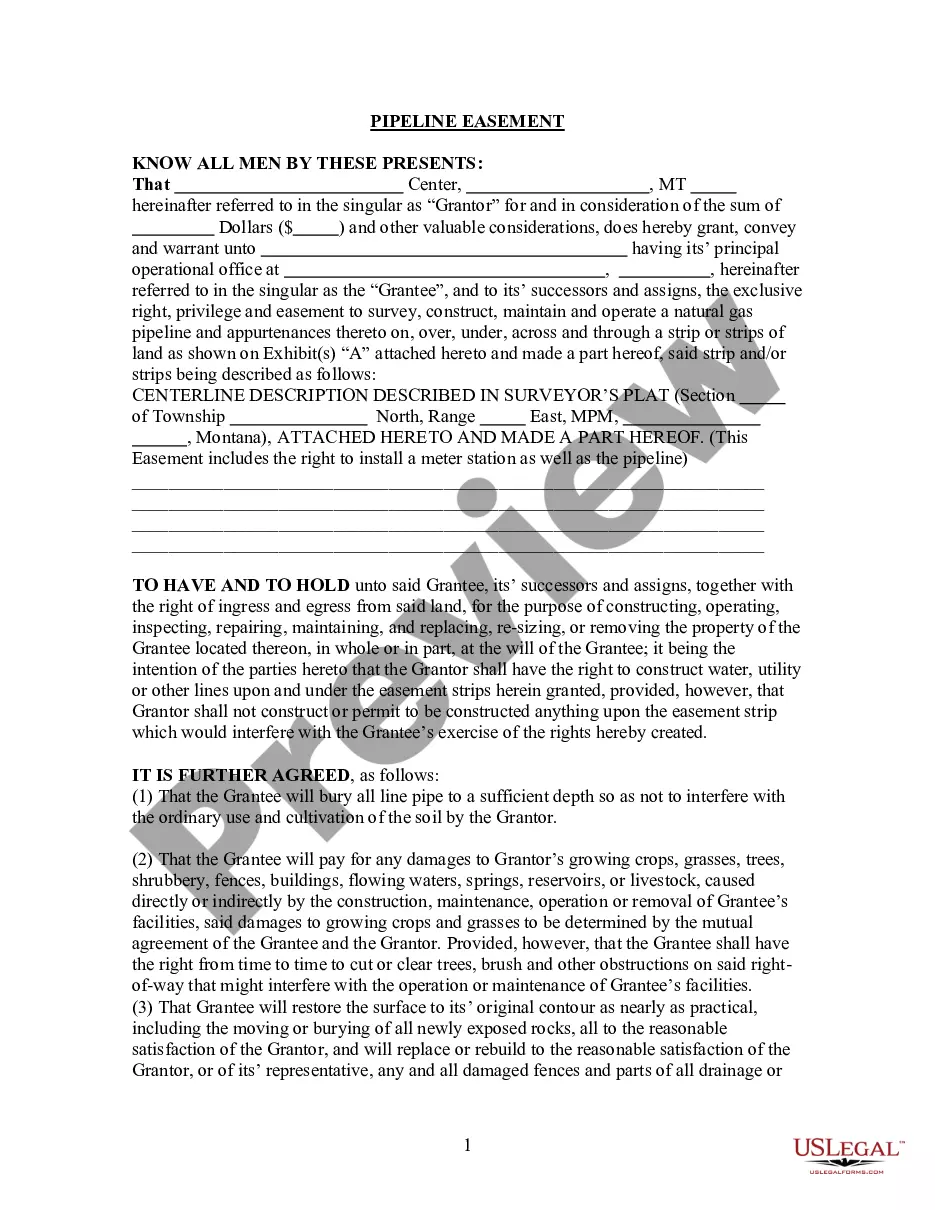

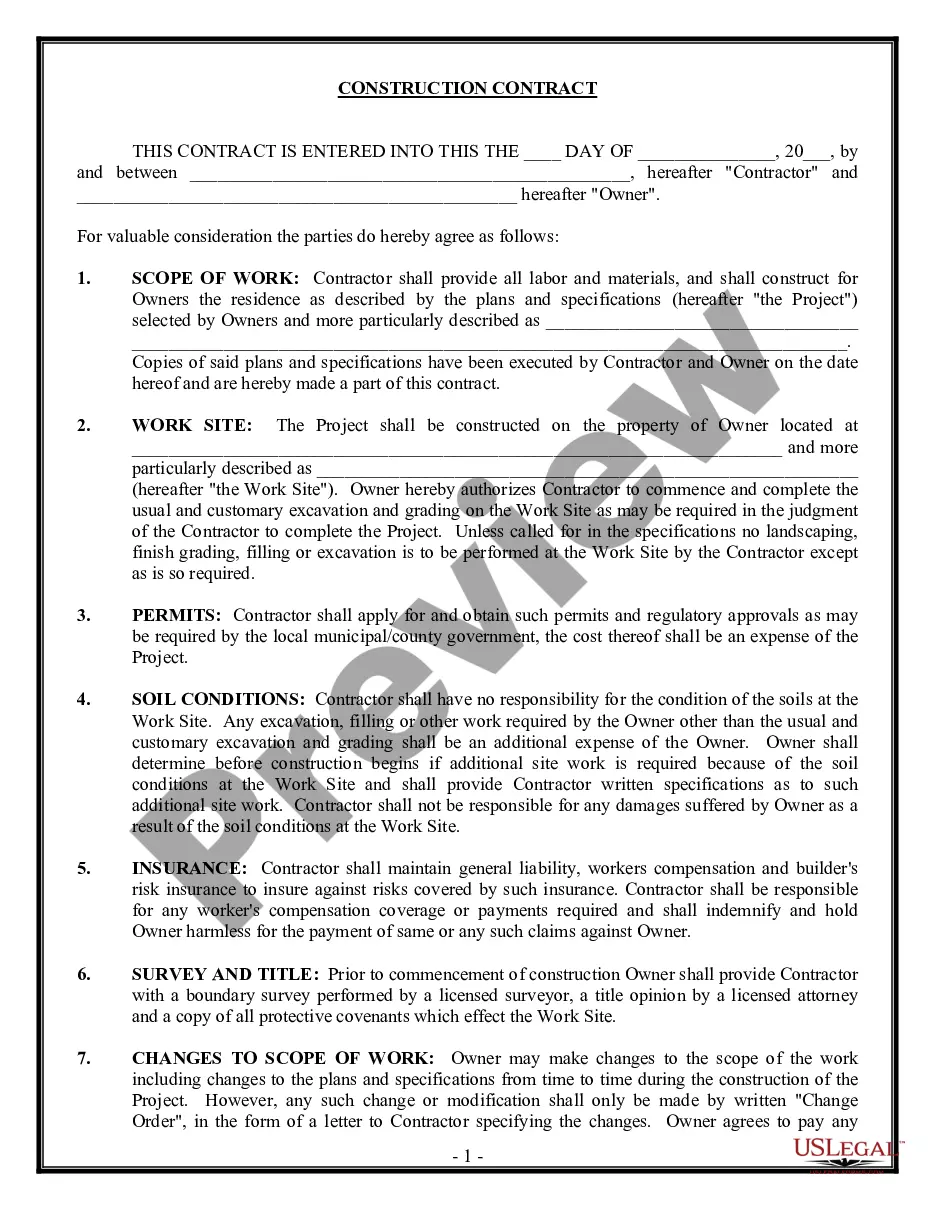
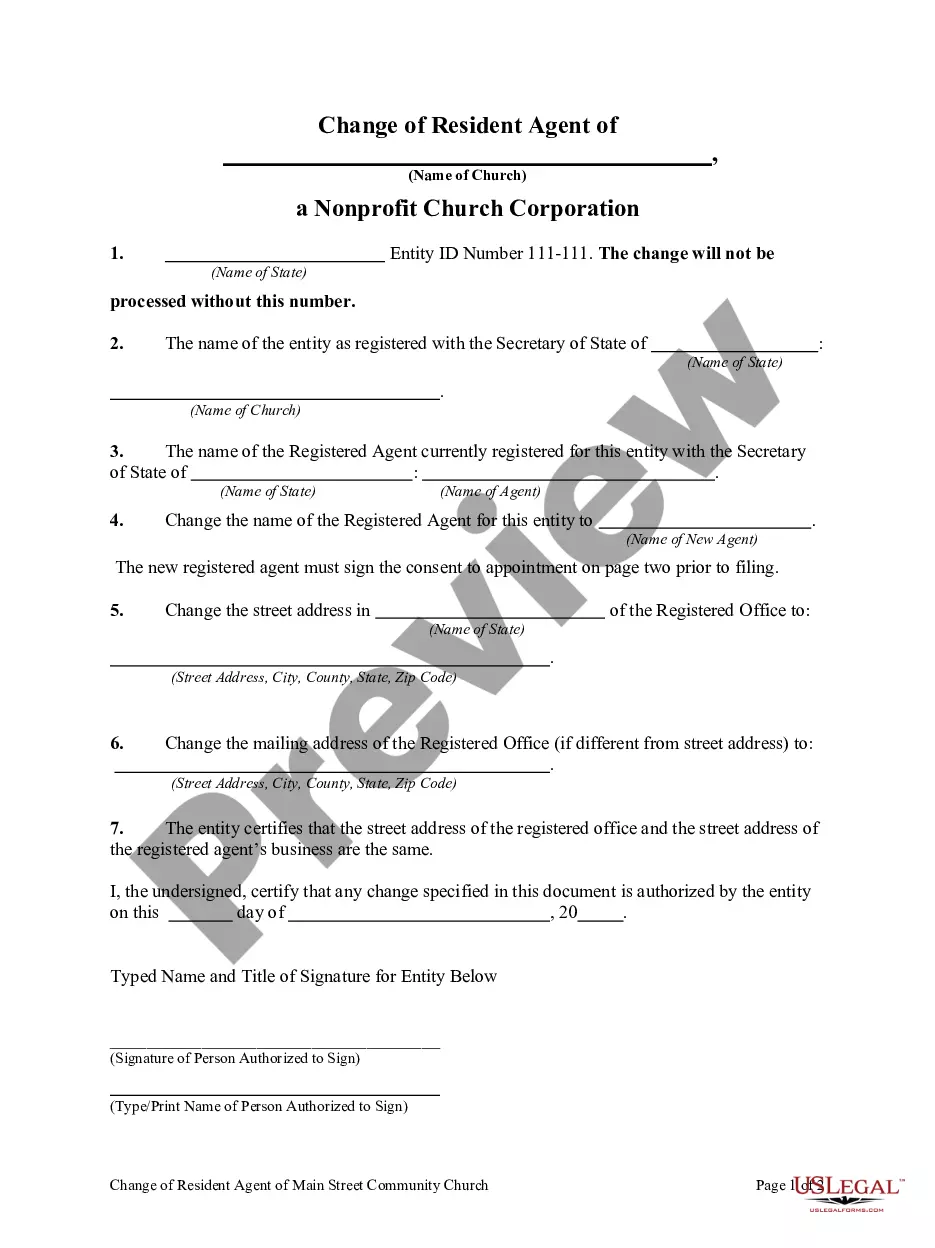
How to fill out Statement Of Change Of Registered Office Or Agent?
Regardless of whether it's for corporate reasons or personal matters, everyone must confront legal issues at some point in their life.
Completing legal documents requires meticulous focus, starting from selecting the correct form example.
Once saved, you can either fill out the form using editing software or print it out and complete it by hand. With an extensive catalog from US Legal Forms, you never have to waste time searching for the correct sample online. Utilize the library’s straightforward navigation to find the right form for any situation.
- Obtain the required sample using the search field or by browsing the catalog.
- Review the form’s description to confirm its relevance to your case, jurisdiction, and area.
- Click on the preview of the form to inspect it.
- If it's the wrong form, return to the search feature to find the Change File Name With Power Automate template you need.
- Download the template if it meets your criteria.
- If you possess a US Legal Forms account, simply click Log in to retrieve previously saved documents in My documents.
- If you haven't created an account yet, you can acquire the form by clicking Buy now.
- Choose the appropriate pricing option.
- Complete the registration form for your account.
- Select your payment method: either a credit card or PayPal account.
- Choose the file format you desire and download the Change File Name With Power Automate.
Form popularity
FAQ
Using F2 to rename a file is simple. Just select the file you want to rename and press the F2 key. This action allows you to edit the file name directly, making it a quick way to change file names without navigating through menus.
To fully rename a file, right-click the file and select 'Rename' from the menu. After that, type the new name and press Enter. This simple action changes the file name, and if you want to automate it, consider using Power Automate to change file name with Power Automate for efficiency.
Power Rename is a feature in Windows that allows you to rename multiple files at once. To use it, select the files, right-click, and choose 'Power Rename' from the context menu. In the Power Rename window, you can specify new names and patterns, which simplifies the renaming process.
Yes, Power Automate can edit an Excel file. You can use the actions available within Power Automate to update cell values or modify file names. This integration enables you to automate your Excel tasks, including changing file name with Power Automate, making your work more efficient.
To change the name of an existing file, use the 'Update file properties' action in Power Automate. This action allows you to specify the new name while keeping the file intact. Following this method ensures that your file name changes seamlessly without losing any data.
Renaming a file using Power Automate is straightforward. You first need to access the file through the 'Get file content' action. After that, employ the 'Create file' action to save a copy with the new name, followed by deleting the original file. This method lets you rename files without hassle.
To change a file name using Power Automate, start by creating a new flow. Use the 'Get file metadata' action to locate your file. Then, utilize the 'Update file properties' action to set the new name. This easy process allows you to change file name with Power Automate efficiently.
To change the name of an existing file, you can leverage the 'Rename file' action in Power Automate. This action allows you to specify both the original file and the new name you want to assign. After setting up the flow, just run it, and you will see the file name updated seamlessly. This method provides a reliable way to maintain your file organization and helps you keep track of your documents effectively.
If you encounter files that can't be renamed, you can use Power Automate to bypass some of these restrictions. Often, files may be in use or have certain permissions that prevent renaming. By creating a flow that checks file status and attempts to rename it after ensuring it's not in use, you can effectively manage even the most stubborn files. This approach enhances your file organization and accessibility.
To automatically rename a file with the same name, you can set up a Power Automate flow that triggers when a new file is created. Within this flow, use the 'Rename file' action to add a timestamp or unique identifier to the file name. This method allows you to manage files that might otherwise overwrite each other, ensuring that you always have access to your important documents without confusion.