Invoice Template for Self Employed
About this form
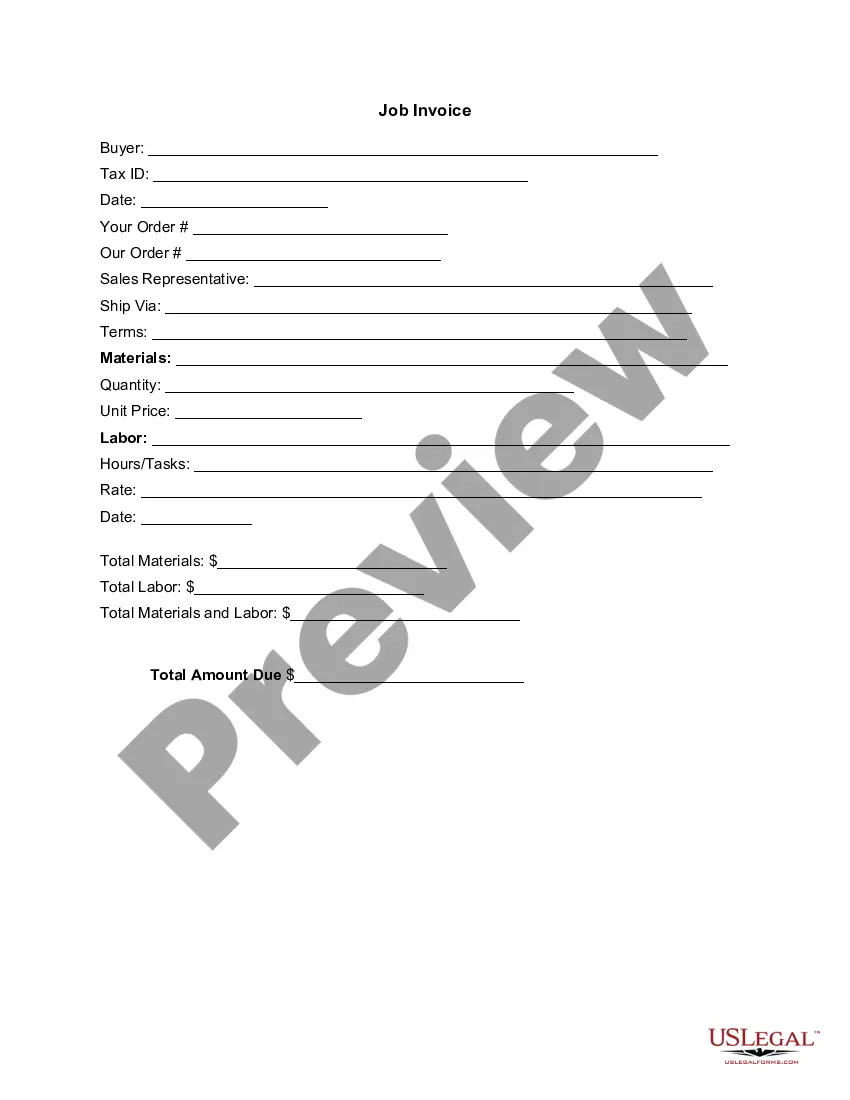
An Invoice Template for Self Employed is a structured document that outlines goods delivered or services provided along with their corresponding costs. This template serves as a formal request for payment and is particularly useful for freelancers and independent contractors who need to bill clients for work completed. Unlike simple receipts, a detailed job invoice breaks down individual items, making it clear what has been delivered and the total amount due.
What’s included in this form
- Buyer details including name and tax ID.
- Date of the invoice issuance.
- Order numbers for tracking purposes.
- Sales representative information.
- Shipping method for delivered goods.
- Terms of payment for clarity.
- Itemized list of materials and labor, including quantity and unit prices.
- Total calculations for materials, labor, and overall amount due.


When to use this form
This invoice template is essential for self-employed individuals who need to bill clients for various services or products rendered. Use this form when you have completed work for a client and need to request payment formally. It's particularly useful when you have multiple items or services to detail, ensuring clarity in your billing process.
Intended users of this form
This form is suitable for:
- Freelancers who provide services to businesses or individuals.
- Independent contractors engaging in project work.
- Self-employed individuals who sell products or services.
- Small business owners seeking to streamline their invoicing process.
How to prepare this document
- Fill in the buyer's details including their name and tax ID.
- Enter the date the invoice is issued.
- Provide your order number and any order reference from your system.
- List the materials or tasks performed, specifying quantity and unit price for each.
- Calculate the total for materials and labor, then sum them for the total amount due.
Does this form need to be notarized?
This form does not typically require notarization unless specified by local law. It is recommended to check local regulations for any specific requirements related to invoicing.
Get your form ready online
Our built-in tools help you complete, sign, share, and store your documents in one place.
Make edits, fill in missing information, and update formatting in US Legal Forms—just like you would in MS Word.
Download a copy, print it, send it by email, or mail it via USPS—whatever works best for your next step.
Sign and collect signatures with our SignNow integration. Send to multiple recipients, set reminders, and more. Go Premium to unlock E-Sign.
If this form requires notarization, complete it online through a secure video call—no need to meet a notary in person or wait for an appointment.
We protect your documents and personal data by following strict security and privacy standards.

Make edits, fill in missing information, and update formatting in US Legal Forms—just like you would in MS Word.

Download a copy, print it, send it by email, or mail it via USPS—whatever works best for your next step.

Sign and collect signatures with our SignNow integration. Send to multiple recipients, set reminders, and more. Go Premium to unlock E-Sign.

If this form requires notarization, complete it online through a secure video call—no need to meet a notary in person or wait for an appointment.

We protect your documents and personal data by following strict security and privacy standards.
Avoid these common issues
- Failing to include all necessary client details.
- Omitting the date or invoice number.
- Incorrectly stating the quantities or prices of goods/services provided.
- Not including payment terms, leading to confusion for clients.
Why use this form online
- Convenient access to a pre-formatted template that saves time.
- Editable fields allow for quick customization for each client.
- Reliable structure ensures all necessary billing information is included.
Looking for another form?
Form popularity
FAQ
Write the name of the item on the left side of the receipt and write the cost of each item on the right side of the receipt. If you sold more than one item, list the items and their prices in a row. Write the subtotal below all of the items. The subtotal is the cost of all the items before taxes and additional fees.
Your company/trading name, VAT number (if applicable), address and contact info. Your customer's company/trading name, address and contact info. A unique invoice number. The date of the invoice. A description of what you are charging for.
Download the Square Invoices app on your iOS or Android device. Create your free Square account or sign in with your existing Square account. Tap the '+' sign on the navigation bar and select 'Invoice'.When your clients receive the invoice in their email, they can pay you securely online.
Make your invoice look professional. The first step is to put your invoice together. Clearly mark your invoice. Add company name and information. Write a description of the goods or services you're charging for. Don't forget the dates. Add up the money owed. Mention payment terms.
Create an Invoice Header with Your Business Information. Include Your Client's Contact Details. Provide Invoice Information. Specify Your Payment Terms. Include an Itemized List of Services. List Applicable Taxes. Consider Adding Notes.
The name of your service, company or business. Business contact number. Invoice number. Terms of payment. Payment due date. Bill to (payer contact information) Product or service details. Sales tax.
A unique identification number. your company name, address and contact information. the company name and address of the customer you're invoicing. a clear description of what you're charging for. the date the goods or service were provided (supply date) the date of the invoice.
Create a Professional Layout. Include Company and Client Information. Add an Invoice Number, Invoice Date, and Due Date. Write Each Line Item with a Description of Services. Add-up Line Items for Total Money Owed. Include Simple Payment Terms and Payment Options. Add a Personal Note.
Ensure that your invoice / credit note is legible, especially if handwritten (our preference is for typewritten). In addition, ensure that it is not: printed on dark paper. printed in a colour of ink that is difficult to scan, such as purple.