Not Allow Edit
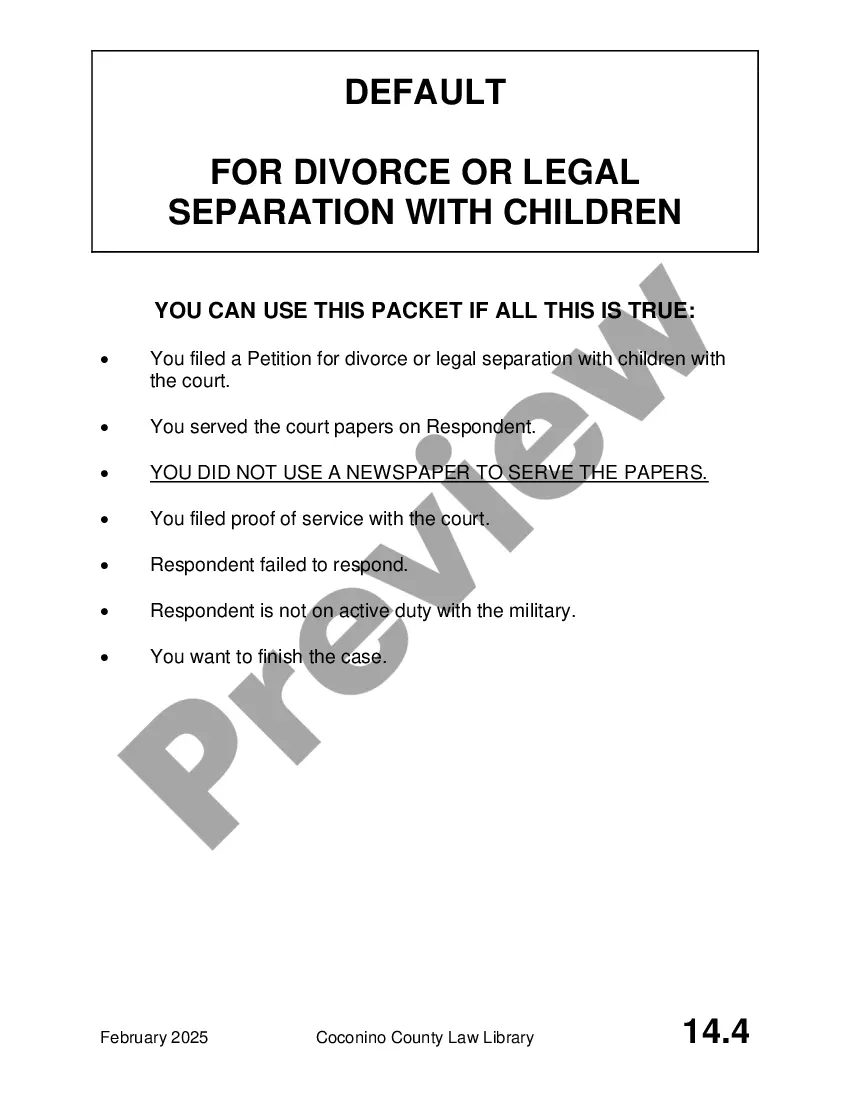
Description


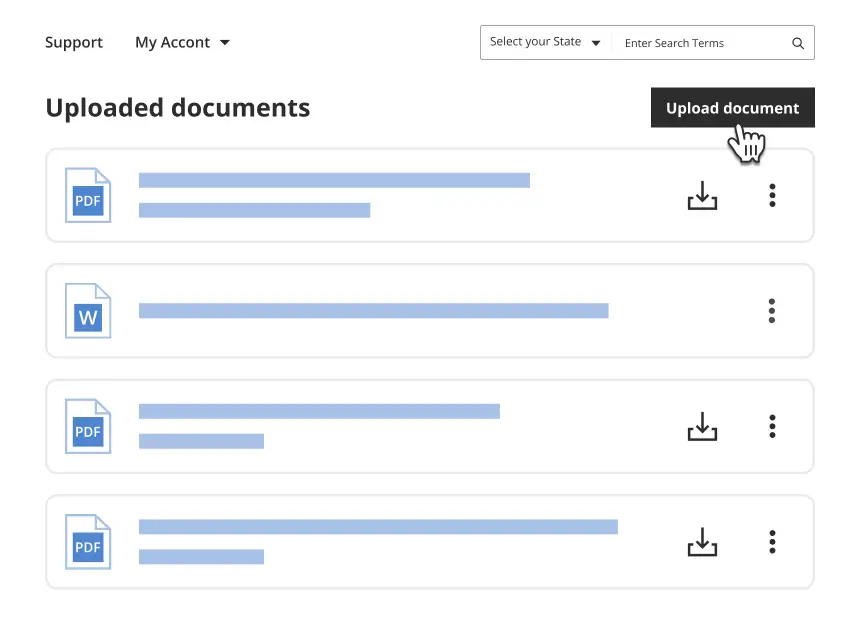
Get your form ready online
Our built-in tools help you complete, sign, share, and store your documents in one place.
Make edits, fill in missing information, and update formatting in US Legal Forms—just like you would in MS Word.
Download a copy, print it, send it by email, or mail it via USPS—whatever works best for your next step.
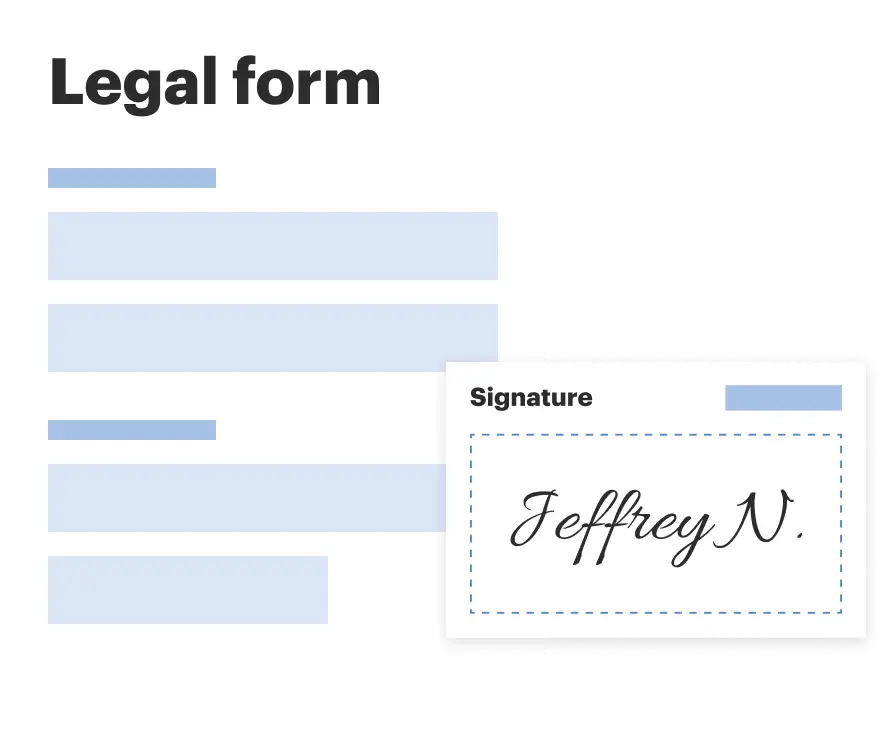
Sign and collect signatures with our SignNow integration. Send to multiple recipients, set reminders, and more. Go Premium to unlock E-Sign.
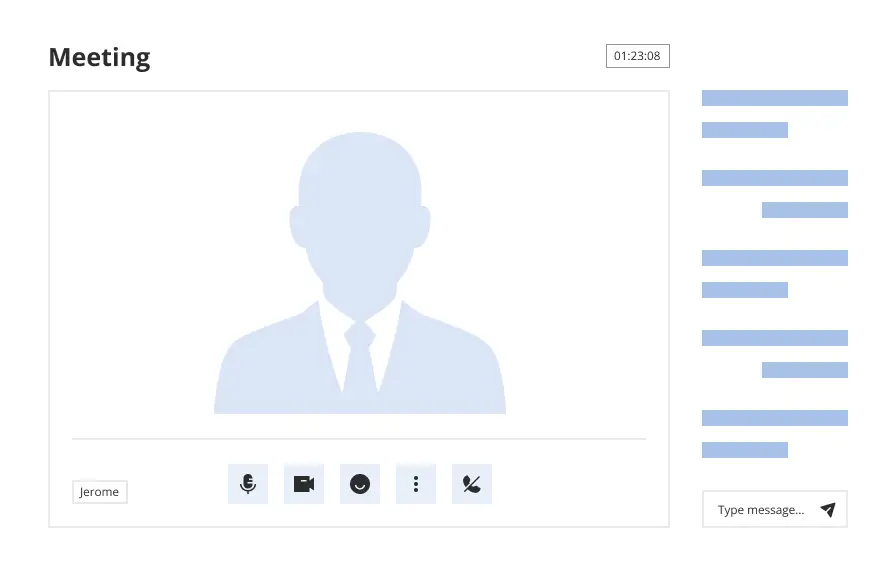
If this form requires notarization, complete it online through a secure video call—no need to meet a notary in person or wait for an appointment.
We protect your documents and personal data by following strict security and privacy standards.
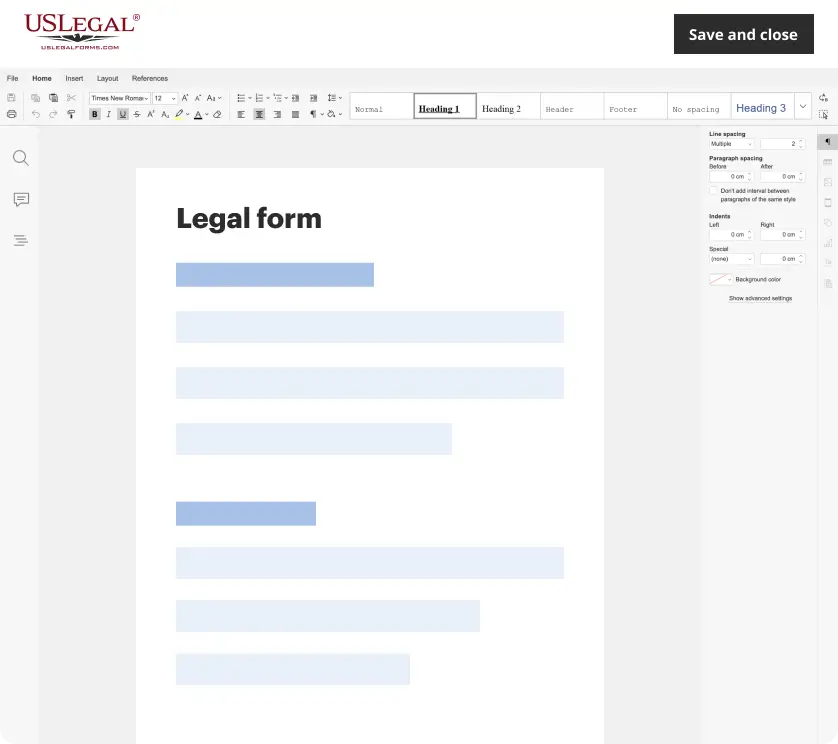
Make edits, fill in missing information, and update formatting in US Legal Forms—just like you would in MS Word.
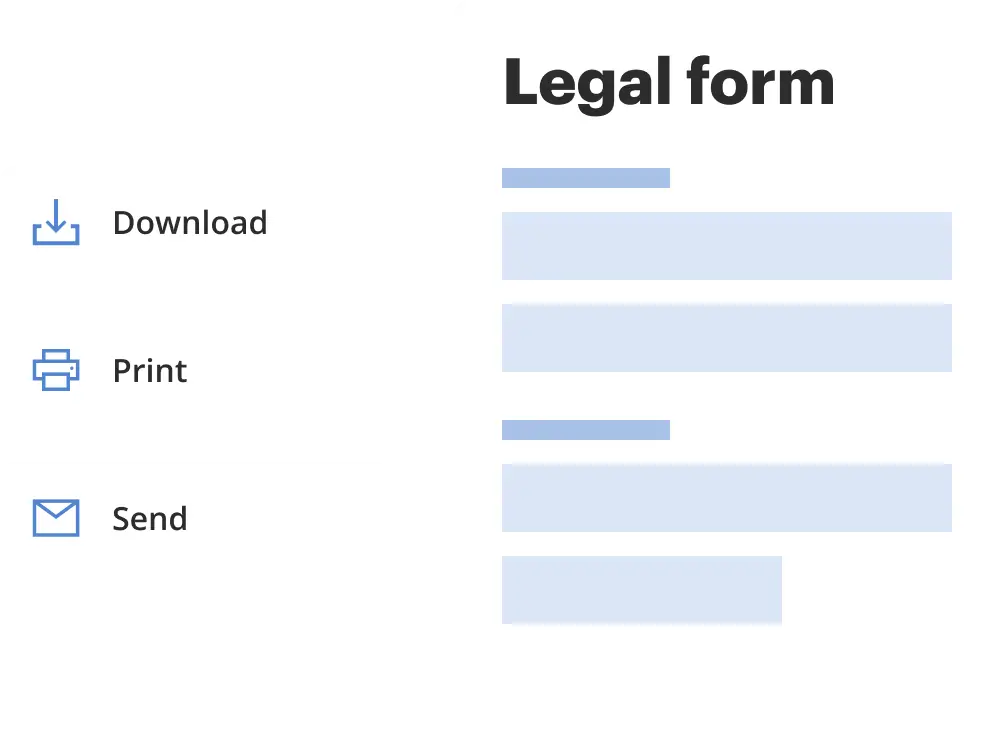
Download a copy, print it, send it by email, or mail it via USPS—whatever works best for your next step.
Sign and collect signatures with our SignNow integration. Send to multiple recipients, set reminders, and more. Go Premium to unlock E-Sign.
If this form requires notarization, complete it online through a secure video call—no need to meet a notary in person or wait for an appointment.
We protect your documents and personal data by following strict security and privacy standards.
Looking for another form?


How to fill out USLegal Guide To Disabled Adults?
- If you are a returning user, log in to your account and confirm your subscription status. Click the Download button to save your required form template.
- For first-time users, start by checking the Preview mode and description of the desired form. Ensure it aligns with your needs and complies with local jurisdiction requirements.
- If discrepancies arise, utilize the Search tab to find a suitable template. Once confirmed, proceed to the next step.
- Select and purchase the document by clicking the Buy Now button, choosing your preferred subscription plan, and registering an account for access.
- Complete your purchase by entering payment details via credit card or PayPal.
- Finally, download your form and keep it saved on your device. You can revisit it anytime through the My Forms menu of your profile.
By following these steps, you can avoid issues related to editing restrictions, ensuring that you have the right document for your use.
Start using US Legal Forms today for hassle-free access to a vast collection of legal documents!
Form popularity
FAQ
To turn off enable editing, you need to restrict the permissions for your document. Open the file, navigate to the settings or file menu, and choose an option to protect the document by restricting edits. This feature will effectively not allow edit access, ensuring that others cannot make changes without your permission. Using platforms like US Legal Forms can simplify this process, helping you maintain control over your important documents.
To enable editing on a read-only file, you might need to change the file's properties. Right-click the file, select 'Properties', and uncheck the 'Read-only' box. This step allows you to override the not allow edit setting while also ensuring you maintain control over future editing permissions.
Blocking editing can be achieved through various tools available in document editing software. Use the 'Restrict Editing' feature in the 'Review' tab to set up permissions that prevent unauthorized edits. This action ensures that anyone who should not be making changes is restricted from doing so, thus reinforcing the not allow edit rule.
If Word keeps prompting you to enable editing, consider adjusting your document settings. Usually, this occurs when a file is in protected view. You can change your settings in the Trust Center to manage how Word handles protected documents, minimizing interruptions while ensuring you retain control over who can not allow edit.
Enabling restrict editing is a simple process that involves accessing the relevant settings in your document editor. Navigate to the 'Review' tab and select the 'Restrict Editing' button. Once there, you can set your preferences for not allow edit, ensuring that only the people you choose can make changes.
To effectively stop someone from editing a Word document, you should apply editing restrictions. Use the 'Restrict Editing' feature found in the 'Review' tab to set permissions. By implementing these restrictions, you can not allow edit access to individuals, helping you protect your content from unwanted changes.
Restricting editing involves setting up permissions that prevent unauthorized changes. You can select the 'Restrict Editing' option under the 'Review' tab in programs like Word. This process allows you to control who can edit your document, ensuring that only designated users can make modifications and essentially not allow edit for others.
Removing edit protection is straightforward, but it requires knowing the password if one was set. You can navigate to the 'Review' tab, find the 'Restrict Editing' feature, and click 'Stop Protection'. By doing this, you can regain full editing rights and not allow edit restrictions that may have been applied previously.
To restrict editing rights in a document, you can use tools that put specific permissions in place. This way, you can not allow edit for certain users or groups. Typically, you go to the 'Review' tab, select 'Restrict Editing', and set your preferences. This feature ensures that changes are controlled and only authorized users can make edits.
Making a fillable PDF non-editable is straightforward when you use reliable PDF tools. After creating your fillable form, you can use the 'Save As' option and choose a format that locks editing functions. By setting security settings that not allow edit, you ensure that the form is only usable for filling in information without any risk of altering the layout or content.