Example Of An Application Letter With Two Addresses In Wayne
Description

Get your form ready online
Our built-in tools help you complete, sign, share, and store your documents in one place.
Make edits, fill in missing information, and update formatting in US Legal Forms—just like you would in MS Word.
Download a copy, print it, send it by email, or mail it via USPS—whatever works best for your next step.
Sign and collect signatures with our SignNow integration. Send to multiple recipients, set reminders, and more. Go Premium to unlock E-Sign.
If this form requires notarization, complete it online through a secure video call—no need to meet a notary in person or wait for an appointment.
We protect your documents and personal data by following strict security and privacy standards.

Make edits, fill in missing information, and update formatting in US Legal Forms—just like you would in MS Word.

Download a copy, print it, send it by email, or mail it via USPS—whatever works best for your next step.

Sign and collect signatures with our SignNow integration. Send to multiple recipients, set reminders, and more. Go Premium to unlock E-Sign.

If this form requires notarization, complete it online through a secure video call—no need to meet a notary in person or wait for an appointment.

We protect your documents and personal data by following strict security and privacy standards.
Looking for another form?

Form popularity
FAQ
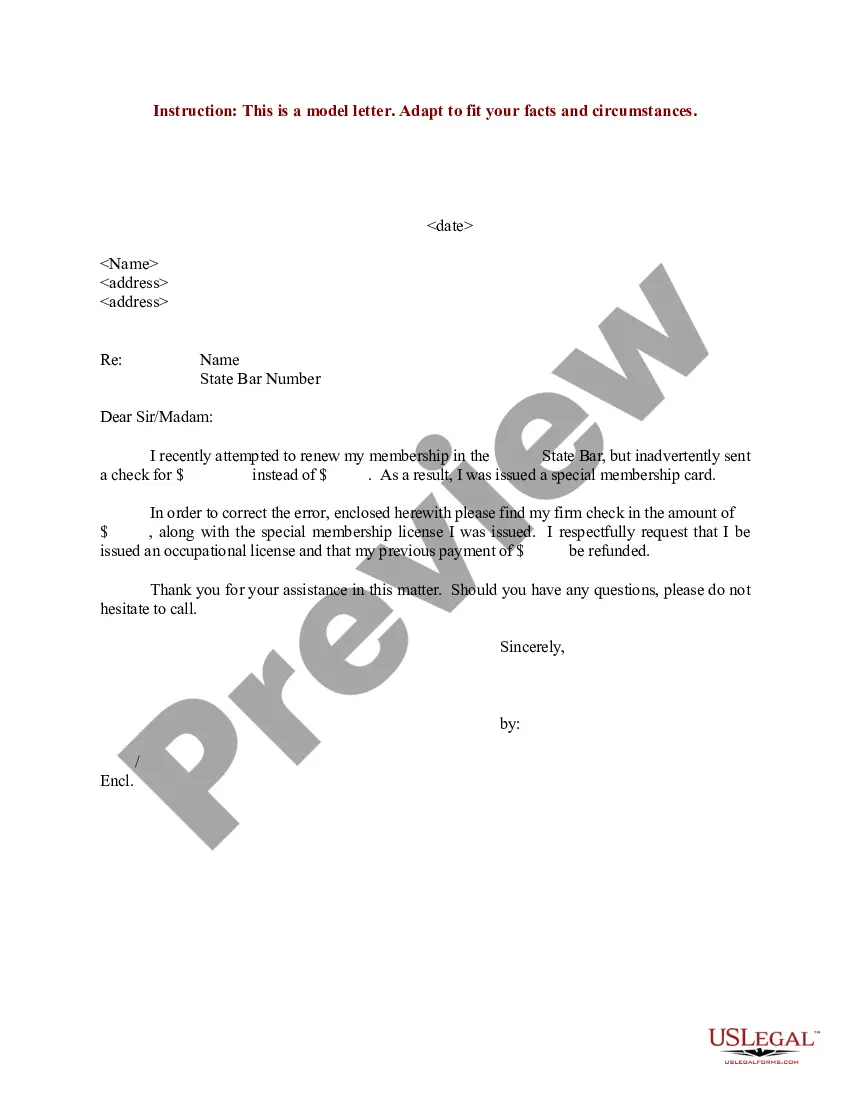
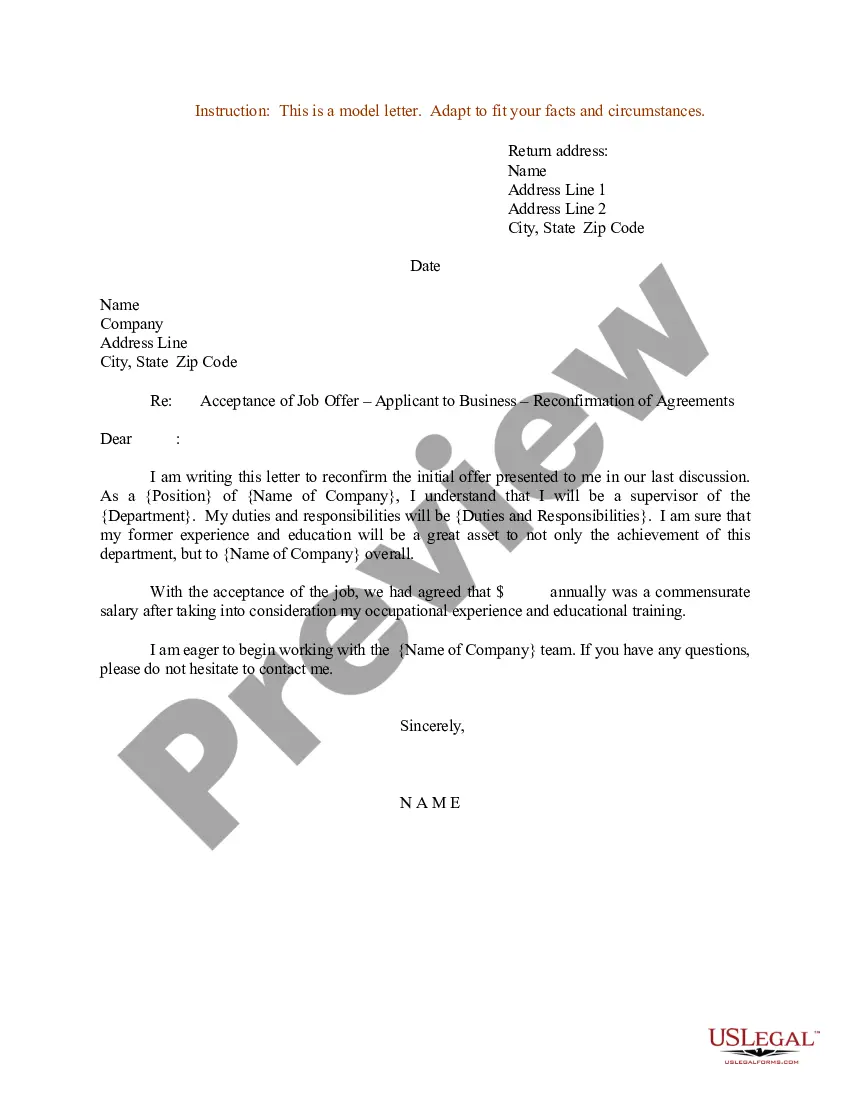
How to write a letter with two signatures Prepare the letterhead. Within a letter that has two signatures, the letterhead comprises both individuals' names and addresses. List the remaining details for the beginning of the letter. Write the content of the letter. Create two sections for signatures.
When addressing an envelope, include both the sender's address and the recipient's address. Write the sender's name and address in the upper left-hand corner. Write the company name if you're sending from a business. The recipient's name and address should be placed on the center of the letter.
When addressing a letter to multiple recipients, be sure to clearly indicate who is receiving a copy by using 'cc' for carbon copy. List each recipient on a separate line in the header with their name, title, and address. This allows all parties to readily see who else is included.
Informal letters are generally written to friends, acquaintances, relatives etc. An informal generally contains one address; the address of the sender at the top right hand corner with date.
When crafting a business letter to multiple recipients within the same organization, simply list their full names on separate lines before including the single address at the bottom of your header. Professional settings still rely heavily on formal letter-writing across various sectors.
Just like on your resume, your street address doesn't belong on your cover letter, and neither does your recipient's. Of course, including the company's address is not going to hurt you, but there's really no point since you aren't sending the letter by snail mail.
For example, a formal tone is typically expected in professional contexts such as job applications , introductions or communications with senior stakeholders. In these cases, addressing recipients with their titles (eg, 'Dear Mr Smith and Ms Jones') and maintaining a polished tone is appropriate.
Write your address on the top right hand side of the letter and the address of the recipient thus the person you are writing the letter to on the left side mostly starting from below your address. You should provide a contact for your prospective employer to contact you for further information when the need be.
Note there are 6 steps. Step 1 – Select Document Type. 1) Click Letters for the document type. Step 2 – Select Starting Document. Step 3 – Select Recipients. Step 4 – Write Your Letter. Step 5 – Preview Your Letters. Step 6 – Complete the Merge. Step 1 – Select Document Type. Step 2 – Select Starting Document.
Over one address: When sending a letter to multiple recipients at multiple locations, it's often best to send each of your recipients an individual copy that includes only their name and address. Consider including a "cc: " after the names of your recipients to inform them of who else has received the letter.