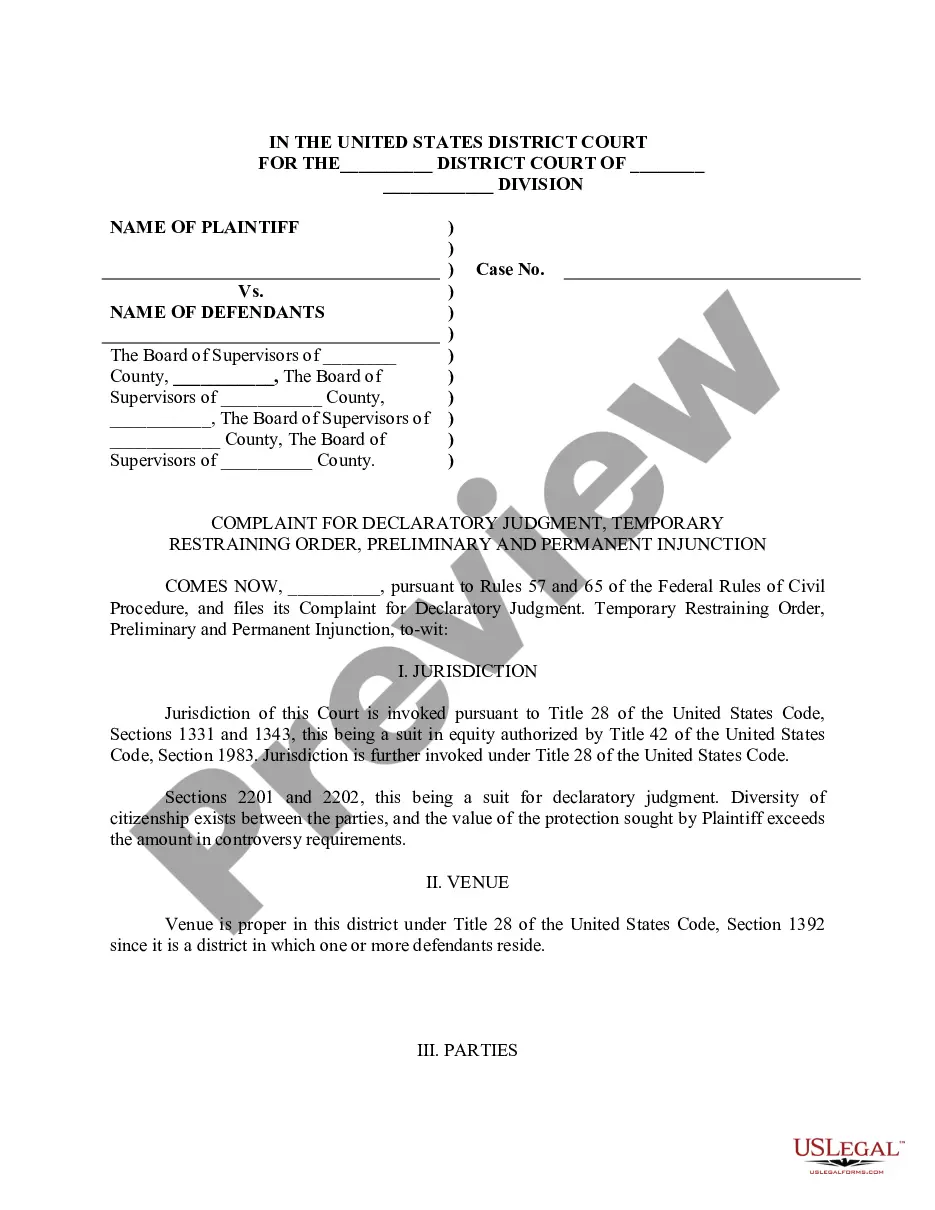
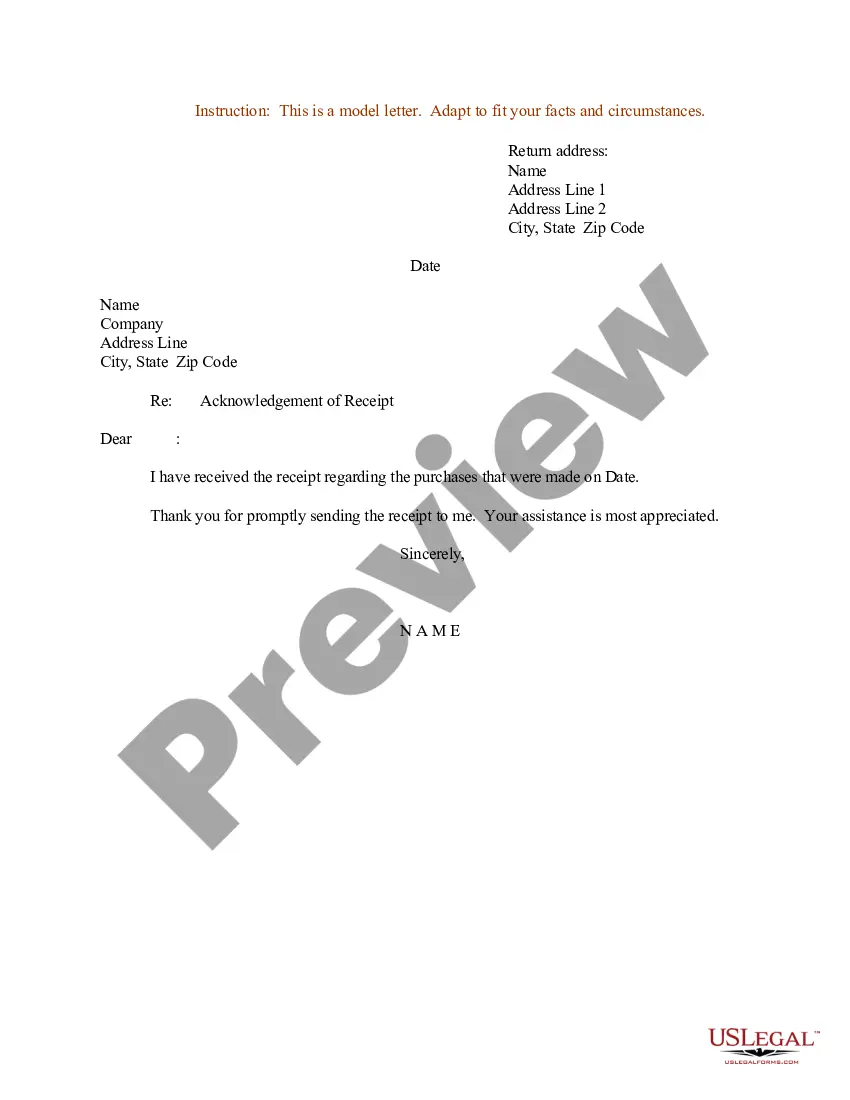
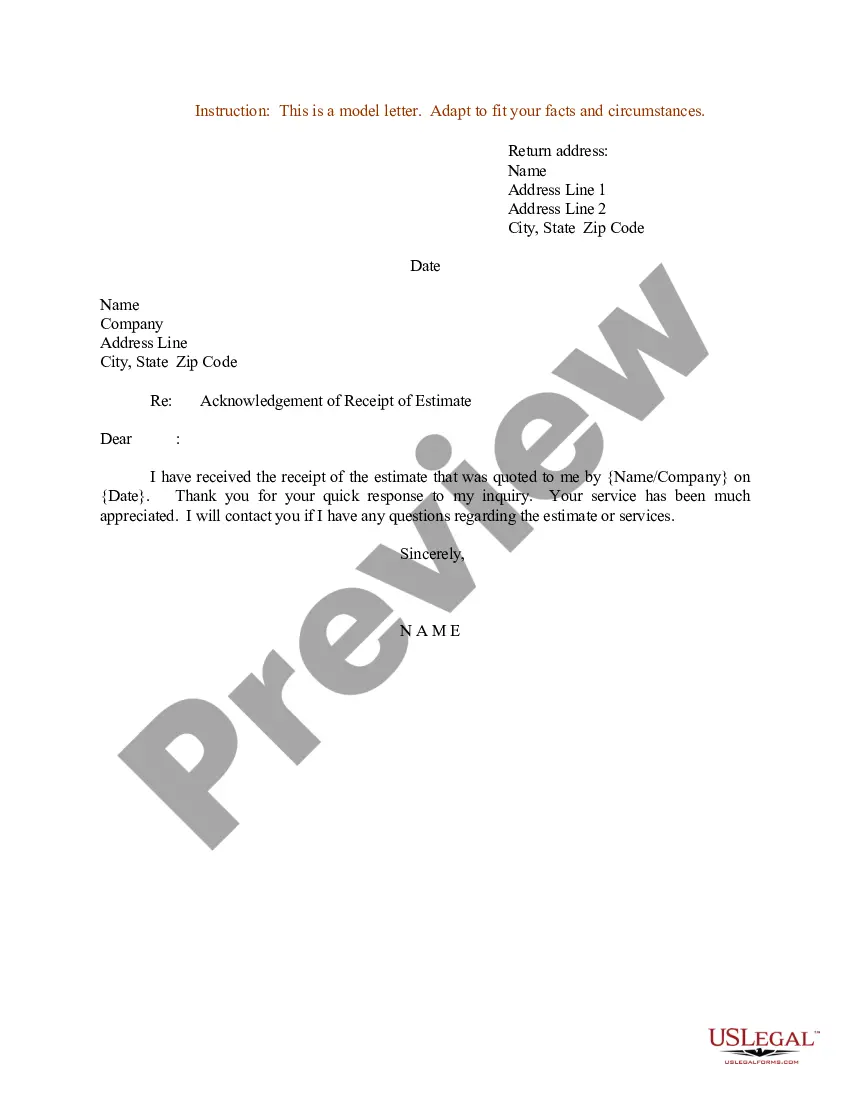
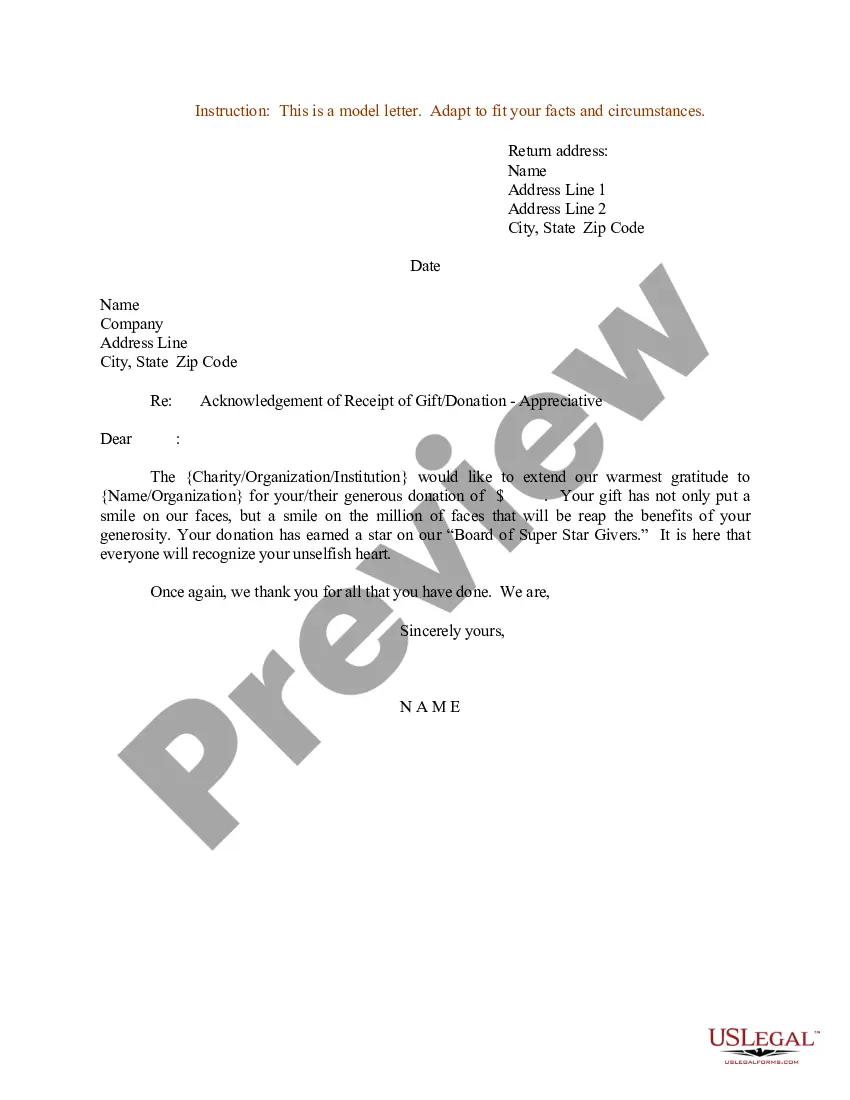
Sample Letter Acknowledge Receipt Of Cheque In Miami-Dade
Description
Get your form ready online
Our built-in tools help you complete, sign, share, and store your documents in one place.
Make edits, fill in missing information, and update formatting in US Legal Forms—just like you would in MS Word.
Download a copy, print it, send it by email, or mail it via USPS—whatever works best for your next step.
Sign and collect signatures with our SignNow integration. Send to multiple recipients, set reminders, and more. Go Premium to unlock E-Sign.
If this form requires notarization, complete it online through a secure video call—no need to meet a notary in person or wait for an appointment.
We protect your documents and personal data by following strict security and privacy standards.
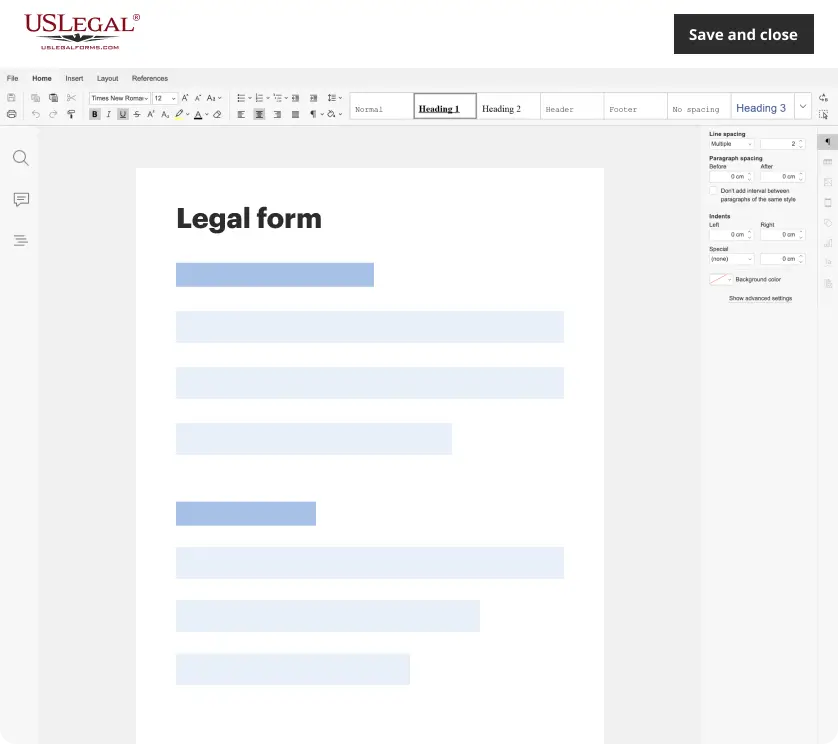
Make edits, fill in missing information, and update formatting in US Legal Forms—just like you would in MS Word.
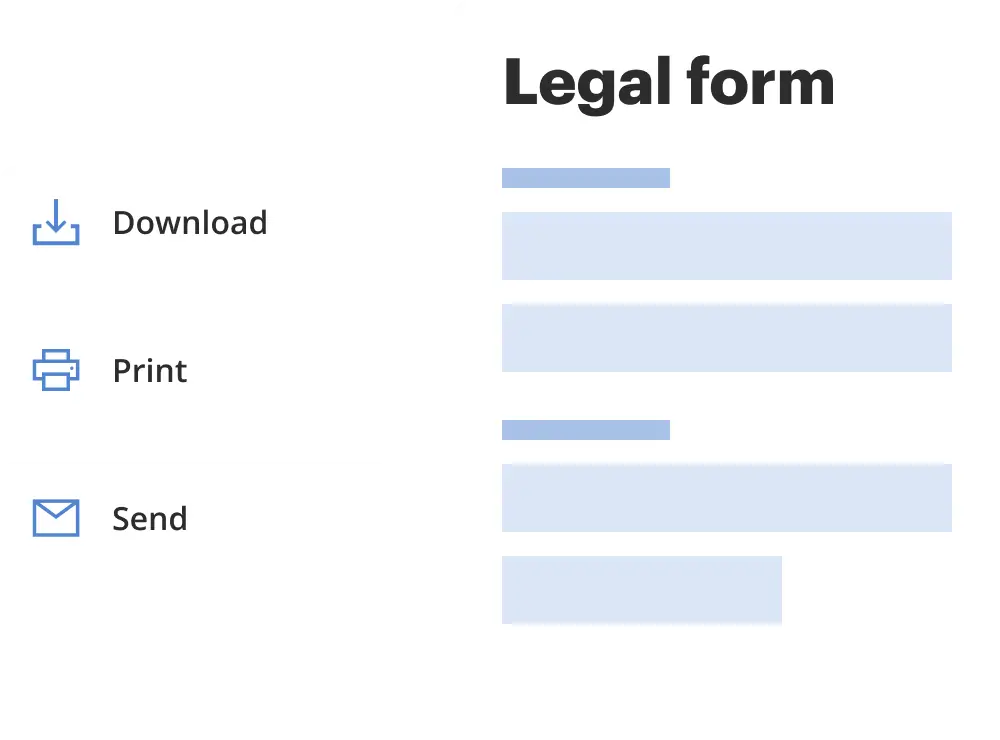
Download a copy, print it, send it by email, or mail it via USPS—whatever works best for your next step.
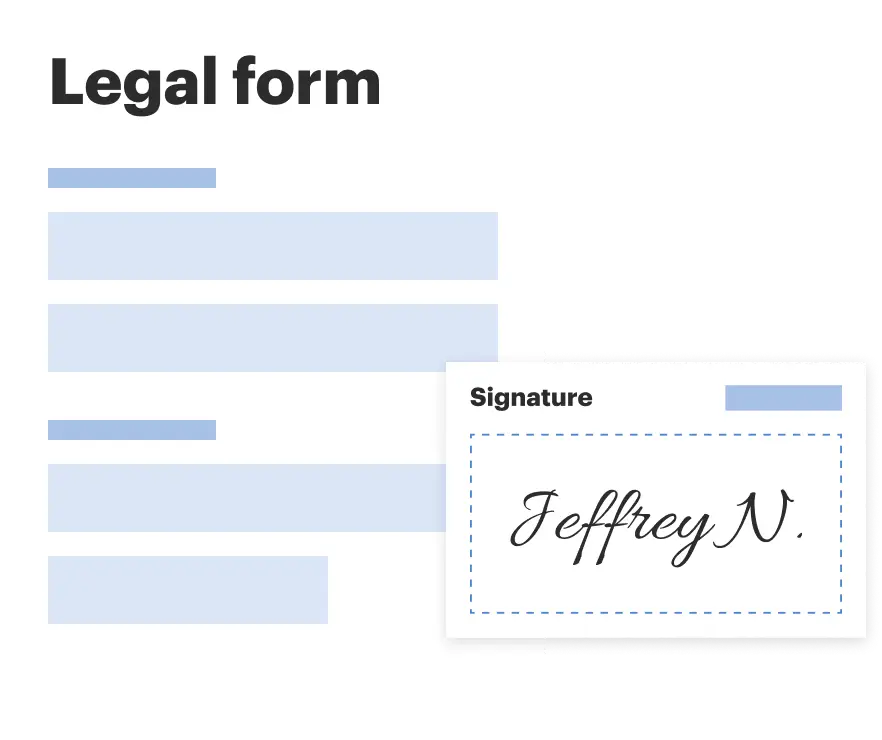
Sign and collect signatures with our SignNow integration. Send to multiple recipients, set reminders, and more. Go Premium to unlock E-Sign.
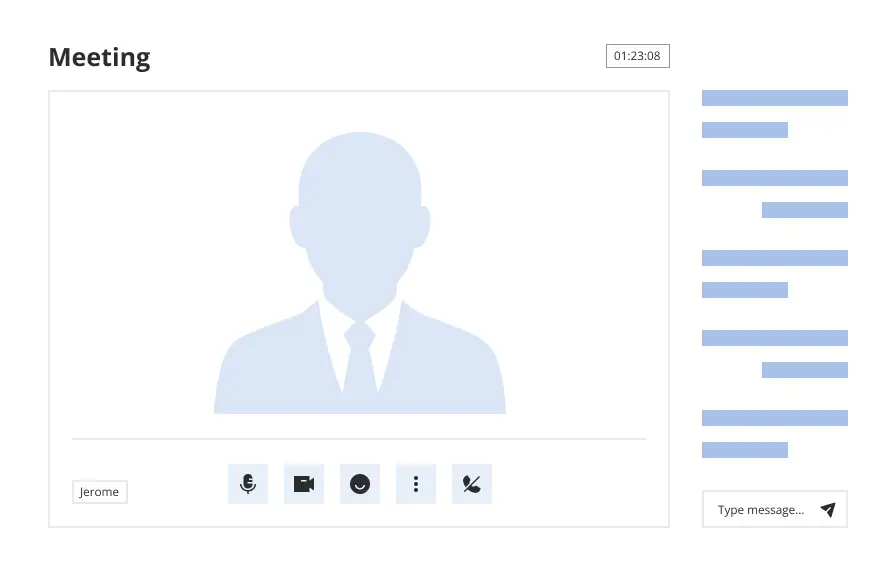
If this form requires notarization, complete it online through a secure video call—no need to meet a notary in person or wait for an appointment.
We protect your documents and personal data by following strict security and privacy standards.
Looking for another form?
Form popularity
FAQ
Outline the information that needs to be included in the letter Start with a professional greeting. Identify the person the letter is acknowledging. Describe the action that is being acknowledged. Express gratitude for the action taken. Include any relevant details. Close with a professional sign-off. Add contact information.
On the left side of the infographic, a numbered list points to each section of the email: Start with a greeting. Share your gratitude with specific examples. Include any details from your conversations. Close with any additional thoughts or information. End with a polite closing.
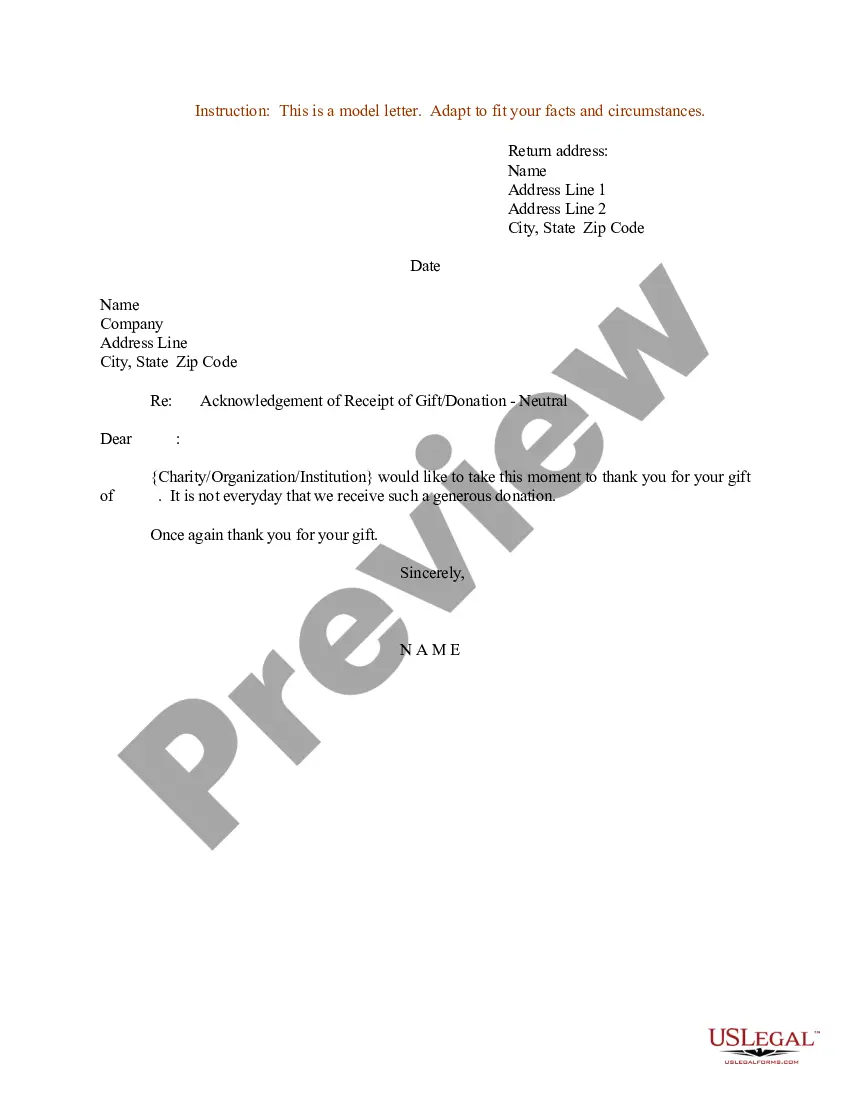
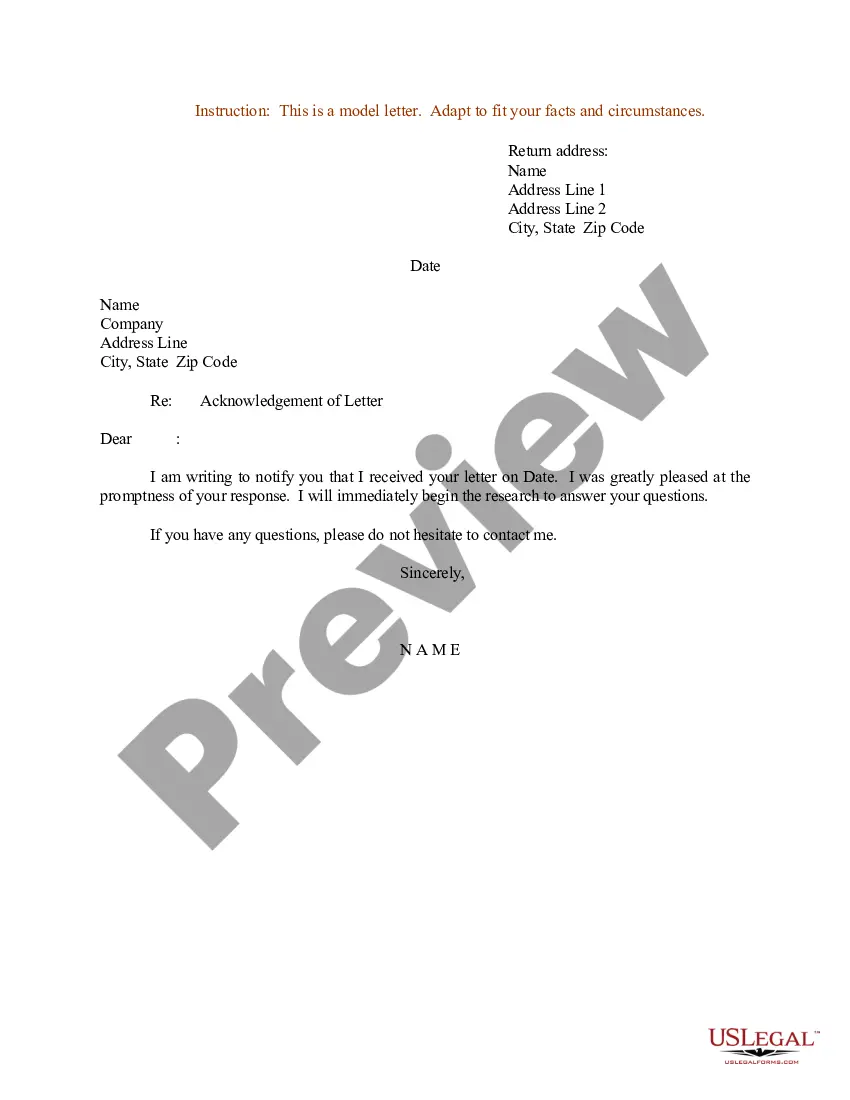
Kick off your acknowledgment letter by stating the date you received the document or goods, providing a brief description for clarity, and confirming their safe arrival. Clarity in this section is paramount to avoid any follow-up inquiries from the sender seeking more details.
I thank all the teachers who helped me by providing the equipment that was necessary and vital, without which I would not have been able to work effectively on this assignment. I would also like to express my sincere gratitude to my friends and parents, who stood by me and encouraged me to work on this assignment.
How to create an acknowledgment receipt Use a company letterhead. Use electronic or paper letterhead. Write acknowledgment statement. Referring to the document by name, version number if applicable and state that the recipient has received the document. Sign and date. Explain the next step. Provide contact information.
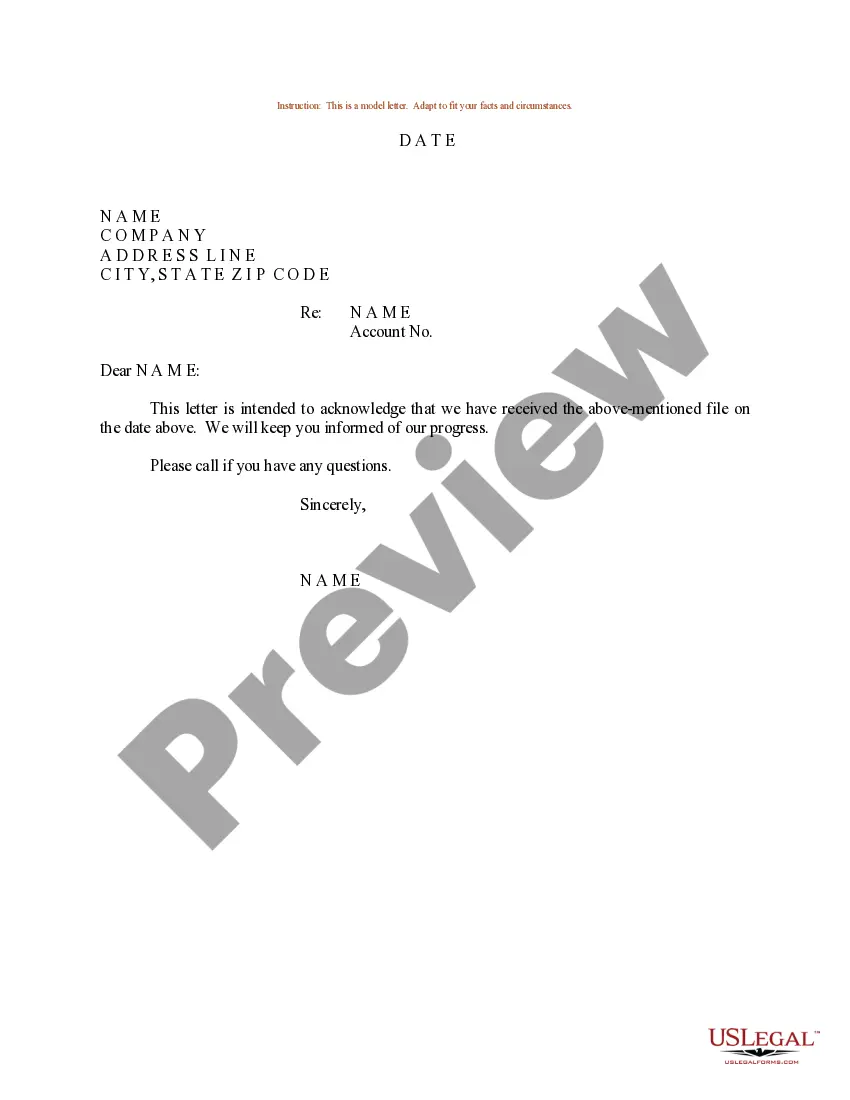
Your acknowledgment receipt should contain the names of the issuing party and the person receiving the document. A description, with the name of each document being issued, date of the issue and the purpose of the document should be clear.
How to write an acknowledging receipt Begin with a professional letterhead or logo. You can begin by including the letterhead or logo of your employer. Include the acknowledgment statement. Sign the document. Describe what to do next. Add your contact information. Proofread and edit.
How do you fill out an acknowledgment letter? Date of receipt: State when the document or goods were received. Description: Provide a concise description of the received document or goods. Confirmation statement: Include a statement confirming the safe receipt of the document or goods.
How to create an acknowledgment receipt Use a company letterhead. Use electronic or paper letterhead. Write acknowledgment statement. Referring to the document by name, version number if applicable and state that the recipient has received the document. Sign and date. Explain the next step. Provide contact information.