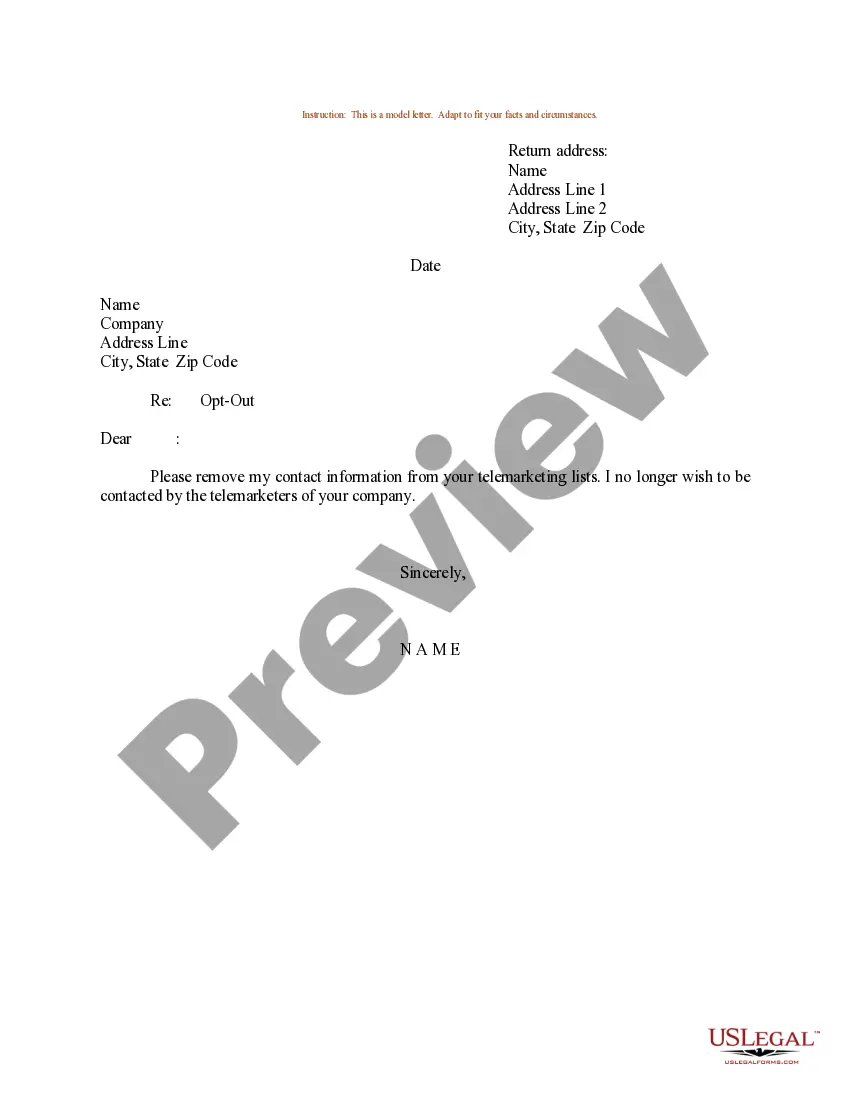
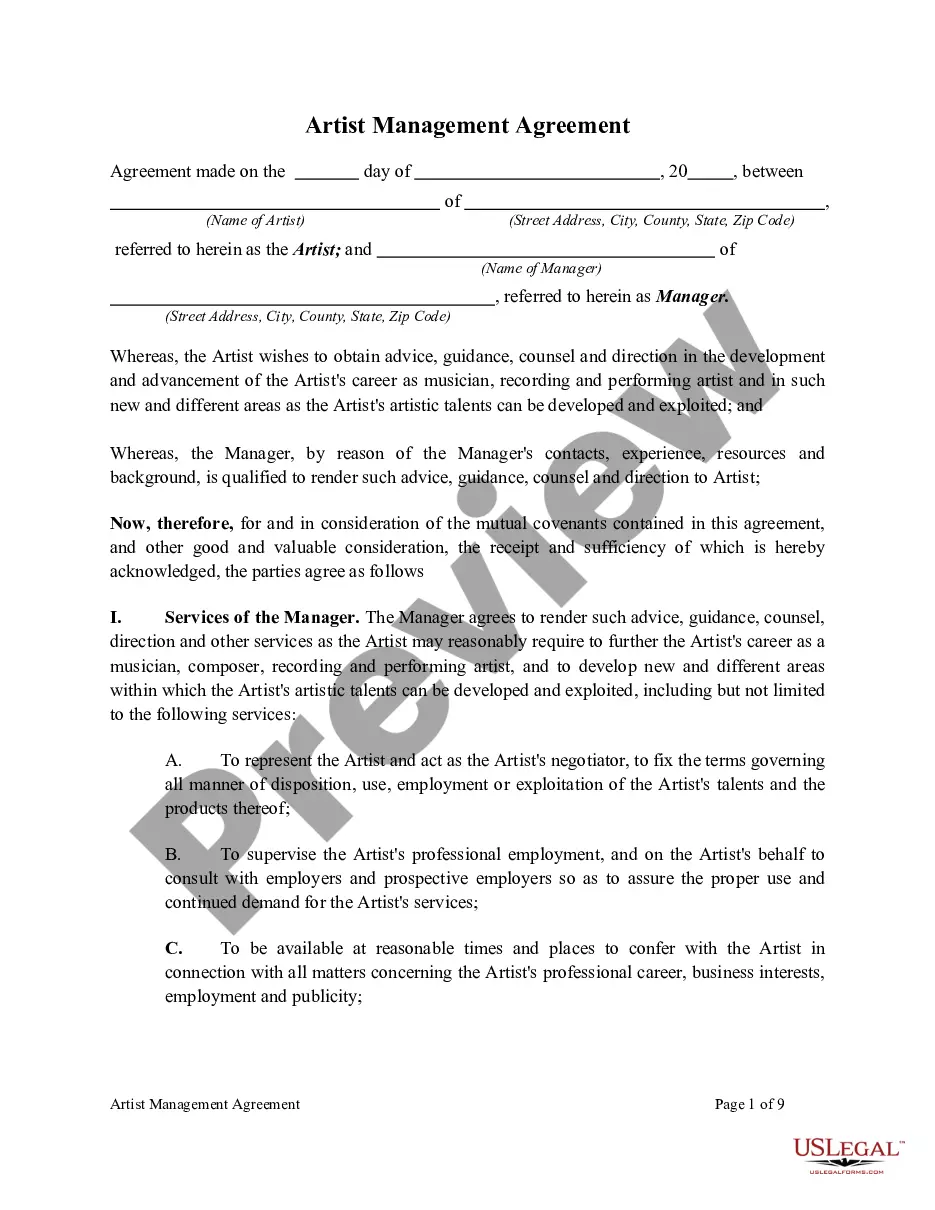
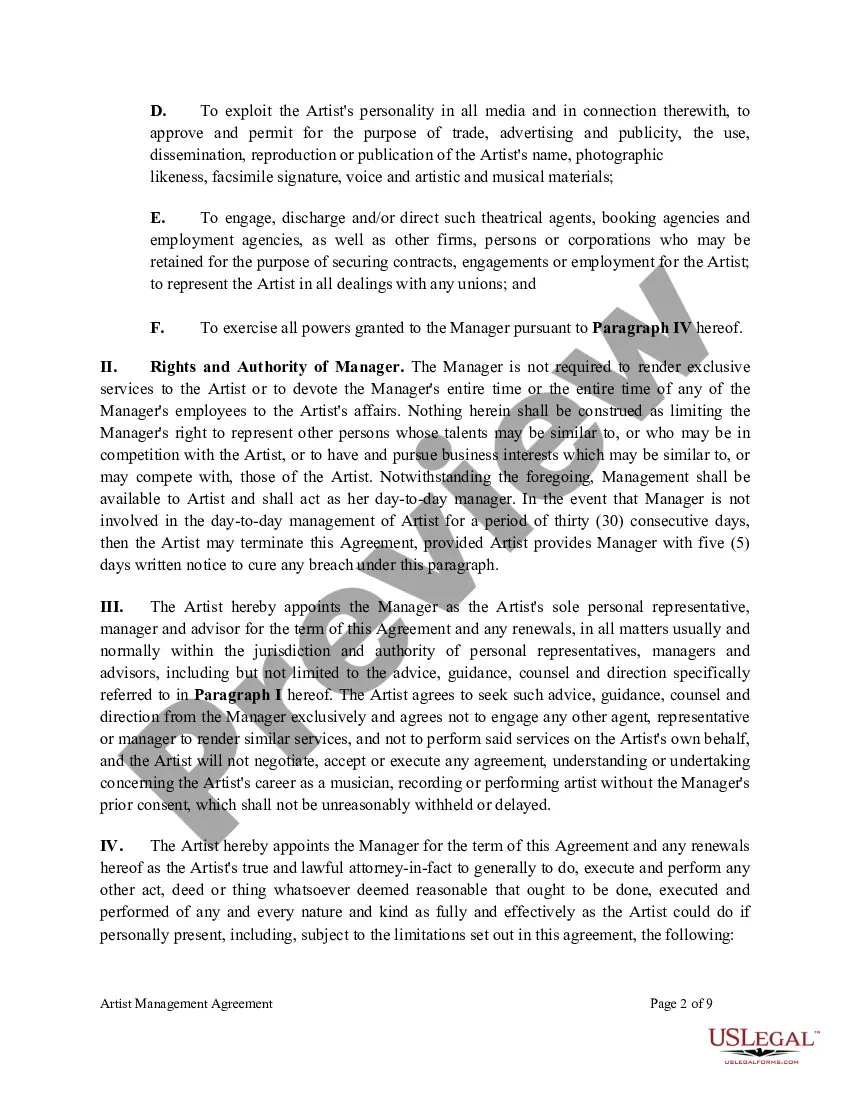
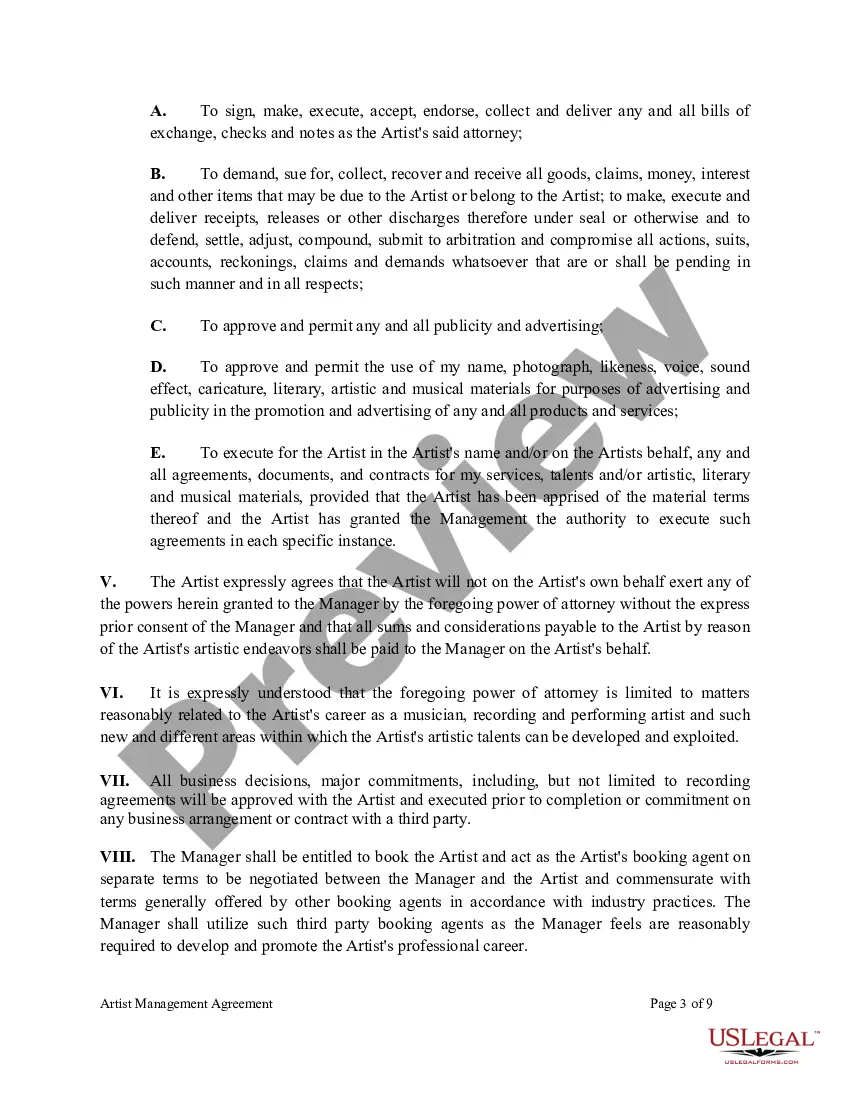
Music Management Contract With Docusign In Los Angeles
Description
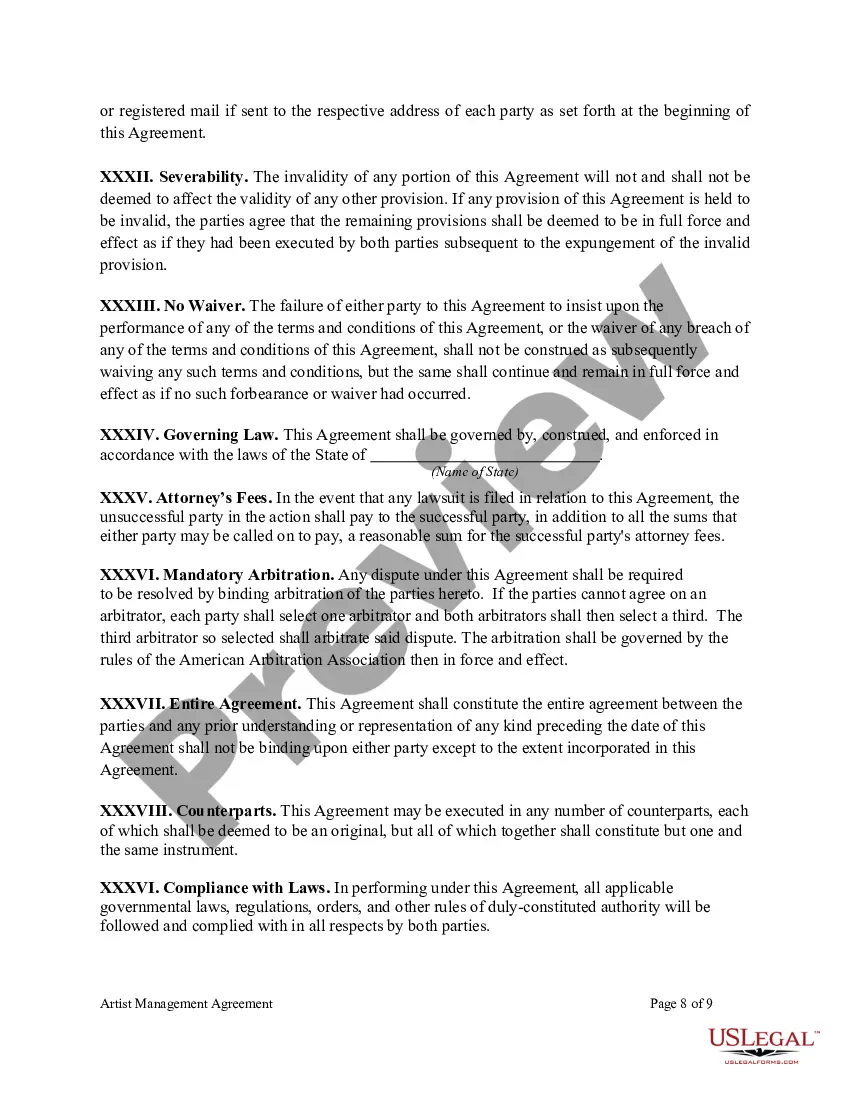

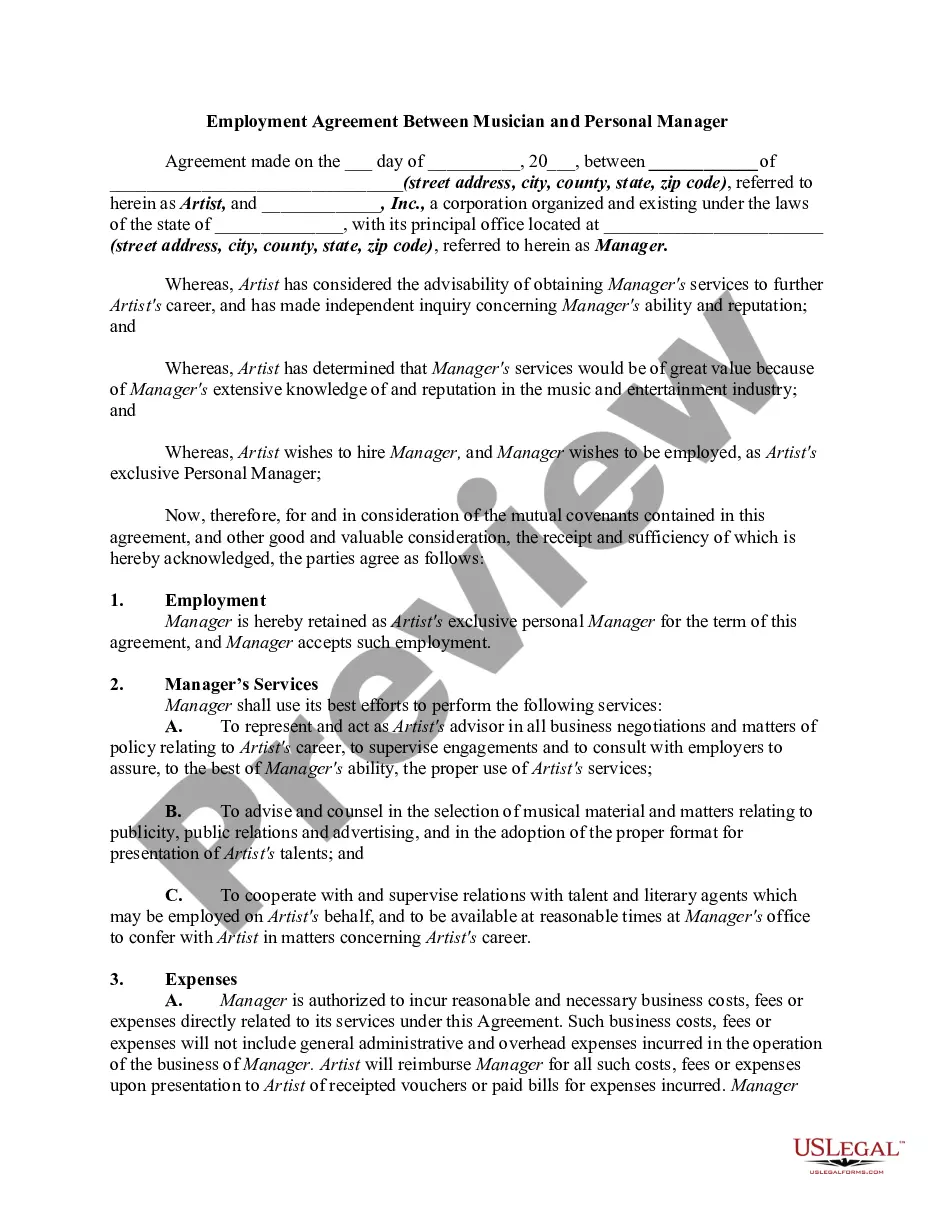
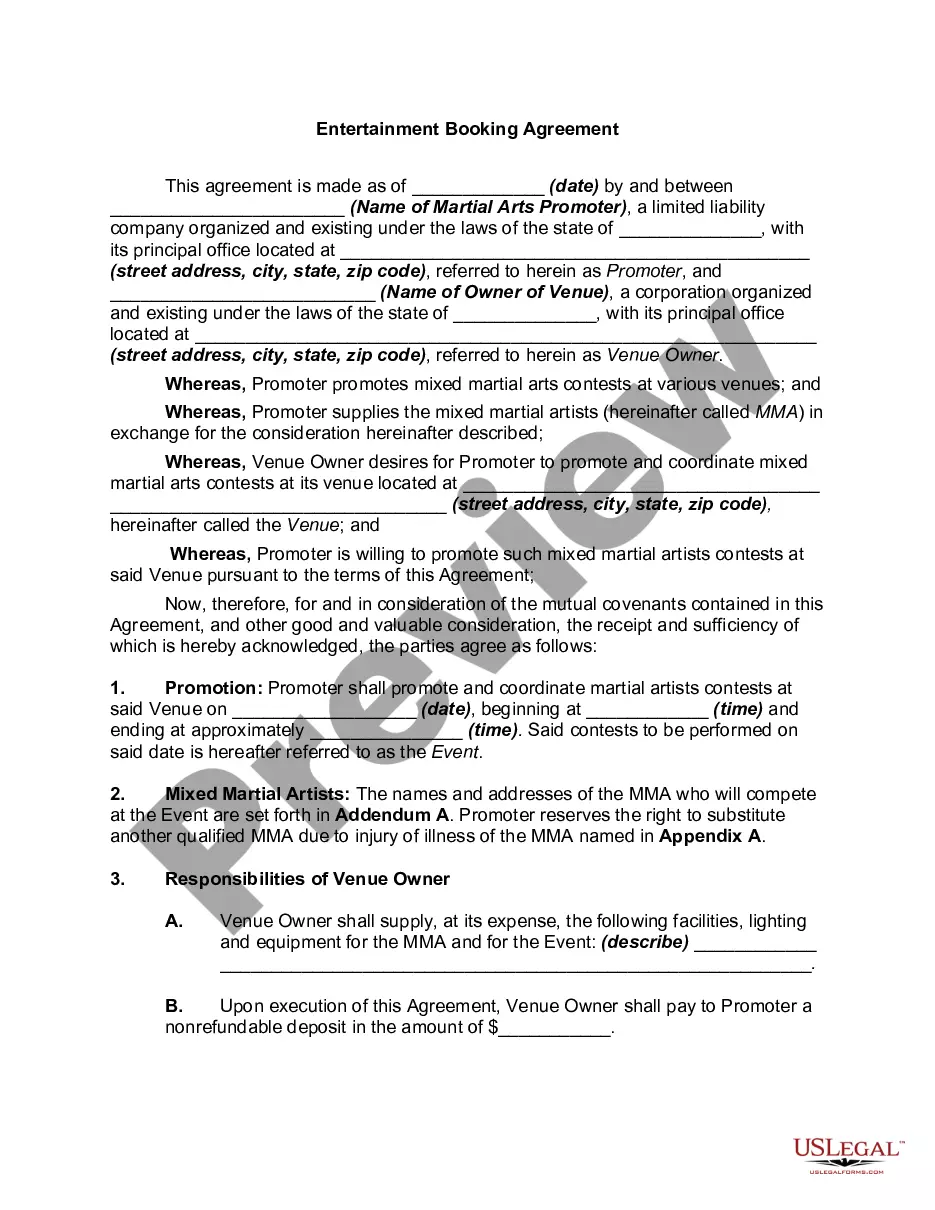
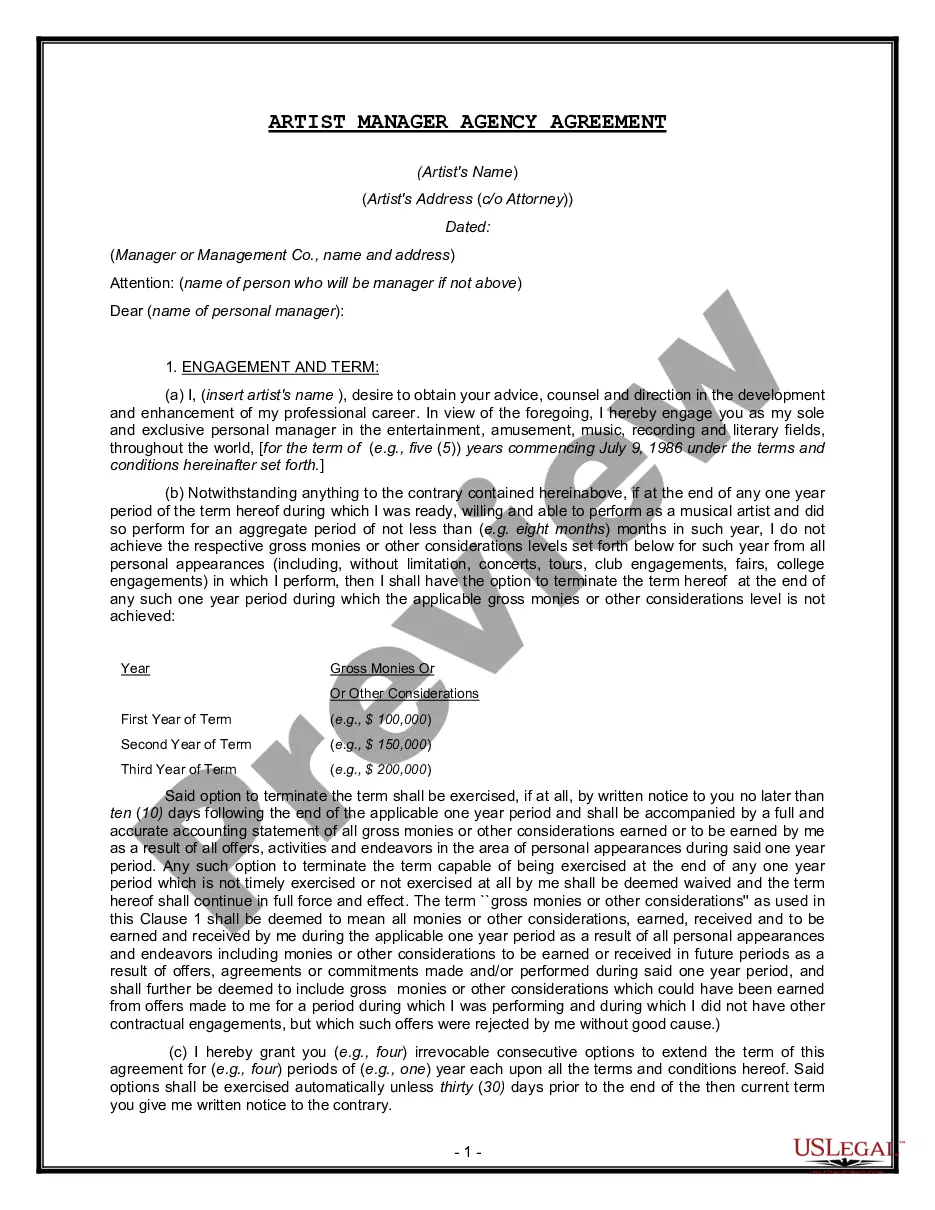
Get your form ready online
Our built-in tools help you complete, sign, share, and store your documents in one place.
Make edits, fill in missing information, and update formatting in US Legal Forms—just like you would in MS Word.
Download a copy, print it, send it by email, or mail it via USPS—whatever works best for your next step.
Sign and collect signatures with our SignNow integration. Send to multiple recipients, set reminders, and more. Go Premium to unlock E-Sign.
If this form requires notarization, complete it online through a secure video call—no need to meet a notary in person or wait for an appointment.
We protect your documents and personal data by following strict security and privacy standards.
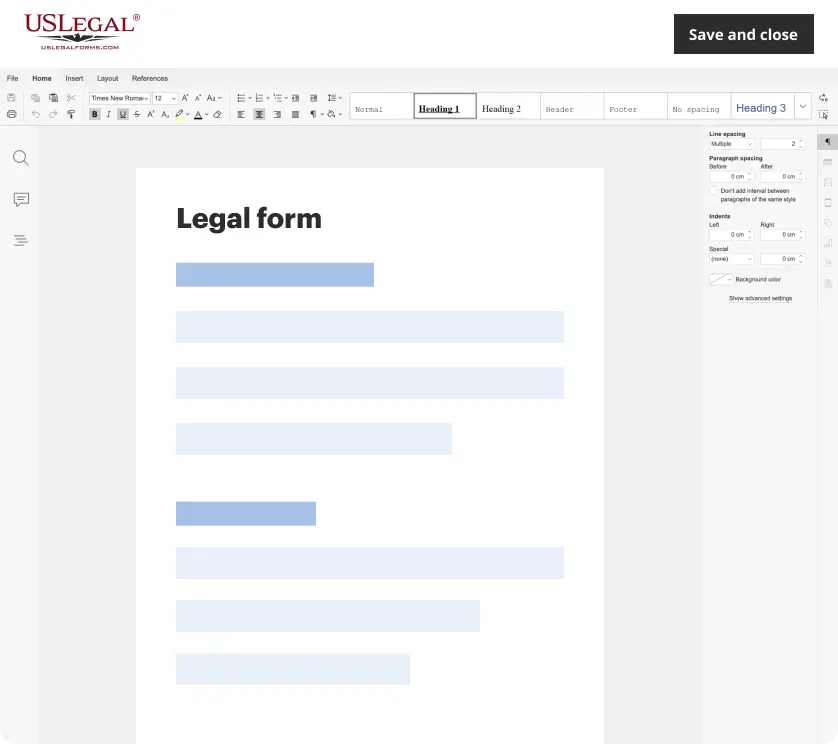
Make edits, fill in missing information, and update formatting in US Legal Forms—just like you would in MS Word.
Download a copy, print it, send it by email, or mail it via USPS—whatever works best for your next step.
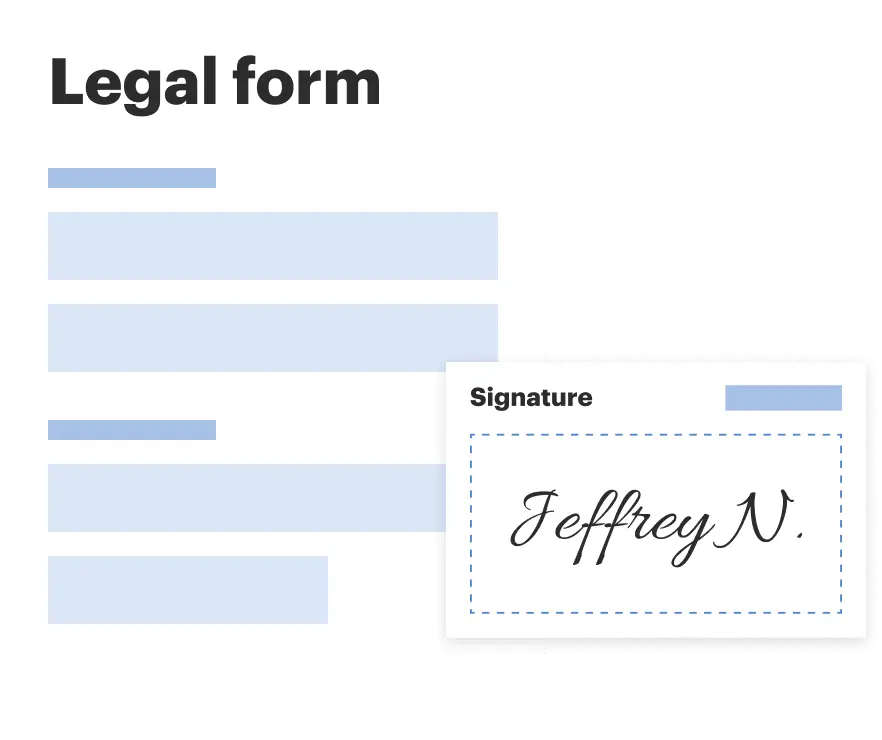
Sign and collect signatures with our SignNow integration. Send to multiple recipients, set reminders, and more. Go Premium to unlock E-Sign.
If this form requires notarization, complete it online through a secure video call—no need to meet a notary in person or wait for an appointment.
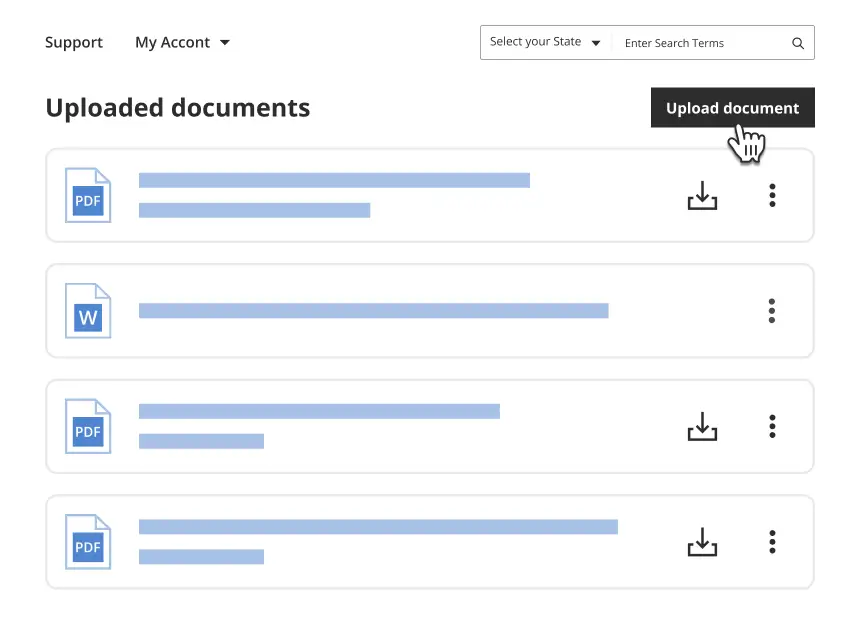
We protect your documents and personal data by following strict security and privacy standards.
Looking for another form?
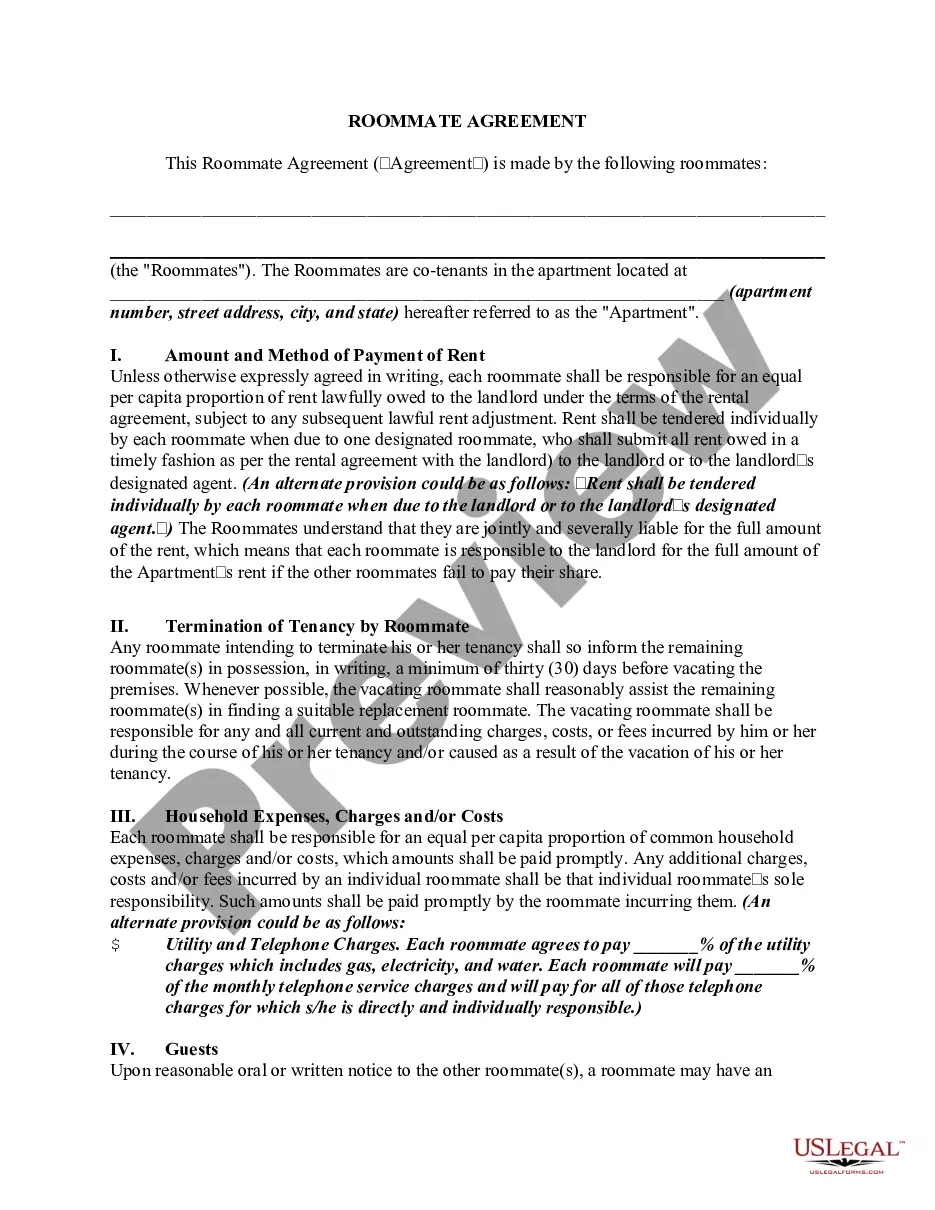
Form popularity
FAQ
How to Create a Contract Step 1: Set Up a Account. Step 2: Prepare Your Contract Document. Step 3: Add Recipients and Define Signing Order. Step 4: Add Fields for Recipients to Fill Out. Step 5: Customize the Email Message. Step 6: Send the Contract.
Try eSignature to fill out a PDF form online. In the library, highlight the form and then choose Sign and Send. At the Apply Form Fields prompt, choose Apply, which allows you to edit the fields in the PDF. Use the arrows to navigate between the form fields, and fill out and sign the form.
Step 1: Upload your document. First, log in to your account. Step 2: Add a recipient. To add a recipient, enter their name in the Name field and then fill out their delivery information. Step 3: Add the email subject and message. Step 4: Add signing fields. Step 5: Preview and send your document.
ESignature automatically creates a stylized version of your signature and your initials based on your name. You will be shown the default signature style, but you can also select “select a style” to see a wide variety of signature options. Stylized signature options vary in line thickness, width, and handwriting style.
Allows you to sign, send, and manage agreements within a centralized space for all your documentation. It offers a secure, legally binding way to handle paperwork that needs signatures, saving you time on manual tasks. Because it's cloud-based, you can access from anywhere, on any device.
Open your email and find 's account activation message. Log into your account by following the directions provided, and read the prompts on the screen to choose a password and security questions. Sign a document. Once you're on the home page, it only takes a few seconds to sign a document.
Are 's electronic signatures legally binding? eSignatures are valid and legally binding across the globe and in use in 188 countries around the world.
The steps for creating and sending a document for signature are as follows: Start an envelope. You can start with a new envelope, use a template stored in , or finish a previously saved draft. Add your documents. Add recipients. Add messages. Advanced options. Add fields. Preview and send.
Here's a quick overview of how you can use CLM to create a new agreement in three simple steps: Open the “New Agreement” workflow from your CLM homepage. Select a template and recipient. Enter contract details using a form.
How to Create a Contract Step 1: Set Up a Account. Step 2: Prepare Your Contract Document. Step 3: Add Recipients and Define Signing Order. Step 4: Add Fields for Recipients to Fill Out. Step 5: Customize the Email Message. Step 6: Send the Contract.