Sample Letter With 3 Signatures In Hillsborough
Description
Get your form ready online
Our built-in tools help you complete, sign, share, and store your documents in one place.
Make edits, fill in missing information, and update formatting in US Legal Forms—just like you would in MS Word.
Download a copy, print it, send it by email, or mail it via USPS—whatever works best for your next step.
Sign and collect signatures with our SignNow integration. Send to multiple recipients, set reminders, and more. Go Premium to unlock E-Sign.
If this form requires notarization, complete it online through a secure video call—no need to meet a notary in person or wait for an appointment.
We protect your documents and personal data by following strict security and privacy standards.
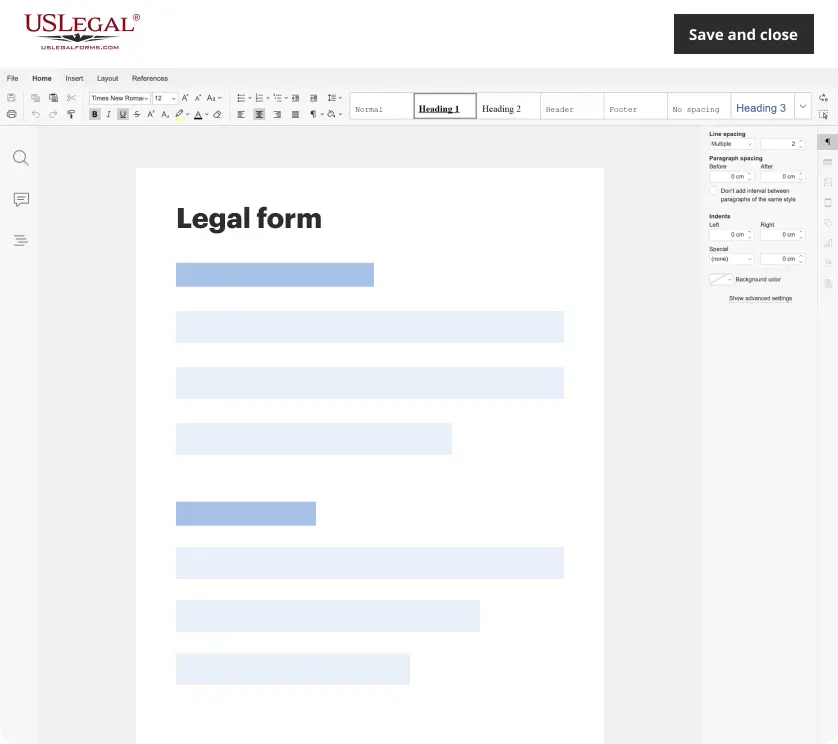
Make edits, fill in missing information, and update formatting in US Legal Forms—just like you would in MS Word.
Download a copy, print it, send it by email, or mail it via USPS—whatever works best for your next step.
Sign and collect signatures with our SignNow integration. Send to multiple recipients, set reminders, and more. Go Premium to unlock E-Sign.
If this form requires notarization, complete it online through a secure video call—no need to meet a notary in person or wait for an appointment.
We protect your documents and personal data by following strict security and privacy standards.
Looking for another form?
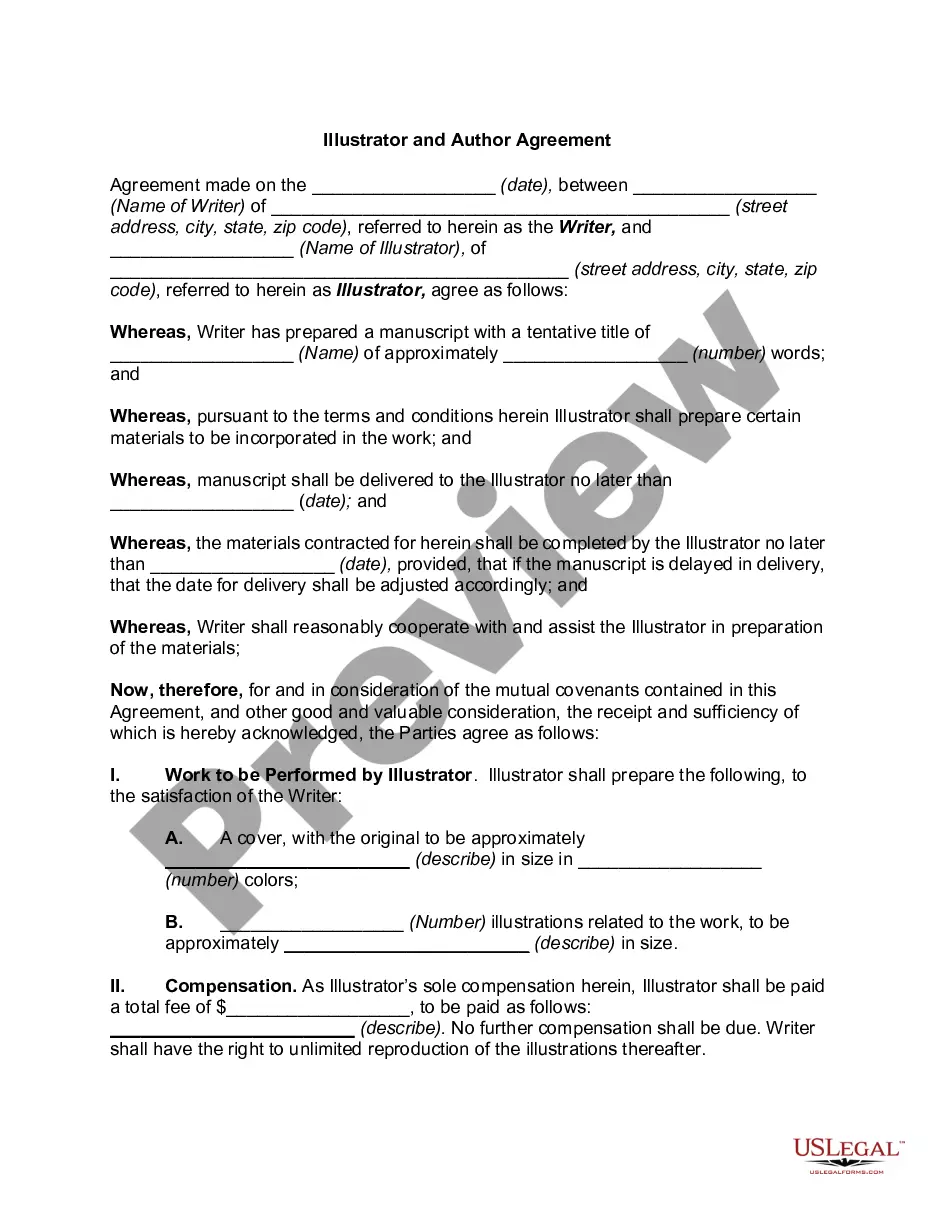
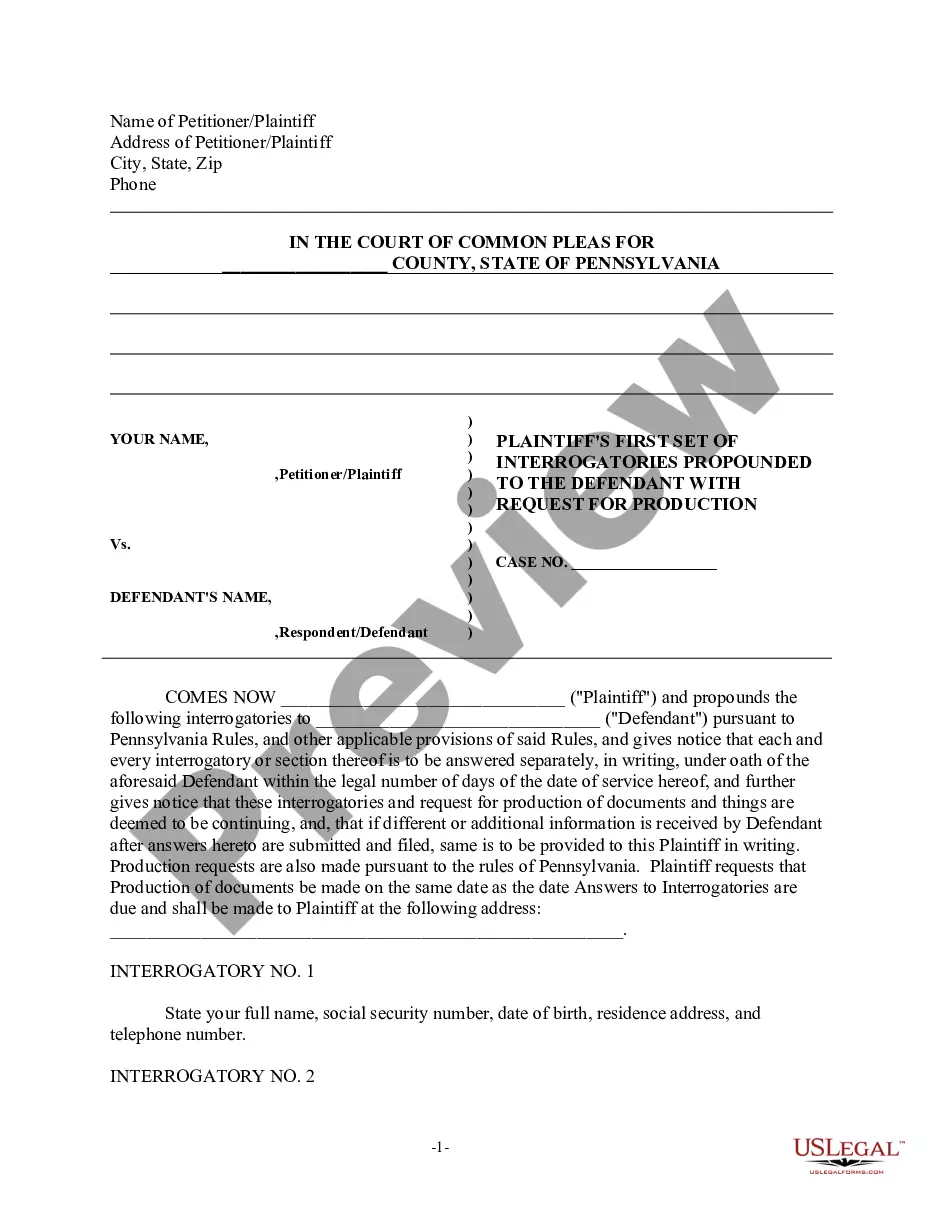
Form popularity
FAQ
You can create two sections for signatures below your valediction. Leave a space for the first person's signature and put their name and job title directly underneath this space. Repeat the process for the second person's name. Print your document and have each individual sign their name in the empty space.
Yes, you can add multiple signatures to a Word document. Use signature lines as placeholders if multiple people are to sign. Navigate to the “Insert” tab, select “Signature Line,” and follow the setup process for each individual. For digital signatures, ensure each signer's digital certificate is set up properly.
At the end of the letter, place your signature on the right side of the page. Don't forget to provide any relay information if necessary. When writing a letter using simplified style form, put the date on the left. Then, put the receiver's name, and his/her title, company name, and address.
Other ways to end a letter or a card. Kind wishes. Neighborly Yours. Fare thee well. Hope this helps. Stay tuned. Best Wishes. Best Regards. Warmly.
It's important to sign off a letter with your name at the end as this enables the recipient to know who it came from. It also establishes a professional tone and maintains formality. If you know the recipient, it's acceptable to sign off with just your first name.
“Sincerely,” “Regards,” and “Appreciatively” are all appropriate closings for formal letters. “Take care,” “Have a good day,” and “Thanks!” work for a more informal approach.
A person's name, or a mark representing it, as signed personally or by deputy, as in subscribing a letter or other document.
“Sincerely,” “Regards,” and “Appreciatively” are all appropriate closings for formal letters. “Take care,” “Have a good day,” and “Thanks!” work for a more informal approach.
Sender's Address: Start with your address at the top right corner. Date: Write the date on which the letter is being sent. Principal's Address: Mention the principal's name and the school's address on the left side below the date. Salutation: Use a formal greeting such as “Dear Principal (Last Name),”.
Signature and name: When you're typing your letter, leave a space in between your closing and printed name so you can handwrite your signature. Handwriting a signature adds a personal tone to your letter and shows you put effort into it.