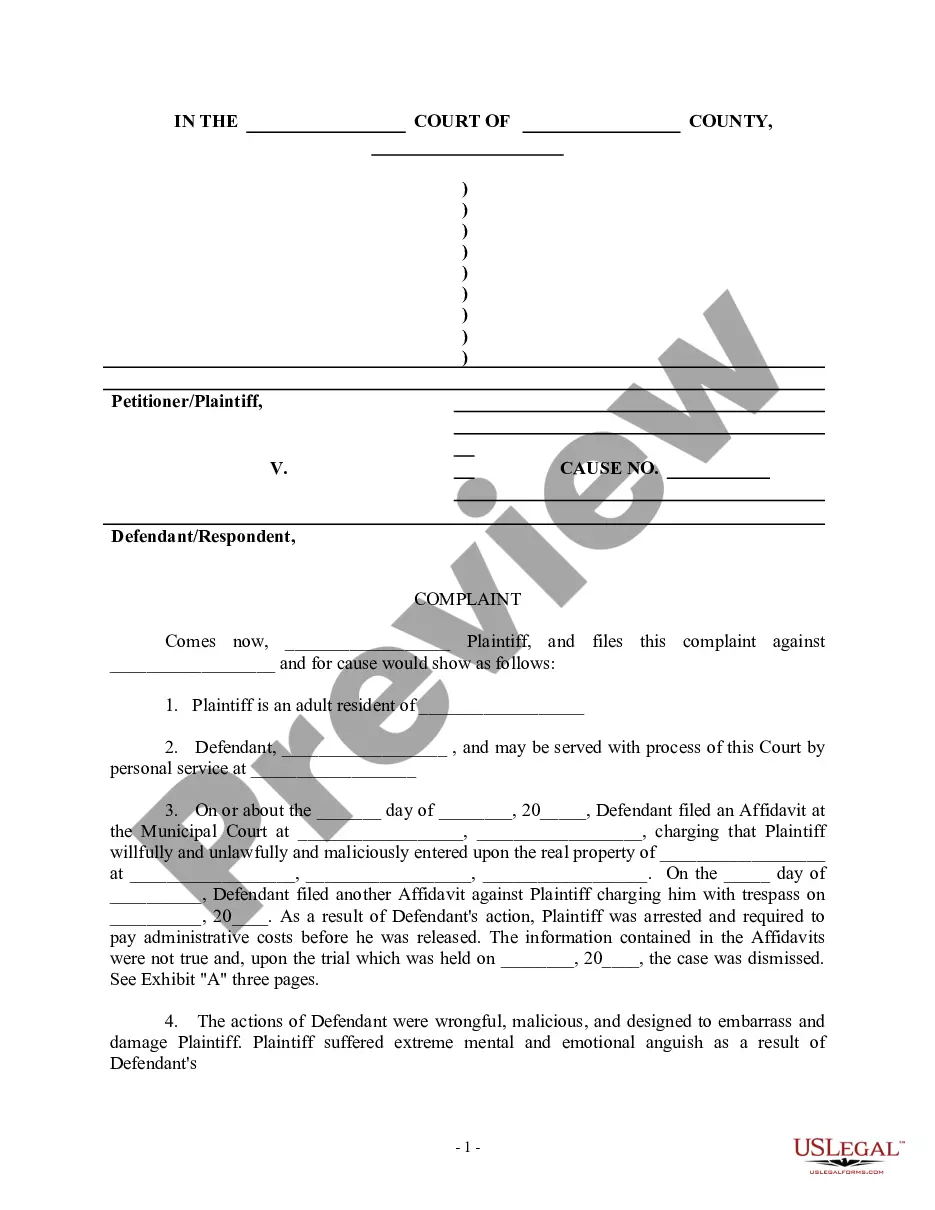
False Us For Apple Id In Miami-Dade
Description


Get your form ready online
Our built-in tools help you complete, sign, share, and store your documents in one place.
Make edits, fill in missing information, and update formatting in US Legal Forms—just like you would in MS Word.
Download a copy, print it, send it by email, or mail it via USPS—whatever works best for your next step.
Sign and collect signatures with our SignNow integration. Send to multiple recipients, set reminders, and more. Go Premium to unlock E-Sign.
If this form requires notarization, complete it online through a secure video call—no need to meet a notary in person or wait for an appointment.
We protect your documents and personal data by following strict security and privacy standards.

Make edits, fill in missing information, and update formatting in US Legal Forms—just like you would in MS Word.

Download a copy, print it, send it by email, or mail it via USPS—whatever works best for your next step.

Sign and collect signatures with our SignNow integration. Send to multiple recipients, set reminders, and more. Go Premium to unlock E-Sign.

If this form requires notarization, complete it online through a secure video call—no need to meet a notary in person or wait for an appointment.

We protect your documents and personal data by following strict security and privacy standards.
Looking for another form?

Form popularity
FAQ
Use your Mac or Windows PC to change your region On a Windows PC, click your name at the bottom of the sidebar, then click View My Account. You might need to sign in to your Apple Account. On the Account Information page, click Change Country or Region. Select your new country or region.
Apple does this to make sure it is you signing into your account and protect your privacy and security when there have been changes, or when it has been a while since you last logged in.
Check your Apple ID device list and remove unrecognized devices. If you believe someone else has logged in to your Apple account, you should look at all devices that are signed in. If someone has used your Apple ID on another device, remove it from your account.
To learn which country your iPhone was made for, here's what you have to do: On your iPhone, go to Settings. Select General > About. Next to Model Number, take note of the letter(s) at the end of the slash. For example, my iPhone has /A—meaning it was manufactured for Canada.
In. So you can see model number MPX t3l-a. Now let's hop out here and just open up a web page. And IMoreIn. So you can see model number MPX t3l-a. Now let's hop out here and just open up a web page. And I just typed in iPhone region code and I'm going to go to this apple discussions.
If you are not sure about your Apple ID Country, you may follow these simple steps to quickly find the answer. Open the Settings app on your iPhone. Tap on your name. Tap on “Media & Purchases” Tap “View Account”. Tap “Country/Region”.
Use your iPhone, iPad, or Apple Vision Pro to change your region Open the Settings app. Tap your name, then tap Media & Purchases. Tap View Account. Tap Country/Region. Select your new country or region. Tap Change Country or Region. Tap your new country or region, then review the Terms & Conditions.
Part 3. Solution 1. Restart Your iPhone. Solution 2. Get a New Verification Code. Solution 3. Switch to a Different Network. Solution 4. Disable an Active VPN. Solution 5. Sign Out and Back into Apple ID. Solution 6. Correct Date & Time. Solution 7. Update the iOS Version. Solution 8. Reset Network Settings.
Below are a few reasons why your ID verification could've failed: Your ID number was entered incorrectly. Your ID picture stored with the Government Department is of poor quality, and it's making it hard to match with the selfie picture you've taken.
Visit the US Apple ID website ( ) on your iPhone, iPad, or Mac. Select Create Your Apple ID, then choose United States as your country and fill in all the requested details. You can use any international phone number with this account, as long as the dialing code is correct.