Power Form D4sign
Description


Get your form ready online
Our built-in tools help you complete, sign, share, and store your documents in one place.
Make edits, fill in missing information, and update formatting in US Legal Forms—just like you would in MS Word.
Download a copy, print it, send it by email, or mail it via USPS—whatever works best for your next step.
Sign and collect signatures with our SignNow integration. Send to multiple recipients, set reminders, and more. Go Premium to unlock E-Sign.
If this form requires notarization, complete it online through a secure video call—no need to meet a notary in person or wait for an appointment.
We protect your documents and personal data by following strict security and privacy standards.

Make edits, fill in missing information, and update formatting in US Legal Forms—just like you would in MS Word.

Download a copy, print it, send it by email, or mail it via USPS—whatever works best for your next step.

Sign and collect signatures with our SignNow integration. Send to multiple recipients, set reminders, and more. Go Premium to unlock E-Sign.

If this form requires notarization, complete it online through a secure video call—no need to meet a notary in person or wait for an appointment.

We protect your documents and personal data by following strict security and privacy standards.
Looking for another form?
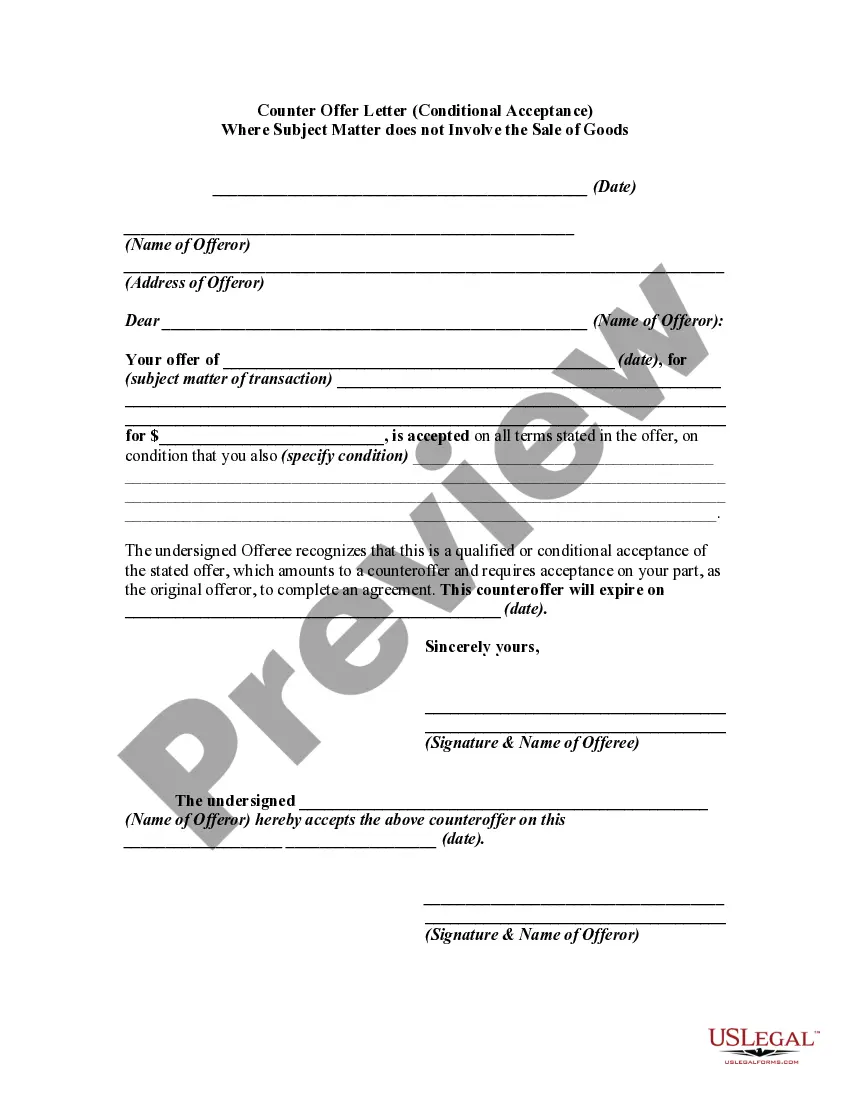
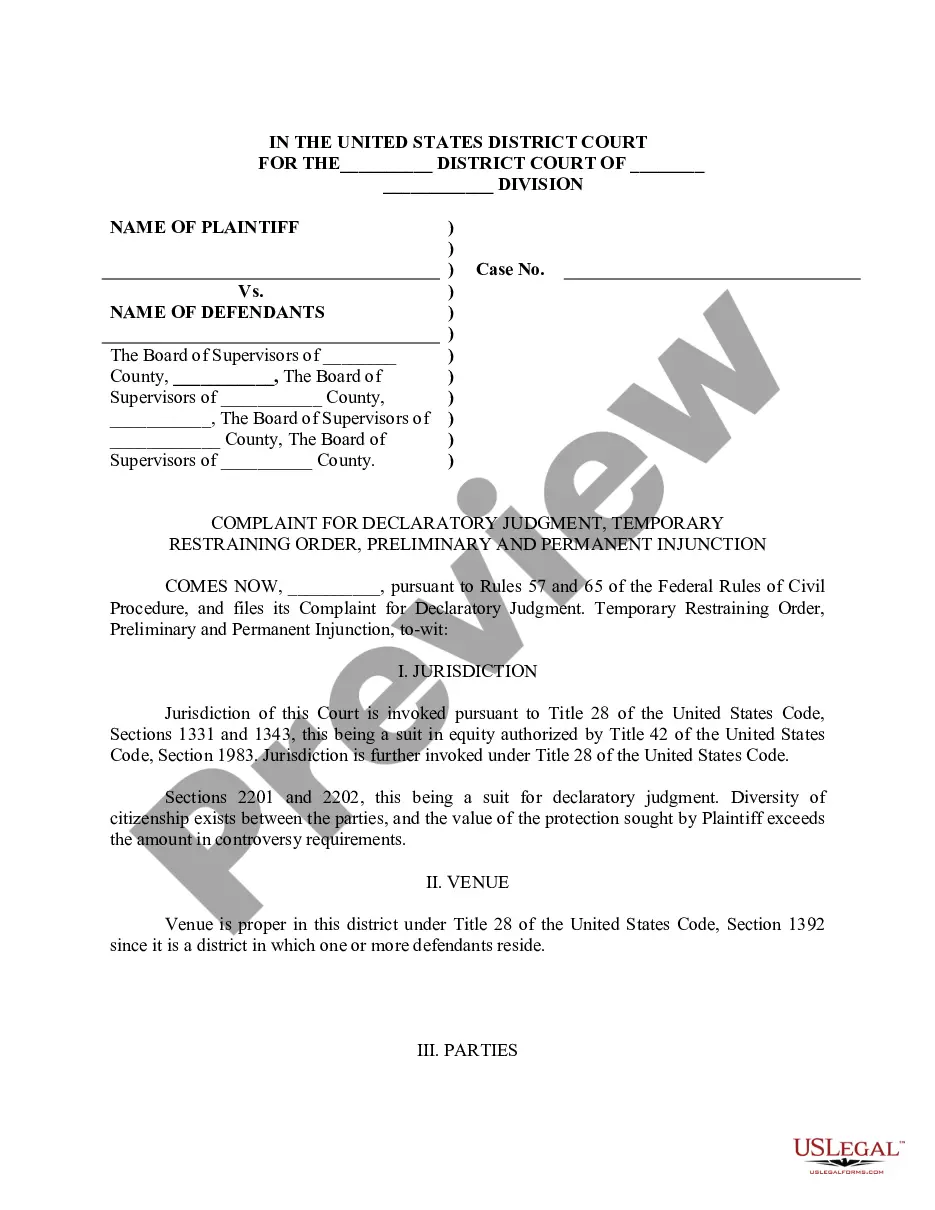
How to fill out Minnesota Power Of Attorney Forms Package?
- If you're a returning user, log in to your account to retrieve the needed form template by clicking on the Download button. Ensure your subscription is active; if not, renew it according to your plan.
- For first-time users, start by checking the Preview mode and form description to confirm that the selected document meets your needs and complies with your local jurisdiction's requirements.
- If you need to find another template, use the Search tab to locate the appropriate form. Ensure it fits your criteria before proceeding to the next step.
- Purchase the document by clicking the Buy Now button and selecting your desired subscription plan. You will need to create an account for access to the comprehensive library.
- Complete your transaction by entering your credit card information or utilizing your PayPal account to finalize the subscription.
- Download the form to your device for completion. You can also access it anytime through the My Forms section in your profile.
In conclusion, US Legal Forms, through the Power form d4sign, provides an efficient approach to managing legal documents. Its extensive library and access to experts ensure that you create precise and legally sound documents.
Start your journey with US Legal Forms today and take advantage of the seamless experience!
Form popularity
FAQ
Adding a form to your landing page is essential for capturing leads. You can do this by integrating your Power form d4sign directly into your landing page code or using a web form builder tool. This integration not only saves time but also boosts your conversion rates by providing a clear and easy input method for users.
To add a form to Power Apps, start by opening your app in the Power Apps studio. Next, use the insert menu to choose the form component you want. You can connect this form directly to your data sources, including your Power form d4sign, allowing for a seamless user experience within your application.
Yes, you can add a form to your Facebook page quite easily. You can use third-party tools to create your Power form d4sign and then share the link directly on your Facebook page. This approach not only engages your audience but also streamlines the information-gathering process.
Adding a Form to a Power page is a straightforward process. Simply go to the Power Apps portal, select the page you want to modify, and add a new section. You can include your Power form d4sign by embedding the form URL or using the provided integrations, enhancing your page with interactive data collection features.
To add a Microsoft form to a SharePoint page, navigate to the desired page and select the edit option. Then, click on the plus icon to add a new web part, and choose the Microsoft Forms option. From there, you can easily insert your Power form d4sign by linking to your form, allowing for smooth data collection directly on your SharePoint site.
To obtain a PowerForm link in d4sign, go to your created PowerForm and find the sharing options. You will see a unique link generated for your PowerForm, which you can copy and paste for easy sharing. This link allows your recipients to access the PowerForm directly, enhancing your document signing process.
To create a fillable form in d4sign, start by selecting the option to create a new form in your dashboard. Upload your document and utilize the drag-and-drop fields to add fillable areas where users can input data. Save your form, and you will have a functional fillable form ready for distribution.
PowerForm in d4sign is specifically designed for collecting signatures and data from multiple signers, while Webform is more basic and often used for simpler data collection. PowerForms allow for a smoother workflow and better integration with document management, making them more effective for businesses needing organized signatures.
To create a PowerForm in d4sign, access your account and go to the forms menu. Choose the option to create a new PowerForm and upload the document you wish to use. Customize the form fields and designate the recipients before saving your PowerForm for future use.
A PowerForm administrator in d4sign has comprehensive permissions, allowing them to create, edit, and manage PowerForms. They can set access controls for users, enabling specific individuals to view or modify forms. Additionally, administrators can track submissions and generate reports to evaluate form performance.