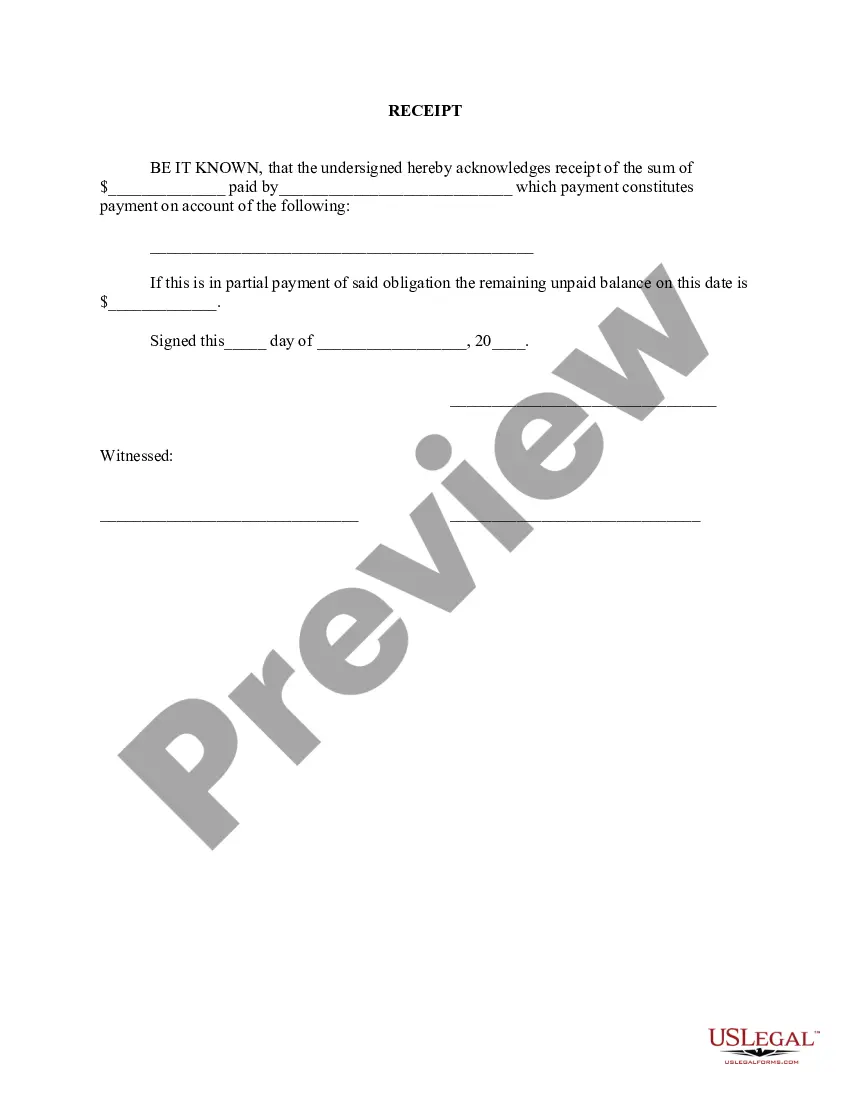
Pay Receipt Pay With Face Id
Description
Get your form ready online
Our built-in tools help you complete, sign, share, and store your documents in one place.
Make edits, fill in missing information, and update formatting in US Legal Forms—just like you would in MS Word.
Download a copy, print it, send it by email, or mail it via USPS—whatever works best for your next step.
Sign and collect signatures with our SignNow integration. Send to multiple recipients, set reminders, and more. Go Premium to unlock E-Sign.
If this form requires notarization, complete it online through a secure video call—no need to meet a notary in person or wait for an appointment.
We protect your documents and personal data by following strict security and privacy standards.
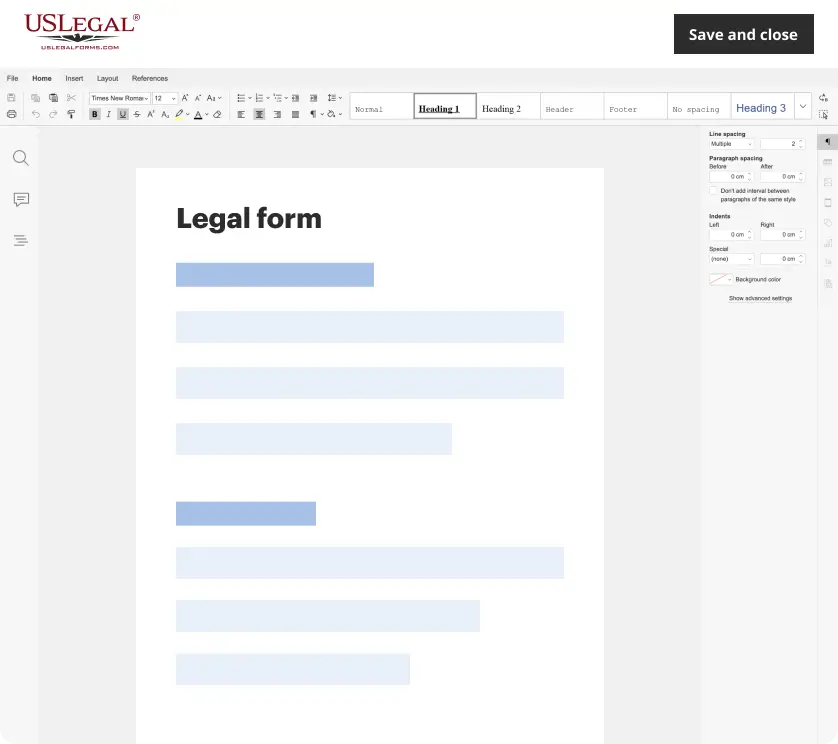
Make edits, fill in missing information, and update formatting in US Legal Forms—just like you would in MS Word.
Download a copy, print it, send it by email, or mail it via USPS—whatever works best for your next step.
Sign and collect signatures with our SignNow integration. Send to multiple recipients, set reminders, and more. Go Premium to unlock E-Sign.

If this form requires notarization, complete it online through a secure video call—no need to meet a notary in person or wait for an appointment.
We protect your documents and personal data by following strict security and privacy standards.
Looking for another form?
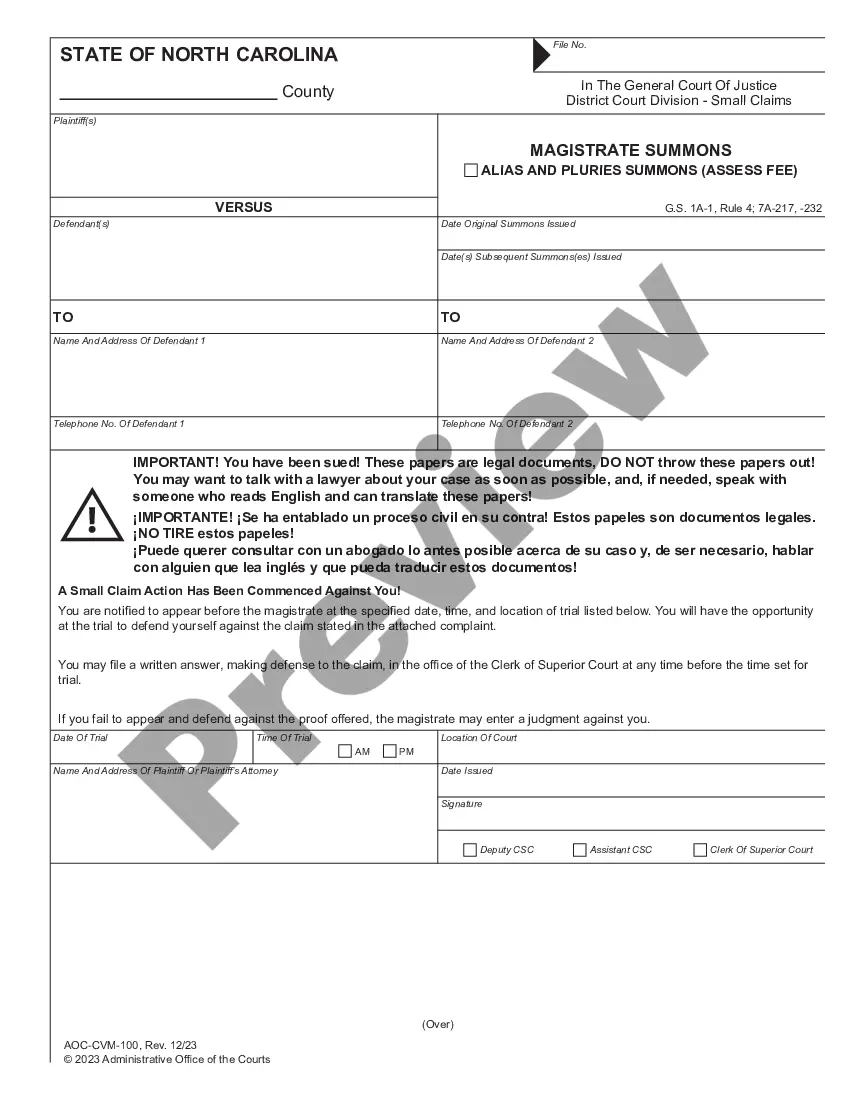
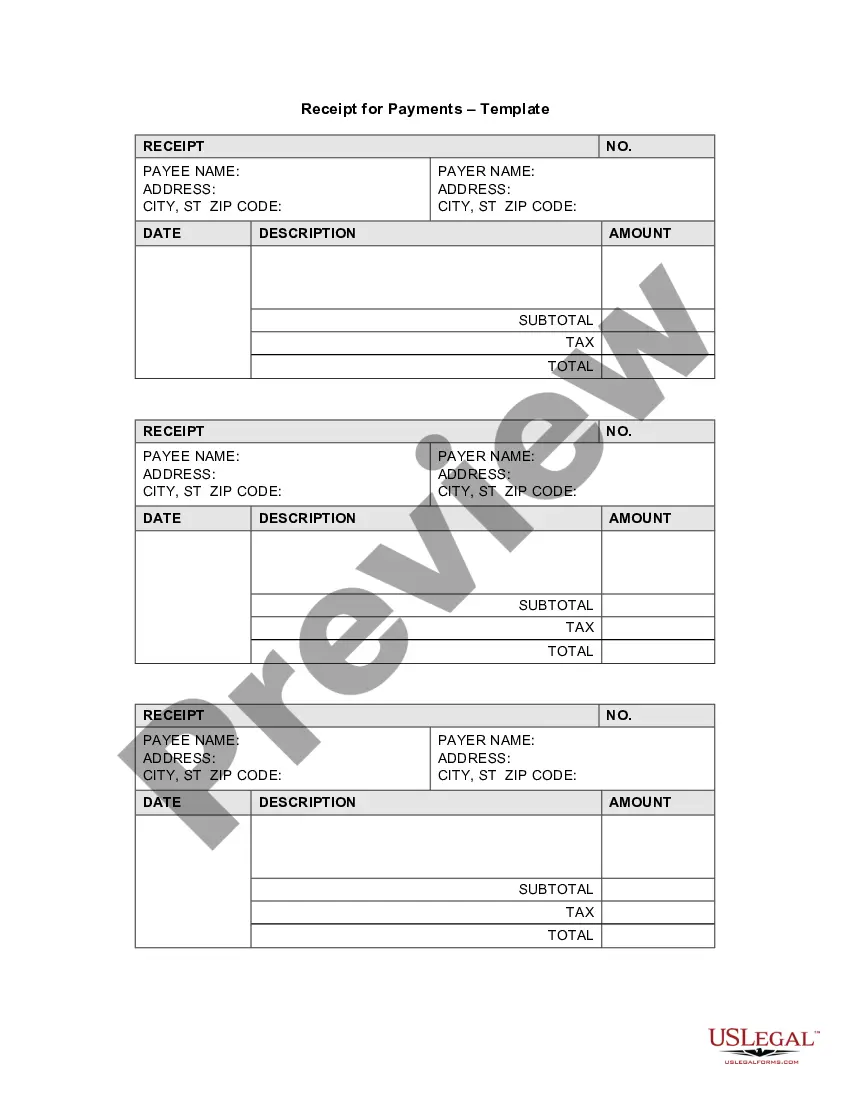
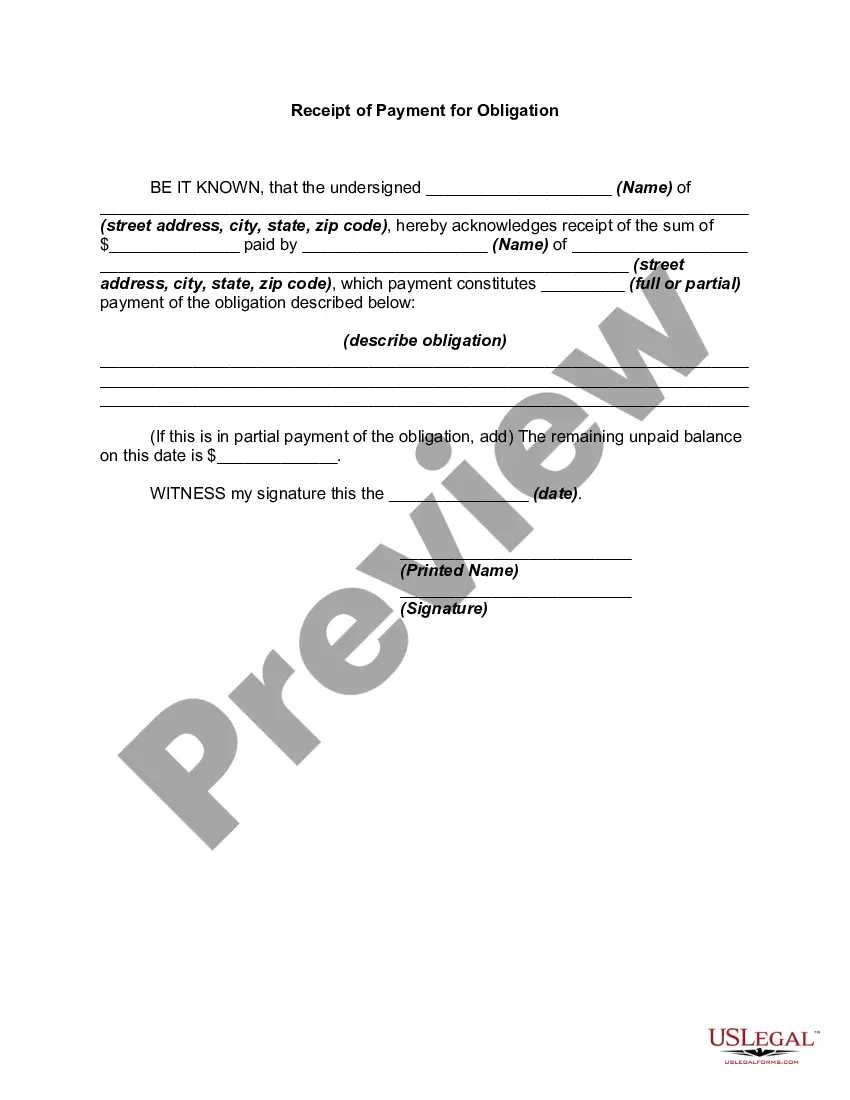
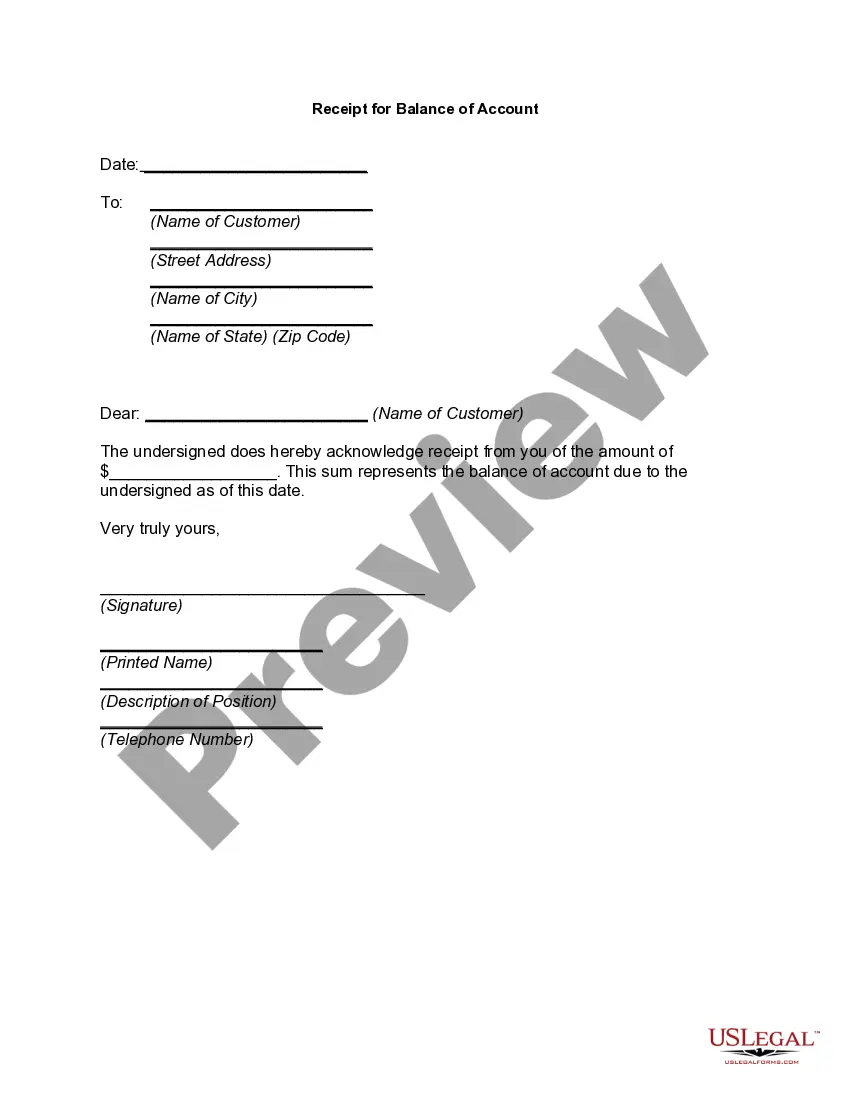
How to fill out Receipt For Payment Of Account?
Whether for commercial reasons or for personal affairs, everyone must confront legal situations at some point in their lives.
Completing legal paperwork requires meticulous care, starting with selecting the appropriate form template. For example, if you choose an incorrect version of the Pay Receipt Pay With Face Id, it will be denied once submitted. Thus, it is essential to find a trustworthy source of legal documents like US Legal Forms.
With a comprehensive US Legal Forms catalog available, you do not need to waste time searching for the correct template online. Utilize the library’s user-friendly navigation to find the right form for any situation.
- Obtain the template you require by using the search box or catalog browsing.
- Review the form’s description to ensure it suits your case, jurisdiction, and area.
- Click on the form’s preview to inspect it.
- If it is the wrong document, return to the search feature to find the Pay Receipt Pay With Face Id template you require.
- Acquire the file if it fulfills your requirements.
- If you possess a US Legal Forms account, simply click Log in to access previously stored documents in My documents.
- If you do not have an account yet, you can get the form by clicking Buy now.
- Choose the appropriate pricing option.
- Complete the profile registration form.
- Select your payment method: use a credit card or PayPal account.
- Choose the document format you desire and download the Pay Receipt Pay With Face Id.
- Once downloaded, you can fill out the form using editing software or print it and complete it manually.
Form popularity
FAQ
To make Apple Pay confirm with Face ID, ensure your Face ID is set up in your device settings. When using Apple Pay, double-click the side button and look at your device when prompted. This action will allow Apple Pay to confirm your payment using Face ID, providing a quick and secure way to pay receipts and pay with Face ID.
Using Face ID for payment is straightforward. Start by opening your payment app and initiating a transaction. When prompted, look at your device to authenticate your identity with Face ID. Once verified, you can complete your payment in seconds, making it easy to pay receipts and pay with Face ID.
To enable Face ID for transactions, go to your device's settings and select 'Face ID & Passcode.' From there, you can enable Face ID for various apps, including payment apps. Make sure to grant the necessary permissions for these apps to use Face ID. This setup allows you to pay receipts and pay with Face ID conveniently.
Confirming payments with Face ID is simple. After initiating a payment, your device will ask you to authenticate your identity using Face ID. Just look at your device, and once it recognizes you, your payment will be confirmed. This process enables you to pay receipts and pay with Face ID in a secure manner.
To confirm payment with Face ID, simply initiate the payment process through your preferred payment app. Once you reach the confirmation screen, your device will prompt you to look at the screen for Face ID recognition. After your identity is verified, your payment will be processed. This feature makes it convenient to pay receipts and pay with Face ID securely and quickly.
To add Face ID to payments, start by opening your device's settings. Navigate to the 'Face ID & Passcode' section, and ensure that Face ID is enabled. Then, go to your payment app's settings, such as Apple Pay, and select the option to use Face ID for transactions. By doing this, you can easily pay receipts and pay with Face ID.
Apple Pay uses security features built-in to the hardware and software of your device to help protect your transactions. In addition, to use Apple Pay, you must have a passcode set on your device and, optionally, Face ID or Touch ID.
How to Activate Face ID on APPLE Wallet? - YouTube YouTube Start of suggested clip End of suggested clip And Apple pay. And that's it this will be all from now on it is active thank you for watching pleaseMoreAnd Apple pay. And that's it this will be all from now on it is active thank you for watching please subscribe our Channel. And leave the thumbs.
Pay with your iPhone If your iPhone has Face ID, double-click the side button. If prompted, authenticate with Face ID or enter your passcode to open Apple Wallet. If your iPhone has Touch ID, double-click the Home button.
On your iPhone, open Settings > Face ID & Passcode. Enter your passcode. Tap on the entry for Other Apps. If the app is listed but Face ID is not enabled, flip the switch to turn it on.