Loading
Get Travel Waiver
How it works
-

Open form follow the instructions
-

Easily sign the form with your finger
-

Send filled & signed form or save
How to fill out the Travel Waiver online
Completing the Travel Waiver is an important step in ensuring that you understand your travel insurance options. This guide provides clear and detailed instructions on how to fill out the Travel Waiver form online, making the process straightforward and accessible for all users.
Follow the steps to complete the Travel Waiver form effectively.
- Press the ‘Get Form’ button to access the Travel Waiver form and open it in an online editor.
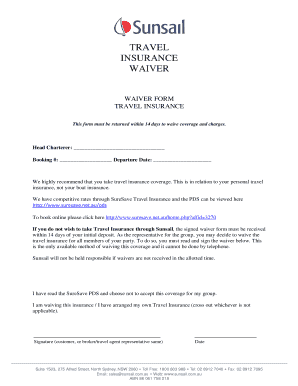
- Fill in the 'Head Charterer' field with your name or the name of the person responsible for the booking. This indicates who is waiving the insurance coverage.
- Enter the 'Booking #' associated with your reservation. This is essential for identifying your travel details.
- Specify the ‘Departure Date’ of your travel. Providing this information helps to link your waiver to the correct itinerary.
- Read the important information regarding travel insurance coverage. This section highlights why it is recommended to have travel insurance.
- Indicate your decision to waive insurance by checking either 'I am waiving this insurance' or 'I have arranged my own Travel Insurance' and crossing out the option that does not apply.
- Sign the form as the customer or as a representative, such as a broker or travel agent, to validate the waiver.
- Include the current date next to your signature to confirm when the waiver is being submitted.
- Review all the information entered to ensure accuracy before submission.
- Save the changes, then download, print, or share the completed form as needed according to your preference.
Complete your Travel Waiver online today to ensure your travel plans are secure.
Airline waivers typically waive the fare rules on qualifying tickets issued so no change fees, additional collections, or penalties for refunds are charged in times of major disruption.