Loading
Get Quest Diagnostics Authorization Form
How it works
-

Open form follow the instructions
-

Easily sign the form with your finger
-

Send filled & signed form or save
How to fill out the Quest Diagnostics Authorization Form online
This guide provides a clear and comprehensive approach to filling out the Quest Diagnostics Authorization Form online. Follow these instructions to ensure you complete the form accurately and efficiently.
Follow the steps to fill out the form correctly
- Click ‘Get Form’ button to obtain the Quest Diagnostics Authorization Form and open it in the editor.
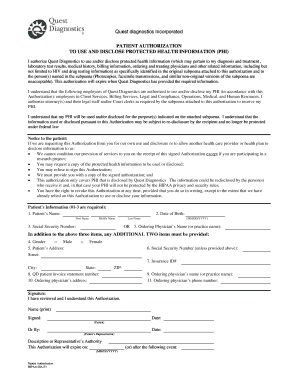
- In the patient information section, provide the required details, including the patient’s name, date of birth, and social security number.
- If applicable, fill in the ordering physician’s name or practice name. Ensure to include gender, address, and any additional required information.
- Review the section regarding the purpose of the authorization and ensure you understand how your Protected Health Information (PHI) will be used and disclosed.
- Sign the authorization section, either as the patient or a representative, including the date.
- If you wish to revoke the authorization, fill out the revocation section and sign it. Otherwise, your authorization will remain valid until the specified expiration date.
- Once all fields are filled out correctly, save your changes. You can download, print, or share the completed form as needed.
Complete your documentation promptly and efficiently by filling out the Quest Diagnostics Authorization Form online.
Go to myquest.questdiagnostics.com and click the green “Create Account” button. 2. Create a unique username and password. To ensure accuracy, enter your password a second time and click the “Next” button.