Loading
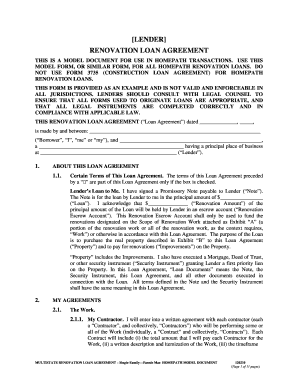
Get Homepath Renovation Loan Agreement - Fannie Mae
How it works
-

Open form follow the instructions
-

Easily sign the form with your finger
-

Send filled & signed form or save
How to fill out the HomePath Renovation Loan Agreement - Fannie Mae online
Completing the HomePath Renovation Loan Agreement is a crucial step in securing funds for your renovation projects. This guide will walk you through the process of filling out the form online, ensuring you have all necessary information at hand.
Follow the steps to successfully complete the HomePath Renovation Loan Agreement.
- Click ‘Get Form’ button to access the HomePath Renovation Loan Agreement and open it in your chosen digital editor.
- Fill in the date of the agreement in the designated space where it states the effective date of the Loan Agreement.
- Enter your personal information in the section labeled 'Borrower', which includes your full name and any alternative titles used.
- Provide the Lender's information, including lender's name, type of institution, and principal place of business as specified in the form.
- In the 'Terms of this Loan Agreement' section, check the applicable boxes to confirm your acceptance of the terms outlined.
- Fill in the Loan amount and the Renovation amount, detailing how these funds will be allocated as described in the 'Scope of Renovation Work.'
- Attach Exhibit ‘A’ detailing the scope of the renovation work, ensuring that it includes a description, itemization, and contractor agreement.
- Provide additional necessary documentation, including licenses and permits, to accompany the agreements listed on Exhibit ‘A’.
- Ensure all final fields are complete, including the description of the property as outlined in Exhibit ‘B’.
- Once all sections are completed and reviewed for accuracy, save your changes, download a copy for your records, and print or share the form as needed.
Take the next step in your renovation journey by completing the HomePath Renovation Loan Agreement online today.
Related links form
Two Methods to Add a Logo to PDF Step 1: Open the PDF File. ... Step 2: Click on "Watermark" ... Step 3: Select Image Watermark Type. ... Step 4: Add logo to PDF and Set the Position and Rotation. ... Step 5: Set the Scale and Page Range of the Logo. ... Insert Logo in PDF Successfully. ... Step 7: Save the Changes.