Loading
Get Waiver Letter
How it works
-

Open form follow the instructions
-

Easily sign the form with your finger
-

Send filled & signed form or save
How to fill out the Waiver Letter online
Filling out the Waiver Letter online can be a straightforward process when you understand each component. This guide will walk you through the necessary steps to complete the Waiver Letter, ensuring that all required information is accurately provided.
Follow the steps to seamlessly complete the Waiver Letter online.
- Press the ‘Get Form’ button to access the Waiver Letter and open it in your preferred document editor.
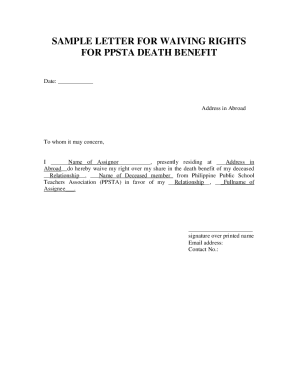
- Begin by entering the date at the top of the form. This should reflect the current date when you are completing the letter.
- Next, fill in your full name where indicated as 'Name of Assignor' and provide your current address in the designated section.
- In the following section, clearly state your relationship to the deceased person by filling in 'Relationship' after 'my deceased'. Additionally, input the name of the deceased member in the specified area.
- Now, indicate the name of the individual you are assigning the benefits to by completing 'Fullname of Assignee' and their relationship to you.
- After all fields are filled out, ensure that you sign the document on the designated line, followed by typing your printed name for clarity.
- Finally, provide your contact details by including your email address and phone number in the appropriate sections.
- Once all information is entered, you can save the changes, download a copy for your records, print the document, or share it as needed.
Take the first step towards completing your Waiver Letter online now!
A waiver letter is a document indicating that one party voluntarily relinquishes a right or claim against another party. This letter outlines the terms of the waiver and serves to protect both parties legally. It can cover various scenarios, from liability waivers to immigration requests.