Remove Fillable Fields Word For Self-employed Individuals Templates For Free
How it works
-
Import your Remove Fillable Fields Word For Self-employed Individuals Templates For Free from your device or the cloud, or use other available upload options.
-
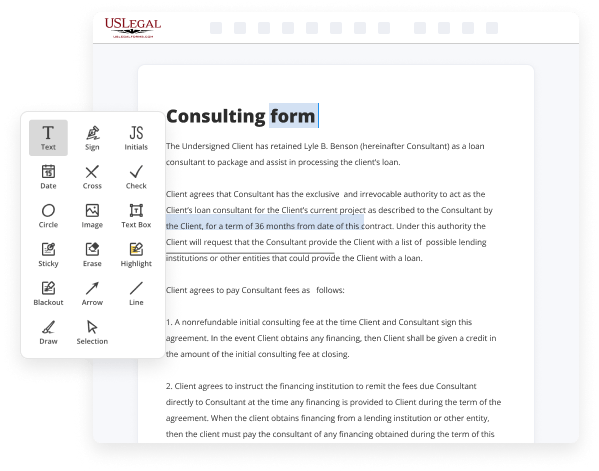
Make all necessary changes in your paperwork — add text, checks or cross marks, images, drawings, and more.
-
Sign your Remove Fillable Fields Word For Self-employed Individuals Templates For Free with a legally-binding electronic signature within clicks.
-
Download your completed work, export it to the cloud, print it out, or share it with others using any available methods.
How to Remove Fillable Fields Word For Self-employed Individuals Templates For Free
Are you tired of constant document printing, scanning, postal delivery, and wasting precious time and resources with manual fill-out? The times have moved on, and the easiest way to Remove Fillable Fields Word For Self-employed Individuals Templates For Free and make any other critical adjustments to your forms is by handling them online. Select our quick and reliable online editor to fill out, edit, and execute your legal paperwork with highest effectiveness.
Here are the steps you should take to Remove Fillable Fields Word For Self-employed Individuals Templates For Free easily and quickly:
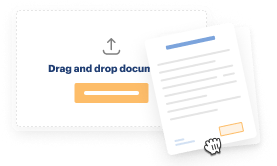
- Upload or import a file to the service. Drag and drop the template to the upload pane, import it from the cloud, or use another option (extensive PDF catalog, emails, URLs, or direct form requests).
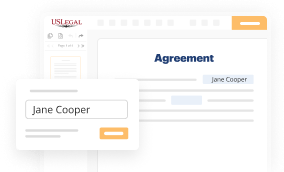
- Provide details you need. Fill out blank fields using the Text, Check, and Cross tools from our top pane. Use our editor’s navigation to make certain you’ve filled in everything. Accentuate the most important details with the Highlight option and erase or blackout fields with no value.
- Adjust and rearrange the template. Use our upper and side toolbars to update your content, drop extra fillable fields for various data types, re-order sheets, add new ones, or delete redundant ones.
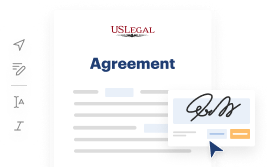
- Sign and collect signatures. Whatever method you choose, your eSignature will be legally binding and court-admissible. Send your form to other people for signing using email or signing links. Notarize the paperwork right in our editor if it needs witnessing.
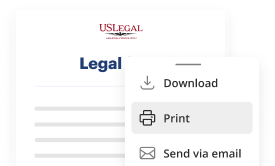
- Share and save the copy. Download or export your completed paperwork to the cloud in the file format you need, print it out if you prefer a hard copy, and choose the most suitable file-sharing option (email, fax, SMS, or delivered by snail mail using the USPS).
With our service, you don’t have any more excuses to complete legal documents manually. Save time and effort executing them online twice as fast and more properly. Give it a try now!

Benefits of Editing Remove Fillable Fields Word For Self-employed Individuals Templates For Free Online
Top Questions and Answers
At the bottom of the Controls task pane, click Add or Remove Custom Controls. In the Add or Remove Custom Controls dialog box, select the template part that you want to remove, and then click Remove. When prompted to remove the template part, click Yes, and then click OK.
Tips to Remove Fillable Fields Word For Self-employed Individuals Templates For Free
- Open the Word document containing the fillable fields.
- Click on the 'Developer' tab in the ribbon. If you don't see it, you may need to enable it in the Word options.
- Select the fillable field you want to remove.
- Press the 'Delete' key on your keyboard.
- You can also right-click the field and choose 'Remove Content Control' from the context menu.
- If you want to remove all fillable fields at once, go to the 'Restrict Editing' section under the Developer tab and stop protection if necessary.
This editing feature for removing fillable fields may be needed when customizing templates for clients or personal use to ensure they align with your desired layout.
Then, check the Developer box. 4. In today's tutorial I'm going to show you how to use templates in Word. In this video I'm going to show you how easy it is to create a fillable form in Microsoft Word. Open your document in Word. If you want to edit or update the template, then rightclick and remove the readonly tag, then rightclick again > open. When I create a new document from the template, I'd like the fields to be removed and have that document not update any further. Word: Paste the merge field in place of the specific client data in the document file that you are working on, including the brackets. The Form Template Settings tool provides you with options to enable or disable some form template settings. What You Will Need: Have the following on hand before you start. • Social Security Numbers for all persons on your tax return.
Industry-leading security and compliance
-
In businnes since 1997Over 25 years providing professional legal documents.
-
Accredited businessGuarantees that a business meets BBB accreditation standards in the US and Canada.
-
Secured by BraintreeValidated Level 1 PCI DSS compliant payment gateway that accepts most major credit and debit card brands from across the globe.
-
VeriSign secured#1 Internet-trusted security seal. Ensures that a website is free of malware attacks.