Rearrange Pages In Word Name Change Templates For Free
How it works
-

Import your Name Change Forms from your device or the cloud, or use other available upload options.
-

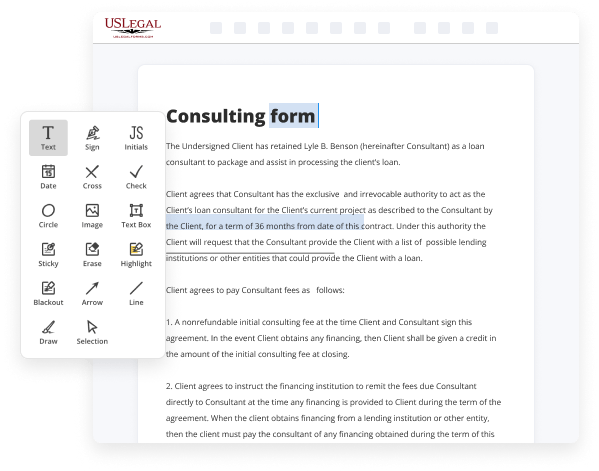
Make all necessary changes in your paperwork — add text, checks or cross marks, images, drawings, and more.
-

Sign your Name Change Forms with a legally-binding electronic signature within clicks.
-

Download your completed work, export it to the cloud, print it out, or share it with others using any available methods.
How to Rearrange Pages In Word Name Change Templates For Free
Are you weary of perpetual document printing, scanning, mailing, and expending valuable time and resources with manual entries? The era has advanced, and the easiest method to Rearrange Pages In Word Name Change Templates For Free and implement any other vital modifications to your forms is by processing them online. Select our swift and dependable online editor to complete, modify, and conduct your legal documents with utmost efficiency.
Adjust and reorganize the form. Utilize our upper and side toolbars to modify your content, add additional fillable fields for different data types, reorder pages, include new ones, or eliminate ones that are not needed. Sign and gather signatures. Whatever method you select, your eSignature will be legally binding and acceptable in court. Dispatch your form to others for signing using email or signing links. Notarize the documents right within our editor if it requires witnessing. Share and save the copy. Download or export your completed documents to the cloud in the required format, print it out if you prefer a physical copy, and select the most suitable file-sharing option (email, fax, SMS, or sent by traditional mail using USPS). With our service, you have no more excuses to prepare legal documents by hand. Save time and effort executing them online twice as quickly and more effectively. Give it a go now!
- Upload or import a document to the editor.
- Drag and drop the template into the upload area, import it from the cloud, or utilize an alternative option (comprehensive PDF library, emails, URLs, or direct form requests).
- Provide the necessary details.
- Fill in open fields using the Text, Check, and Cross tools from our upper pane. Use our editor’s navigation to ensure you’ve entered all information.
- Highlight the most significant points and erase or black out fields that lack value.

Benefits of Editing Name Change Forms Online
Top Questions and Answers
To reorder pages in a Word document, use the cut and paste method for the desired content. Select the text or images on the page, cut them, and paste them where you want them to go. For a more comprehensive approach, Rearrange Pages In Word Name Change Templates can offer you structured templates for better page organization and arrangement, ensuring your document flows logically.
Tips to Rearrange Pages In Word Name Change Templates For Free
- Click on the 'View' tab in the top menu bar
- Select 'Navigation Pane' to display a sidebar showing thumbnails of all pages
- Drag and drop the thumbnails to rearrange the pages in the desired order
- To remove a page, simply click on the thumbnail and press delete
- To insert a new page, right click on a thumbnail and select 'Insert Page'
The editing feature for rearranging pages in Word Name Change Templates may be needed when you want to change the sequence of pages in your document or add/remove pages for a more organized layout.
Related Searches
Place your cursor at the beginning of the page that you want to move, hold the shift key and press page down. Press "Control" + " X" to cut the text block and move your cursor to the new placement and press "Control" + "V" to move the page to its new location. Can you rearrange pages in Word? This article provides you with a simple guide on how to rearrange pages in Word effectively. Open the Word document you wish to reorder. · Scroll down to the page you need to move. · Hold down on your mouse's left button and use the cursor ... How to change page order in Word · 1. Open your document · 2. Label your sections · 3. Plan your document flow · 4. Open the navigation pane · 5. To update your template, open the file, make the changes you want, and then save the template. Click File > Open. Double-click This PC. (In Word 2013, double- ... Go to your custom Title page and select all of the text and images by clicking and dragging over them. With everything selected, click Insert > Quick Parts > ... 1. If you follow normal document-saving procedures (and you can here), you select File > Save As > Computer > Browse. Then navigate to the ... Remember that once you click the down arrow beside the Save As Type in the input box and select Word Template (*.dotx) from the list (and change ... Rearrange pages using drag-and-drop. ... Workspace switcher: Click on your current workspace's name to switch between the workspaces you belong to, create a ... To the right of the text box, enter the new name of the page as the "New title". Give a reason for the move (which is like an edit summary). Although filling ...
Industry-leading security and compliance
-
In businnes since 1997Over 25 years providing professional legal documents.
-
Accredited businessGuarantees that a business meets BBB accreditation standards in the US and Canada.
-
Secured by BraintreeValidated Level 1 PCI DSS compliant payment gateway that accepts most major credit and debit card brands from across the globe.
-
VeriSign secured#1 Internet-trusted security seal. Ensures that a website is free of malware attacks.