Mark Required Fields In Online Traveling Templates For Free
How it works
-
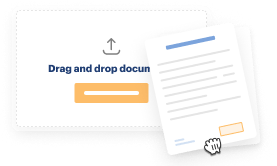
Import your Traveling Forms from your device or the cloud, or use other available upload options.
-

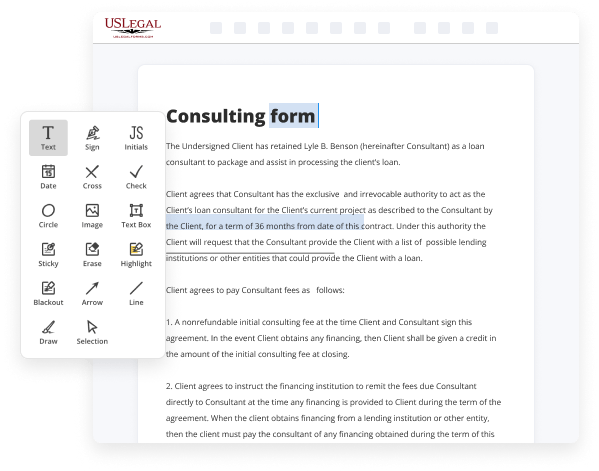
Make all necessary changes in your paperwork — add text, checks or cross marks, images, drawings, and more.
-
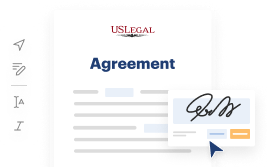
Sign your Traveling Forms with a legally-binding electronic signature within clicks.
-
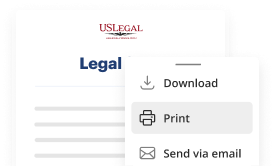
Download your completed work, export it to the cloud, print it out, or share it with others using any available methods.
How to Mark Required Fields In Online Traveling Templates For Free
Web-based PDF editors have demonstrated their reliability and efficiency for executing legal documents. Utilize our safe, quick, and user-friendly platform to Highlight Necessary Sections In Digital Travel Templates For No Cost whenever you require them, with minimal effort and utmost accuracy.
And that’s how you can prepare and distribute any personal or business legal documents in a matter of minutes. Give it a try now!
- Upload a document to the editor. You can select from several options - add it from your device or cloud, or import it from a template library, external link, or email attachment.
- Complete the blank sections. Position the cursor on the first vacant area and use our editor’s navigation to proceed step-by-step to ensure nothing is overlooked in your template. Make use of Text, Initials, Cross, and Check functionalities.
- Make your essential adjustments. Modify the document with added images, draw lines and icons, underscore key elements, or eliminate any unnecessary ones.
- Create extra fillable sections. Modify the template by adding a new area for input if needed. Use the right-side tool pane for this, placing each field where you want others to enter their information, and set the remaining fields to be mandatory, optional, or conditional.
- Organize your pages. Erase sheets you no longer need or generate new ones using the relevant button, rotate them, or alter their sequence.
- Establish electronic signatures. Click on the Sign tool and choose how you would like to add your signature to the document - by typing your name, drawing it, uploading its image, or using a QR code.
- Share and send for eSigning. Complete your editing by pressing the Done button and dispatch your copy to others for approval via an email request, with a Link to Fill option, in an SMS, or a fax message. Request a rapid online notarization if necessary.
- Save the document in your preferred format. Download your file, store it in cloud storage in its current format, or convert it as desired.

Benefits of Editing Traveling Forms Online
Top Questions and Answers
To indicate optional fields, use clear labeling, often accompanying the field with the word 'Optional' or a different visual indicator. This distinction helps users understand what is necessary versus what is not. By managing both required and optional fields effectively in online traveling templates, you create a more user-friendly experience.
Tips to Mark Required Fields In Online Traveling Templates For Free
- Use an asterisk (*) next to the required fields
- Use bold font or a different color to highlight required fields
- Include a message explaining that all fields with an asterisk are required
- Provide a legend or key at the beginning of the form to clarify the meaning of the asterisk
The editing feature for marking required fields in online traveling templates may be needed when you want to ensure that users provide essential information for booking travel accommodations or submitting necessary details for travel arrangements. Clearly indicating which fields are required can help streamline the process and prevent errors or incomplete submissions.
Related Searches
Only 14% of sites explicitly mark both optional and required fields ? even though failing to do so results in validation errors and ... Using an asterisk to mark required fields is an easy way to improve the usability of your forms. Only marking optional fields makes it ... If all fields in a form are required should they be marked somehow (eg. with an asterisk)? I see this done a lot and find it redundant? There ... A topic that is often debated in UX is whether or not to mark the mandatory fields of a form. Short answer: yes. Please. Do it. When we try to fill forms in the internet, required fields are marked using a red color ' * ' mark to indicate that the field is a must. Like ... Our secure, mobile-friendly travel templates can help you get started. It's easy: Tweak the form fields and functionality to suit your ... Fields marked with * are mandatory. Using an asterisk (*) symbol content authors notify mandatory field. This is said to be one of the ... First Name and Last Name are marked as 'required' fields so all profiles created with this template will enforce this rule. You have the flexibility to decide ... Step 1: Open the Travel Request Form Template · Step 2: Add Additional Fields (Optional) · Step 3: Configure Your Travel Request Form Settings ... 7 days ago ? Like Google Docs, Microsoft Word is loaded with pre-made templates?from meeting agendas to cover letters to business trip checklists. To access ...
Industry-leading security and compliance
-
In businnes since 1997Over 25 years providing professional legal documents.
-
Accredited businessGuarantees that a business meets BBB accreditation standards in the US and Canada.
-
Secured by BraintreeValidated Level 1 PCI DSS compliant payment gateway that accepts most major credit and debit card brands from across the globe.
-
VeriSign secured#1 Internet-trusted security seal. Ensures that a website is free of malware attacks.